Skip to content
About
Contact
Cookie Policy
Copyright Policy
Disclaimer
Search
Home
Dinner
Appetizer
Desserts
Drinks
About
Contact
Privacy Policy
Toggle Menu
Home
/
Dinner
- Page 60
Dinner
Creamy Lemon Garlic Orzo Flavorful and Simple Dish
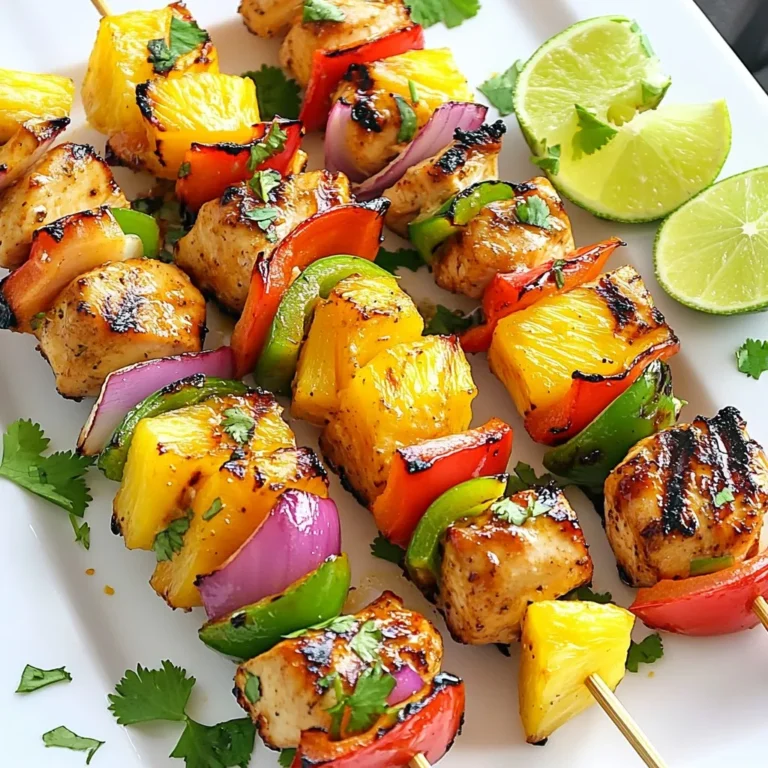
Hawaiian Chicken Kabobs Flavorful Grilled Delight
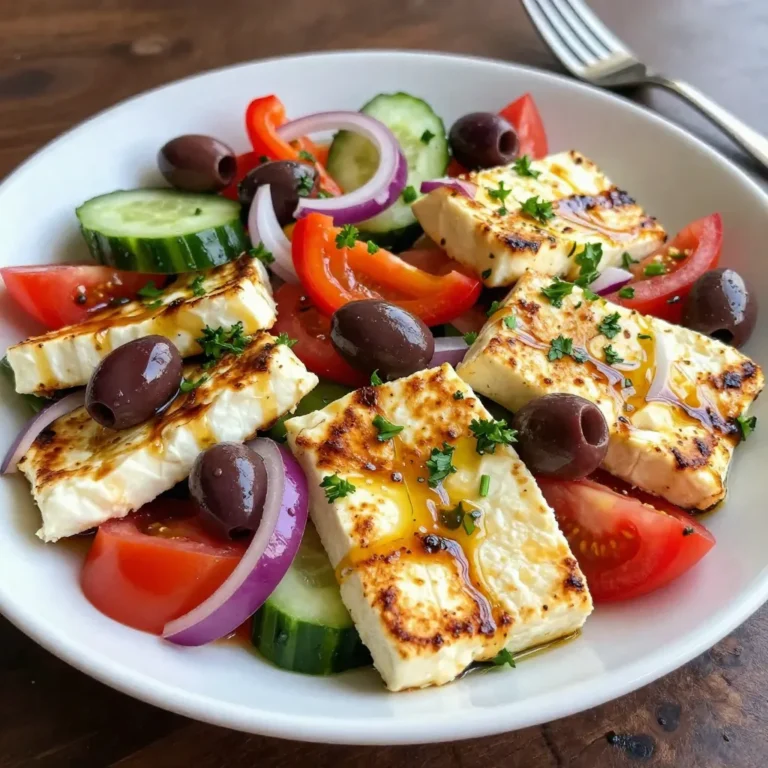
Grilled Halloumi Greek Salad Fresh and Tasty Meal
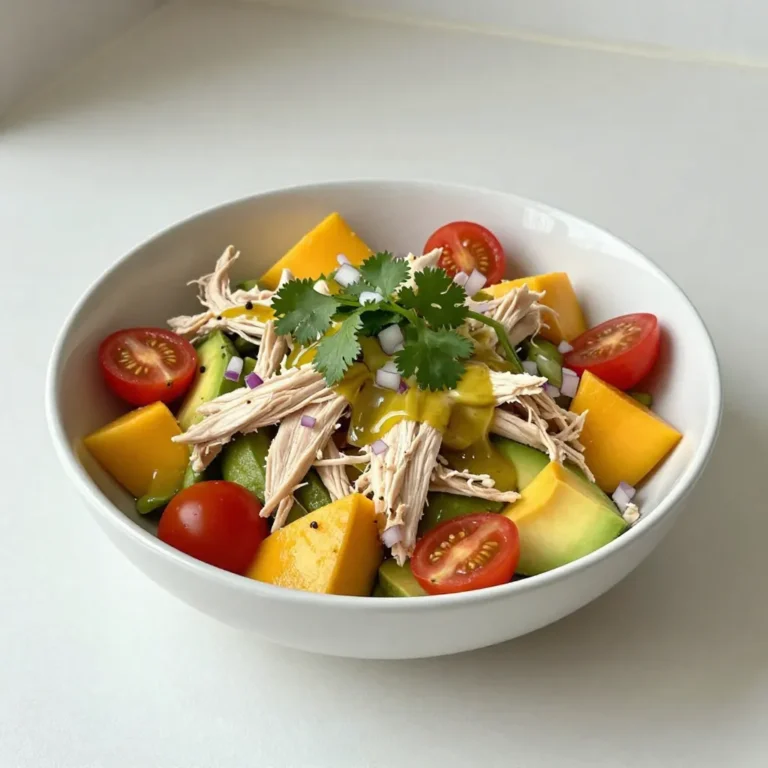
Mango Avocado Chicken Salad Fresh and Flavorful Meal
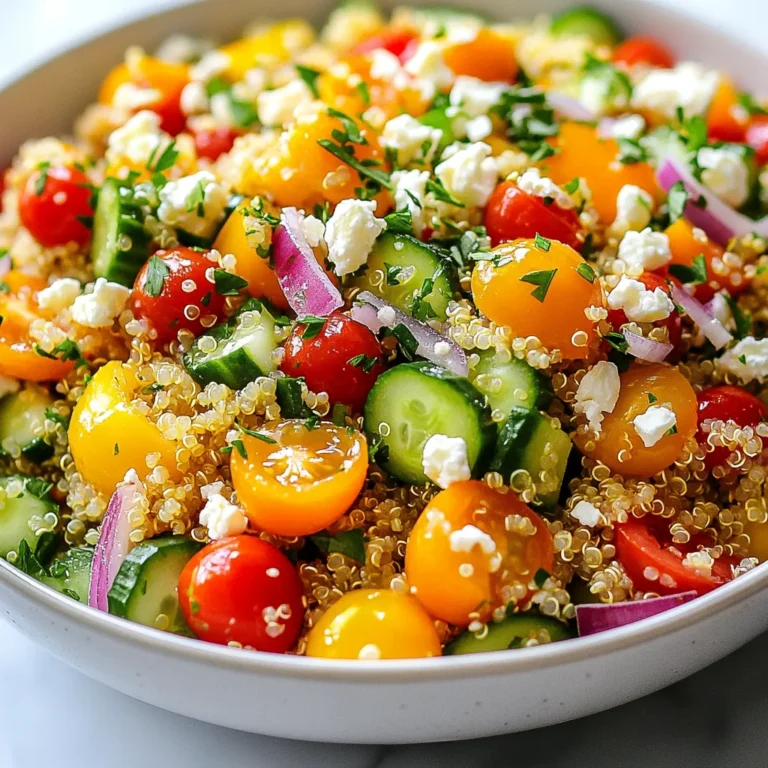
Lemon Herb Quinoa Salad Bright and Fresh Delight
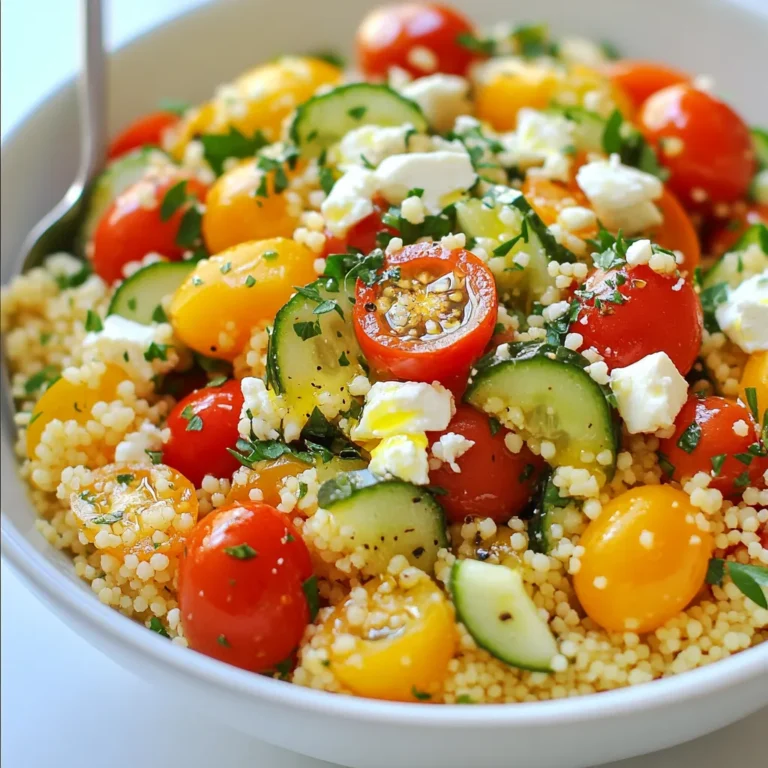
Mediterranean Couscous Salad Fresh and Flavorful Recipe
BBQ Jackfruit Sliders Flavorful and Simple Recipe
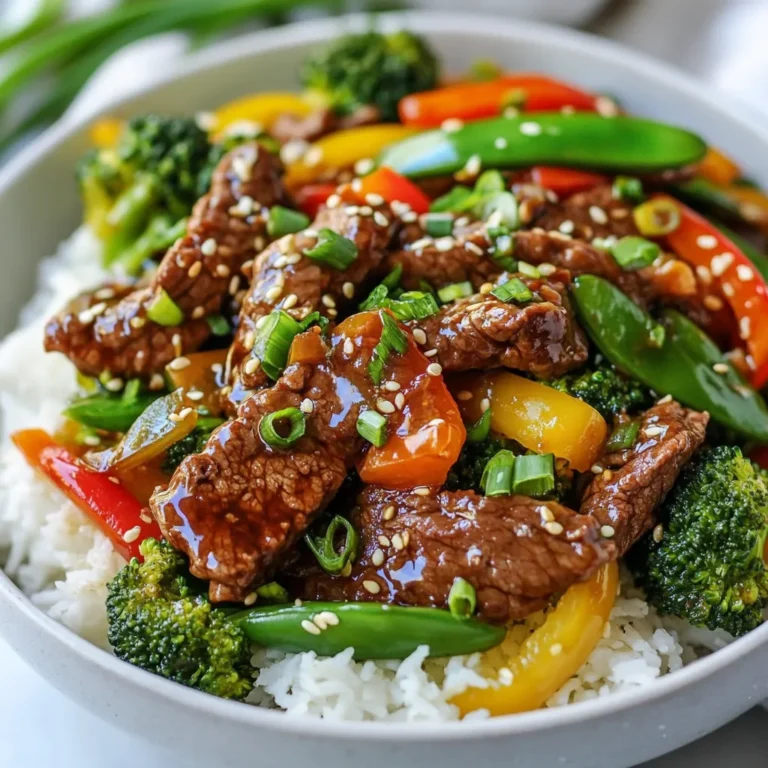
Savory Sesame Ginger Beef Stir Fry Quick Recipe Guide
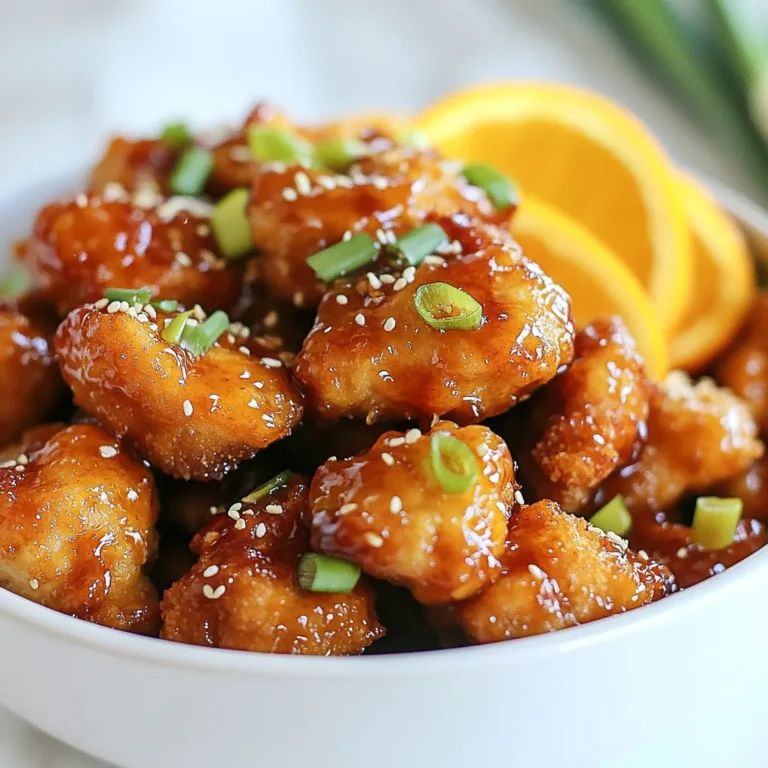
Crispy Air Fryer Orange Chicken Flavorful and Easy Meal
Honey Mustard Chicken Thighs Flavorful and Easy Dish
Page navigation
Previous Page
Previous
1
…
58
59
60
61
62
…
64
Next Page
Next
Home
Dinner
Appetizer
Desserts
Drinks
About
Contact
Privacy Policy
Toggle Menu Close
Search for:
Search