Skip to content
About
Contact
Cookie Policy
Copyright Policy
Disclaimer
Search
Home
Dinner
Appetizer
Desserts
Drinks
About
Contact
Privacy Policy
Toggle Menu
Home
/
Dinner
- Page 61
Dinner
Garlic Herb Roasted Acorn Squash Flavorful Delight
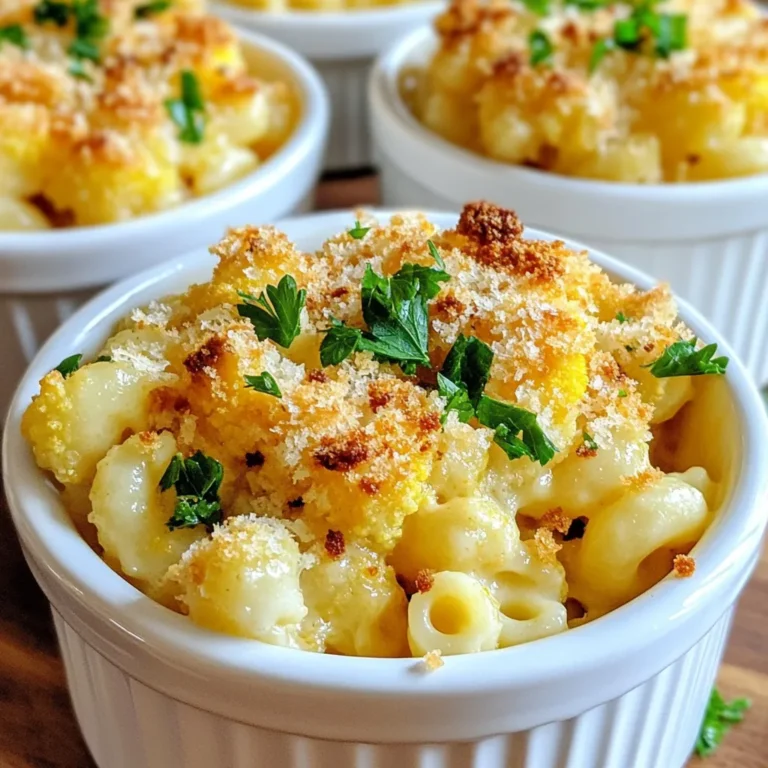
Roasted Cauliflower Mac and Cheese Creamy Delight
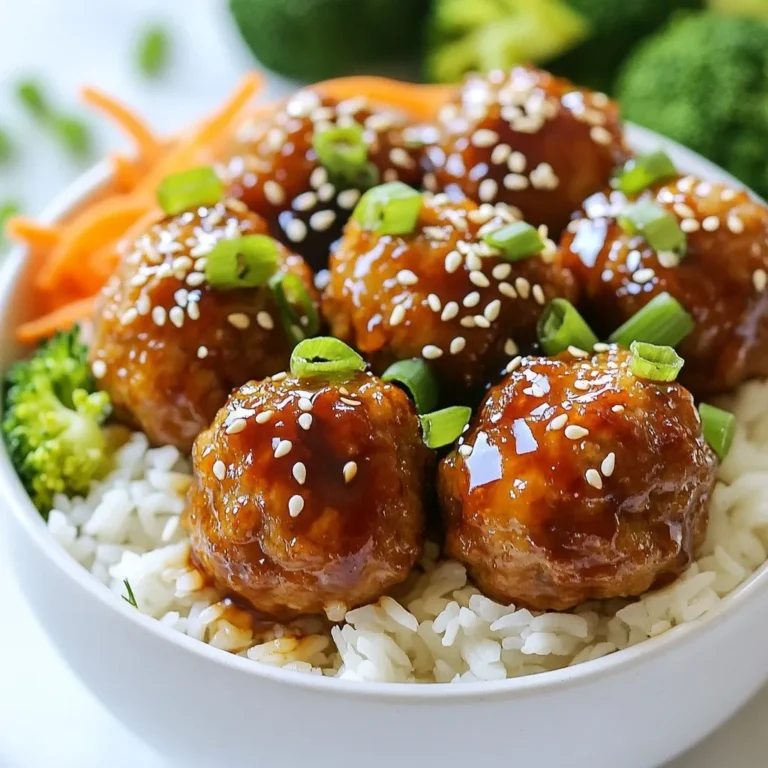
Teriyaki Chicken Meatballs Flavorful and Easy Recipe
Teriyaki Meatball Rice Bowls Savory and Easy Recipe
Maple Dijon Roasted Carrots Flavorful Side Dish Recipe
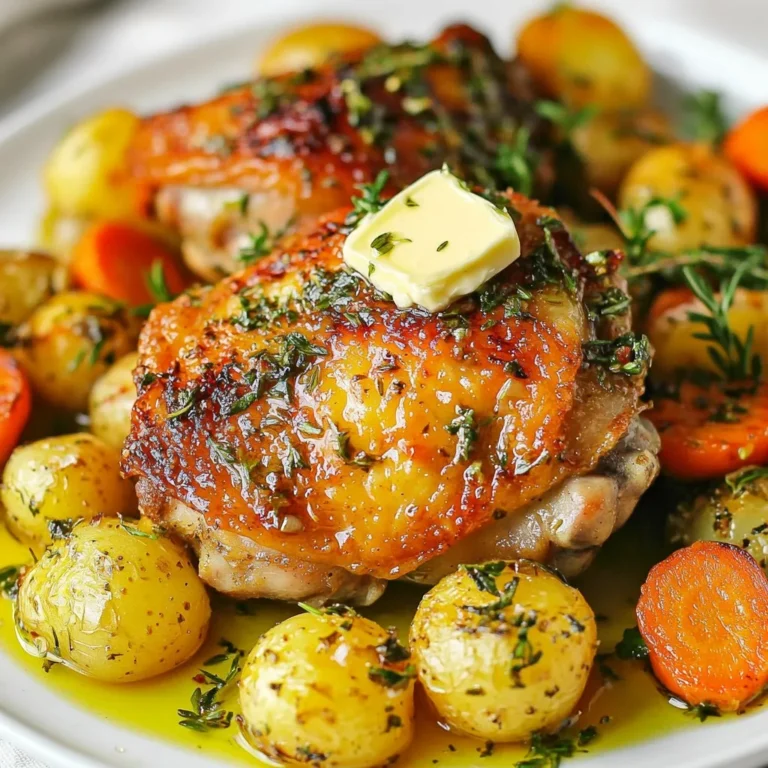
Herb Butter Roasted Chicken Thighs Tasty and Simple Meal
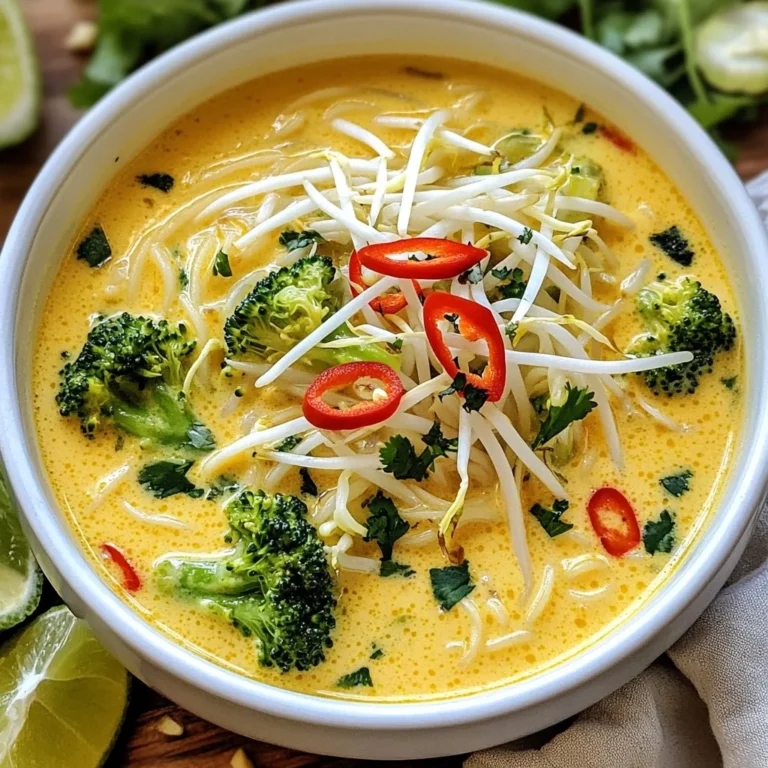
Spicy Thai Coconut Noodle Soup Flavorful and Easy Recipe
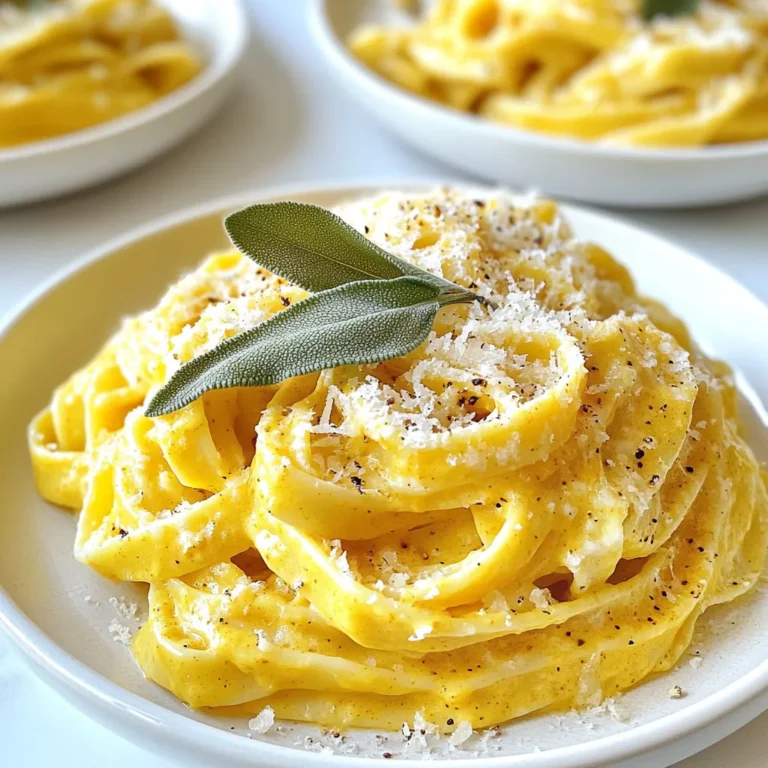
Creamy Pumpkin Sage Pasta Rich and Flavorful Delight
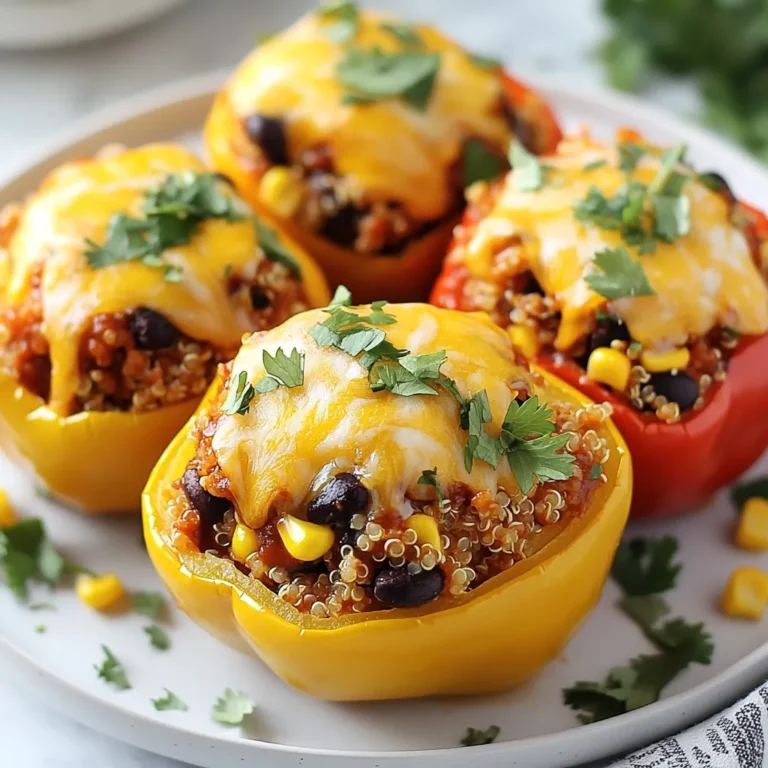
BBQ Chicken Stuffed Peppers Flavorful and Easy Recipe
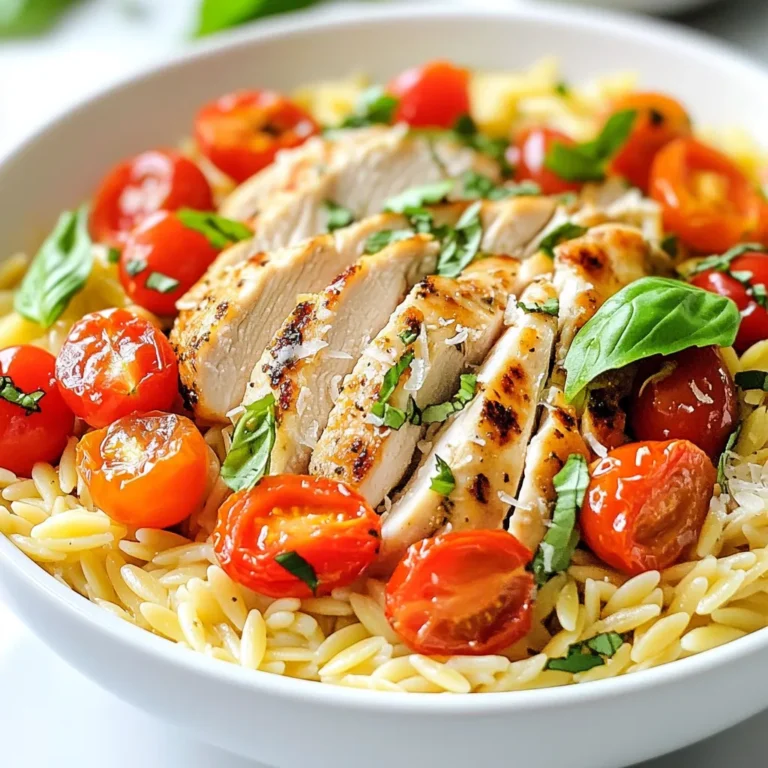
Tomato Basil Chicken Orzo Quick and Flavorful Meal
Page navigation
Previous Page
Previous
1
…
59
60
61
62
63
64
Next Page
Next
Home
Dinner
Appetizer
Desserts
Drinks
About
Contact
Privacy Policy
Toggle Menu Close
Search for:
Search