Skip to content
About
Contact
Cookie Policy
Copyright Policy
Disclaimer
Search
Home
Dinner
Appetizer
Desserts
Drinks
About
Contact
Privacy Policy
Toggle Menu
Home
/
Dinner
- Page 62
Dinner
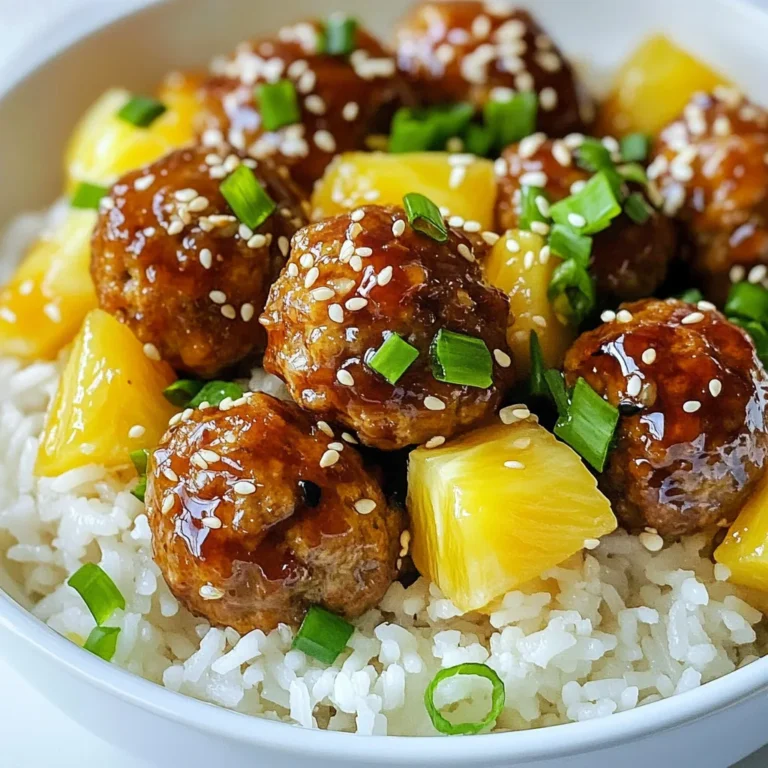
Pineapple Teriyaki Meatballs Tasty and Easy Recipe
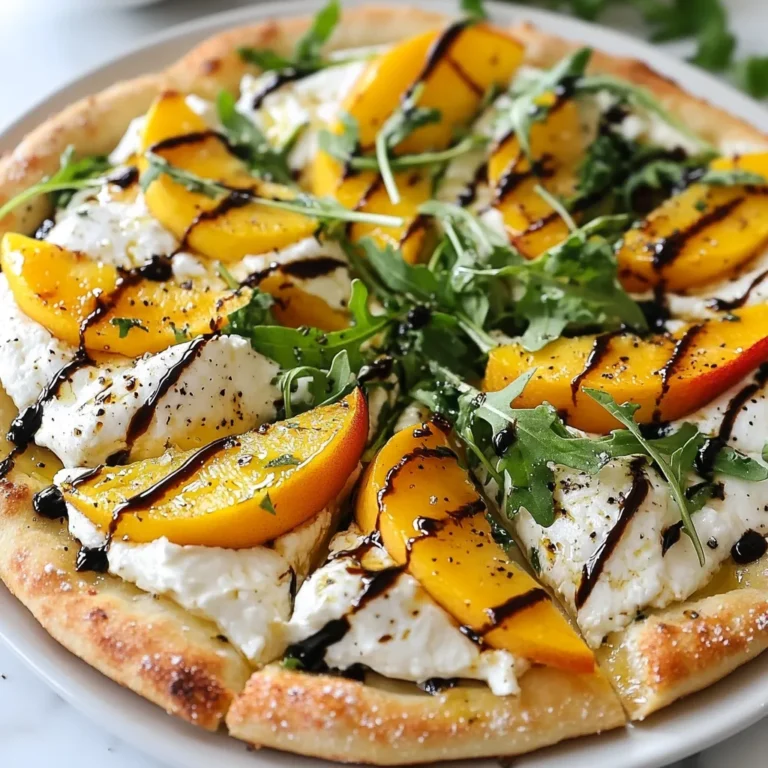
Peach Burrata Arugula Pizza Delightful and Simple Recipe
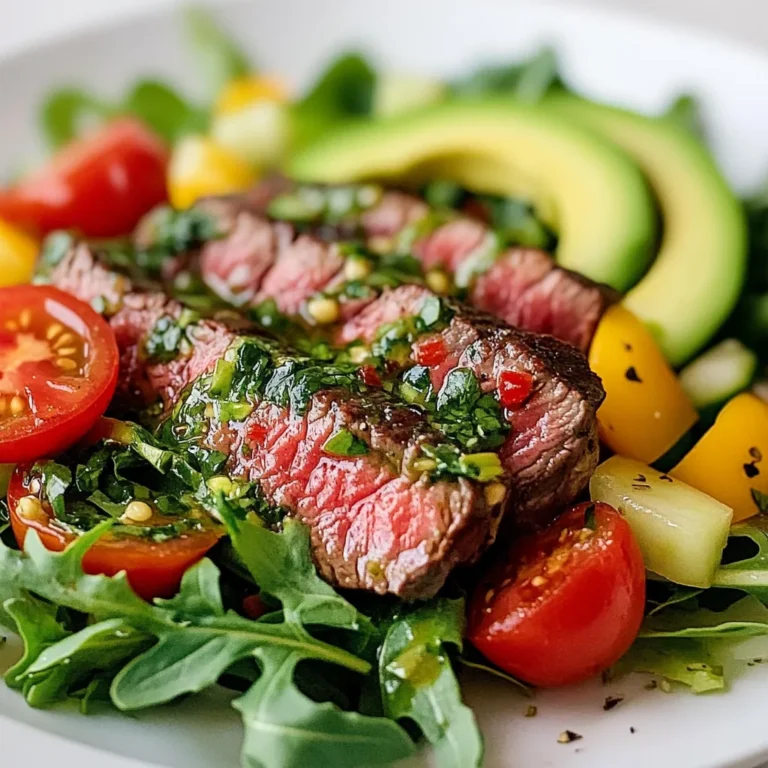
Chimichurri Steak Salad Fresh and Flavorful Delight
Honey Mustard Salmon Flavorful and Simple Recipe
Instant Pot Chicken Pot Pie Pasta Flavorful Comfort Meal
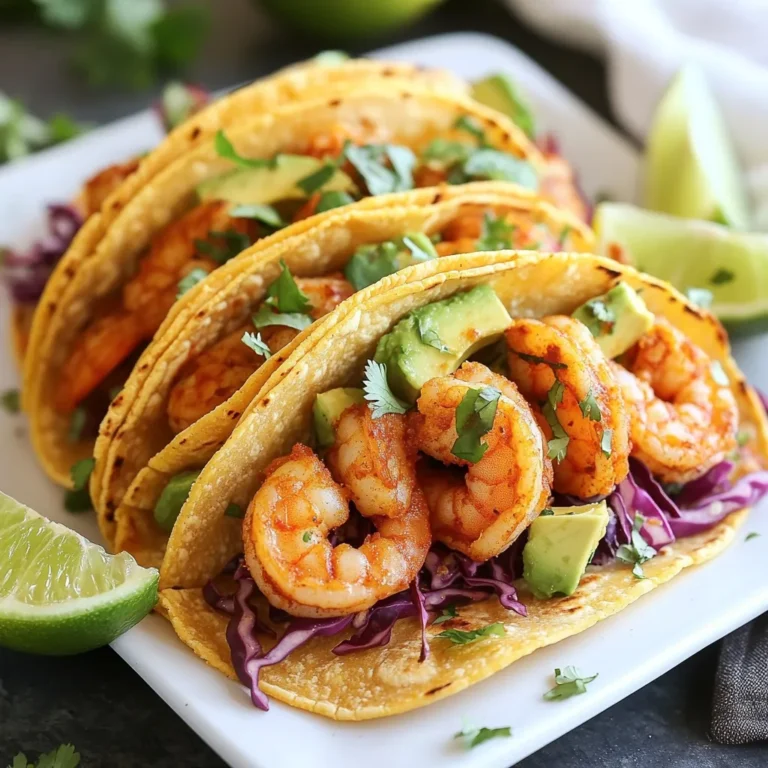
Chili Lime Shrimp Tacos Flavorful and Easy Meal
Creamy Roasted Garlic Chicken Thighs Dinner Delight
Sweet Potato Black Bean Chili Hearty and Healthy Dish
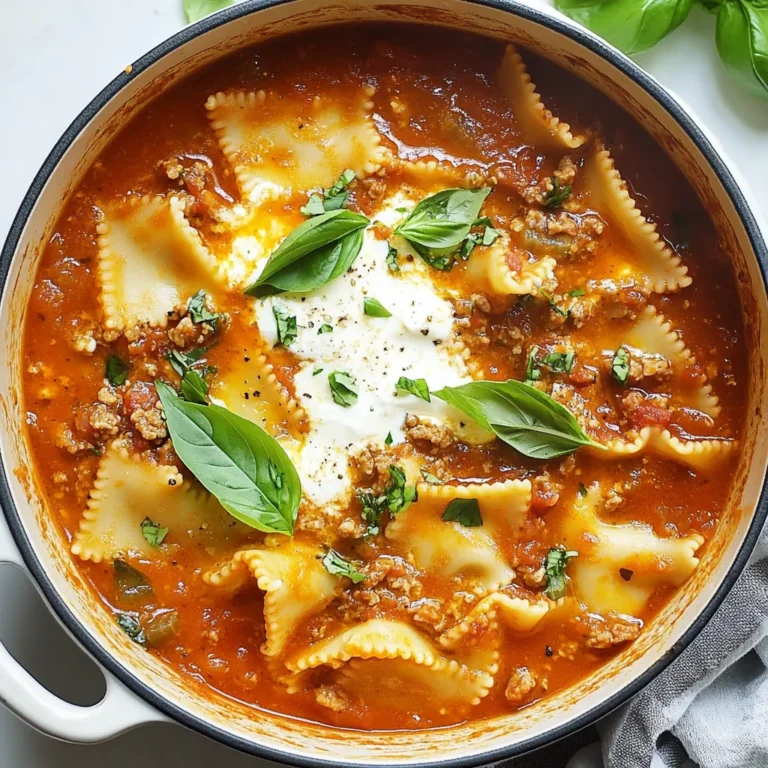
One-Pot Lasagna Ragu Soup Simple Comfort Dish
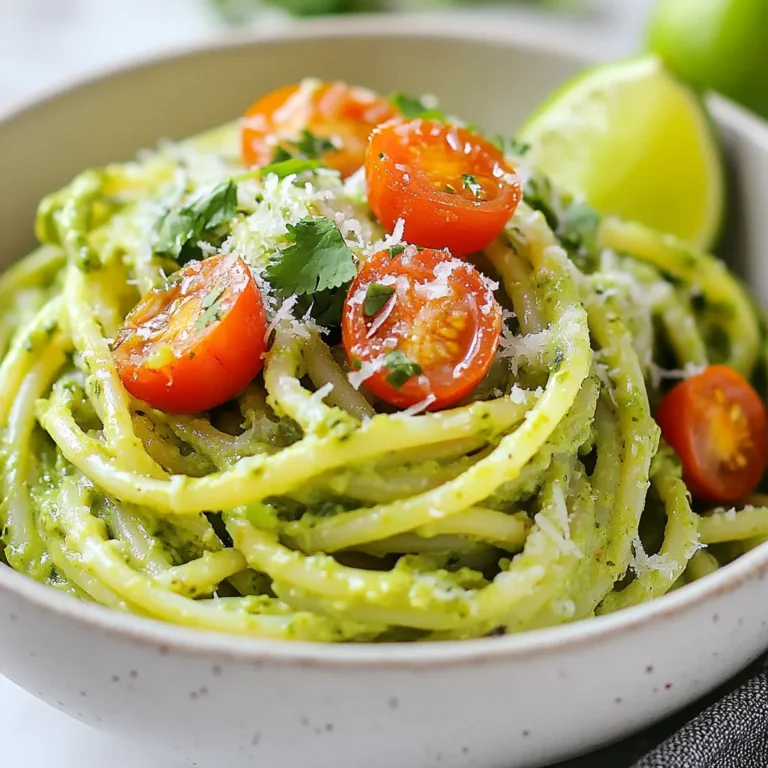
Creamy Avocado Cilantro Pasta Rich and Flavorful Dish
Page navigation
Previous Page
Previous
1
…
60
61
62
63
64
Next Page
Next
Home
Dinner
Appetizer
Desserts
Drinks
About
Contact
Privacy Policy
Toggle Menu Close
Search for:
Search