Skip to content
About
Contact
Cookie Policy
Copyright Policy
Disclaimer
Search
Home
Dinner
Appetizer
Desserts
Drinks
About
Contact
Privacy Policy
Toggle Menu
Home
/
Dinner
- Page 63
Dinner
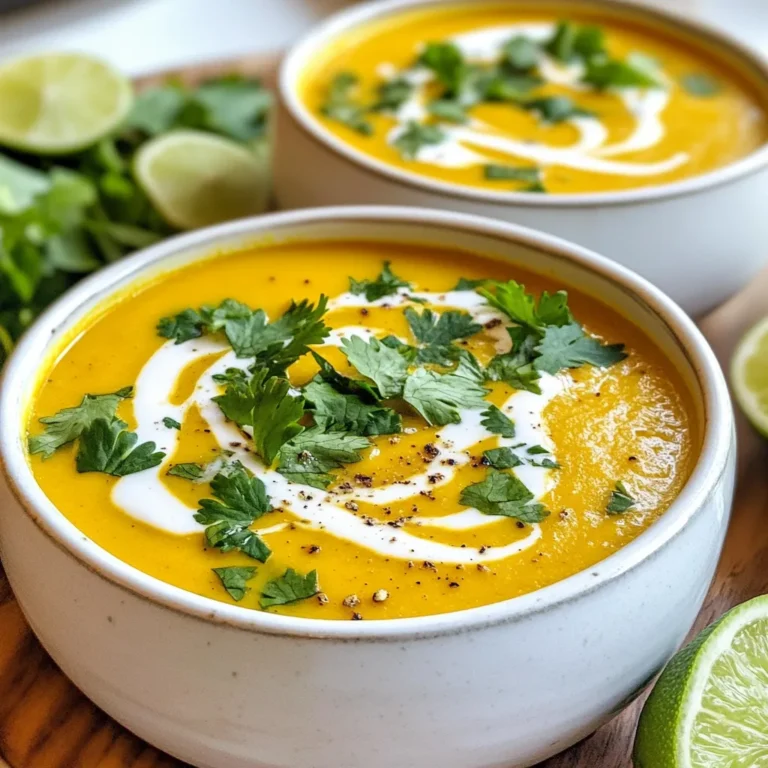
Coconut Pumpkin Curry Soup Delightful and Nourishing
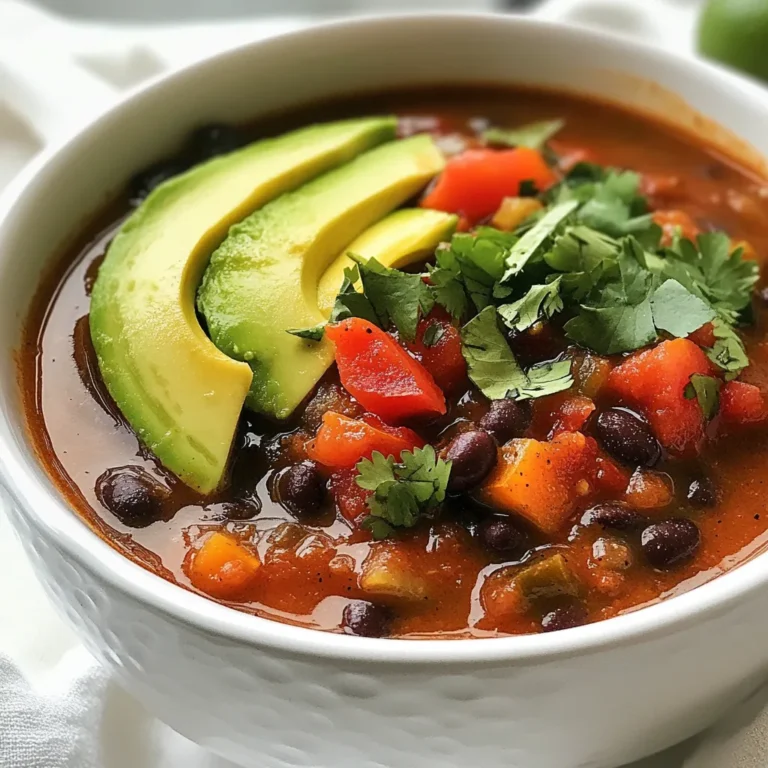
Spicy Black Bean Soup Flavorful and Easy Recipe
BBQ Chicken Zucchini Boats Flavorful and Filling Dish
Creamy Spinach Artichoke Pasta Delightful and Easy Recipe
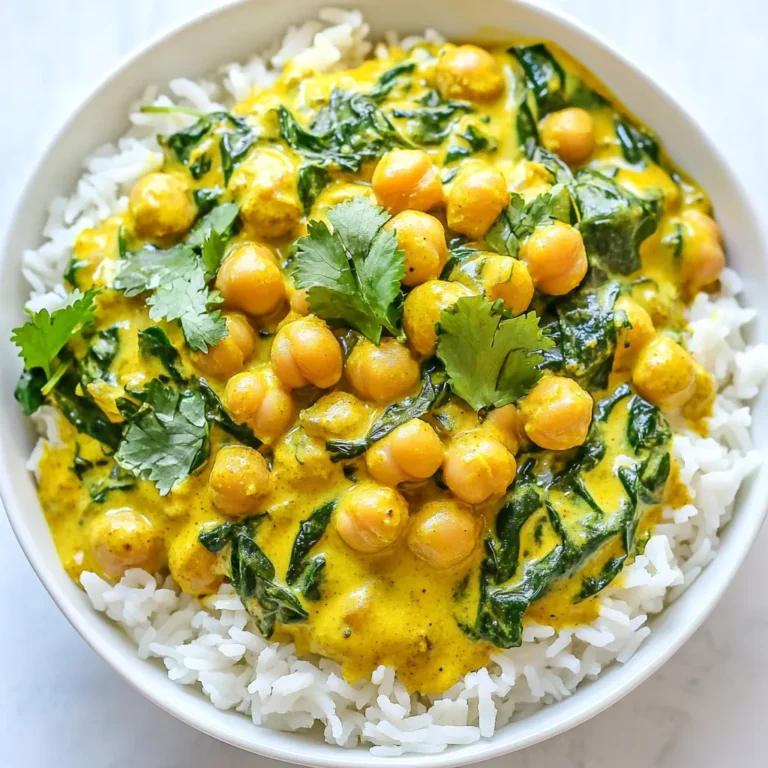
Coconut Curry Chickpeas Simple and Flavorful Recipe
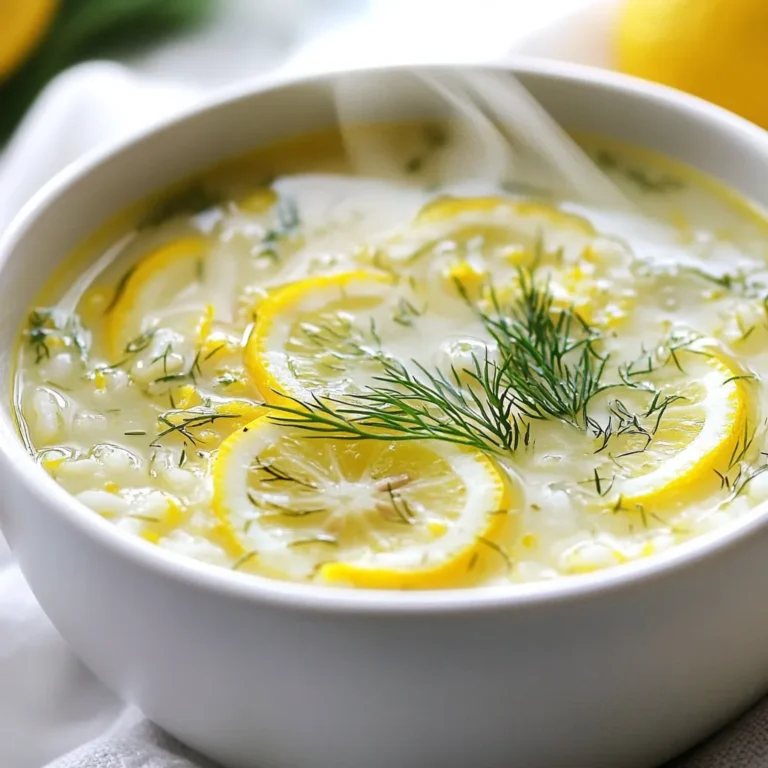
Greek Lemon Rice Soup Simple and Comforting Dish
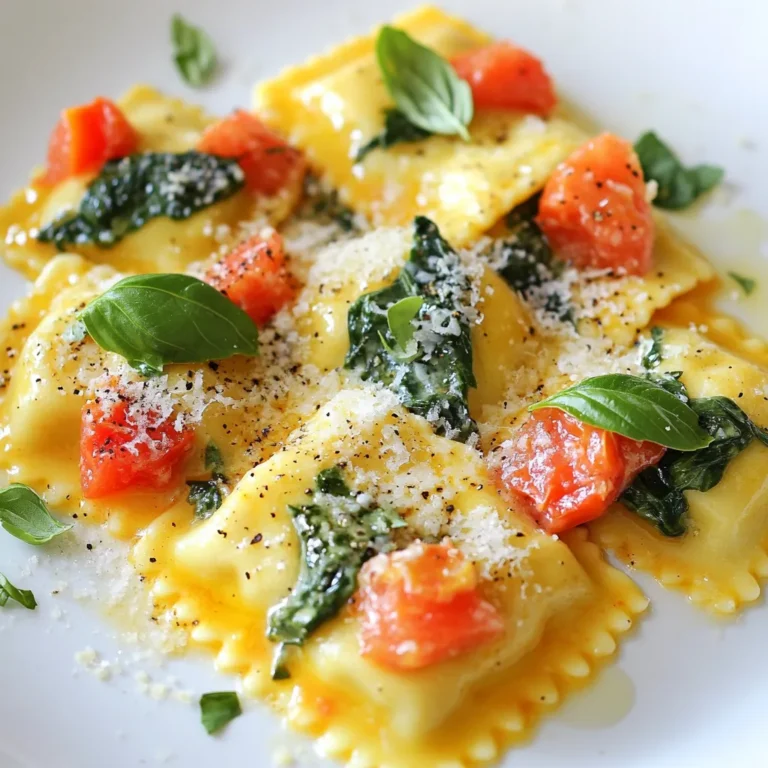
Creamy Tomato Spinach Ravioli Simple and Savory Dish
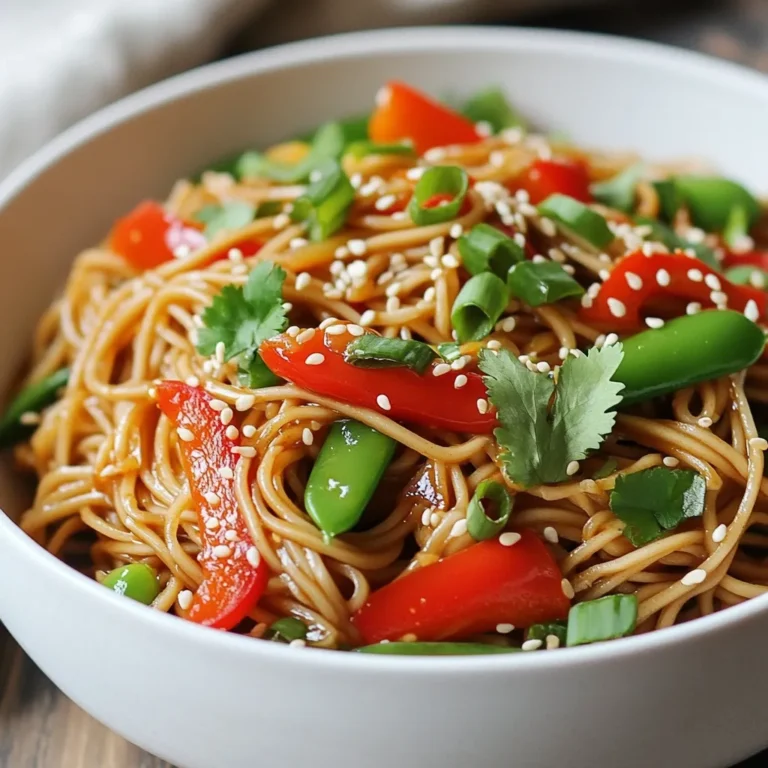
Spicy Sesame Noodle Bowl Flavorful and Simple Meal
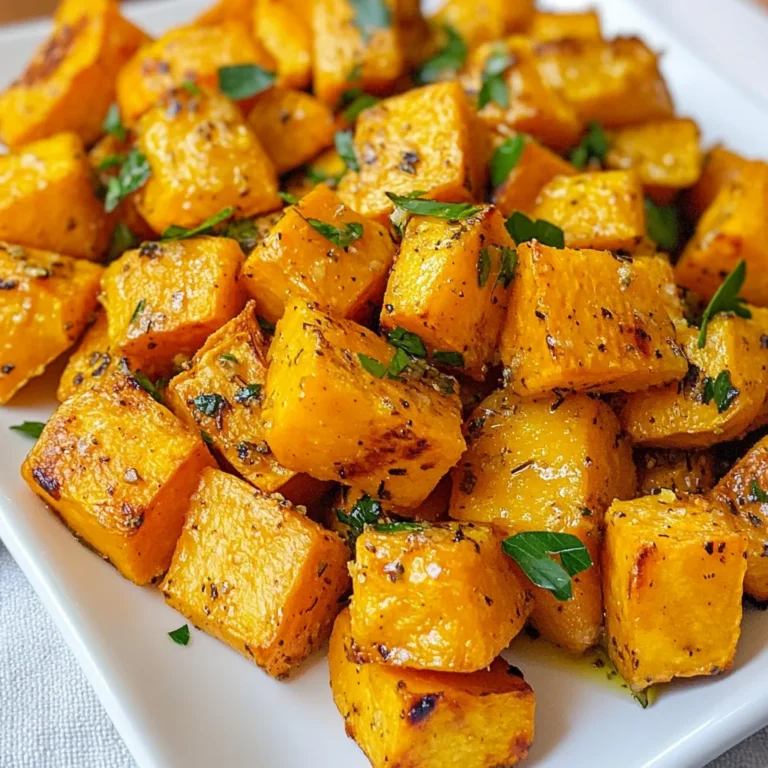
Garlic Herb Roasted Sweet Potatoes Flavorful Side Dish
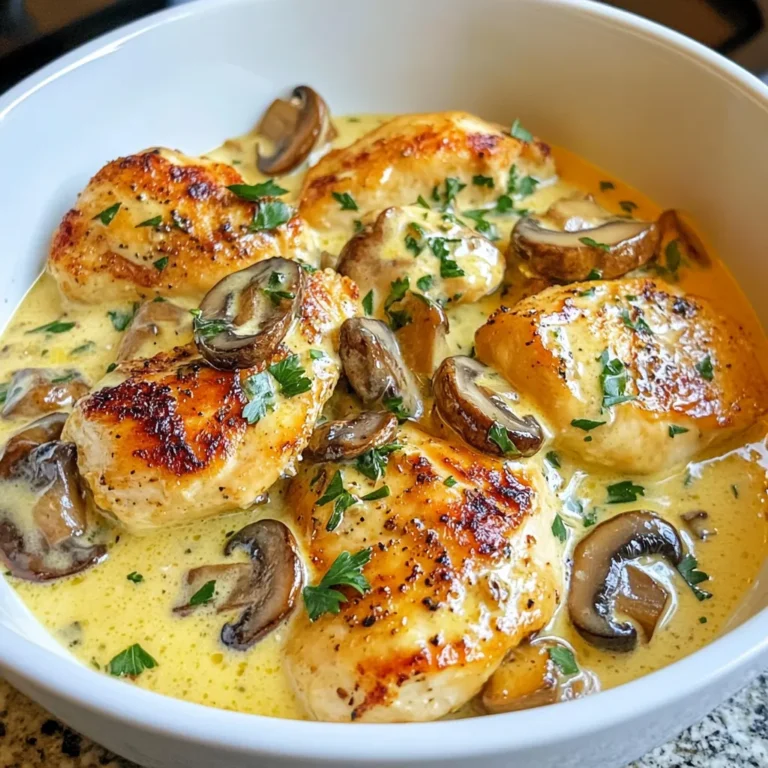
Creamy Garlic Mushroom Chicken Flavorful Dinner Idea
Page navigation
Previous Page
Previous
1
…
61
62
63
64
Next Page
Next
Home
Dinner
Appetizer
Desserts
Drinks
About
Contact
Privacy Policy
Toggle Menu Close
Search for:
Search