Skip to content
About
Contact
Cookie Policy
Copyright Policy
Disclaimer
Search
Home
Dinner
Appetizer
Desserts
Drinks
About
Contact
Privacy Policy
Toggle Menu
Home
/
Dinner
- Page 64
Dinner
Teriyaki Tofu Stir Fry Flavorful and Easy Meal
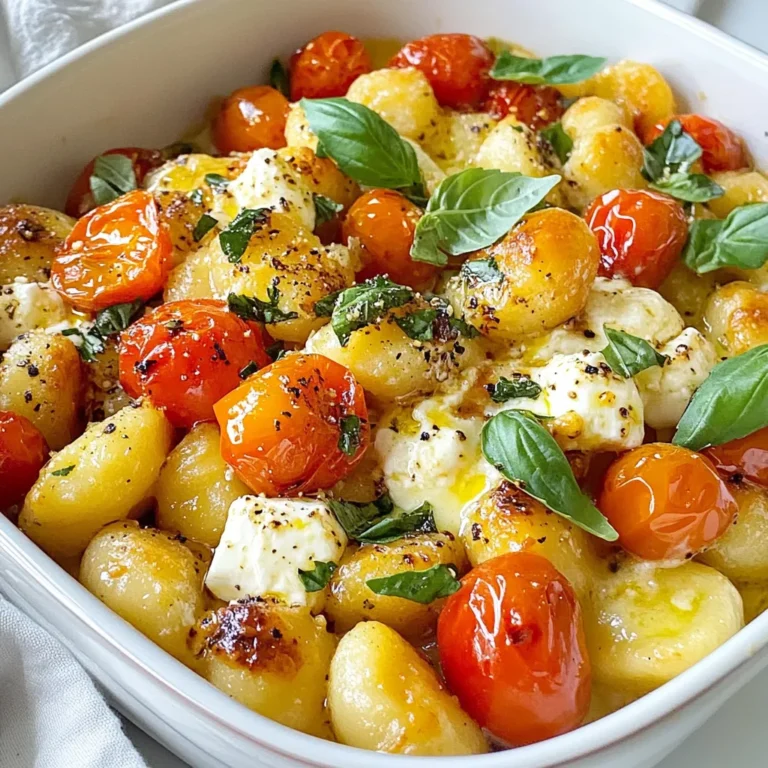
Baked Feta Tomato Gnocchi Flavor-Packed Delight
Page navigation
Previous Page
Previous
1
…
62
63
64
Home
Dinner
Appetizer
Desserts
Drinks
About
Contact
Privacy Policy
Toggle Menu Close
Search for:
Search