Skip to content
About
Contact
Cookie Policy
Copyright Policy
Disclaimer
Search
Home
Dinner
Appetizer
Desserts
Drinks
About
Contact
Privacy Policy
Toggle Menu
Home
/
Dinner
- Page 7
Dinner
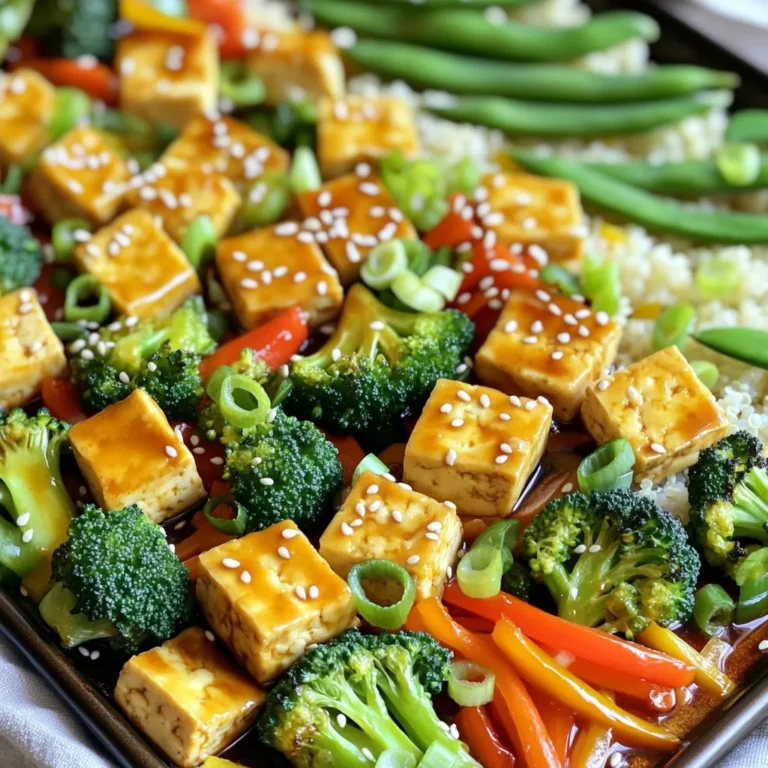
Sheet-Pan Teriyaki Tofu and Veggies Flavorful Dish
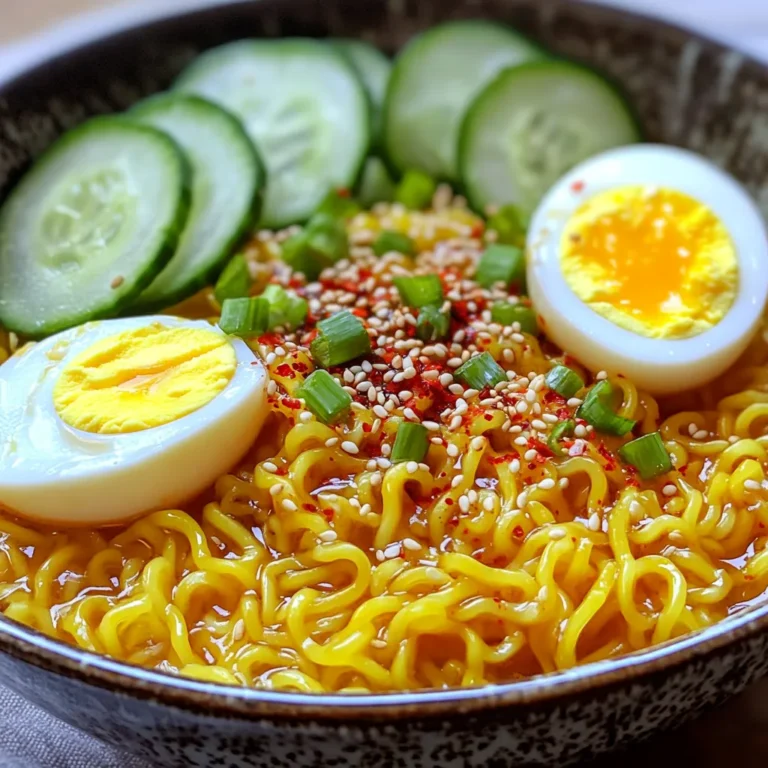
Minute Sesame Chili Garlic Ramen Simple and Spicy Dish
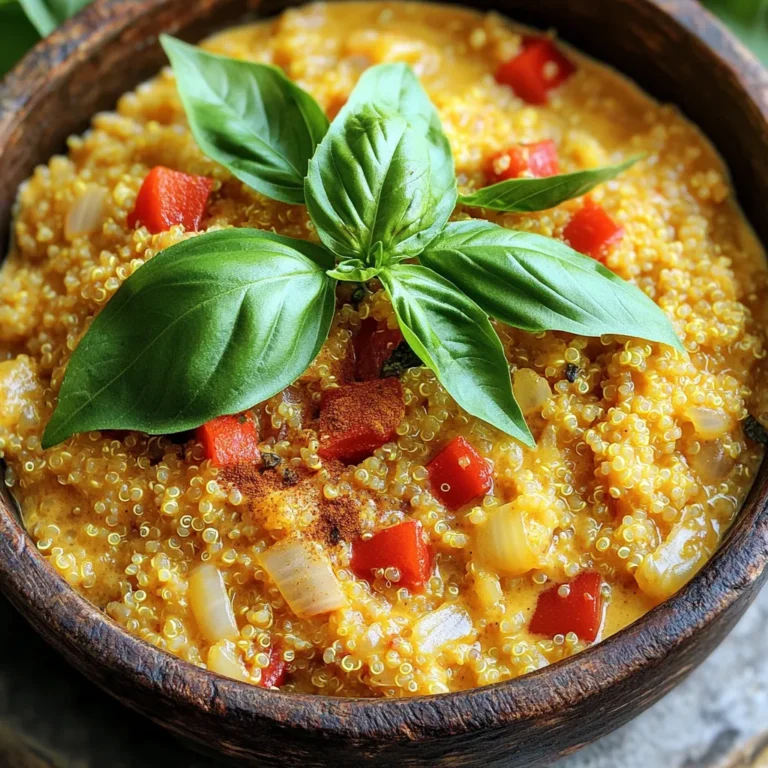
One-Pot Creamy Red Pepper Quinoa Delightful Meal
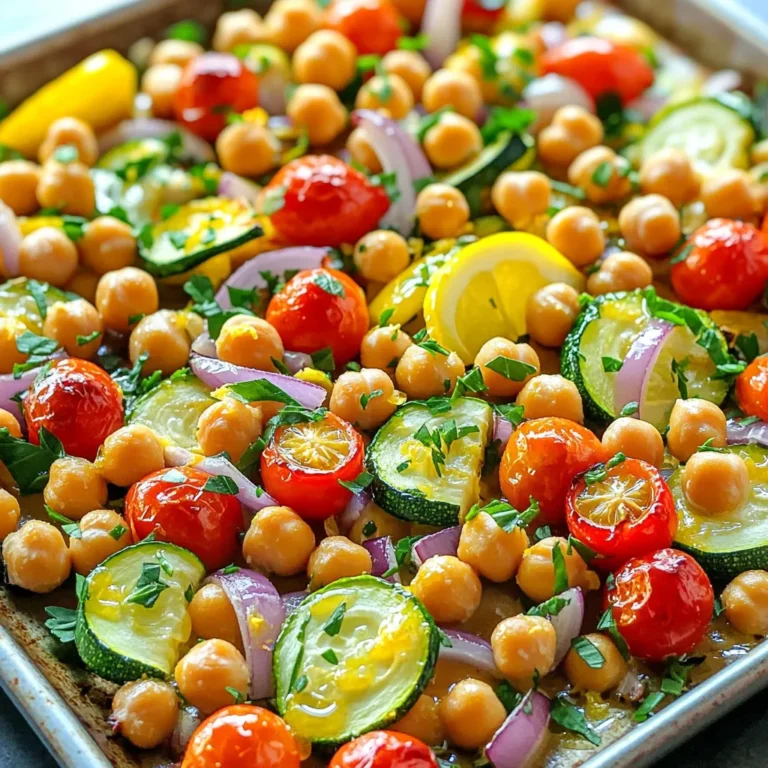
Sheet-Pan Lemon Garlic Chickpea Dinner Delight
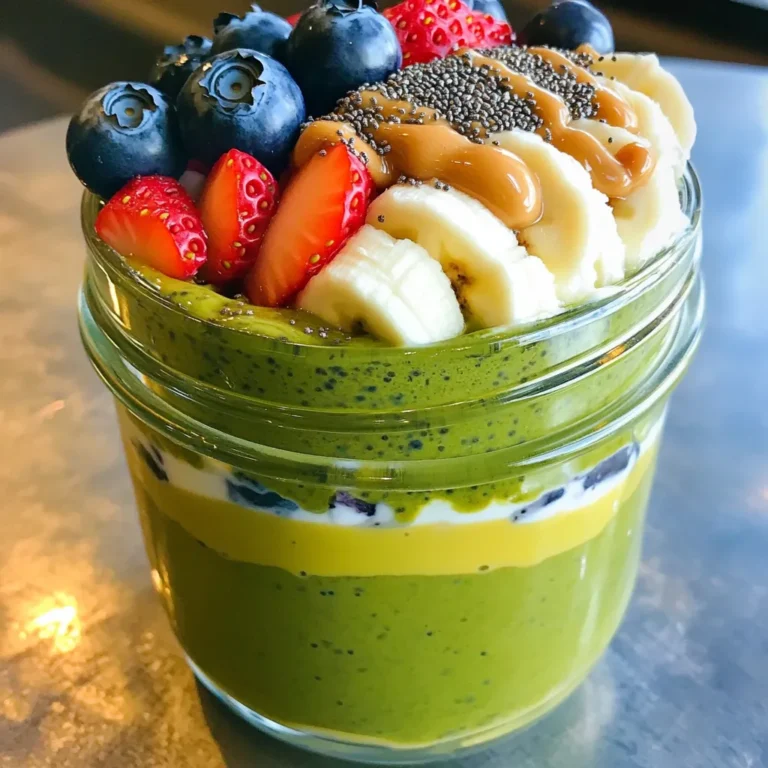
High-Protein Matcha Overnight Oats Easy and Tasty Recipe
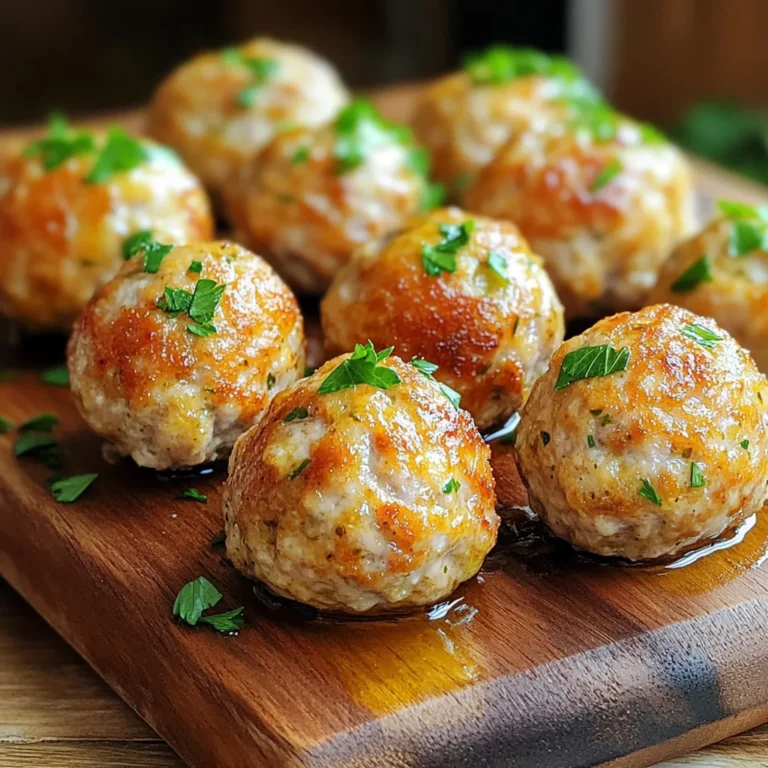
Air Fryer Garlic Herb Turkey Meatballs Easy Recipe
Minute Thai Peanut Zucchini Noodles Quick and Easy Meal
Savory Slow Cooker Salsa Verde Chicken Recipe
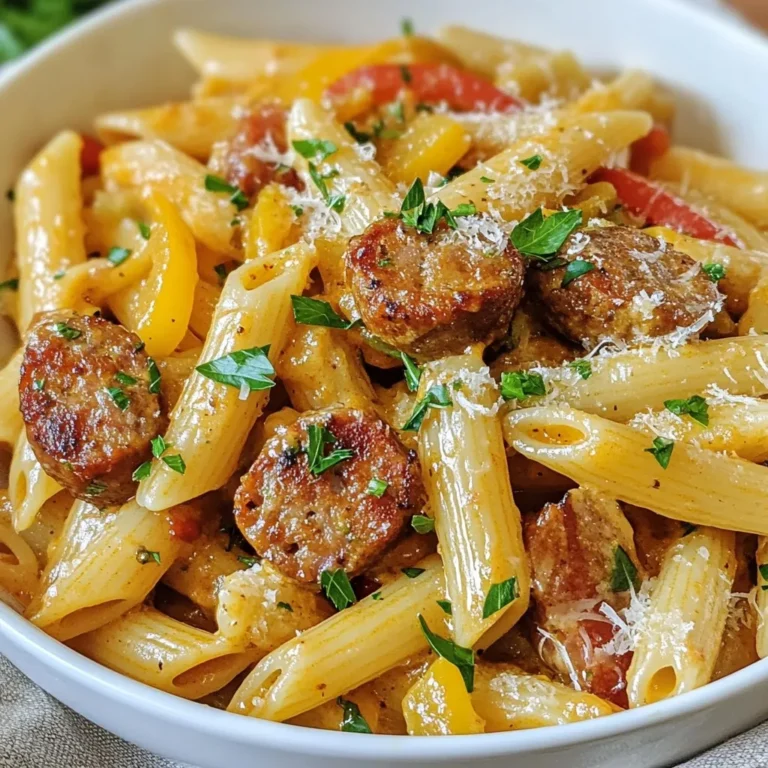
Creamy Cajun Sausage Pasta Flavorful and Easy Dinner
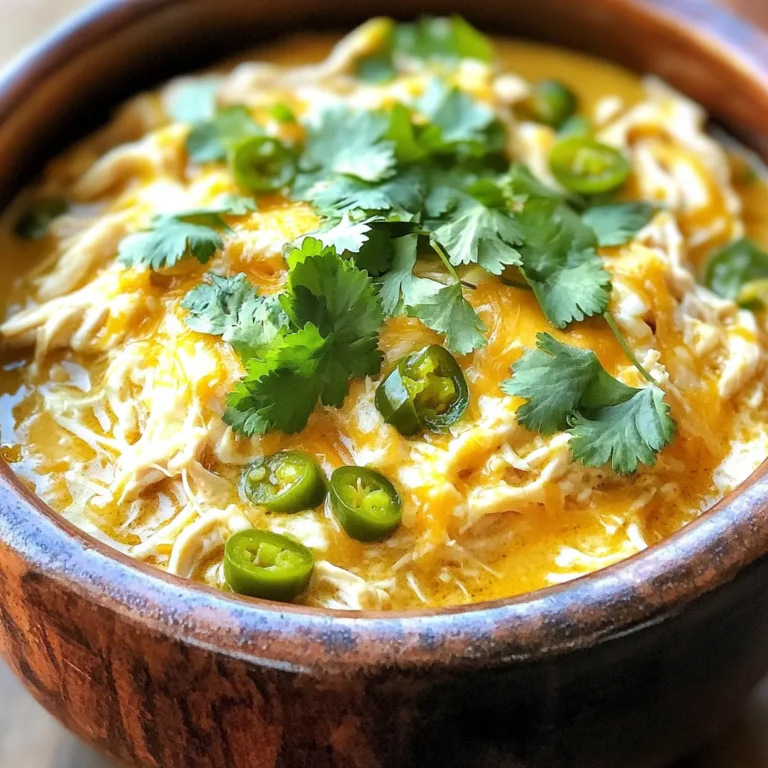
Savory Slow Cooker Jalapeño Popper Chicken Delight
Page navigation
Previous Page
Previous
1
…
5
6
7
8
9
…
64
Next Page
Next
Home
Dinner
Appetizer
Desserts
Drinks
About
Contact
Privacy Policy
Toggle Menu Close
Search for:
Search