Skip to content
About
Contact
Cookie Policy
Copyright Policy
Disclaimer
Search
Home
Dinner
Appetizer
Desserts
Drinks
About
Contact
Privacy Policy
Toggle Menu
Home
/
Dinner
- Page 9
Dinner
Slow Cooker Tomato Basil Tortellini Soup Delight
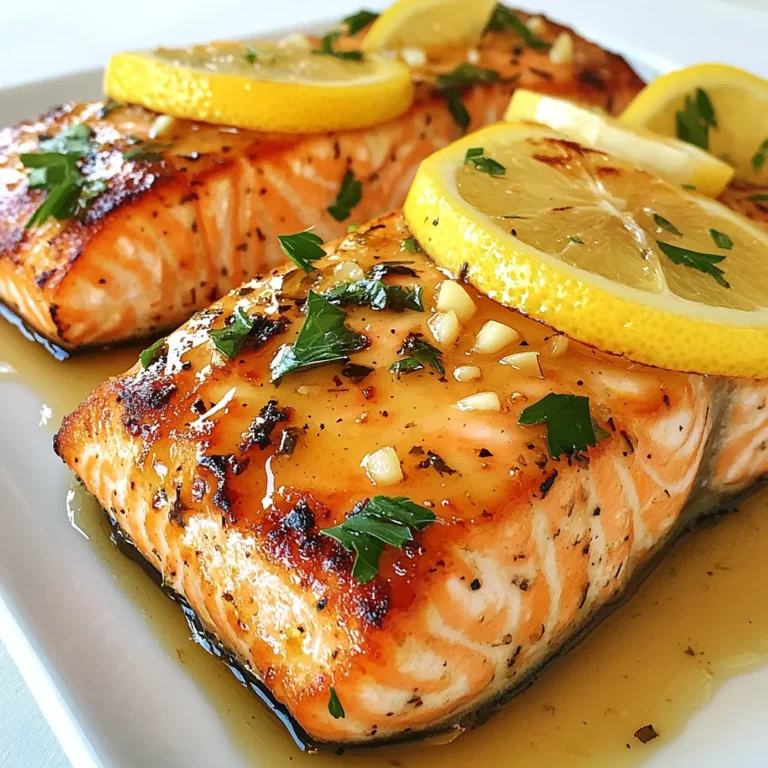
Lemon Garlic Grilled Salmon Flavorful and Easy Recipe
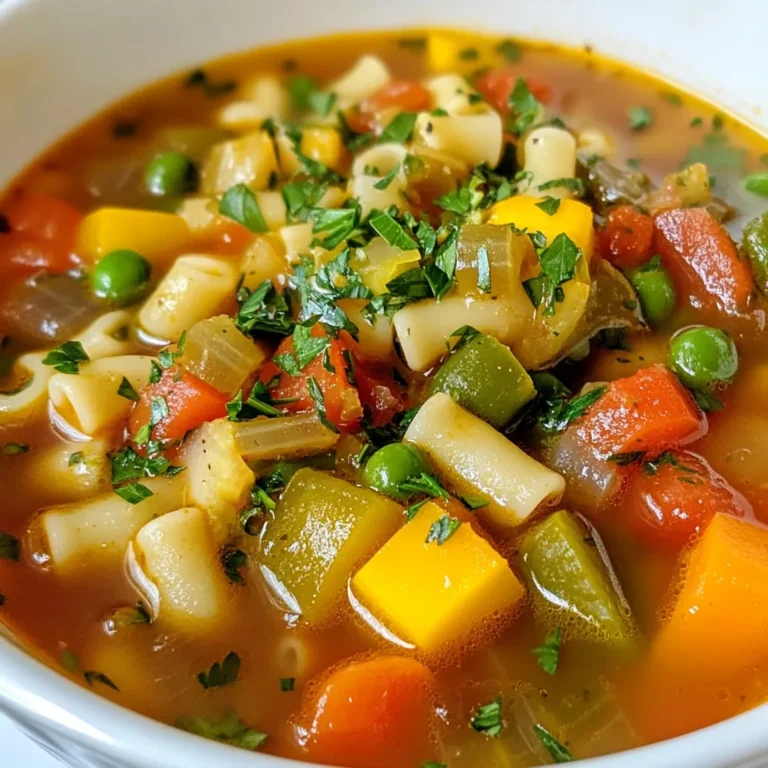
Veggie Packed Minestrone Soup Healthy and Hearty Meal
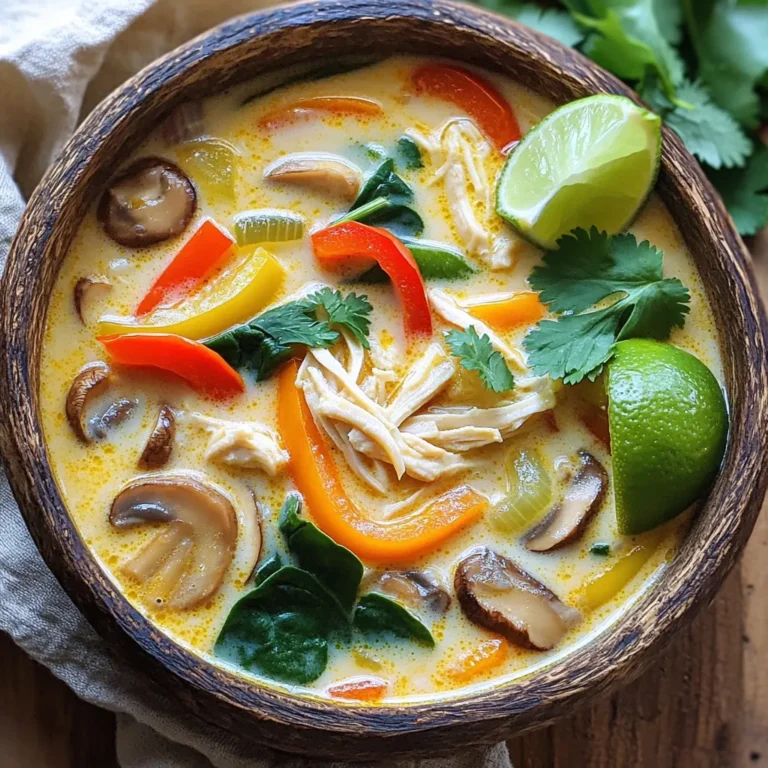
Slow Cooker Thai Coconut Chicken Soup Flavor Boost
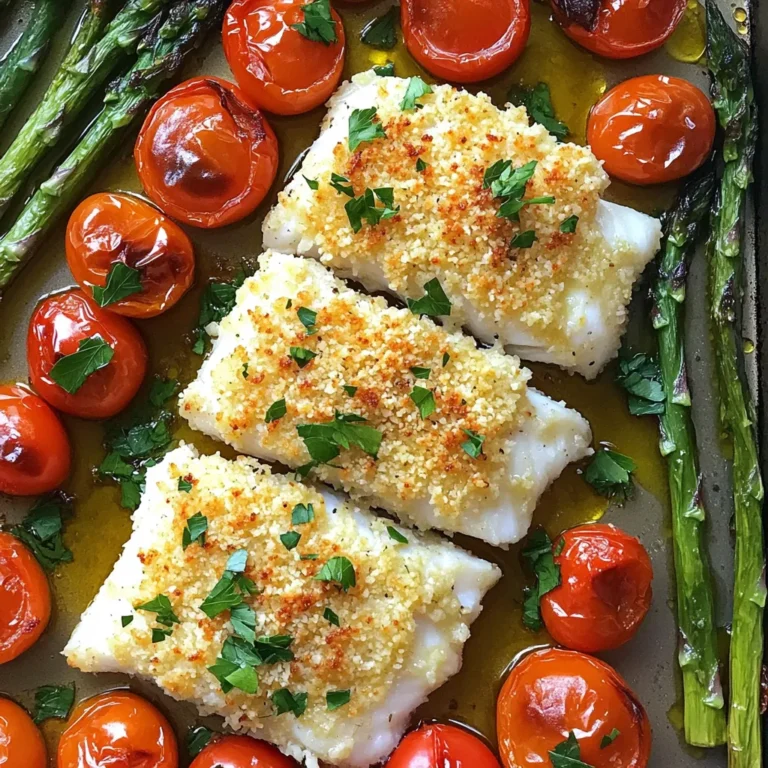
Sheet-Pan Parmesan Crusted Cod and Veggies Delight
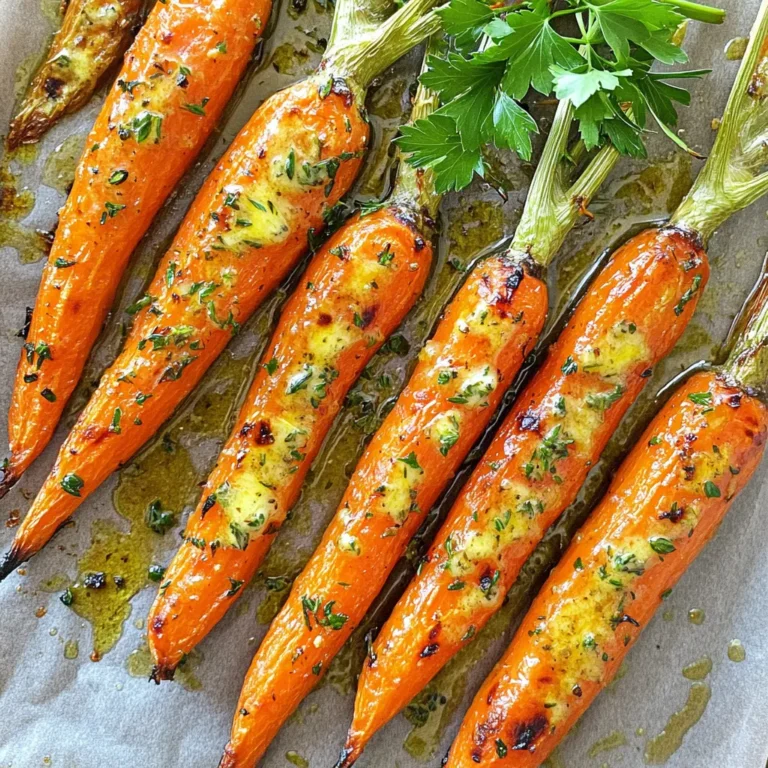
Garlic Herb Butter Roasted Carrots Flavorful Side Dish
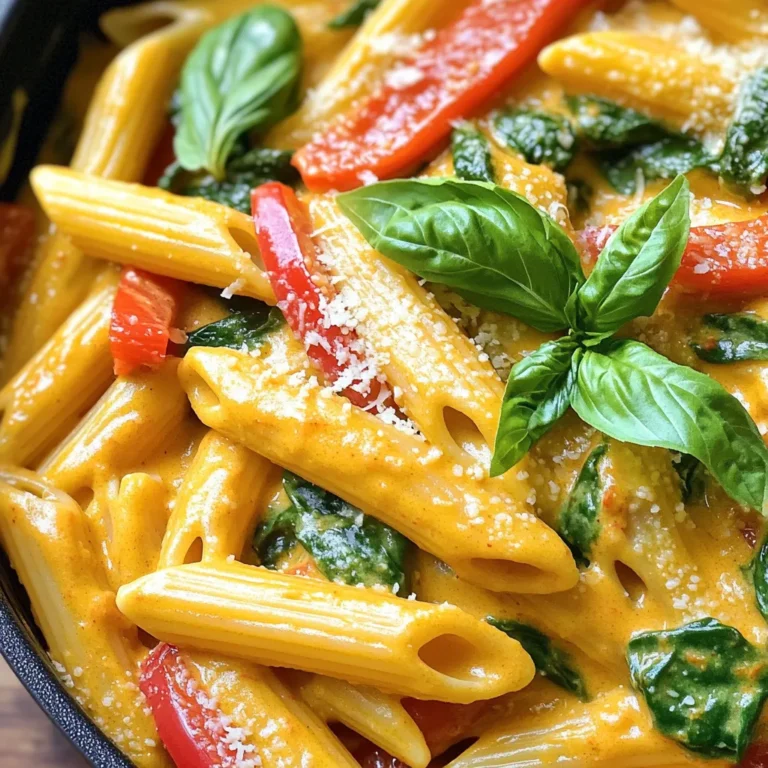
One-Pot Creamy Red Pepper Pasta Rich and Flavorful Dish
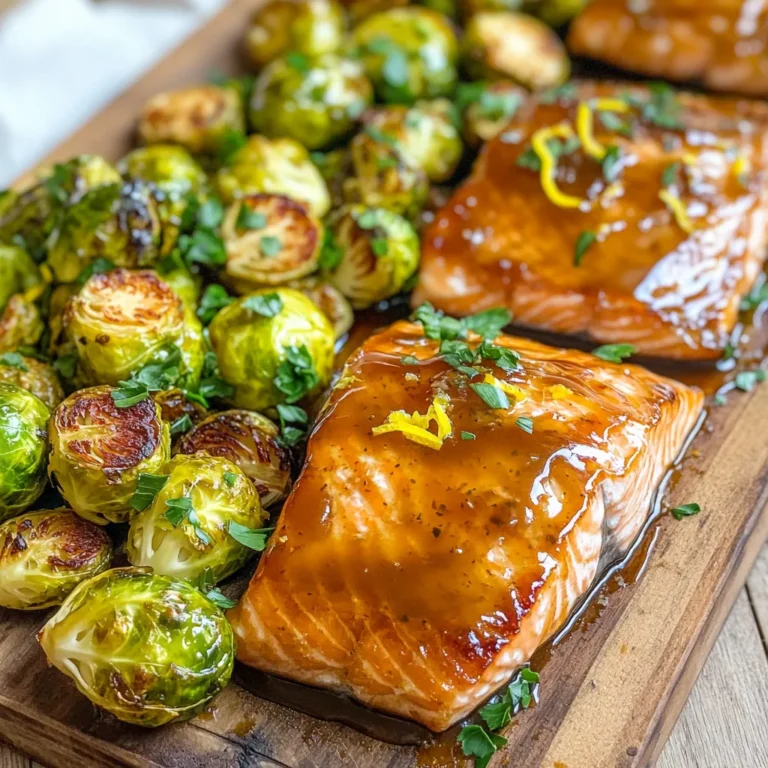
Maple Dijon Salmon & Brussels Sheet Pan Delight
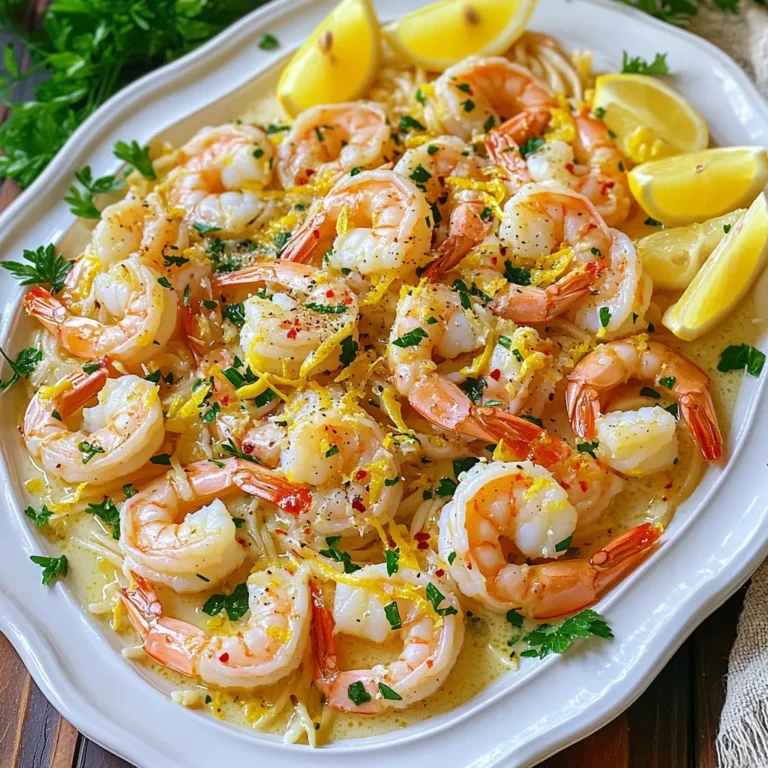
Garlic Butter Shrimp Scampi 15 Minutes Delight
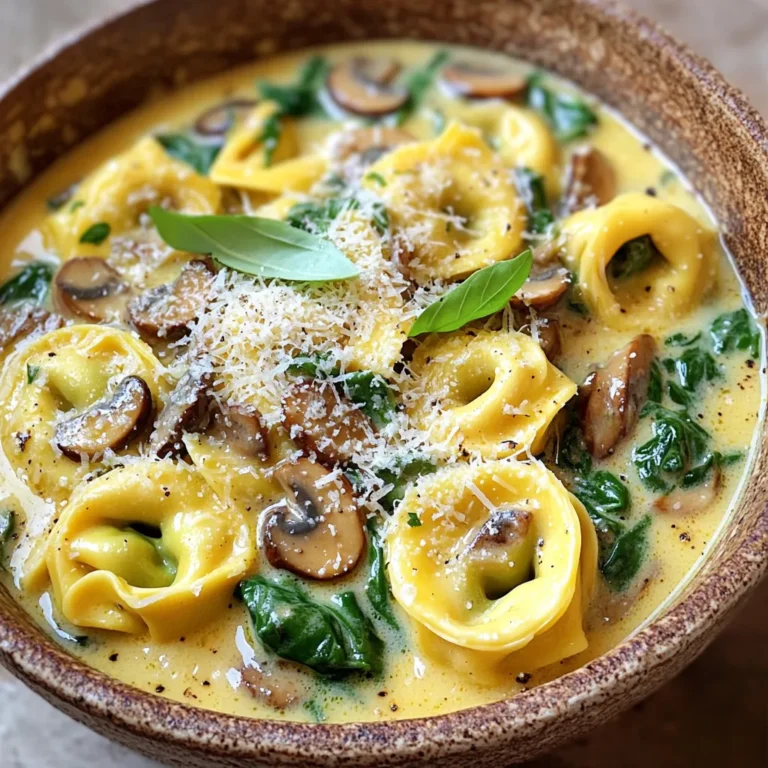
Creamy Mushroom Spinach Tortellini One Pot Delight
Page navigation
Previous Page
Previous
1
…
7
8
9
10
11
…
64
Next Page
Next
Home
Dinner
Appetizer
Desserts
Drinks
About
Contact
Privacy Policy
Toggle Menu Close
Search for:
Search