Skip to content
About
Contact
Cookie Policy
Copyright Policy
Disclaimer
Search
Home
Dinner
Appetizer
Desserts
Drinks
About
Contact
Privacy Policy
Toggle Menu
Home
/
Drinks
- Page 2
Drinks
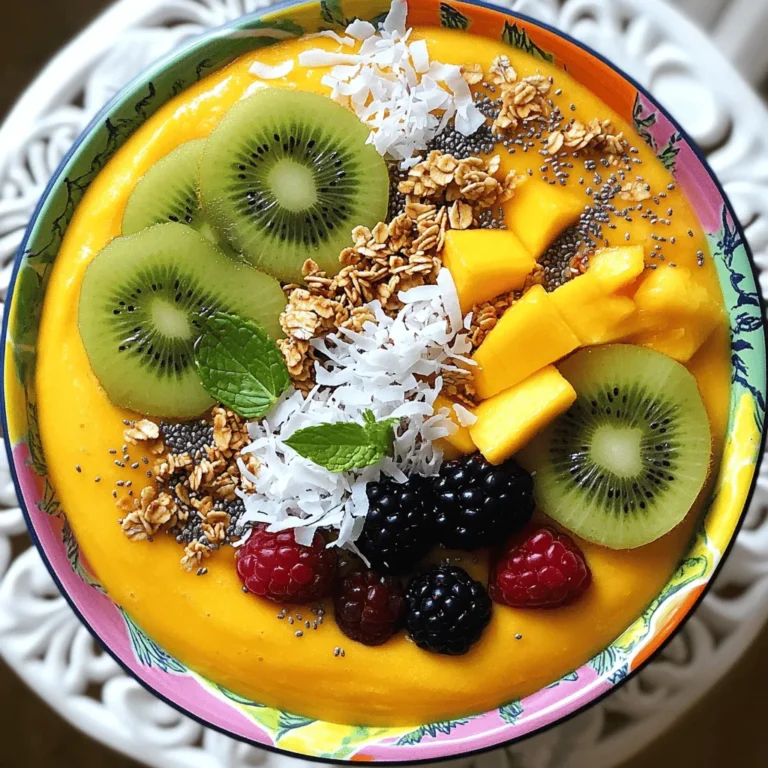
Tropical Mango Smoothie Bowl Energizing Breakfast Delight
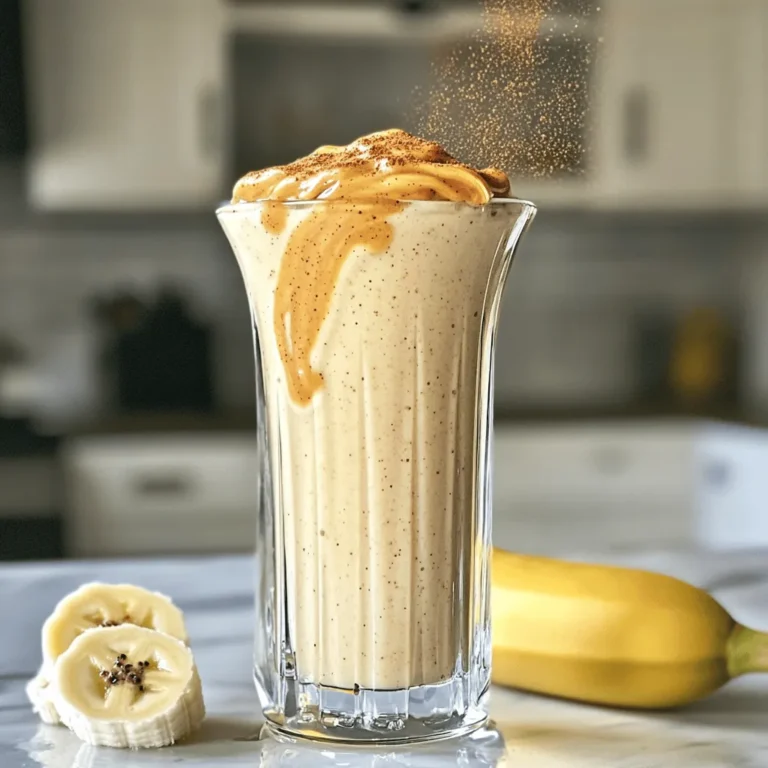
Protein Cinnamon Roll Smoothie Vitality Boost Recipe
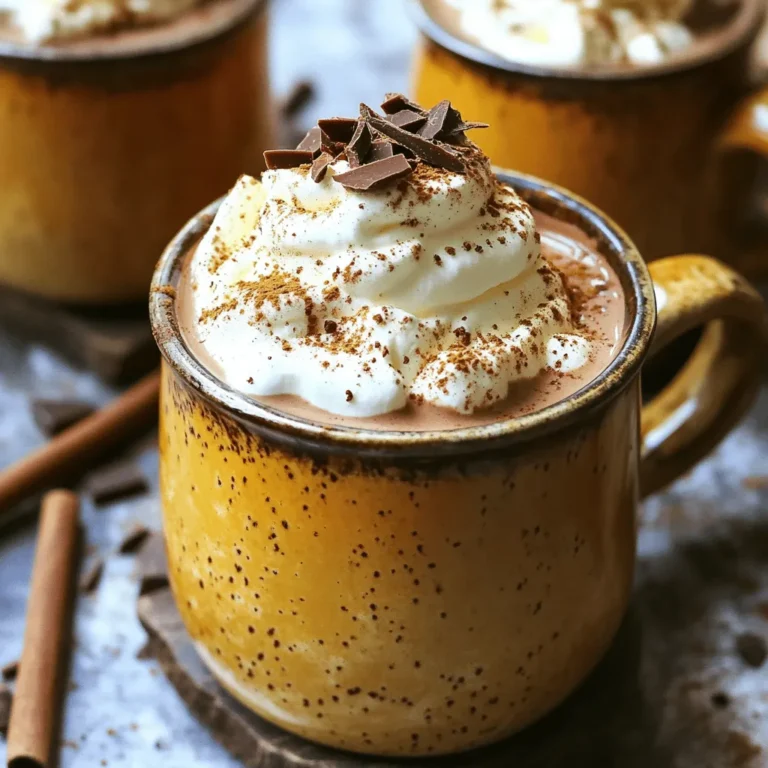
Slow Cooker Pumpkin Spice Hot Chocolate Delight
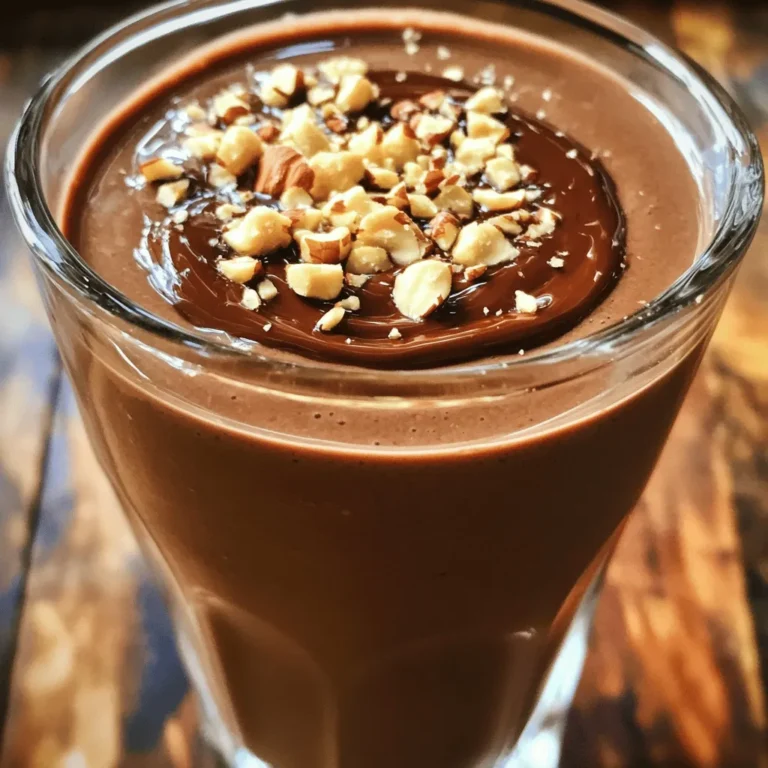
Chocolate Hazelnut Protein Shake Tasty and Smooth Drink
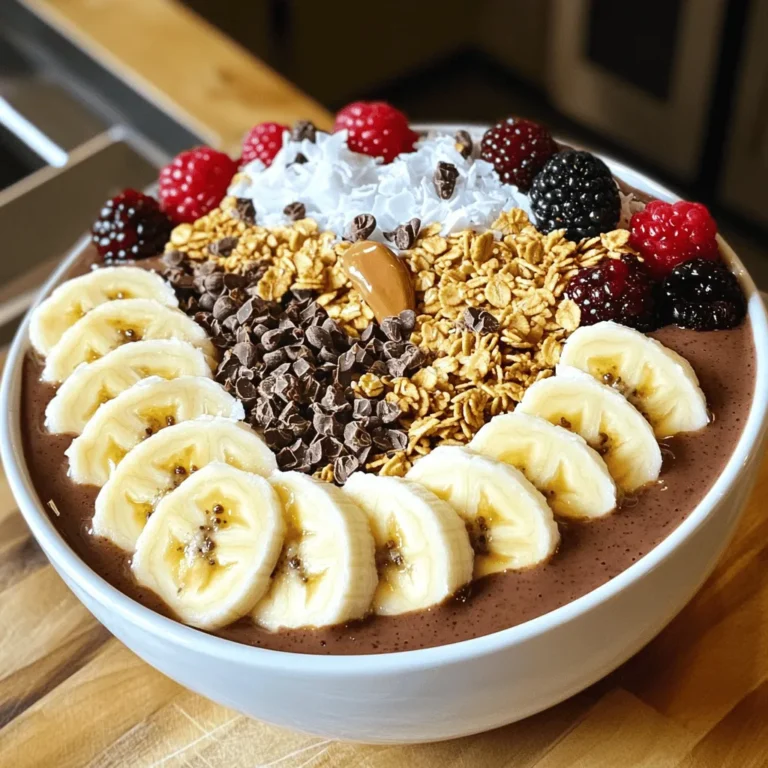
High-Protein Chocolate Peanut Butter Smoothie Bowl Delight
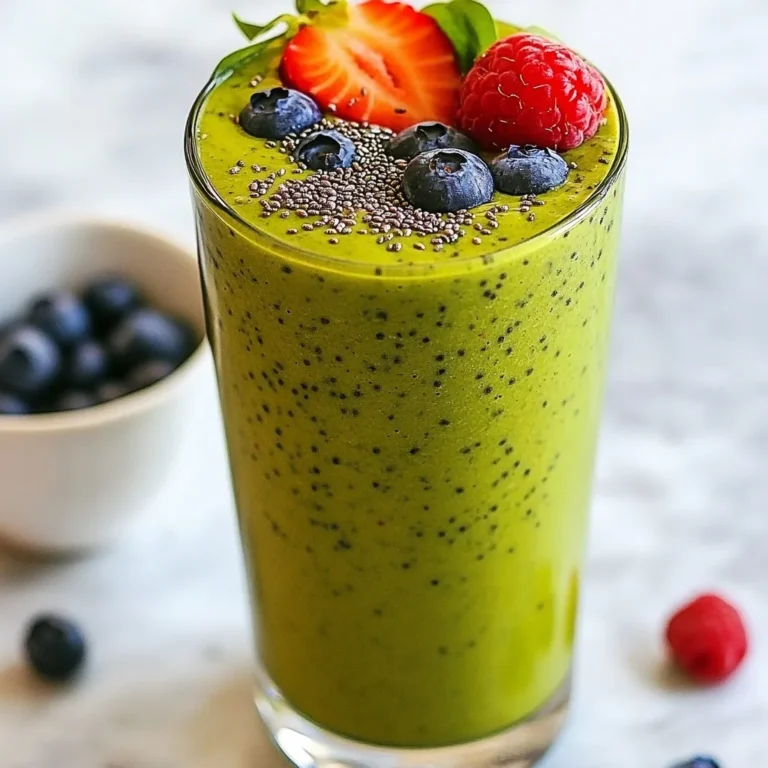
Berry Almond Spinach Smoothie Refreshing and Healthy
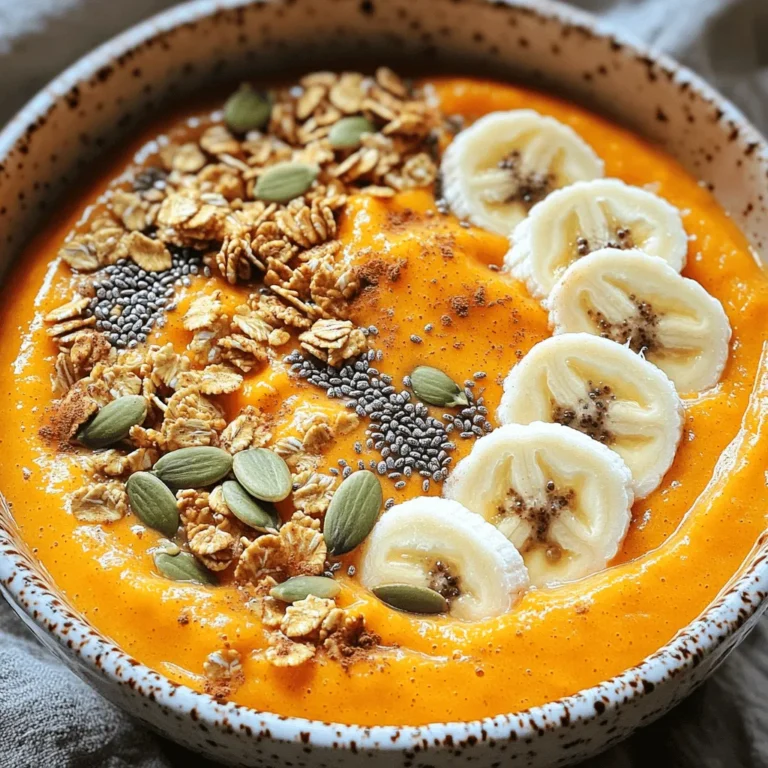
Pumpkin Spice Protein Smoothie Bowl Energizing Delight
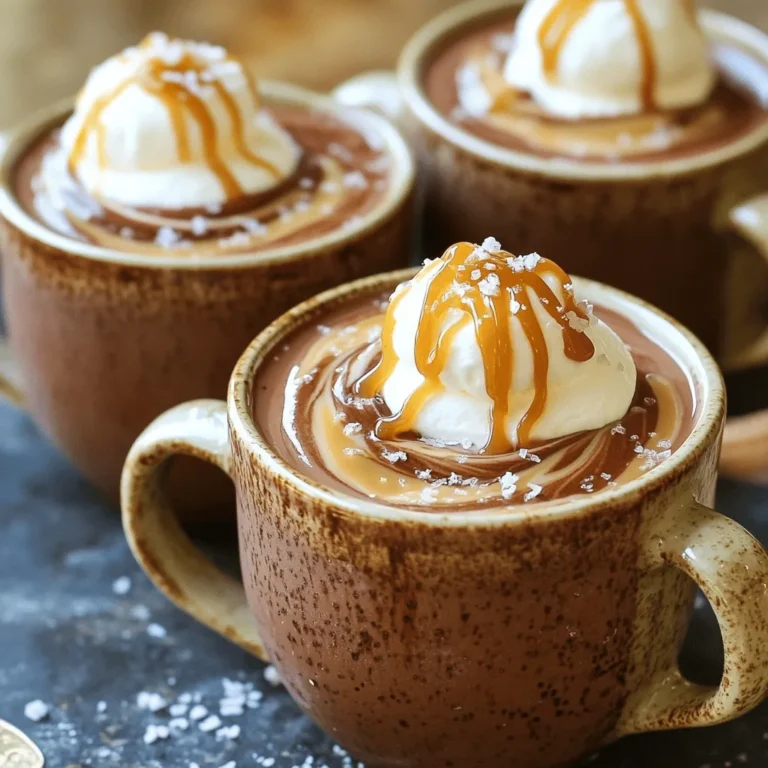
Slow Cooker Salted Caramel Hot Chocolate Indulgence
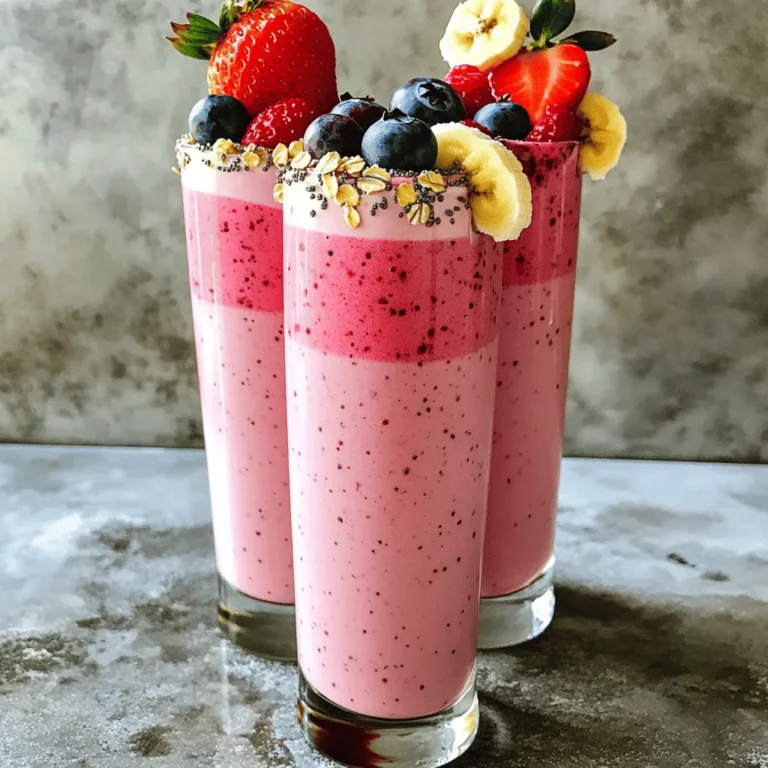
Berry Banana Oat Smoothie Energizing and Nutritious Drink
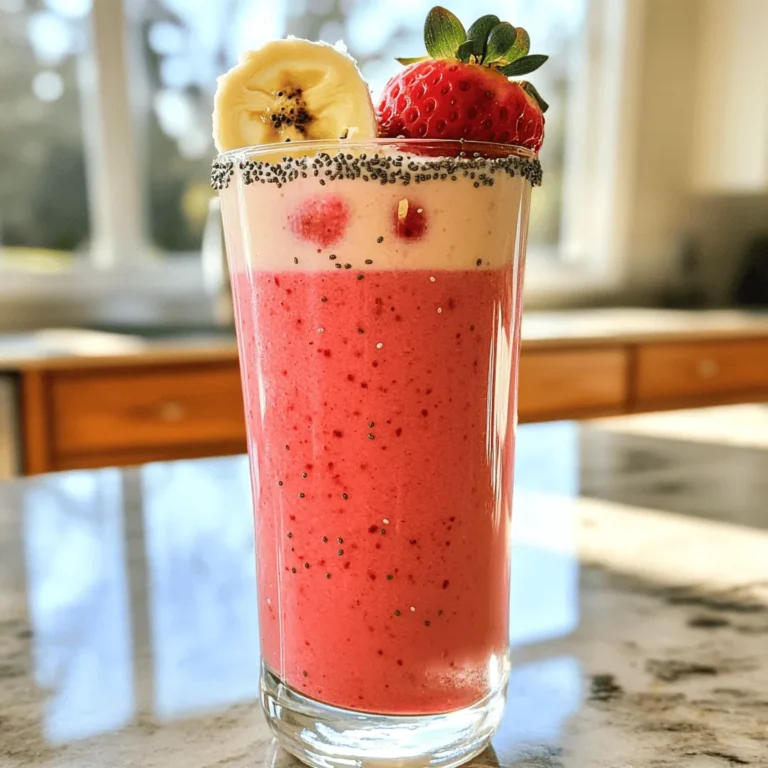
Strawberry Oatmeal Smoothie Energizing Breakfast Boost
Page navigation
Previous Page
Previous
1
2
3
4
5
Next Page
Next
Home
Dinner
Appetizer
Desserts
Drinks
About
Contact
Privacy Policy
Toggle Menu Close
Search for:
Search