Skip to content
About
Contact
Cookie Policy
Copyright Policy
Disclaimer
Search
Home
Dinner
Appetizer
Desserts
Drinks
About
Contact
Privacy Policy
Toggle Menu
Home
/
Drinks
- Page 3
Drinks
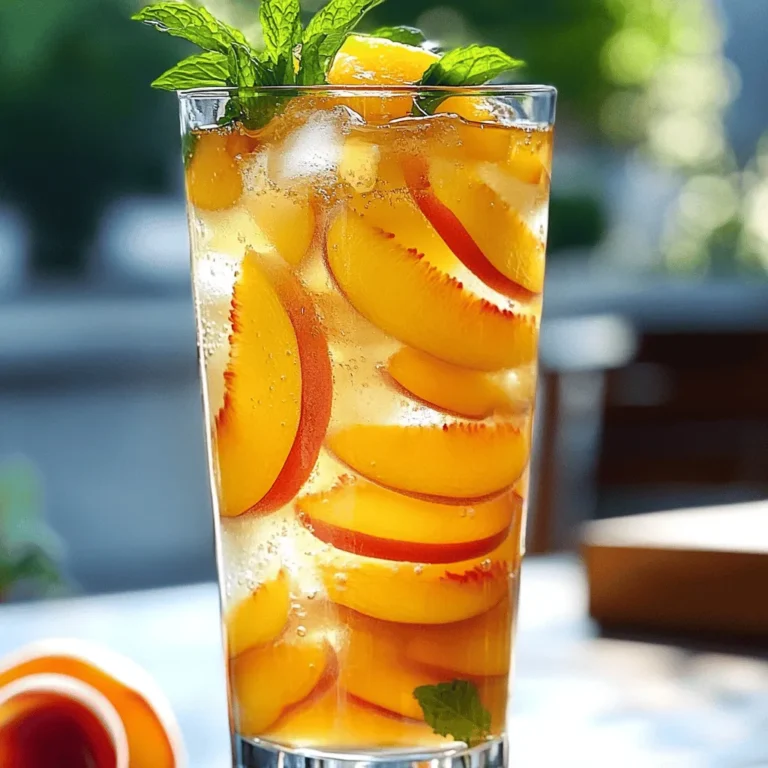
Ginger Peach Iced Tea Refreshing Summer Beverage
Blackberry Lavender Lemonade Refreshing Summer Drink
Strawberry Spinach Smoothie Bowl Refreshing and Healthy
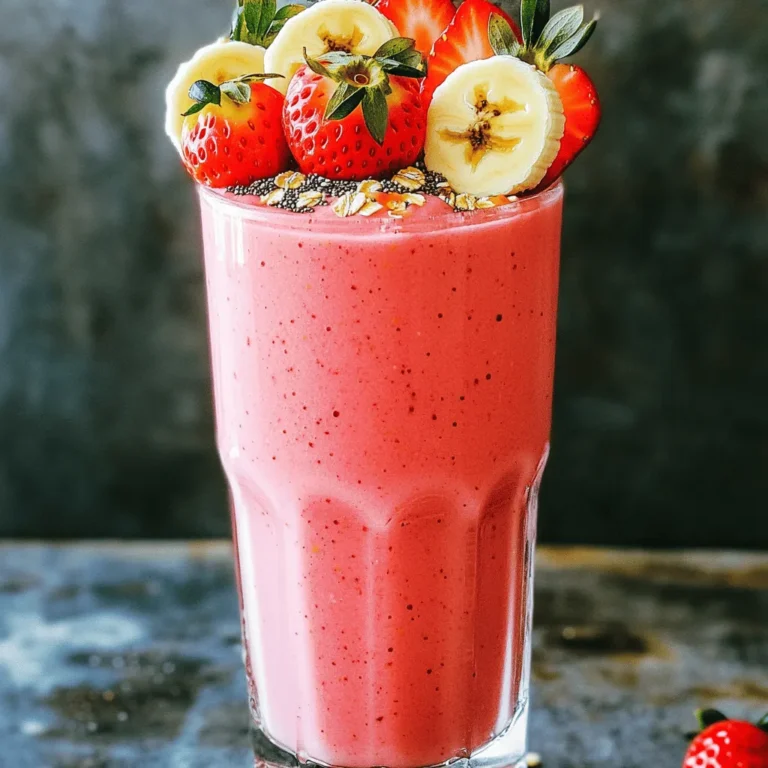
Strawberry Banana Oat Smoothie Creamy and Delicious Drink
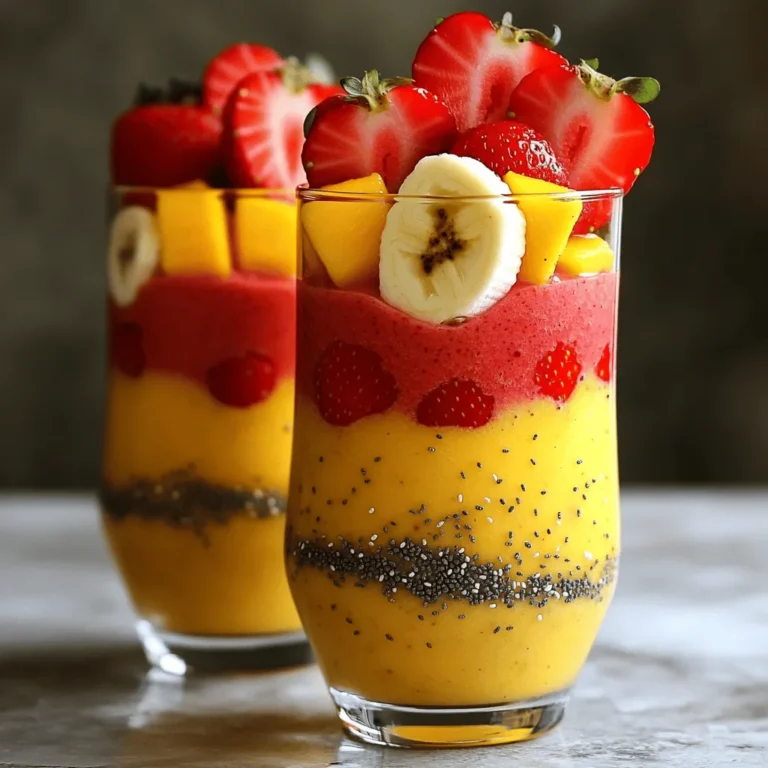
Strawberry Mango Smoothie Refreshing and Nutritious Drink
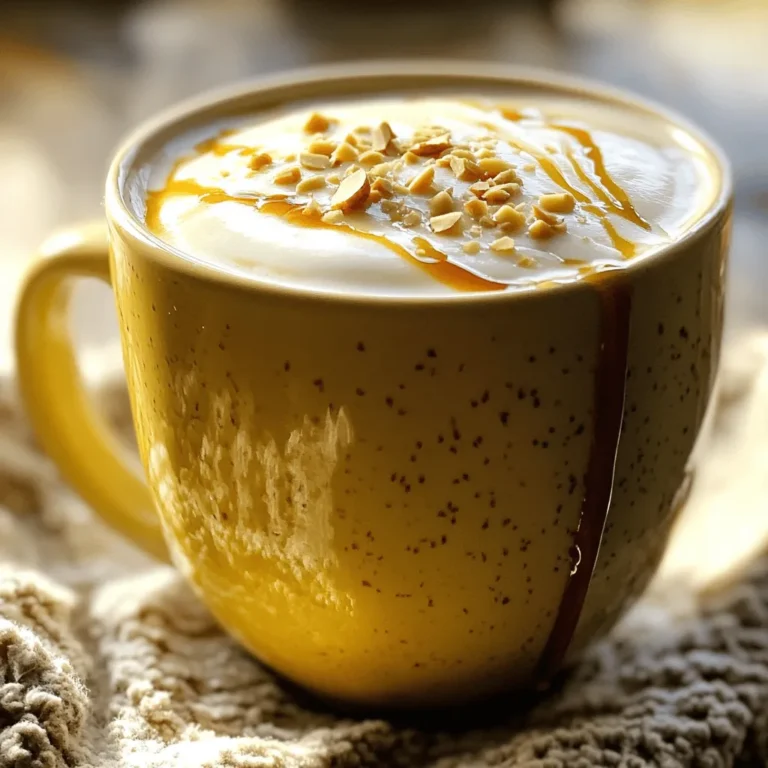
Almond Maple Latte Perfect for Cozy Coffee Moments
Pineapple Ginger Lemonade Refreshing Summer Drink
Blueberry Lemon Protein Smoothie Refreshing and Healthy
Pumpkin Maple Spice Latte Flavorful Fall Drink Guide
Iced Brown Sugar Shaken Espresso Bold Flavor Guide
Page navigation
Previous Page
Previous
1
2
3
4
5
Next Page
Next
Home
Dinner
Appetizer
Desserts
Drinks
About
Contact
Privacy Policy
Toggle Menu Close
Search for:
Search

![To make this tasty drink, you need: - 1 cup fresh blackberries - 1 cup water (for blackberry syrup) - 1 cup granulated sugar - 1 tablespoon dried lavender flowers - 1 cup fresh lemon juice (about 4-6 lemons) - 3-4 cups cold water (for dilution) - Ice cubes for serving The fresh blackberries bring a sweet burst of flavor. Their deep color makes the drink pretty too. The sugar helps balance the tartness of the lemons. Dried lavender flowers add a lovely floral note, making this drink feel special. You can make your drink even prettier with these garnishes: - Fresh blackberries - Lemon slices - Lavender sprigs Adding fresh blackberries and lemon slices on top makes the drink pop. Lavender sprigs can add a nice touch of elegance. You can mix and match these options to fit your style. If you want to learn how to make this refreshing drink, check out the Full Recipe. To start, you will need to make the blackberry syrup. Take a saucepan and combine 1 cup of fresh blackberries, 1 cup of water, and 1 cup of granulated sugar. This mixture is the heart of your drink. Bring it to a gentle simmer over medium heat. Stir it now and then. This helps the blackberries break down and release their juices. This should take about 5 to 7 minutes. Next, it’s time to add the lavender flavor. Stir in 1 tablespoon of dried lavender flowers into your syrup mixture. Reduce the heat and let it simmer for another 2 to 3 minutes. Then, remove the saucepan from the heat. Let the mixture steep for about 10 minutes. This step allows the lavender to infuse its wonderful aroma and taste into the syrup. Now, you are ready to mix your lemonade. In a large pitcher, combine the blackberry syrup with 1 cup of fresh lemon juice. You can use about 4 to 6 lemons to get this much juice. Then, add 3 to 4 cups of cold water to the pitcher. Stir well and taste your mixture. Adjust the sweetness or tartness to your liking. You can add more sugar if it’s too tart or more lemon juice if it’s too sweet. This process lets you create a refreshing drink that highlights the best of summer. For the full recipe, you can refer to the earlier section. Enjoy your cooling drink on a hot day! To make your blackberry lavender lemonade shine, focus on the right balance. Use equal parts sugar and lemon juice for a perfect blend. For example, if you use one cup of lemon juice, add one cup of sugar. This gives a nice sweet-tart flavor. You can adjust the sugar based on your taste, but this ratio works well for most. When straining the syrup, use a fine mesh strainer. This step is key to a smooth drink. Press down gently on the solids. This helps you get every drop of flavor. Discard the leftover solids, and you’ll have a beautiful syrup. Finding fresh blackberries and lavender is easy if you know where to look. Visit your local farmers market for the best options. Farmers often sell ripe blackberries in season. You can also check grocery stores. Look for berries that are firm and dark. For lavender, specialty shops or online stores often carry it. Make sure to choose culinary-grade lavender for the best flavor. You can also grow it yourself if you like gardening! When it comes to organic versus non-organic options, organic is often better. Organic berries have less pesticide. They taste fresher, too. However, if you can’t find organic, non-organic is still a good option and will work well in your drink. If you want to whip up this delightful drink, refer to the Full Recipe for all the details. {{image_2}} You can switch up the berries in this drink. Raspberries or blueberries work great. They each give a unique taste and color. You might even mix different berries for more fun! Try using honey or agave syrup instead of sugar. These natural sweeteners add depth to the flavor. They also make the drink a bit healthier. Adding herbs can give your drink a fresh twist. Mint adds a cool taste, while basil gives a warm flavor. Just a few leaves can change everything. If you want a stronger lavender taste, use more dried flowers. For a milder taste, reduce the amount. This lets you control the flavor profile to suit your mood or crowd. For the Full Recipe, check out the details above. To keep your blackberry lavender lemonade fresh, store it in the fridge. Use a large glass or plastic pitcher. Make sure the lid is on tight to avoid spills and keep out other smells. If you don’t have a pitcher, you can use a clean jar with a lid. Just remember to keep it covered. Your lemonade will stay fresh for about three to five days in the fridge. After that, it may lose its taste and color. If you have leftover lemonade, get creative! You can blend it into smoothies, use it to make popsicles, or even splash it into sparkling water for a tasty twist. Enjoy the refreshing flavor in many ways! To change the sweetness, you can add more or less sugar. If it’s too sweet, add more lemon juice. If it’s not sweet enough, mix in more sugar. Start with a small amount and taste it. This way, you can find the perfect balance for your drink. You can also try using honey or agave syrup as alternatives. Yes, you can use frozen blackberries. They are easy to find and often cheaper. They also save time since you don’t need to wash or pick them. However, frozen blackberries might be less firm and a bit mushy once thawed. If you choose frozen, use them straight from the freezer to make blackberry syrup. This will help keep the flavors fresh. Lavender offers calming effects and can help with sleep. It also has antioxidants that protect your cells. Blackberries are full of vitamins C and K. They are low in calories and high in fiber. This helps with digestion and supports a healthy heart. Drinking Blackberry Lavender Lemonade can refresh you while providing these health benefits. Enjoying this drink not only tastes good but also supports your wellness. For the full recipe, check out the [Full Recipe]. Blackberry lavender lemonade combines fresh berries, sweet sugar, and bright lemon juice. We learned how to make blackberry syrup, infuse lavender, and assemble the drink. I shared tips on ingredient sourcing, sweetening, and storing. You can even play with variations! This refreshing drink is fun to make and enjoy. Try your own twists and share this delightful recipe with friends. Happy sipping!](https://dailydishlab.com/wp-content/uploads/2025/07/3ca7755b-589d-4967-9590-f9a8bff39cf7-768x768.webp)

![- 1 cup fresh or frozen blueberries - 1 medium banana - 1 cup unsweetened almond milk (or any milk of choice) - 1 scoop vanilla protein powder - 1 tablespoon lemon juice (freshly squeezed) - 1 tablespoon honey or maple syrup (optional, for added sweetness) - 1/2 teaspoon vanilla extract - A handful of spinach or kale - Ice cubes (optional, for a thicker smoothie) When making a Blueberry Lemon Protein Smoothie, fresh ingredients matter. Blueberries burst with flavor and nutrients. They are rich in antioxidants and fiber. Bananas add creaminess and natural sweetness. They also offer potassium, which is great for muscles. For dairy or dairy alternatives, I recommend unsweetened almond milk. It keeps the smoothie light and adds a nutty flavor. You can use any milk you like, such as soy or oat milk. Protein is key for staying full. A scoop of vanilla protein powder boosts the smoothie. It adds taste and helps with recovery after exercise. The lemon juice gives a zing and balances sweetness. Honey or maple syrup can add extra sweetness, but it’s optional. The vanilla extract enhances all the flavors. If you want more nutrients, add a handful of spinach or kale. These greens are packed with vitamins and minerals. Ice cubes can make the smoothie thicker and colder, perfect for hot days. This recipe is quick and easy. You’ll find the full recipe in the next section. Enjoy your healthy drink! Start by measuring your fresh ingredients. Use a cup for the blueberries. If you have frozen blueberries, that works too. Next, grab a medium banana. Peel it and break it into chunks. For the almond milk, one cup is the right amount. If you prefer another milk, feel free to swap it out. Squeeze the lemon for one tablespoon of juice. If you want extra sweetness, get your honey or maple syrup ready. Finally, if you want to add greens, wash a handful of spinach or kale. Now it's time to blend! Place all your ingredients into the blender. Add the blueberries, banana, almond milk, protein powder, lemon juice, and sweetener. If you are using greens, add them here too. Secure the lid on the blender. Blend on high until the mixture is smooth and creamy. If you like a thicker texture, toss in a few ice cubes and blend again. Keep blending until you reach your desired consistency. Taste your smoothie. If you want it sweeter, add more honey or maple syrup and blend again. Pour your smoothie into a tall glass. To make it look pretty, garnish it. Add a few whole blueberries on top or place a slice of lemon on the rim. This adds a nice pop of color. Enjoy your Blueberry Lemon Protein Smoothie! For the complete recipe, check [Full Recipe]. To get a smooth and creamy texture, blend for about 30 to 60 seconds. Start on low speed and then increase to high. If the smoothie is too thick, add a splash of almond milk. If it's too thin, toss in a few ice cubes. Blend again until it reaches your desired texture. Taste the smoothie after blending. If you want it sweeter, add more honey or maple syrup. Start with a small amount, like half a tablespoon, and blend again. You can always add more, but you can't take sweetness out once it's in. Want to supercharge your smoothie? Try adding a tablespoon of chia seeds or flaxseeds for fiber. You can also mix in a scoop of nut butter for healthy fats. If you're feeling adventurous, add a handful of spinach or kale for extra vitamins without changing the taste much. Check out the Full Recipe for more ideas! {{image_2}} You can change the taste of your smoothie by adding different fruits. Strawberries add a sweet twist. Mango brings a tropical vibe. You could mix in raspberries for a tart kick. Each fruit offers unique flavors and nutrients. Experiment with what you like best! If you want a dairy-free option, use almond milk or coconut milk. These milks work well in this smoothie. For a vegan version, skip honey and use maple syrup instead. You can also make it low-carb by omitting the banana. Instead, use avocado for creaminess without extra carbs. Not all protein powders are the same. For this smoothie, a whey or plant-based protein works best. Pea protein is a great choice for vegans. Egg white protein is also a solid option. Each type gives you protein without changing the flavor much. Choose what fits your diet and taste! For the full recipe, check out the Blueberry Lemon Protein Smoothie section. Store any leftover smoothie in a sealed container. Glass jars work great. Keep it in the fridge. It stays fresh for up to 24 hours. If you notice separation, just shake it well before drinking. This smoothie tastes best when fresh, so try to finish it soon. You can freeze your smoothie if you have extras. Pour it into ice cube trays or freezer-safe bags. Once frozen, transfer cubes to a bag for easy use. They last for about three months in the freezer. When you want a quick drink, blend the frozen cubes with more liquid. Smoothies are best cold, but you can warm them up if you prefer. Thaw frozen smoothies in the fridge overnight. To reheat, use a microwave on low power. Stir often to ensure even heating. Avoid boiling the smoothie, as it can change the taste and texture. Try this Blueberry Lemon Protein Smoothie recipe for a refreshing boost! [Full Recipe] A blueberry lemon protein smoothie brings many health benefits. Blueberries are full of antioxidants. They help fight free radicals and keep your body healthy. They also support heart health and may boost brain function. Lemons add vitamin C, which helps your immune system. Vitamin C also aids in skin health. The banana gives you potassium, which is great for your heart and muscles. Adding protein powder helps build and repair muscles, making this drink perfect post-workout. This smoothie is not just tasty; it is packed with nutrients that support overall health. Yes, you can make this smoothie without protein powder. If you want to skip it, there are great alternatives. Greek yogurt is a fantastic choice. It adds creaminess and extra protein. Silken tofu also works well for a creamy texture. If you want a vegan option, consider adding nut butter or seeds. Chia seeds or hemp seeds are good protein sources too. They will give your smoothie a nice boost without the protein powder. You can easily adjust the thickness of your smoothie. Want it thicker? Add ice cubes or more frozen fruit. Bananas also help make smoothies thicker. If you like it thinner, just add more liquid. Almond milk or water will work well. Start with a little extra and blend until you reach your desired texture. It’s all about what you enjoy! This blog post walks you through making a delicious blueberry lemon protein smoothie. You learned about fresh ingredients, protein enhancement, and fun variations. I shared tips on achieving the perfect texture and how to store your smoothies. If you try it, remember to customize the recipe to suit your tastes. Enjoy the health benefits while keeping it simple and tasty. Your next smoothie adventure starts now!](https://dailydishlab.com/wp-content/uploads/2025/06/1fca42f8-3635-4508-8894-b84f3456bdc7-768x768.webp)
![To craft the perfect Pumpkin Maple Spice Latte, gather these key items: - 1 cup milk (dairy or non-dairy) - 1/2 cup strong brewed coffee or espresso - 1/4 cup pumpkin puree - 2 tablespoons pure maple syrup - 1/2 teaspoon pumpkin pie spice - 1/4 teaspoon vanilla extract - Pinch of salt These ingredients come together to create a rich and creamy drink. The pumpkin puree gives a smooth texture and deep flavor. Maple syrup adds sweetness while the pumpkin pie spice brings warmth and depth. You can enhance your latte in many ways. Here are some fun options: - Whipped cream (for topping) - Ground cinnamon (for garnish) - A sprinkle of nutmeg or ginger for extra spice - A drizzle of caramel for added sweetness Adding these elements can make your drink special. Feel free to experiment based on your taste! Using the right tools can make your latte-making experience easier. Here’s what I recommend: - Small saucepan for heating the milk - Whisk for mixing the ingredients - Immersion blender for frothing (or a regular blender) - Large mug to serve your drink These tools will help you create a delicious Pumpkin Maple Spice Latte at home. For the complete recipe, check out the [Full Recipe]. Making a Pumpkin Maple Spice Latte is easy and fun. You will heat milk, mix in pumpkin, and brew coffee. This drink combines sweet and warm flavors. Follow these steps for a cozy fall treat. 1. Heat the Milk: Pour 1 cup of milk into a small saucepan. Use medium heat until it gets hot, but don’t let it boil. 2. Mix the Pumpkin and Spices: Add 1/4 cup of pumpkin puree, 2 tablespoons of maple syrup, 1/2 teaspoon of pumpkin pie spice, 1/4 teaspoon of vanilla, and a pinch of salt. Whisk until smooth and warm. 3. Froth the Mixture: Take the saucepan off the heat. Use an immersion blender to froth the mix until it is creamy. If you don't have one, blend it in a regular blender. Then pour it back into the saucepan. 4. Brew the Coffee: While the milk is heating, brew 1/2 cup of strong coffee or espresso. 5. Combine the Two: In a large mug, pour the brewed coffee. Then, gently add the pumpkin-spice milk on top. 6. Add Toppings: If you like, add whipped cream on top. Sprinkle ground cinnamon for extra flavor. - Use Fresh Milk: Fresh milk froths better than older milk. - Heat Carefully: Heat milk slowly to avoid burning. - Whisk Vigorously: If using a whisk, whisk fast and hard for good froth. - Try a Blender: If you don’t have an immersion blender, a regular blender works well too. Just be careful when blending hot liquids. Enjoy your delicious Pumpkin Maple Spice Latte! For the full recipe, check the earlier section. To boost the taste of your Pumpkin Maple Spice Latte, use fresh spices. Fresh pumpkin pie spice will give a better flavor than old spice. Always choose pure maple syrup. This syrup has deep, rich notes that enhance the drink. You can also add a pinch of nutmeg or ginger for extra warmth. These spices can elevate the fall flavors. For a creamier texture, use whole milk or oat milk. Both options create a rich, smooth drink. One mistake is using canned pumpkin pie filling. It has added sugars and spices. Stick with plain pumpkin puree for the best taste. Another mistake is boiling the milk. Heat the milk until steaming, but not boiling. Boiling can ruin the texture and taste. Don't forget to whisk the mixture well. This helps blend the flavors. If you skip this step, your latte may taste uneven. Lastly, avoid over-sweetening. You can always add more syrup later. To adjust sweetness, add more maple syrup slowly. Start with a teaspoon and taste as you go. If it’s too sweet, add a pinch of salt. This can balance the flavors. For spice, you can increase the pumpkin pie spice. Add an extra 1/4 teaspoon to kick up the flavor. If you want a milder taste, reduce the spice a little. Personalize it to your liking! For a full guide on how to make this drink, check out the Full Recipe. {{image_2}} You can tweak the basic recipe to match the season. Adding apple cider can bring a fruity twist. A touch of nutmeg can deepen the fall flavor. You might also try using chai spice instead of pumpkin pie spice. This gives a warm, cozy vibe. Mixing in caramel sauce can add sweetness and a rich flavor. Each variation brings something new to your cup. If you prefer non-dairy options, you have choices. Almond milk or oat milk works great in this recipe. They both foam well and add flavor. For a richer taste, try coconut milk. It pairs nicely with pumpkin and maple. Maple syrup is already vegan, so you can enjoy this drink guilt-free. Make sure your whipped cream is vegan if you choose to add it. Want to enjoy this drink cold? You can easily make an iced version. Start by brewing your coffee and let it cool. Mix the pumpkin puree and spices with cold milk instead of heating it. Pour the cold coffee into a glass filled with ice. Add the pumpkin-spice milk mixture and stir. Top it with whipped cream and a sprinkle of cinnamon for a refreshing treat. For the complete recipe, refer to the Full Recipe section. If you have leftover Pumpkin Maple Spice Latte, store it in a sealed container. You can keep it in the fridge for up to three days. Make sure it cools first before sealing it. This helps keep the flavors fresh and tasty. When you are ready to enjoy your leftover latte, reheat it gently. Use a microwave or a small pot on the stove. Heat it slowly over low heat. Stir often to prevent burning. If you want to froth it again, use a frother or whisk after heating. Most of the ingredients last a while. Pumpkin puree can last in the pantry for a year. Once opened, keep it in the fridge for about a week. Maple syrup can last for years if stored correctly. Milk should be used within a week after the sell-by date. Always check for freshness before using any ingredient in your latte. For the full recipe, refer to the section above. Enjoy your cozy fall drink! The Pumpkin Maple Spice Latte blends fall flavors with coffee. This drink comes from the popular pumpkin spice trend. It started in the late 1990s with the rise of flavored coffee. The mix of pumpkin, maple, and spices makes it a favorite for autumn. Over the years, it has grown into a seasonal staple. Many coffee shops now serve it, adding their own twist. Yes, you can make the Pumpkin Maple Spice Latte ahead of time. Prepare the pumpkin-spice milk mixture in advance. Store it in the fridge for up to two days. When ready to serve, reheat it gently on the stove. Brew fresh coffee or espresso for the best taste. This latte stands out among seasonal drinks for its rich flavors. Unlike peppermint or eggnog, it offers a unique blend of pumpkin and maple. Many people love it for its warm, cozy vibe. It often feels more comforting than other drinks. Plus, it has a creamy texture that enhances the experience. Toppings can add extra flavor and fun to your latte. Here are some popular choices: - Whipped cream - Ground cinnamon - Nutmeg - Crushed graham crackers - Caramel drizzle Feel free to mix and match toppings for your perfect Pumpkin Maple Spice Latte! For the full recipe, check out the details above. You now have everything needed to make a great Pumpkin Maple Spice Latte. We covered key ingredients, tools, and step-by-step instructions for a smooth drink. Remember to check your sweetness and spice levels to suit your taste. You learned some common mistakes to avoid and cool variations to try. With proper storage, your latte can last longer and taste just as good. Enjoy your homemade treat!](https://dailydishlab.com/wp-content/uploads/2025/06/c2ae4cd5-2684-4eac-bee7-ccd7f81308fc-768x768.webp)
![- 2 shots of freshly brewed espresso - 2 tablespoons brown sugar - 1 tablespoon vanilla syrup - 1/2 cup milk (dairy or non-dairy) - Ice cubes - A pinch of sea salt - Whipped cream (optional for topping) - Cinnamon or nutmeg for garnish (optional) What are the best types of espresso to use? I recommend using a medium or dark roast espresso. These have rich flavors that stand out. They work well with the sweetness of brown sugar. How do I choose the right milk option? You can use whole milk for creaminess. Almond or oat milk adds a nice twist. If you want a lighter drink, use skim milk. Can I substitute brown sugar with alternatives? Yes! You can use coconut sugar for a similar taste. Agave syrup is another good choice. It will change the flavor slightly but still taste great. To make the Iced Brown Sugar Shaken Espresso, start with quick prep steps: - Gather all your ingredients. - Brew your espresso first to cool it down. Following the order of steps helps with the overall taste. When you brew the espresso first, it can steep and mix better with the sugar. The best brewing methods include using an espresso machine or a stovetop moka pot. Both can give you a strong, rich flavor. Make sure to use fresh coffee beans for the best taste. If you grind your beans right before brewing, you will get the best flavor. For optimal extraction, use hot water that is just off the boil. This helps to draw out the coffee's oils. Aim for about 9 bars of pressure if using an espresso machine. This ensures a great crema on top. To achieve the perfect froth, shake your mixture with energy. Use a shaker or a jar with a lid. Pour the hot espresso over the sugar mix before shaking. This helps dissolve the sugar better. Shake for about 10-15 seconds. You want to feel the cold from the ice as you shake. If you shake too little, you won’t get the frothy texture. If you shake too much, the ice may melt and water down your drink. Find that sweet spot! You can find the complete instructions in the Full Recipe. To make your Iced Brown Sugar Shaken Espresso just right, start with the sweetness. Adjust the brown sugar to suit your taste. Some like it sweeter, while others prefer a hint of sugar. Next, play around with the shake duration. A quick shake brings light froth. A longer shake gives a creamier texture. Find the balance that makes your drink perfect. To add more fun to your drink, try flavored syrups. Caramel or hazelnut can take your espresso to new heights. You can also add a hint of vanilla or almond for a twist. Spices like cinnamon or nutmeg can enhance the flavor too. A sprinkle on top adds warmth and aroma. Toppings like whipped cream can make it extra special. Be careful not to over-shake or under-shake your drink. Too much shaking can make it watery. Too little will leave it flat. Watch the ice-to-espresso ratio. Too much ice can dilute the flavor. Aim for a nice balance to keep your drink bold and rich. For the complete recipe, check out the Full Recipe section. {{image_2}} You can customize your Iced Brown Sugar Shaken Espresso with fun flavors. One tasty option is to add caramel. Just drizzle some caramel syrup into your drink after shaking. The sweet and buttery taste pairs well with the brown sugar. Seasonal flavors also shine in this drink. During fall, try adding pumpkin spice. Just mix in some pumpkin spice syrup after shaking. This change gives your drink a cozy vibe, perfect for chilly days. If you're looking for dairy-free recipes, there are plenty of milk options. Almond milk is light and nutty, while oat milk is creamy and smooth. Coconut milk adds a tropical twist, and soy milk has a nice protein boost. Each milk alters the drink's texture. Almond milk makes it thinner, while oat milk creates a rich mouthfeel. Experiment to find your favorite! You can turn this drink into a cold brew version with ease. Start by making cold brew coffee instead of espresso. Use the same amount of coffee grounds, but steep them in cold water for 12 to 24 hours. Adjust the ingredient ratios, too. Use 4 tablespoons of brown sugar for a stronger flavor. Mix your cold brew with milk and ice just like in the original recipe. Now you have a refreshing cold drink for hot days! For the full recipe, check out the [Full Recipe]. To store unused espresso, let it cool first. Place it in an airtight container. This helps keep it fresh. Store it in the fridge for up to three days. For best flavor, use it within one day. To maintain flavor over time, avoid exposing the espresso to air. Use a dark container to block light. This keeps the taste strong. If you notice any off-flavors, it is best to discard it. You can make Iced Brown Sugar Shaken Espresso ahead for the week. Brew extra espresso and cool it down. Store in a sealed container in your fridge. For reheating, gently warm the espresso in a small pot. Do not boil it. Serve it chilled over ice. If you want, add fresh milk and sugar before serving. Brown sugar lasts a long time. It can stay good for up to two years if stored well. Keep it in a cool, dry place. Syrups usually last about one year. Store them in a cool area away from sunlight. Always check for any signs of spoilage. Espresso should be used fresh. If you brew a large batch, drink it within three days. After that, the flavor fades quickly. You can use a jar with a lid instead of a shaker. Just mix the brown sugar, vanilla syrup, and sea salt in the jar. Pour in the hot espresso. Seal the jar tightly and shake it well. If you don’t have a jar, you can whisk the mixture in a bowl. This method works too, though it may not froth as much. Yes, you can easily make this drink decaf. Just use decaffeinated espresso instead of regular espresso. Follow the same steps in the Full Recipe. The taste will still be great, but you won’t get the caffeine kick. Many popular coffee shops offer this drink. Look for it at Starbucks or local cafes. You can also find pre-made versions in stores. Brands like Starbucks and Dunkin' have bottled options. Check your grocery store for these convenient choices. This guide covered how to make Iced Brown Sugar Shaken Espresso. You learned about each ingredient, preparation steps, and various tips. I shared how to enhance flavors and avoid common mistakes. You can even adapt the drink to suit your taste with variations. Making this drink at home saves money and lets you enjoy it anytime. Give it a try, and perfect your own version! Enjoy your delicious creation and impress your friends with your new skills.](https://dailydishlab.com/wp-content/uploads/2025/06/cb466296-3a62-4cc5-b7e7-aa8e24de9043-768x768.webp)