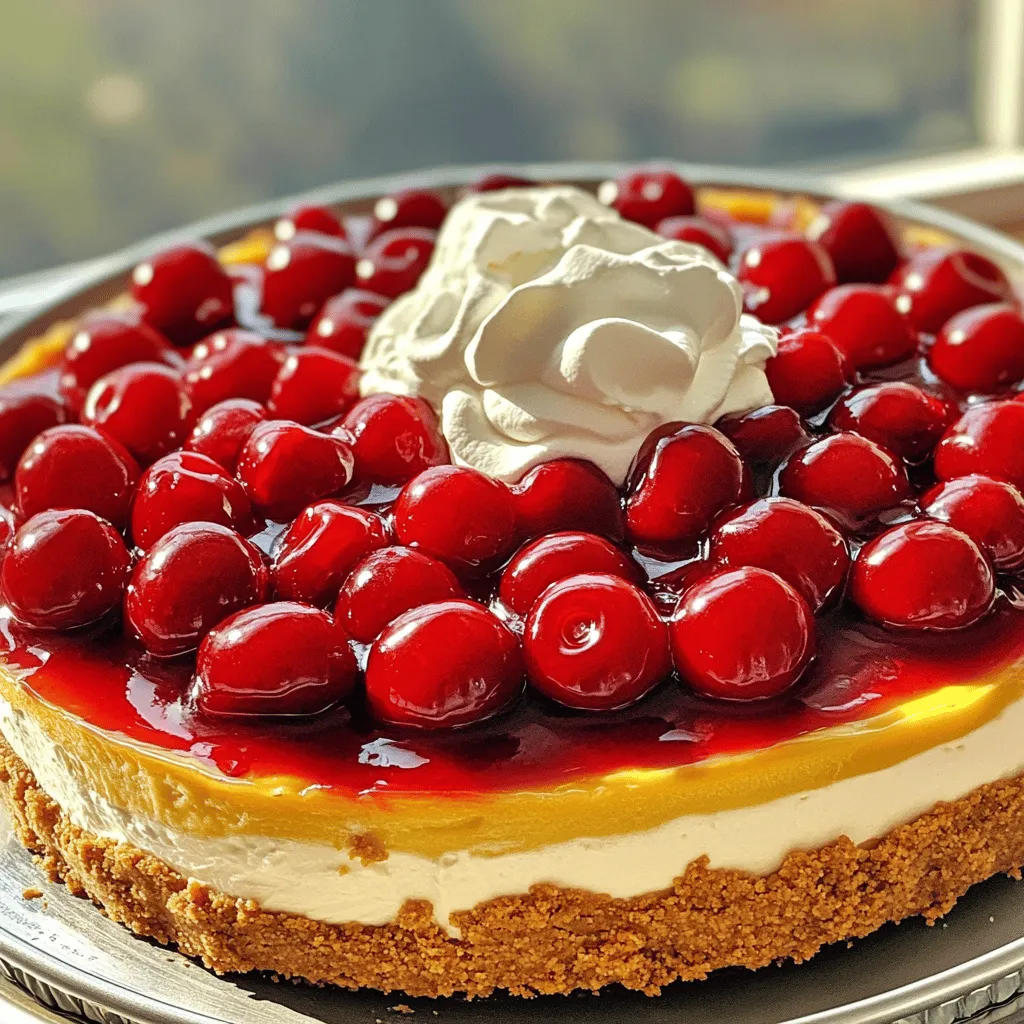
Are you ready for a dessert that will wow your friends and family? Look no further! This Cherry Cobbler Cheesecake blends rich cream cheese with sweet cherry filling and a crunchy crust. It’s like two desserts in one—cheesecake and cobbler! I’ll guide you through simple steps, with tips to make it perfect. Grab your ingredients, and let’s create this divine dessert delight together!
Ingredients
List of Ingredients for Cherry Cobbler Cheesecake
– 1 ½ cups graham cracker crumbs
– ½ cup unsalted butter, melted
– 1 cup sugar, divided
– 1 teaspoon ground cinnamon
– 3 packages (8 oz each) cream cheese, softened
– 1 teaspoon vanilla extract
– 3 large eggs, at room temperature
– 2 cups cherry pie filling (store-bought or homemade)
– ½ cup all-purpose flour
– 1 tablespoon cornstarch
– 1 teaspoon fresh lemon juice
– Whipped cream for topping (optional)
When I make Cherry Cobbler Cheesecake, I love gathering my ingredients first. It makes the whole process smoother and more fun. The graham cracker crumbs form a tasty base. The melted butter helps hold it all together. You can use either store-bought or homemade cherry pie filling, depending on your mood.
I find that using room temperature cream cheese makes a big difference. It blends easier and gives a smooth texture. For a touch of warmth, the ground cinnamon adds depth to the flavor. A squeeze of fresh lemon juice brightens everything up.
Don’t forget the whipped cream! It’s a nice touch on top. You can serve it plain or with more cherry filling. This dessert not only tastes great but looks stunning too. Each slice reveals beautiful layers of cream cheese and cherries.
Equipment Needed
– 9-inch springform pan
– Electric mixer
– Mixing bowls
– Measuring cups and spoons
Having the right tools makes cooking much easier. A 9-inch springform pan is perfect for this cheesecake. It helps with easy removal after baking. An electric mixer is great for achieving that creamy consistency with the cream cheese.
I always keep my measuring cups and spoons handy. Accurate measurements are key to getting the perfect cheesecake every time. With everything set, you’re ready to create this divine dessert delight!
Step-by-Step Instructions
Preparing the Oven and Crust
1. Preheat Oven: Start by preheating your oven to 325°F (160°C). This step is key to ensure even baking.
2. Make and Bake the Crust: Combine 1 ½ cups of graham cracker crumbs, ½ cup of melted unsalted butter, ½ cup of sugar, and 1 teaspoon of ground cinnamon in a bowl. Mix it well until the crumbs are moist. Press this mixture firmly into the bottom of a 9-inch springform pan. Bake for 10 minutes, then set it aside to cool.
Making the Cream Cheese Mixture
3. Beat the Cream Cheese: In a large bowl, use an electric mixer to beat 3 packages of softened cream cheese until smooth. This creates a fluffy base for your cheesecake.
4. Incorporate Sugar and Eggs: Gradually mix in the remaining ½ cup of sugar. Add 1 teaspoon of vanilla extract, then add 3 large eggs one at a time. Mix well after each addition. This ensures a creamy mixture.
Assembling the Cheesecake Layers
5. Layering Half of the Batter and Cherry Filling: Pour half of the cheesecake batter over the cooled crust. Spread it evenly with a spatula. Spoon half of the 2 cups of cherry pie filling over this layer.
6. Repeat with Remaining Ingredients: Pour the rest of the cheesecake batter on top. Then, add the remaining cherry filling to complete the layering.
Baking and Cooling
7. Bake Cheesecake: Place the filled springform pan in the oven. Bake for 50-60 minutes until the center is set but has a slight jiggle. This jiggle is important for a creamy texture.
8. Cooling in the Oven: After baking, turn off the oven. Crack the oven door open slightly, allowing steam to escape. Let the cheesecake cool in the oven for 1 hour. This step helps prevent cracks.
Chilling the Cheesecake
9. Refrigerate for At Least 4 Hours: Once cooled, transfer the cheesecake to the refrigerator. Chill for at least 4 hours, or overnight for the best taste and texture.
Serving Suggestions
10. Presentation Tips and Optional Toppings: When you are ready to serve, add a dollop of whipped cream on top. You can also drizzle more cherry filling for a vibrant look. Serve slices on chilled plates and sprinkle with extra graham cracker crumbs for a nice touch.
Tips & Tricks
Common Mistakes to Avoid
– Overmixing the Batter: Mixing too much can make your cheesecake dense. Mix until just combined. This keeps it light and fluffy.
– Not Cooling Properly: Cooling is key. If you skip the cooling step, your cheesecake may crack. Let it cool in the oven with the door ajar for an hour. This gentle cooling helps keep it smooth.
Expert Tips for Perfect Cheesecake
– Make Ahead Tips: You can make this cheesecake a day ahead. This lets the flavors meld and improves the taste. Chill it overnight for best results.
– Using Room Temperature Ingredients: Always use room temperature cheese and eggs. This helps them blend better. It ensures a smooth and creamy batter.
How to Achieve the Best Texture
– Importance of Cooling and Chilling: After baking, cooling is vital. Chill for at least four hours, or overnight. This step sets the cheesecake and enhances its texture.
– Baking Techniques: Bake at a low temperature. This helps prevent cracks. Check for doneness when the center has a slight jiggle. This means it’s creamy but not overbaked.
These tips will help you create the perfect cherry cobbler cheesecake.
{{image_4}}
Variations
Different Fruit Fillings
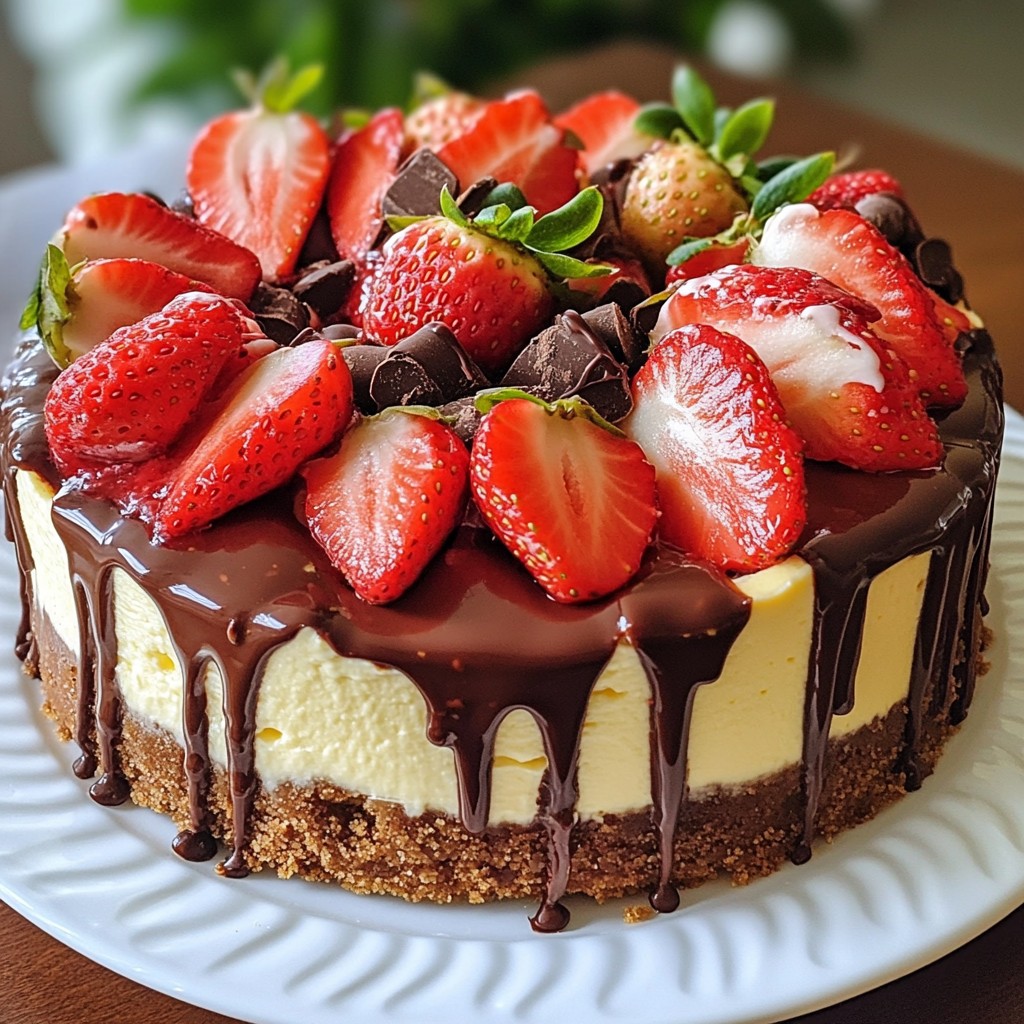
You can change the fruit filling to fit your taste. Blueberries, strawberries, or peaches work great. Each fruit brings a unique flavor. Blueberries add a sweet and tart taste. Strawberries give a fresh, fruity vibe. Peaches offer a nice, juicy sweetness. Just swap the cherry pie filling for your chosen fruit. Keep the same amount so the recipe stays balanced.
Gluten-Free Adaptation
If you need a gluten-free option, you can make a simple swap. Use almond flour or gluten-free graham crackers for the crust. This keeps the texture nice and crunchy. Just mix the gluten-free crumbs with melted butter, sugar, and cinnamon. Press it into the pan, and you are ready to bake.
Flavor Enhancements
To make your cheesecake even better, add some flavor boosts. A little lemon zest brightens the taste. It adds a fresh, zesty kick that pairs well with the sweetness. You can also try almond extract. Just a dash will give a warm, nutty flavor. These small tweaks can take your cheesecake to a whole new level.
Storage Info
How to Store Leftover Cheesecake
Refrigeration Guidelines
After your cheesecake cools, cover it well. Use plastic wrap or foil. Place it in the fridge. This keeps it fresh for up to five days. Always store it in an airtight container if possible.
Freezing Instructions
If you want to keep it longer, freeze the cheesecake. Wrap it tightly in plastic wrap. Then, wrap it in foil for extra protection. Frozen cheesecake lasts about three months. To thaw, place it in the fridge overnight before serving.
Shelf Life
Best Practices for Freshness
For the best taste and texture, enjoy your cheesecake within a week. Always check for signs of spoilage. If it smells off or has mold, toss it out. Storing it properly helps maintain its rich flavor.
Reheating Tips
How to Reheat without Losing Quality
To reheat cheesecake, use an oven or microwave. Preheat your oven to 300°F (150°C). Place slices on a baking sheet. Heat for about 10 minutes. This warms it without ruining the texture. If using a microwave, heat for 10-15 seconds at a time. Enjoy your cheesecake warm and delicious!
FAQs
What is the Best Way to Stop Cheesecake from Cracking?
To stop cheesecake from cracking, start with room temperature cream cheese. It mixes better and stays smooth. Avoid overmixing once you add eggs. Overmixing adds air, which causes cracks. Bake at a low temperature and place a pan of water in the oven. The steam helps keep moisture in.
Can I Make Cherry Cobbler Cheesecake a Day in Advance?
Yes, you can make cherry cobbler cheesecake a day ahead. In fact, chilling it overnight helps the flavors blend. It also firms up the texture, making it easier to slice. Just cover it well with plastic wrap in the fridge.
What can I use instead of cream cheese in this recipe?
If you need a cream cheese substitute, try mascarpone or ricotta cheese. Both give a creamy texture, though the flavor will change a bit. You can also use Greek yogurt for a lighter option.
How do I know when the cheesecake is done baking?
To check if the cheesecake is done, look for a slight jiggle in the center. It should not look liquid, but it can still wobble a bit. The edges should be set, while the middle remains soft. Once it cools, it will firm up.
Can I use fresh cherries instead of cherry pie filling?
Yes, you can use fresh cherries. Just pit and chop them. Mix them with sugar and a bit of lemon juice to create a sauce. This will add a fresh taste to your cheesecake.
What is the total calorie count per serving for Cherry Cobbler Cheesecake?
Each slice of cherry cobbler cheesecake has about 350 calories. This can vary based on the specific ingredients used.
In this post, we covered how to make cherry cobbler cheesecake from start to finish. You learned about the ingredients, equipment, and step-by-step instructions. This dessert combines rich cream cheese with sweet cherry filling and a tasty crust. Remember to avoid overmixing and let it cool properly for the best result. Enjoy experimenting with different flavors and toppings. This cheesecake is ideal for any occasion, and I hope it brings joy to your table. Happy baking!


