
Are you ready to bake the perfect chocolate chip cookies? In this guide, I’ll share my secrets for making cookies that are delightfully soft and chewy. You’ll learn about essential ingredients, step-by-step instructions, and tips to avoid common mistakes. Plus, I’ll show you how to adapt your cookies for different diets. Let’s get started on this tasty adventure that will have everyone asking for seconds!
Why I Love This Recipe
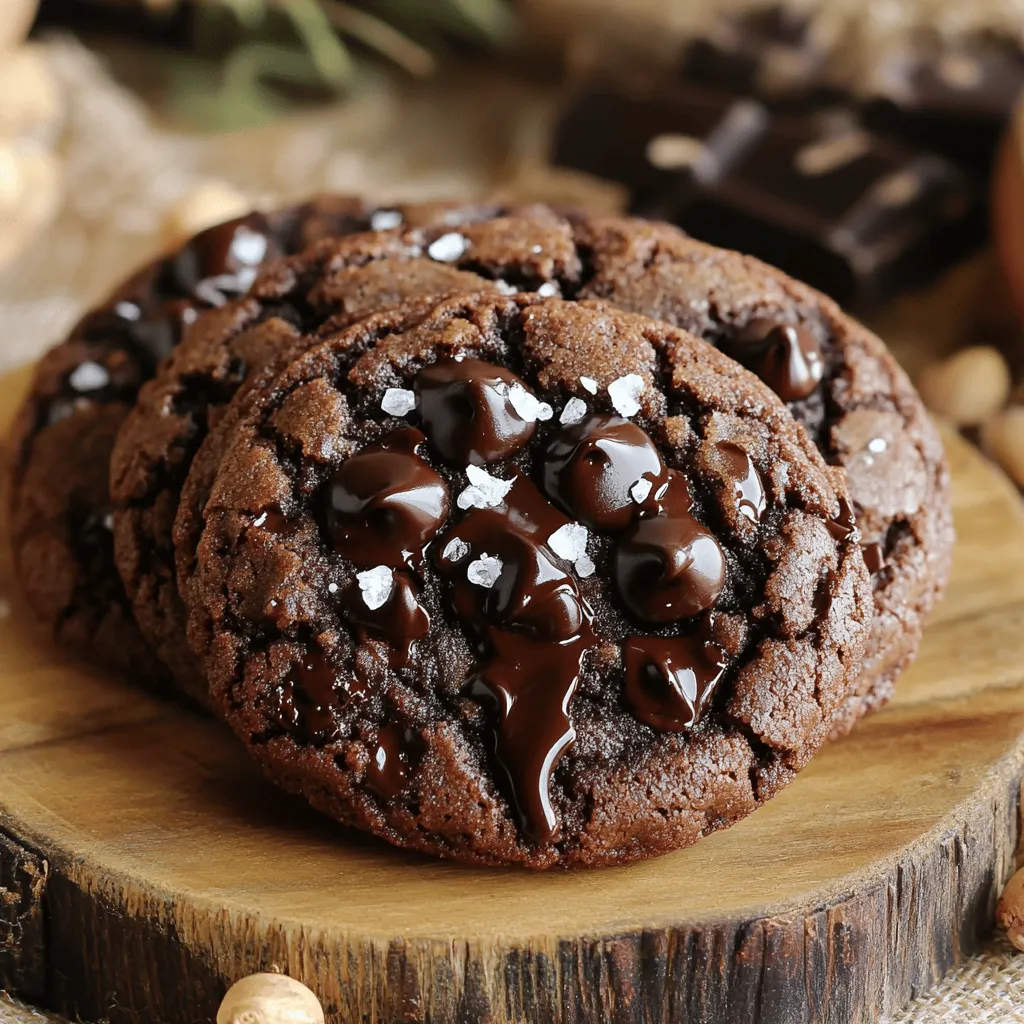
- Irresistible Flavor: These cookies combine the richness of dark chocolate with a hint of sea salt, creating a perfect balance of sweet and savory in every bite.
- Easy to Make: This recipe is straightforward and requires minimal effort, making it perfect for bakers of all levels.
- Customizable: Feel free to add your favorite nuts or even swap out the chocolate for white chocolate or other mix-ins to suit your taste.
- Perfect for Sharing: With about 24 cookies in a batch, they’re great for gatherings, parties, or just sharing with friends and family.
Ingredients
Key Ingredients for Chocolate Chip Cookies
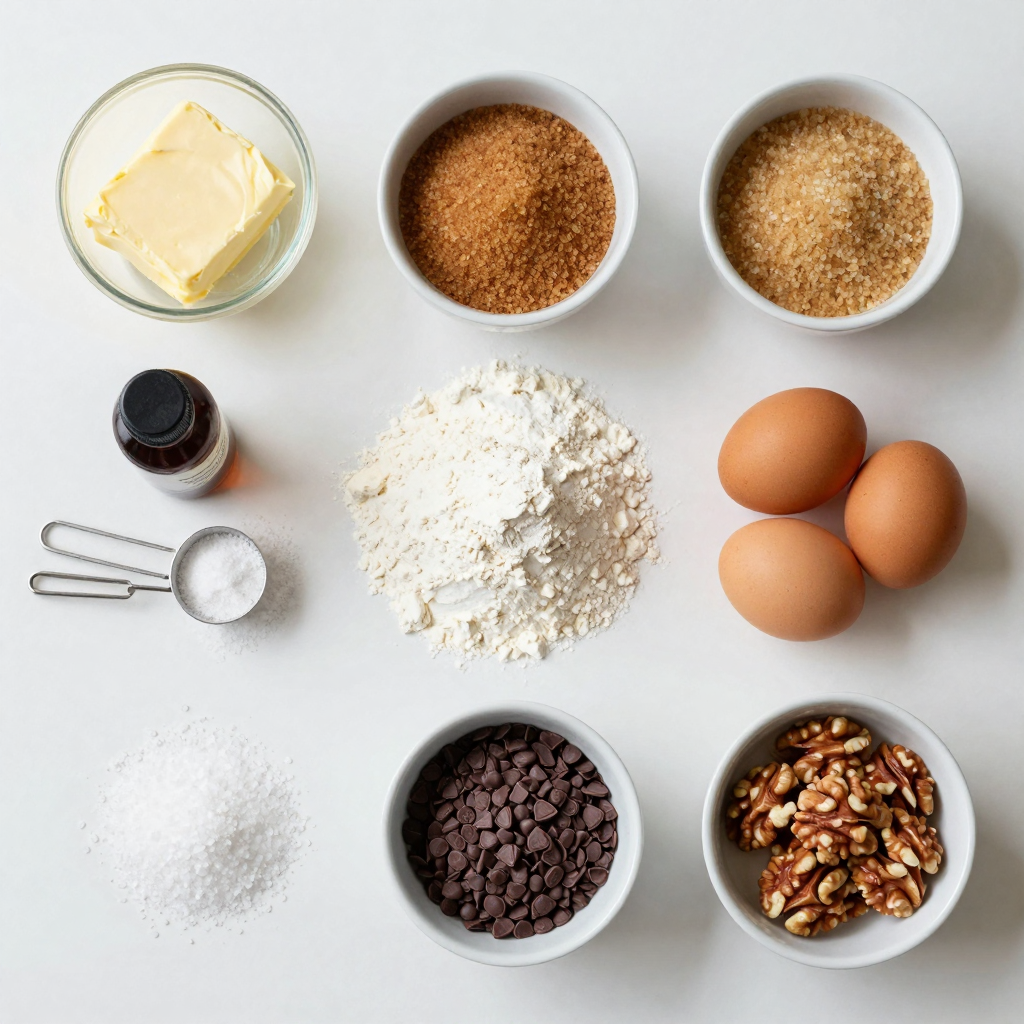
To make perfect chocolate chip cookies, you’ll need some key ingredients. Here’s what you need:
– 1 cup unsalted butter, softened
– 3/4 cup brown sugar, packed
– 1/4 cup granulated sugar
– 2 large eggs
– 2 teaspoons vanilla extract
– 2 1/4 cups all-purpose flour
– 1/2 teaspoon baking soda
– 1/2 teaspoon sea salt
– 1 cup dark chocolate chips (at least 70% cocoa)
These ingredients create a rich, buttery dough with a chewy center. The dark chocolate gives each bite an intense flavor.
Optional Ingredients for Customization
You can easily customize your cookies with a few optional ingredients. Here are some ideas:
– 1/2 cup chopped walnuts
– Flaky sea salt for garnish
Adding walnuts gives a nice crunch. The flaky sea salt enhances the sweetness of the chocolate. Feel free to mix in your favorite nuts or even dried fruit for extra flavor.
Dietary Substitutions (Vegan, Gluten-Free, etc.)
If you have dietary needs, you can still enjoy chocolate chip cookies. Here are some substitutions:
– Vegan: Use vegan butter and flax eggs instead of regular eggs.
– Gluten-Free: Substitute all-purpose flour with a gluten-free blend.
These swaps help you keep the chewy texture while making the cookies fit your diet. You can still enjoy delicious treats without missing out!
Step-by-Step Instructions
Preparation and Mixing Steps
First, gather your ingredients. You need:
– 1 cup unsalted butter, softened
– 3/4 cup brown sugar, packed
– 1/4 cup granulated sugar
– 2 large eggs
– 2 teaspoons vanilla extract
– 2 1/4 cups all-purpose flour
– 1/2 teaspoon baking soda
– 1/2 teaspoon sea salt
– 1 cup dark chocolate chips (at least 70% cocoa)
– 1/2 cup chopped walnuts (optional)
– Flaky sea salt for garnish
Start by preheating your oven to 350°F (175°C). Line a baking sheet with parchment paper to prevent sticking. In a large bowl, cream the softened butter, brown sugar, and granulated sugar. Mix until light and fluffy, about 2-3 minutes. Next, add the eggs one at a time. Mix well after each egg. Add the vanilla extract and blend until combined.
In a separate bowl, whisk together the flour, baking soda, and sea salt. Gradually mix the dry ingredients into the wet mixture. Stop mixing when just combined. This helps keep your cookies soft. Now, fold in the dark chocolate chips and walnuts, if you chose to add them.
Baking Process
Using a tablespoon or cookie scoop, drop rounded balls of dough onto the prepared baking sheet. Leave enough space between each cookie. They will spread while baking. Before baking, sprinkle a pinch of flaky sea salt on top of each cookie. This adds a nice touch!
Bake in the preheated oven for 10-12 minutes. Look for golden brown edges and soft centers. This is key for that perfect soft and chewy texture.
Cooling and Serving Suggestions
After baking, allow the cookies to cool on the baking sheet for 5 minutes. This step helps them firm up a bit. Then, transfer the cookies to a wire rack to cool completely. For serving, arrange them on a decorative plate. Enjoy them warm with a glass of milk or coffee.
Pro Tips
- Chill the Dough: For thicker cookies, refrigerate the dough for at least 30 minutes before baking. This helps the cookies maintain their shape and enhances the flavor.
- Use Quality Chocolate: Opt for high-quality dark chocolate chips for a richer flavor. The cocoa percentage can elevate the overall taste of your cookies.
- Don’t Overbake: To achieve a chewy texture, pull the cookies out of the oven while they are still slightly underbaked. They will continue to cook on the baking sheet after removing them from the oven.
- Experiment with Mix-Ins: Feel free to substitute walnuts with other nuts, dried fruits, or even pretzels for added texture and flavor variations.
Tips & Tricks
Achieving the Perfect Cookie Texture
To get that perfect soft and chewy texture, use room temperature butter. This helps create a great blend with the sugars. Cream the butter and sugars until they feel light and fluffy. Mix only until combined when adding flour. Over-mixing can lead to tough cookies. Baking time is key too. Take them out when the edges turn golden but the centers still look soft.
Common Mistakes to Avoid
One common mistake is using cold butter. This won’t mix well and will affect the texture. Another issue is not measuring flour correctly. Too much flour makes cookies dry. Don’t skip the sea salt on top. It enhances the flavors and balances the sweetness. Lastly, don’t overcrowd the baking sheet. Cookies need space to spread.
How to Store and Reheat for Freshness
To keep cookies fresh, store them in an airtight container. They stay soft for days that way. For longer storage, freeze them. Just make sure to wrap them well. When you want them warm, pop them in the oven at 350°F for a few minutes. This brings back their soft, chewy goodness. You can also microwave them for about 10 seconds, but be careful not to overheat. Enjoy your cookies as they were meant to be!
Variations
Classic vs. Dark Chocolate
You can choose between classic milk chocolate and rich dark chocolate. The classic version is sweet and creamy. It brings back childhood memories. Dark chocolate has a bold taste, with a hint of bitterness. I love using dark chocolate chips, especially those with 70% cocoa or more. They add depth and contrast to the sweet cookie dough. For a fun twist, mix both types of chocolate. This combo makes for a delightful surprise in every bite.
Flavor Additions (Nuts, Spices, etc.)
Want to switch things up? Add nuts or spices to your cookies. Chopped walnuts or pecans give the cookies a nice crunch. They also add a warm, nutty flavor. You can also try adding a pinch of cinnamon or a dash of sea salt. These additions elevate the taste. If you want a fruity twist, fold in some dried cherries or cranberries. This adds a chewy texture and a burst of flavor. Each option brings a new life to the classic recipe.
Special Diet Adaptations
You can easily modify this recipe for special diets. For a vegan option, replace the butter with coconut oil. Use flax eggs instead of chicken eggs. To make gluten-free cookies, swap all-purpose flour with almond or oat flour. These swaps work well and still taste great. You can experiment and find the best fit for your needs. Just remember, the texture might change slightly.
Storage Info
Best Practices for Storing Cookies
To keep your cookies soft and chewy, store them in an airtight container. Place a slice of bread in the container. The bread adds moisture and helps the cookies stay fresh. You can also use parchment paper between layers of cookies. This keeps them from sticking together.
Freezing Instructions for Cookie Dough
Freezing cookie dough is easy. First, scoop the dough into balls. Place the balls on a baking sheet. Freeze until firm, about 1-2 hours. Then transfer the dough balls to a freezer bag. Label the bag with the date and type of cookie. This way, you can enjoy fresh cookies later.
Thawing and Reheating Cookies
To thaw frozen cookie dough, move it from the freezer to the fridge overnight. If you need cookies fast, you can bake them straight from the freezer. Just add a minute or two to the baking time. For reheating baked cookies, pop them in the microwave for about 10-15 seconds. This brings back the soft, warm texture. Enjoy your homemade treats with every bite!
FAQs
How long do chocolate chip cookies last?
Chocolate chip cookies stay fresh for about one week at room temperature. Place them in an airtight container to keep them soft. You can also store them in the fridge for longer life. Just remember, cold cookies might lose their soft feel.
Can I substitute butter for oil?
Yes, you can use oil instead of butter. The cookies may spread a bit more, but they will still taste great. Use a little less oil than the butter amount. For example, if the recipe calls for one cup of butter, use about three-quarters cup of oil.
What if my cookie dough is too sticky?
If your dough feels sticky, add a bit more flour. Start with one tablespoon and mix it in. Keep adding until the dough holds together but is still soft. You want it to be easy to scoop but not too wet.
How do I make cookies chewier?
To get chewy cookies, use more brown sugar than white sugar. Brown sugar adds moisture. Also, try chilling the dough for at least an hour before baking. This helps the cookies stay thicker and chewier.
Now you know how to make the best chocolate chip cookies. We covered key ingredients, step-by-step baking, and tips for the perfect cookie. You can customize your cookies to fit any diet. Remember to store them properly to keep them fresh.
With these tips, you can enjoy delicious cookies anytime. Happy baking!


