
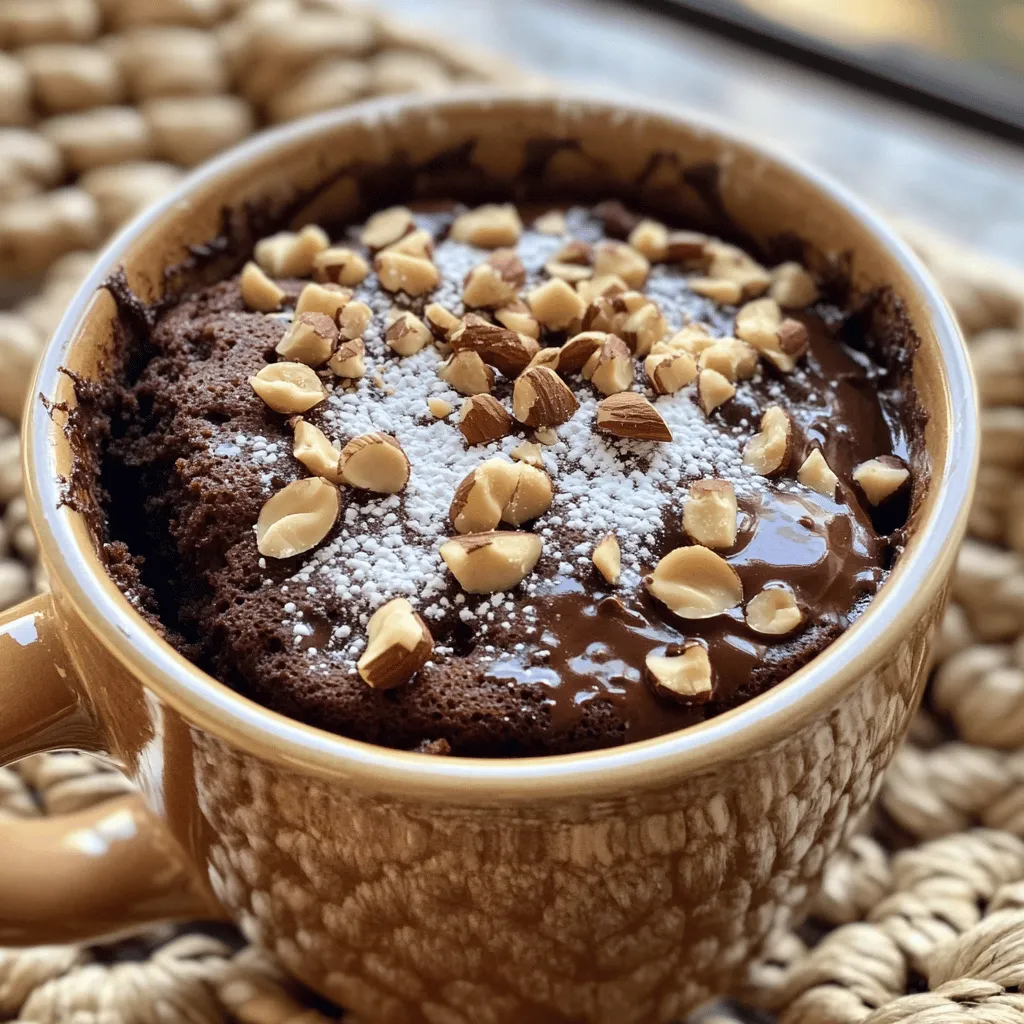
Craving a warm, gooey, and delicious treat? Look no further! This Chocolate Hazelnut Mug Cake recipe is quick and easy, perfect for a sweet fix. With just a few simple ingredients and a microwave, you can whip up a tasty dessert in no time. Join me as I guide you step-by-step to create this delightful mug cake that’s sure to impress your taste buds and satisfy your chocolate cravings!
Why I Love This Recipe
- Quick and Easy: This mug cake can be whipped up in just a few minutes, making it a perfect last-minute dessert.
- Indulgent Flavor: The combination of chocolate and hazelnut spread creates a rich and satisfying flavor that is hard to resist.
- Customizable: You can easily add extras like chocolate chips or different nuts to tailor it to your taste.
- Single Serving: This recipe is perfect for one, allowing you to enjoy a delicious treat without the temptation of leftovers.
Ingredients
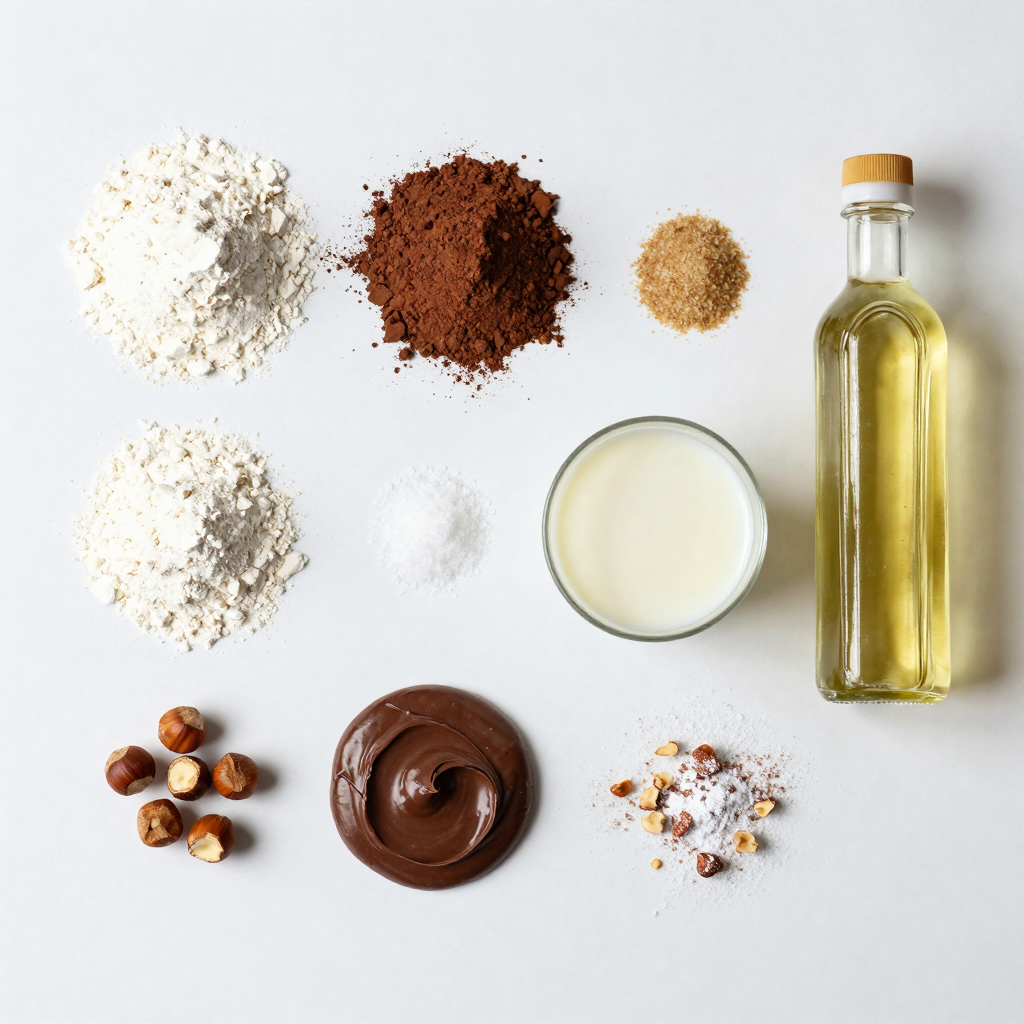
Detailed List of Ingredients
– 4 tablespoons all-purpose flour: This is the base of your cake. It gives structure and helps it rise.
– 2 tablespoons cocoa powder: This adds rich chocolate flavor. It also gives the cake that lovely dark color.
– 3 tablespoons granulated sugar: Sugar sweetens the cake. You can use brown sugar for a deeper flavor.
– 1/8 teaspoon baking powder: This helps the cake rise in the microwave, making it light and fluffy.
– A pinch of salt: Salt balances the sweetness. It enhances all the flavors in your cake.
– 3 tablespoons milk: Milk keeps the cake moist. It also helps mix the dry ingredients smoothly.
– 1 tablespoon vegetable oil: Oil adds moisture and helps keep the cake soft. It also makes mixing easier.
– 1 tablespoon chocolate hazelnut spread: This is the star of the show! It adds a creamy chocolatey taste and makes the cake extra special.
– 1 tablespoon chopped hazelnuts (for topping): Chopped hazelnuts give a nice crunch. They also enhance the nutty flavor.
– Optional: A sprinkle of powdered sugar for dusting: This adds a sweet touch and looks pretty on top of the cake.
These ingredients come together to create a quick and easy chocolate hazelnut mug cake that you will love.
Step-by-Step Instructions
Preparing the Batter
– First, grab a microwave-safe mug. This is where your cake will bake.
– In the mug, mix together:
– 4 tablespoons all-purpose flour
– 2 tablespoons cocoa powder
– 3 tablespoons granulated sugar
– 1/8 teaspoon baking powder
– A pinch of salt
– Stir these dry ingredients well. You want to get rid of any lumps.
– Next, pour in:
– 3 tablespoons milk
– 1 tablespoon vegetable oil
– Mix until the batter is smooth. It should look well combined.
– Now, add in:
– 1 tablespoon chocolate hazelnut spread
– Fold it into the batter. Make sure it spreads evenly throughout.
Cooking the Cake
– Place the mug in the microwave. Cook it on high for about 1 minute.
– If your microwave is strong, check at 1 minute. If not, go for 1 minute and 30 seconds.
– The cake is ready when it rises and looks set in the middle.
– Be cautious when taking the mug out. It will be hot! Use oven mitts if needed.
Serving and Enjoying
– Let the mug cake cool for about a minute before digging in.
– You can add some fun toppings. Try:
– 1 tablespoon chopped hazelnuts
– A sprinkle of powdered sugar
– These extras make your cake look special and taste even better!
Now you have a delicious Chocolate Hazelnut Mug Cake ready to enjoy.
Pro Tips
- Use a Larger Mug: Choose a mug that can hold at least 12 ounces to prevent overflowing during cooking.
- Customize Your Toppings: Feel free to add other toppings like mini marshmallows or chocolate chips for added flavor.
- Check Microwave Power: Microwaves vary in power, so start checking the cake at the 1-minute mark to avoid overcooking.
- Let It Cool: Allow the cake to cool for a minute before digging in to prevent burns from the hot mug and cake.
Tips & Tricks
Perfecting Your Mug Cake
To make the best chocolate hazelnut mug cake, avoid common mistakes. Make sure to mix your dry ingredients well. Lumps can ruin the texture. When you add wet ingredients, stir until smooth. This step is key for a fluffy cake.
For the ideal texture, don’t overcook it. Start with one minute, then check. You want it to be set but not dry. If it looks too wet, add more time in ten-second bursts.
You can personalize the flavor easily. Try adding extra chocolate chips. A pinch of cinnamon can also enhance the taste. If you love nuts, swap hazelnuts for walnuts or almonds.
Tools for Success
Use a microwave-safe mug for best results. A larger mug helps the cake rise evenly. Avoid small cups, as they may overflow.
For microwave wattage, 800 watts is great. If your microwave is stronger, adjust cooking time. Lower wattage might need more time.
Pairing Suggestions
A hot mug cake pairs well with milk or coffee. The creaminess of milk balances the rich cake. For coffee lovers, a strong brew enhances the flavors.
You can also enjoy this cake with ice cream. Vanilla or hazelnut ice cream adds a nice touch. If you want something lighter, whipped cream is a great choice.
Variations
Flavor Additions
You can easily change the flavor of your mug cake. Adding chocolate chips gives a nice meltiness. You can also try using different spreads. Almond butter or peanut butter can work well. If you want a nut-free option, use sunflower seed butter. For nuts, hazelnuts are great, but walnuts or pecans can be fun too. Each type of nut brings its own flavor and crunch.
Dietary Alternatives
If you need gluten-free options, swap the all-purpose flour with almond flour or gluten-free flour. Both options work well in this recipe. For those who want a dairy-free cake, replace the milk with almond milk or oat milk. These swaps help everyone enjoy the cake without losing taste.
Mug Cake for Different Occasions
This mug cake is perfect for any setting. If you have friends over, make a batch and let everyone customize their cake. You can set up toppings like sprinkles or extra nuts. For special events, consider festive mug cake variations. Add seasonal flavors like pumpkin spice for fall or peppermint for winter. This way, you can enjoy a delicious treat all year round!
Storage Info
Leftover Storage Recommendations
Store any uneaten mug cake in an airtight container. This keeps it fresh. You can also wrap it in plastic wrap. Place it in the fridge if you plan to keep it for more than a day. For reheating, use the microwave. Heat it in 15-second bursts until warm. This method helps prevent drying out.
Making in Advance
You can prepare the dry mix ahead of time. Combine flour, cocoa powder, sugar, baking powder, and salt in a bowl. Store this mix in a sealed bag or container. On busy days, just add milk, oil, and the hazelnut spread to the dry mix. This makes it quick to whip up a delicious treat.
Duration and Quality
This mug cake stays fresh for about 2 days in the fridge. After that, it may lose taste and texture. Signs of spoilage include an off smell or visible mold. If you notice these signs, it’s best to throw it away. Enjoy your mug cake while it’s fresh!
FAQs
Common Questions
Can I use a different type of flour?
Yes, you can use whole wheat flour or gluten-free flour. Each type will change the taste and texture a bit. Whole wheat adds a nutty flavor, while gluten-free flour may give a denser cake. Experiment to find your favorite!
What if my microwave doesn’t have a turntable?
If your microwave lacks a turntable, simply stop it halfway. Rotate the mug by hand to cook evenly. This helps ensure that your mug cake bakes properly and rises well.
How do I know when my mug cake is done?
Your mug cake is done when it rises and looks set in the middle. You can insert a toothpick into the center; if it comes out clean, it’s ready. Just be careful, as the mug will be hot!
Tips for Customization
Can I make this recipe without sugar?
Yes, you can use a sugar substitute like stevia or monk fruit. These options often work well, but adjust to taste. Remember that sugar adds moisture, so your cake may be drier without it.
How can I add fruit to my mug cake?
You can mix in small pieces of fruit like bananas or berries. Add them right before microwaving. They add freshness and flavor, making your mug cake even more delicious.
Nutritional Information
Overview of calories and macros
This mug cake has about 350 calories. It contains carbs, fats, and proteins. The exact numbers depend on your specific ingredients, so check labels for accuracy.
Healthier modifications for guilt-free indulgence
To make it healthier, try using less sugar or a sugar substitute. You can also use almond milk instead of regular milk. Adding nuts or seeds boosts nutrition and flavor!
This blog offered a detailed guide on making a delicious mug cake. We explored key ingredients like flour, cocoa powder, and chocolate hazelnut spread. Then, I shared easy steps for preparing and cooking your cake perfectly. Tips for customizing flavors and pairing drinks made the process more fun. Lastly, you learned how to store your mug cake and answer common questions. Enjoying this sweet treat is quick and easy, so grab your mug and start baking!


