
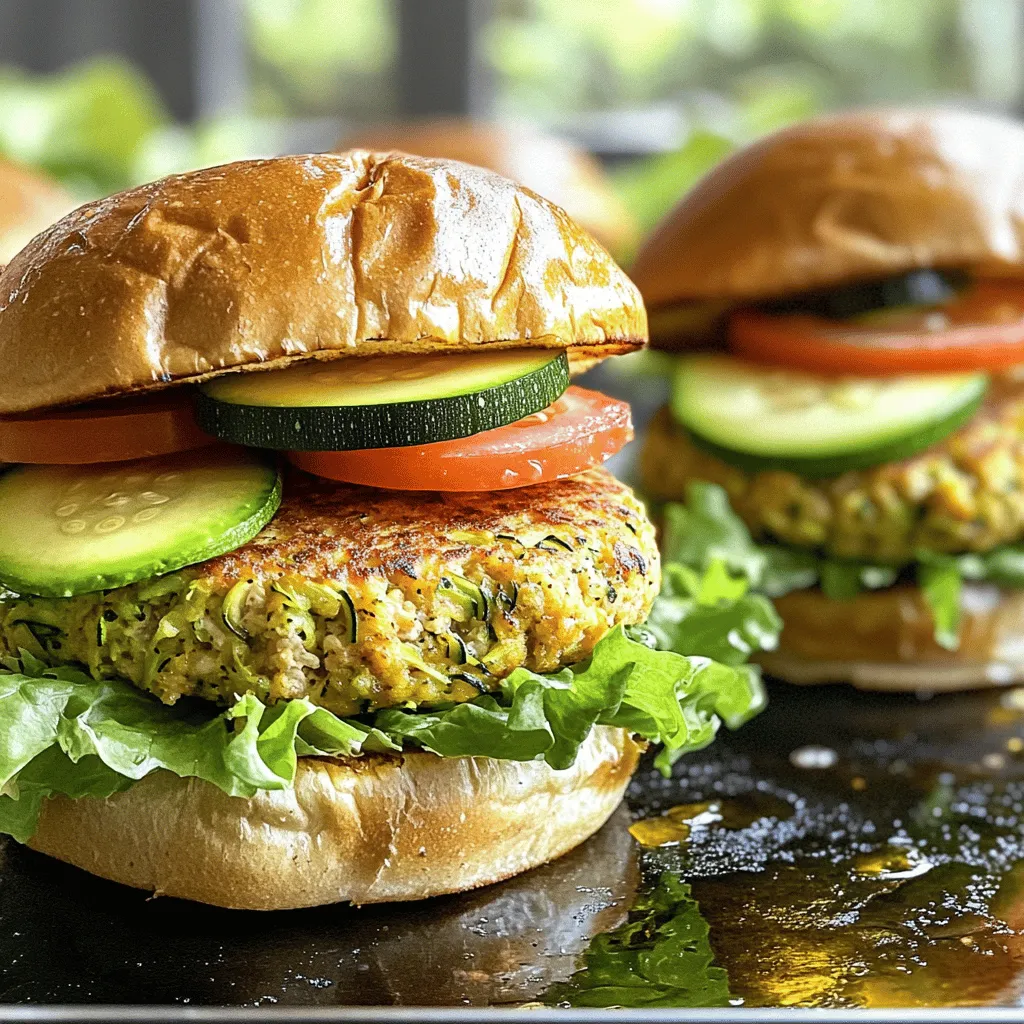
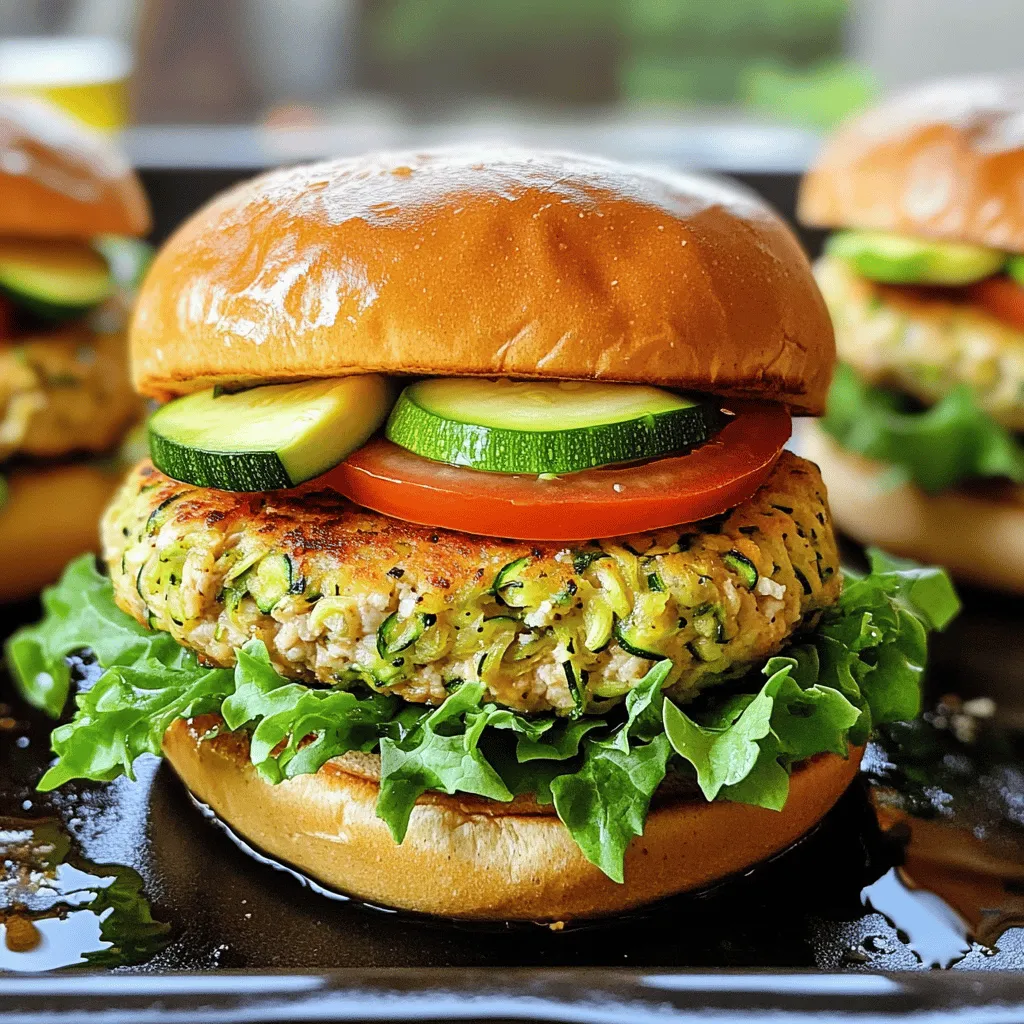
Looking for a tasty way to enjoy a healthy meal? These Healthy Chicken Zucchini Burgers are both flavorful and simple to make. Packed with lean chicken, fresh zucchini, and plenty of herbs, they are a perfect choice for any diet. Whether you choose whole wheat buns or crisp lettuce wraps, you will love every bite. Ready to dive in? Let’s make cooking fun and healthy together!
Ingredients
List of main ingredients
– Ground chicken
– Zucchini
– Breadcrumbs or almond flour
– Parmesan cheese
– Fresh parsley
– Garlic and spices
Optional toppings and serving suggestions
– Whole wheat buns or lettuce leaves
– Sliced tomatoes and crisp lettuce
– Creamy avocado and sauces
The main ingredients for these burgers are simple. You need ground chicken, which is lean and healthy. Grated zucchini adds moisture and nutrition. Breadcrumbs or almond flour binds everything together. Parmesan cheese gives a nice flavor boost. Fresh parsley adds brightness. Garlic and spices like onion powder and paprika bring depth to the taste.
For toppings, you can use whole wheat buns for a classic feel. If you want a lighter meal, try large lettuce leaves. Fresh toppings like sliced tomatoes and crisp lettuce bring freshness. Creamy avocado adds richness, while your favorite sauce can tie it all together.
This recipe is not just tasty; it is also full of nutrients.Enjoy making these delicious chicken zucchini burgers!
Tips & Tricks
Adjusting flavors and textures
To make these burgers even better, you can switch out the breadcrumbs. Try using almond flour for a gluten-free option. It adds a nice texture without gluten. You can also mix in oats for a heartier bite.
Herbs and spices can elevate your burgers. Fresh basil or cilantro adds brightness. You might also like a hint of cumin or chili powder for a warm flavor. Mix and match to find what you love!
Cooking methods
While skillet cooking is great, grilling gives a lovely smoky flavor. Preheat your grill to medium heat. Cook the patties for about six minutes on each side. Baking is another easy option. Set your oven to 375°F (190°C) and bake patties for 20 minutes.
To keep your burgers juicy, do not press down on them while cooking. Let them rest after cooking. This helps keep all the tasty juices inside.
Serving suggestions
These chicken zucchini burgers pair well with sweet potato fries or a fresh salad. The sweetness of the fries balances the savory burger. A salad adds crunch and freshness to your plate.
For sauces, you might try a tangy yogurt sauce or a spicy aioli. These add creaminess and extra flavor. Don’t forget to add your favorite toppings, like sliced tomatoes or creamy avocado, for a delicious finish!
Variations
Different protein options
You can switch the ground chicken for other proteins. Ground turkey works well and keeps it light. You might also try ground beef for a richer flavor. For a vegetarian option, mashed chickpeas or black beans can replace meat. This keeps the burger hearty and filling.
Flavor profile variations
To spice things up, add jalapeños or hot sauce for a kick. You can also create an Italian-style burger by adding oregano and basil. These changes give your burger a new twist. Experiment with different spices to find your favorite blend.
Dietary modifications
If you need a gluten-free option, almond flour is a great choice. You can also skip the bun and use large lettuce leaves for a low-carb meal. This makes the burger lighter and keeps the carbs down. Feel free to adjust based on your dietary needs.
Storage Info
How to store cooked patties
To keep your cooked chicken zucchini burgers fresh, follow these steps:
– Refrigeration tips: Place the patties in an airtight container. They will stay fresh in the fridge for up to three days. Make sure they cool down first. This helps prevent moisture buildup, which can make them soggy.
– Freezing for later use: If you want to save some for later, freeze the patties. Wrap each one in plastic wrap, then place them in a freezer bag. They can last for up to three months in the freezer. Just remember to label the bag with the date.
Reheating guidelines
To enjoy your leftovers, reheating is key. Here’s how to do it right:
– Best methods for reheating to preserve texture: The best way to reheat is on the stovetop. Heat a little oil in a skillet over medium heat. Add the patties and warm them for about 3-4 minutes on each side. This keeps them crispy.
– Serving suggestions after reheating: After reheating, serve the burgers fresh. You can add new toppings like avocado or fresh lettuce. This adds a nice crunch and flavor.
FAQs
Common questions about Healthy Chicken Zucchini Burgers
– How to ensure the burgers don’t fall apart? To keep the burgers from crumbling, make sure to squeeze out excess moisture from the zucchini. Also, use enough breadcrumbs to bind the mixture well.
– Can I make the mixture ahead of time? Yes! You can prepare the mixture a day in advance. Just store it in the fridge. Shape the patties when you’re ready to cook.
– What to serve with chicken zucchini burgers? These burgers go well with a side salad or sweet potato fries. They also pair nicely with a light dipping sauce.
Nutritional information
– Calories per serving and macronutrient breakdown: Each burger has about 200 calories. They contain around 25 grams of protein, 8 grams of fat, and 10 grams of carbs.
– Health benefits of zucchini and lean chicken: Zucchini is low in calories and high in vitamins. It adds moisture to the burgers. Lean chicken is a great source of protein, helping you feel full longer.
Cooking tips for beginners
– Ideal cooking temperature and timing: Cook the patties at medium heat. Each side should take about 5-6 minutes. The internal temperature should reach 165°F (74°C).
– Signs that the burgers are fully cooked: Look for a golden brown color on the outside. The patties should feel firm to the touch, and juices should run clear when cut.
This blog post covered how to make healthy chicken zucchini burgers. We discussed key ingredients, steps for mixing, shaping, and cooking the patties. You also got tips for flavor and cooking methods. Variations allow for different proteins and flavor profiles. Lastly, I shared storage tips and FAQs for any doubts.
These burgers are simple to make and tasty. Enjoy customizing them to fit your taste. Explore new toppings and flavors to keep meal time fun!


