
Craving a treat that combines smoothness, creaminess, and the rich flavors of peanut butter and banana? Look no further! In this post, I’ll guide you through making your own Peanut Butter Banana Ice Cream. With just a few simple ingredients, you can whip up a delicious dessert that’s both healthy and satisfying. Let’s dive into this easy recipe that will make your taste buds dance!
Why I Love This Recipe
- Deliciously Creamy: This ice cream is incredibly smooth and satisfying, making it a perfect treat on a hot day.
- Healthy Ingredients: Made with just bananas and peanut butter, it’s a guilt-free dessert option packed with nutrients.
- Easy to Make: With minimal preparation and just a few ingredients, you can whip this up in no time.
- Customizable Toppings: Add your favorite toppings like nuts or chocolate to make it your own!
Ingredients
To make the smooth and creamy peanut butter banana ice cream, gather these simple ingredients:
– 4 ripe bananas, sliced and frozen
– 1/2 cup creamy peanut butter
– 1/2 cup unsweetened almond milk
– 2 tablespoons honey or maple syrup
– 1 teaspoon vanilla extract
– Pinch of sea salt
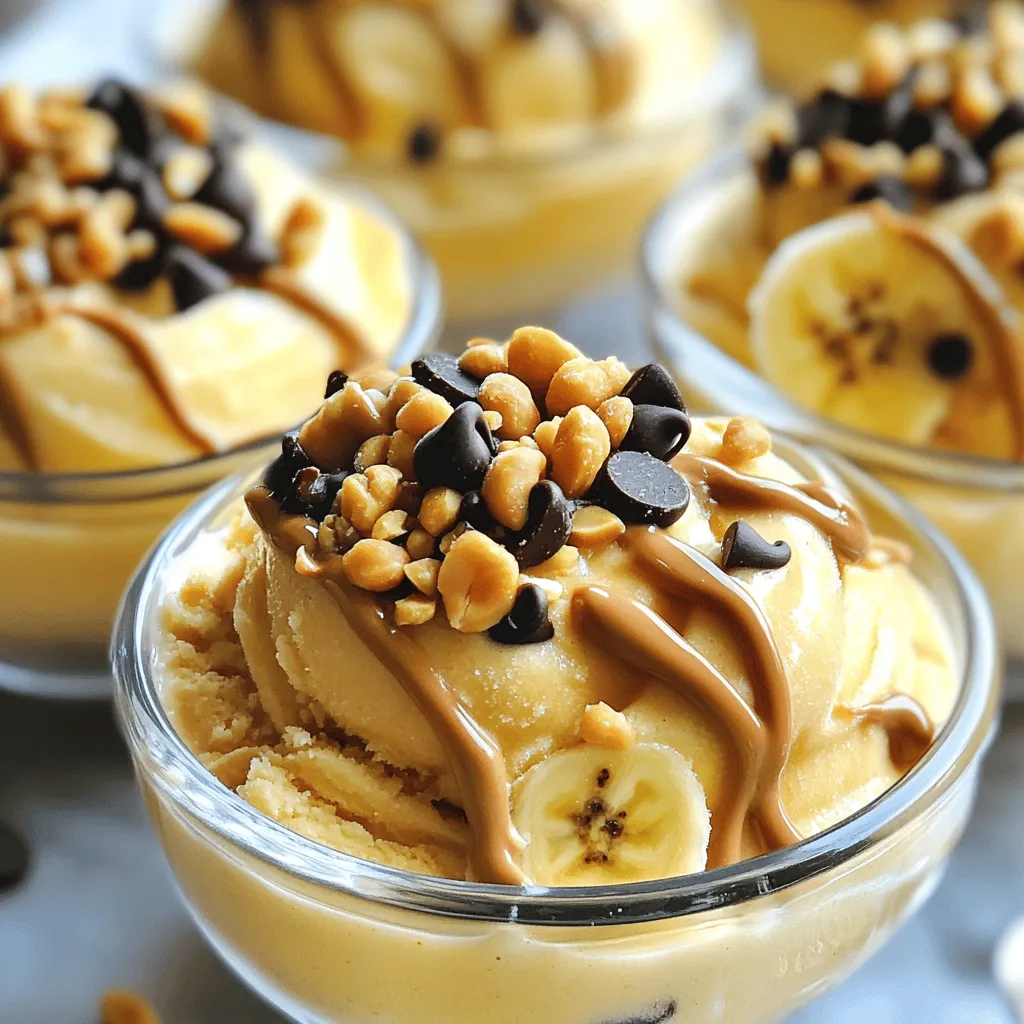
– Optional toppings: chopped peanuts, dark chocolate chips, or coconut flakes
These ingredients work together to create a rich and satisfying treat. The frozen bananas give the ice cream its creamy texture. The peanut butter adds a nutty flavor, while almond milk helps blend everything smoothly. Honey or maple syrup sweetens the mix, and vanilla extract enhances the overall taste. A pinch of sea salt rounds out the flavors perfectly.
You can customize this treat with toppings. Chopped peanuts add crunch, while dark chocolate chips give a sweet burst. Coconut flakes add a tropical twist. The choice is yours!

Step-by-Step Instructions
Preparation of Bananas
To start, you need to slice the bananas. Cut them into thick coins. This helps blend them easily. Next, spread the banana slices on a baking sheet. Make sure they do not touch each other. Place the baking sheet in the freezer. You should freeze the bananas for at least 4 hours or overnight. This gives the ice cream a nice, creamy texture.
Blending the Ingredients
For blending, use a high-speed blender or food processor. A good blender makes a big difference. It helps get that smooth and creamy texture. Add the frozen banana slices, peanut butter, almond milk, honey or maple syrup, vanilla extract, and sea salt to the blender. Blend on high speed for 2-3 minutes. Stop to scrape down the sides of the bowl. This ensures all ingredients mix well.
Additional Steps for Serving
After blending, taste the mixture. You might want to add more honey or maple syrup. If so, blend again to mix it well. Once you like the taste, transfer the ice cream to a lidded container. Spread it evenly for even freezing. If you want a firmer texture, freeze for an extra 1-2 hours. Now, your Peanut Butter Banana Ice Cream is ready to scoop and serve!
Pro Tips
- Choose Ripe Bananas: The riper the bananas, the sweeter and creamier your ice cream will be. Look for bananas with plenty of brown spots for the best flavor.
- Use a High-Speed Blender: A high-speed blender or food processor is essential for achieving that smooth and creamy texture. Don’t skimp on this equipment!
- Experiment with Sweeteners: Depending on your taste preference, adjust the amount of honey or maple syrup. You can even try agave syrup or stevia for a sugar-free option.
- Store Properly: To prevent the ice cream from becoming too hard, let it sit at room temperature for a few minutes before scooping. Store in an airtight container to maintain freshness.
Tips & Tricks
Achieving the Best Texture
To make the best peanut butter banana ice cream, start with ripe bananas. Ripe bananas have more sweetness and a better flavor. This makes a big difference in the final treat. Aim for bananas with brown spots. You can freeze them ahead of time for a smooth blend.
Adjust the almond milk based on your desired creaminess. If you want it thicker, use less milk. If you prefer it lighter, add a bit more. This small tweak helps you get just the right texture for your ice cream.
Presentation Ideas
Serving your ice cream nicely makes it even more fun. Use chilled bowls to keep the ice cream firm longer. You can drizzle some extra peanut butter on top for a great look. Add a sprinkle of your favorite toppings like chopped peanuts or dark chocolate chips. These not only add flavor but also make your dessert look colorful.
Common Mistakes to Avoid
Watch out for over-mixing the ingredients. Blend just until smooth and creamy. If you mix too much, the texture can turn too runny. Also, be sure to freeze the mixture long enough. For a firmer texture, let it freeze for a few hours. If you don’t freeze it long enough, it will be too soft to scoop.
Variations
Flavor Combinations
You can boost the flavor of your Peanut Butter Banana Ice Cream in fun ways. Adding cocoa powder is great for chocolate lovers. Just mix in 2 tablespoons of cocoa powder while blending. This simple step creates a rich, chocolatey twist that pairs well with peanut butter.
You can also explore other nut butters. Almond butter or cashew butter can change the taste. Each nut butter has its own unique flavor. Feel free to mix and match to find your favorite combo.
Healthier Alternatives
If you want a healthier option, you can substitute maple syrup or honey. Try using agave nectar or stevia. Both are natural sweeteners that can lower sugar content. Adjust according to your taste preferences.
For those needing dairy-free and nut-free options, use coconut milk instead of almond milk. This will create a creamy texture without any nuts. You can also skip the peanut butter and use sunflower seed butter. This still gives you a tasty treat without the allergens.
Seasonal Twists
You can make this ice cream even more exciting with seasonal fruits. In summer, add fresh strawberries or blueberries for a fruity burst. Just mix in 1 cup of your chosen fruit while blending.
If you want to make a festive version for holidays, consider adding spices. A pinch of cinnamon or nutmeg can enhance the flavor. You can also mix in crushed gingerbread cookies for a fun holiday twist.
Storage Info
How to Store Peanut Butter Banana Ice Cream
To keep your peanut butter banana ice cream fresh, use an airtight container. Glass or plastic containers work well. Make sure the container is deep enough to hold all of the ice cream. Storing it properly can help maintain its smooth and creamy texture.
For the best taste and texture, eat your ice cream within two weeks. After this time, it may start to lose flavor and creaminess. If you keep it in the freezer for longer, it will still be safe to eat, but it might not be as enjoyable.
Re-freezing and Serving
Can you refreeze after serving? Yes, you can re-freeze the ice cream. Just make sure to seal it tightly after scooping some out. However, repeated thawing and freezing can change its texture. If you notice it becoming icy, try to limit how often you refreeze.
Before serving, you might need to soften the ice cream. Let it sit at room temperature for about 5-10 minutes. This will make scooping easier. If it’s still too hard, use a warm scoop to help you. Enjoy your creamy treat!
FAQs
Can I use fresh bananas instead of frozen?
No, fresh bananas will not work well. Frozen bananas give the ice cream a smooth and creamy texture. When you freeze ripe bananas, they become soft. This softness is key for blending. I recommend slicing and freezing them for at least four hours or overnight.
Is this recipe suitable for kids?
Yes, this recipe is great for kids! It contains no artificial ingredients and uses simple, wholesome foods. The sweet taste of bananas and the richness of peanut butter make it a hit with children. Plus, they can help you make it!
How long does it take to make Peanut Butter Banana Ice Cream?
It takes about 10 minutes to prepare the ice cream. However, you need to freeze the bananas for at least four hours first. The total time from start to finish is about four hours and ten minutes. Most of this time is just waiting for the bananas to freeze.
What’s the nutritional information for Peanut Butter Banana Ice Cream?
This ice cream is both tasty and healthy. Each serving contains roughly 200 calories. It also has protein from peanut butter and healthy fats. The bananas add fiber and natural sweetness.
Can I make this recipe without a blender?
You can try using a food processor if you don’t have a blender. However, a blender usually works better for a super smooth texture. If you use a fork, it will take a lot longer and may not be as creamy.
This blog post shared a simple recipe for Peanut Butter Banana Ice Cream. You learned about key ingredients, like ripe bananas and creamy peanut butter. I provided step-by-step guidance for preparation, blending, and serving. You also discovered helpful tips to avoid common mistakes and create your ideal texture. Finally, we discussed fun variations and storage tips.
Now you have the tools to make a tasty, healthy treat that’s fun for everyone! Enjoy making this ice cream with your favorite flavors and toppings.


