
Welcome to the world of Roasted Garlic Hummus! This easy, flavorful recipe packs a punch with simple ingredients like chickpeas, tahini, and, of course, roasted garlic. I’ll share tips and tricks to elevate your hummus game, from perfecting the roasting process to fun variations you can try. Whether you’re hosting a gathering or enjoying a quick snack, this hummus will impress everyone. Let’s dive into making your new favorite dip!
Why I Love This Recipe
- Delicious Flavor: The roasted garlic adds a rich, sweet flavor that elevates the classic hummus taste.
- Easy to Make: This recipe requires minimal ingredients and just a few steps, making it perfect for any skill level.
- Healthy Snack: Packed with protein and healthy fats, this hummus is a nutritious option for snacking or meal prep.
- Versatile Dip: Great for pairing with veggies, pita bread, or as a spread on sandwiches, it fits into many meals.
Ingredients
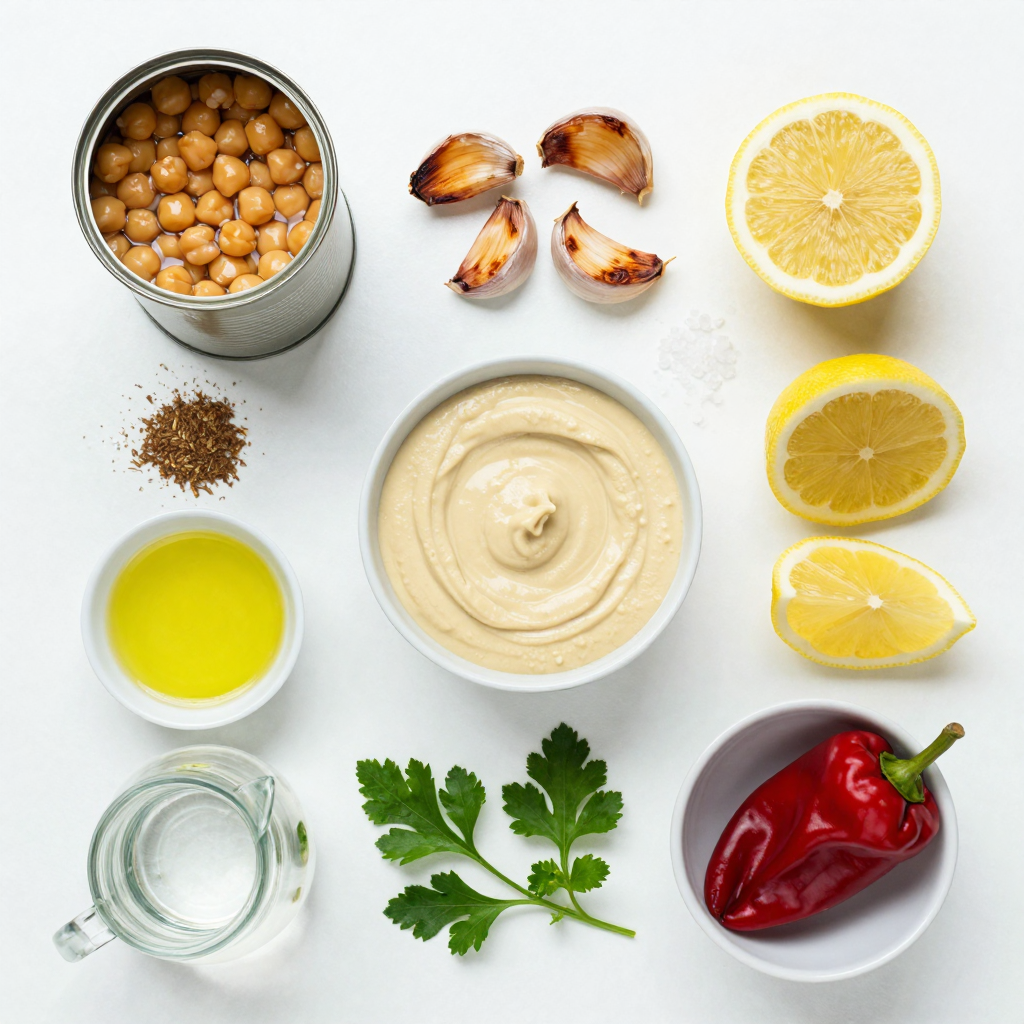
Essential Ingredients for Roasted Garlic Hummus
– 1 can (15 oz) chickpeas, drained and rinsed
– 4 cloves of garlic, roasted
– 1/4 cup tahini
– 2 tablespoons lemon juice
– 2 tablespoons olive oil (plus extra for drizzling)
– 1/2 teaspoon ground cumin
– Salt, to taste
– Water, as needed for desired consistency
These core ingredients create the base of your roasted garlic hummus. The chickpeas offer a creamy texture and protein. Roasted garlic brings a sweet, mellow flavor that warms the dish. Tahini adds a nutty element, while olive oil gives richness. Lemon juice brightens the flavor, and cumin adds depth.
Optional Garnishes
– Fresh parsley
– Paprika
– Additional olive oil drizzle
Garnishes elevate your hummus. Fresh parsley adds a nice color and freshness. Paprika offers a hint of smokiness and a pop of color. A drizzle of olive oil not only makes it look great, but it enhances the flavor too.
Step-by-Step Instructions
Preparation of Ingredients
Roasting the garlic
First, preheat your oven to 400°F (200°C). Take four cloves of garlic. Wrap them in aluminum foil. Roast the garlic for about 20-25 minutes. It should be soft and fragrant. Let it cool a bit before you touch it.
Preparing chickpeas
Grab one can of chickpeas. Drain the chickpeas and rinse them well under cold water. This step helps remove extra sodium and gives a better taste. Now, you’re ready to blend!
Blending the Hummus
Combining all ingredients in a food processor
In your food processor, combine the roasted garlic, chickpeas, tahini, lemon juice, olive oil, and ground cumin. Add a pinch of salt too. This mix will create that rich, creamy texture we love.
Achieving the desired consistency
Blend the mixture until smooth. If it looks too thick, add water one tablespoon at a time. Keep blending until you reach that perfect hummus consistency. Taste it and adjust the seasoning if needed.
Serving Suggestions
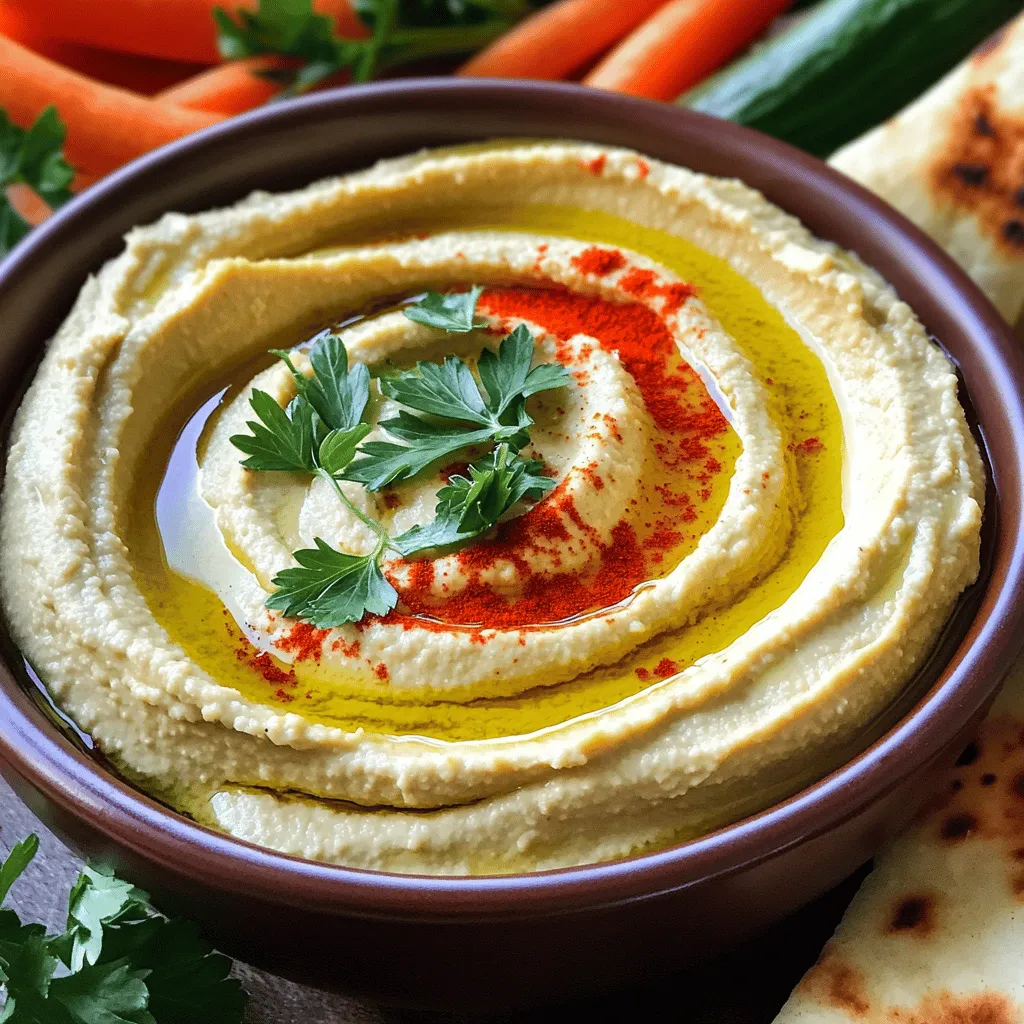
Presentation tips
Scoop the hummus into a serving bowl. Drizzle a bit of olive oil on top. Sprinkle paprika and some fresh parsley for color. This makes it look great!
Pairing ideas
Serve your hummus with warm pita bread, fresh veggies, or crunchy crackers. It also goes well with grilled meats or as a dip for a party. Enjoy your tasty creation!
Pro Tips
- Use Fresh Ingredients: Fresh lemon juice and high-quality tahini can significantly enhance the flavor of your hummus.
- Adjust Consistency: For a creamier texture, add more olive oil or water gradually until you reach the desired consistency.
- Experiment with Spices: Feel free to add other spices like smoked paprika or cayenne pepper for a different flavor profile.
- Chill Before Serving: For the best flavor, let your hummus chill in the refrigerator for at least 30 minutes before serving.
Tips & Tricks
Perfecting Roasted Garlic Flavor
To get the best roasted garlic flavor, I recommend roasting at 400°F (200°C) for 20-25 minutes. This time and heat bring out a sweet, mellow taste. The garlic should feel soft when you squeeze it.
Using regional garlic varieties can also help. Each type has its own unique flavor. Local garlic often tastes fresher and can add a nice twist to your hummus.
Hummus Consistency Techniques
The thickness of your hummus can change based on your preference. If it’s too thick, add water slowly, one tablespoon at a time. Blend well after each addition until you reach the right texture.
If you want to avoid using water, try adding olive oil or lemon juice. These ingredients can help adjust the thickness while also enhancing the flavor.
Enhancing Flavor Profiles
To make your hummus even better, consider adding spices like smoked paprika or cayenne pepper. These can give a nice kick to your dish.
Incorporating fresh herbs can also elevate the taste. Parsley and cilantro work well, adding color and flavor. Experiment with different herbs to find your favorite mix.
Variations
Flavor Variations
You can easily switch up the flavors in roasted garlic hummus. One popular option is spicy roasted garlic hummus. To make it, add a pinch of cayenne pepper or some chopped jalapeños. This gives your hummus a nice kick.
Another great choice is herbed roasted garlic hummus. You can mix in fresh herbs like basil or cilantro. This adds a fresh taste and vibrant color to your dip.
Ingredient Alternatives
Sometimes you might want to change a few ingredients. For a lighter option, try low-fat tahini. You can find brands that reduce fat but still keep great flavor.
If you need a chickpea substitute, consider using white beans or lentils. They blend well and give a similar creamy texture.
Serving and Dipping Options
When it comes to serving, think outside the box! Vegetable dippers like carrots, celery, or bell pepper strips are excellent. They add crunch and freshness to each bite.
You can also serve hummus with crackers or pita bread. Both options are great for scooping. Plus, they complement the rich flavors of the hummus.
Storage Info
Storing Homemade Hummus
To keep your roasted garlic hummus fresh, use airtight containers. Glass jars work well. They seal tightly and prevent air from getting in. Plastic containers are also good but make sure they are BPA-free.
In the fridge, your hummus will stay fresh for about five to seven days. Always check for any off smells or changes in color before eating. If it looks or smells funny, it’s best to toss it.
Freezing Tips
You can freeze hummus for later use. To do this, scoop it into a freezer-safe container. Leave some space at the top. Hummus expands as it freezes.
When you want to use it, move the container to the fridge. Let it thaw overnight. For quick thawing, you can also place it in warm water for about 30 minutes. After thawing, stir it well. You may need to add a bit of water to get the right consistency. Enjoy your hummus again!
FAQs
What is roasted garlic hummus?
Roasted garlic hummus is a smooth dip made from chickpeas and roasted garlic. It has a rich, savory flavor that is both nutty and creamy. The roasted garlic adds a sweet and mellow taste, making it a favorite among many. You can enjoy it as a snack, spread, or party appetizer.
How long does roasted garlic hummus last?
Store roasted garlic hummus in the fridge for up to five days. Look for signs of spoilage such as an off smell or mold. If you see either, it’s best to toss it.
Can I make roasted garlic hummus in advance?
Yes, you can make roasted garlic hummus ahead of time. Prepare it two to three days before your event. Store it in an airtight container in the fridge to keep it fresh.
Where to buy roasted garlic hummus?
You can find roasted garlic hummus at most grocery stores. Look in the deli section or refrigerated aisle. Brands like Sabra and Tribe often carry this flavor. For fresh options, check your local farmer’s market.
Roasted garlic hummus is simple and fun to make. You need key ingredients like chickpeas, roasted garlic, and tahini. Follow our easy steps to blend them into a creamy dip. Feel free to try different flavors or pair it with veggies or crackers. Store any leftovers properly to keep them fresh. This hummus is versatile and can spice up any meal. I hope you’re excited to make your own tasty hummus at home. Enjoy experimenting with different flavors!


