
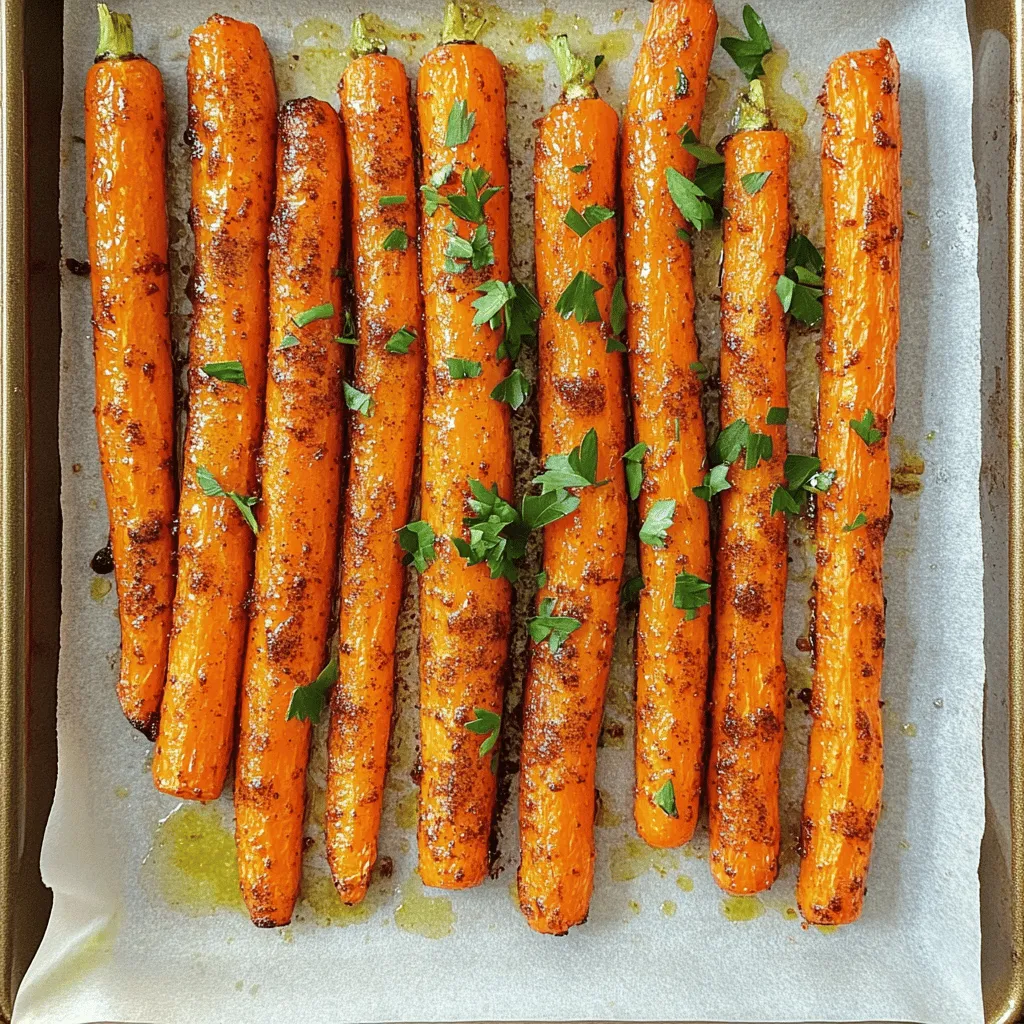
Looking for a simple yet tasty side dish? You’ve come to the right place! These roasted carrots are easy to make and packed with flavor. With just a few ingredients and straightforward steps, you’ll have a delicious snack or side ready in no time. Let’s dive into how you can transform ordinary carrots into a savory delight that everyone will love!
Why I Love This Recipe
- Deliciously Sweet and Savory: The combination of brown sugar and spices creates a perfect balance of sweetness and savory flavors that highlight the natural taste of carrots.
- Easy to Prepare: With just a few simple ingredients and minimal prep time, this recipe is perfect for busy weeknights or as a quick side dish for gatherings.
- Healthier Side Option: Roasting carrots enhances their flavor without the need for heavy sauces, making them a nutritious choice packed with vitamins.
- Versatile Dish: These roasted carrots can complement a variety of main courses, from grilled meats to vegetarian dishes, making them a go-to side for any meal.
Ingredients
Main Ingredients
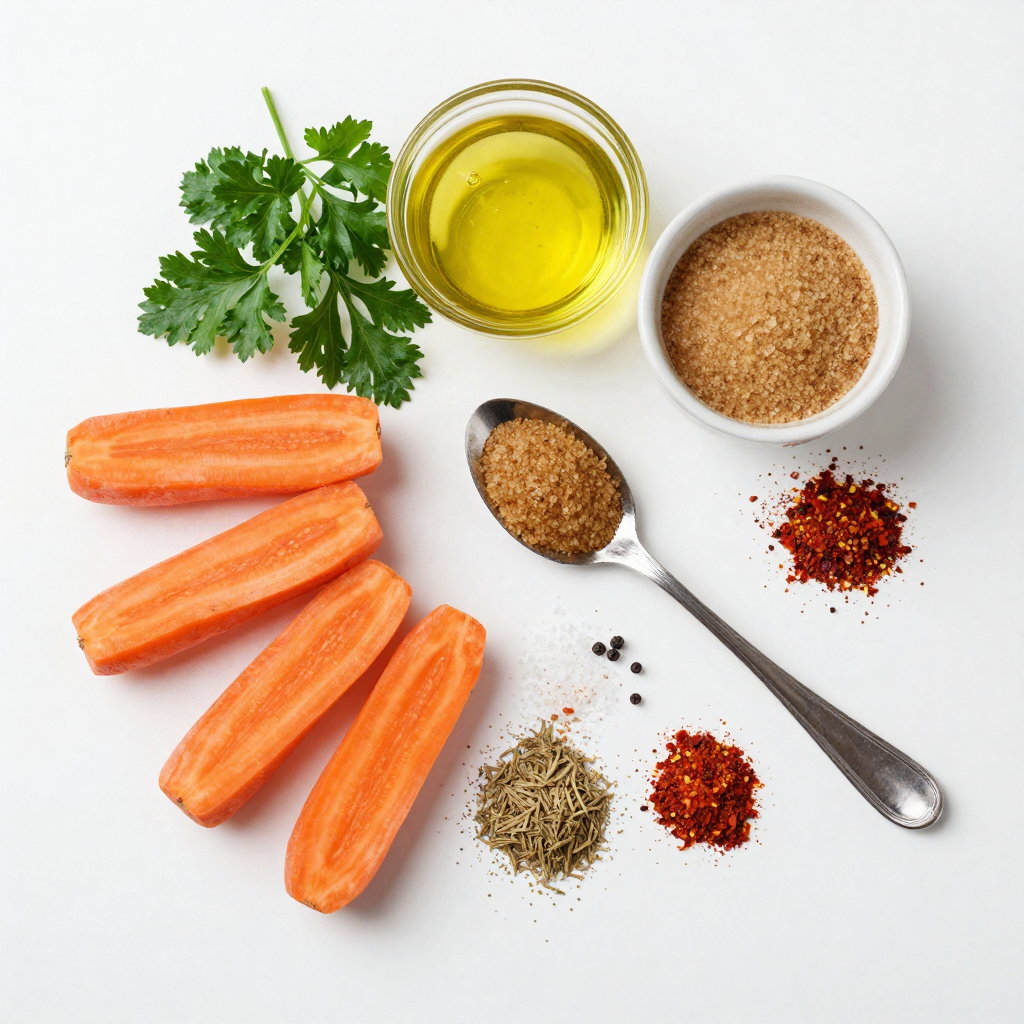
– 1 lb carrots, peeled and cut into sticks
– 2 tablespoons olive oil
– 1 tablespoon brown sugar
– 1 teaspoon smoked paprika
– 1 teaspoon ground cumin
– ½ teaspoon cayenne pepper
– Salt and pepper to taste
– Fresh parsley for garnish
The main ingredients are key to making simple roasted carrots taste great. Start with fresh carrots. Choose firm ones that are bright in color. These will give you the best flavor and texture. Olive oil adds richness and helps the spices stick. Brown sugar brings a hint of sweetness and helps caramelize the carrots. Spice them up with smoked paprika, ground cumin, and cayenne pepper. Adjust the cayenne based on how much heat you like. Finally, don’t forget the salt and pepper to enhance the flavors.
Optional Ingredients
– Other spices like garlic powder or thyme
– Honey or maple syrup for sweetness
You can play with optional ingredients to change the taste. Garlic powder adds a savory touch, while thyme gives a fresh, herbal flavor. If you want to boost the sweetness even more, try honey or maple syrup instead of brown sugar. These options let your creativity shine.
Recommended Kitchen Tools
– Baking sheet
– Parchment paper
– Mixing bowl
Using the right tools makes cooking easier. A baking sheet helps the carrots roast evenly. Lining it with parchment paper makes cleanup a breeze. A mixing bowl is perfect for tossing the carrots with oil and spices. This setup ensures you have a smooth cooking process and tasty results.
Step-by-Step Instructions
Preparation Steps
– Preheat the oven to 425°F (220°C).
– Prepare the carrot sticks. Cut them into even pieces. This helps them cook evenly.
Cooking Steps
– Toss the carrots with olive oil in a large bowl. Make sure they are well-coated.
– Add brown sugar, smoked paprika, ground cumin, cayenne pepper, salt, and pepper. Mix well to coat all the carrots.
Roasting Steps
– Arrange the carrots in a single layer on a baking sheet. Use parchment paper for easy cleanup.
– Roast in the oven for 20-25 minutes. Turn the carrots halfway through cooking. This ensures even cooking and caramelization.
Pro Tips
- Choose Fresh Carrots: Always opt for fresh, firm carrots for the best flavor and texture. Look for ones that are bright in color and free from blemishes.
- Cut Evenly: Make sure to cut your carrot sticks into uniform sizes to ensure even cooking. This helps avoid some pieces being overcooked while others are undercooked.
- Experiment with Spices: Feel free to adjust the spices to your liking or add others such as garlic powder or thyme for a different flavor profile.
- Check for Doneness: Keep an eye on the carrots as they roast. They should be tender and caramelized; you can test doneness by piercing them with a fork.
Tips & Tricks
Achieving Perfect Texture
Cutting your carrots evenly is key. This helps them cook at the same rate. Aim for sticks about the same size. They should be around 1/2 inch thick. When they are done, they should be tender and slightly caramelized. You can poke them with a fork to check. If they feel soft and have a bit of color, they are perfect.
Enhancing Flavor
You can adjust the spices to match your taste. Try adding garlic powder for depth. If you want more heat, add extra cayenne pepper. Roasted carrots pair well with other veggies. Try mixing in bell peppers or zucchini. This creates a colorful and tasty mix.
Presentation Ideas
How you serve your carrots can impress your guests. Use a nice plate and arrange the carrots in a fan shape. This makes them look elegant. For a pop of color, sprinkle fresh parsley on top. You could also add a squeeze of lemon juice for brightness.
Variations
Flavor Variations
You can change up the taste of roasted carrots in fun ways. One option is Sweet & Spicy Roasted Carrots. This version uses brown sugar and spices for a kick. You get a nice balance of sweet and heat with smoked paprika and cayenne pepper. It adds depth and makes the carrots really shine.
Another idea is Herb-Infused Roasted Carrots. Here, you can use fresh herbs like thyme or rosemary. These herbs add freshness and a lovely aroma. Just toss them in with the carrots before roasting. This gives you a light and fragrant dish that pairs well with many meals.
Dietary Adaptations
Making your roasted carrots fit your diet is easy. For vegan-friendly options, just use olive oil without any butter. All the other ingredients are already plant-based. This keeps the dish tasty and suitable for everyone.
If you need gluten-free options, you’re in luck! This recipe is naturally gluten-free. Just make sure that any additional seasonings you add are also gluten-free. This way, you can enjoy the flavors without worry.
Cooking Methods
You can also roast your carrots in an air fryer for a quicker option. Just toss the carrot sticks with olive oil and spices as usual. Then, place them in the air fryer basket. Cook them at 400°F (200°C) for about 15-20 minutes. Shake the basket halfway for even cooking.
If you prefer stovetop cooking, try sautéing the carrots. Heat some olive oil in a large pan over medium heat. Add the carrot sticks and sauté for about 10-15 minutes. Stir often until they soften and start to caramelize. This method gives you great flavor and a nice texture.
Storage Info
Refrigeration
To store leftover roasted carrots, let them cool first. Place the carrots in an airtight container. This keeps them fresh longer. I suggest using glass or plastic containers. They seal well and make it easy to see what’s inside.
Freezing
Freezing roasted carrots is simple. First, let them cool completely. Then, spread them on a baking sheet. Freeze them for about an hour. Once frozen, transfer them to a freezer-safe bag. Squeeze out as much air as possible before sealing. To reheat, take them out and bake at 400°F (200°C) for about 10-15 minutes. This warms them up nicely without losing flavor.
Shelf Life
In the fridge, roasted carrots last about 3 to 5 days. Keep an eye on them. If they start to smell bad or look slimy, it’s time to toss them. Fresh carrots should be firm and bright in color. If you notice any dark spots, that’s a sign of spoilage.
FAQs
How do I make Simple Roasted Carrots?
To make simple roasted carrots, start by preheating your oven to 425°F (220°C). Next, peel and cut 1 lb of carrots into sticks. In a bowl, toss the carrot sticks with 2 tablespoons of olive oil. Then, add 1 tablespoon of brown sugar, 1 teaspoon of smoked paprika, 1 teaspoon of ground cumin, and ½ teaspoon of cayenne pepper. Don’t forget to sprinkle salt and pepper to taste. Mix until the carrots are evenly coated. Spread them out on a baking sheet lined with parchment paper. Roast them for 20-25 minutes, turning halfway. The carrots should be tender and caramelized.
What temperature is best for roasting carrots?
The best temperature for roasting carrots is 425°F (220°C). This heat helps the carrots caramelize nicely. Caramelization brings out their natural sweetness. It also gives them a wonderful golden color. If the oven is too hot, the carrots may burn. If it’s too cool, they will not cook properly. So, stick to this temperature for perfect results.
Can I use baby carrots instead?
Yes, you can use baby carrots instead of regular ones. Baby carrots are smaller and more tender. You won’t need to cut them, but you should adjust the cooking time. Roast baby carrots for about 15-20 minutes. Check for tenderness by piercing them with a fork. They should be soft but not mushy. Feel free to use the same seasoning mix for great flavor.
Roasting carrots is an easy and tasty way to enjoy this healthy veggie. We discussed key ingredients, cooking steps, and helpful tips for great results. You can try different flavors and methods to suit your taste. Remember, even small changes, like adding spices or adjusting cooking times, make a big difference. Follow the steps and enjoy a delicious dish. Happy cooking!


