
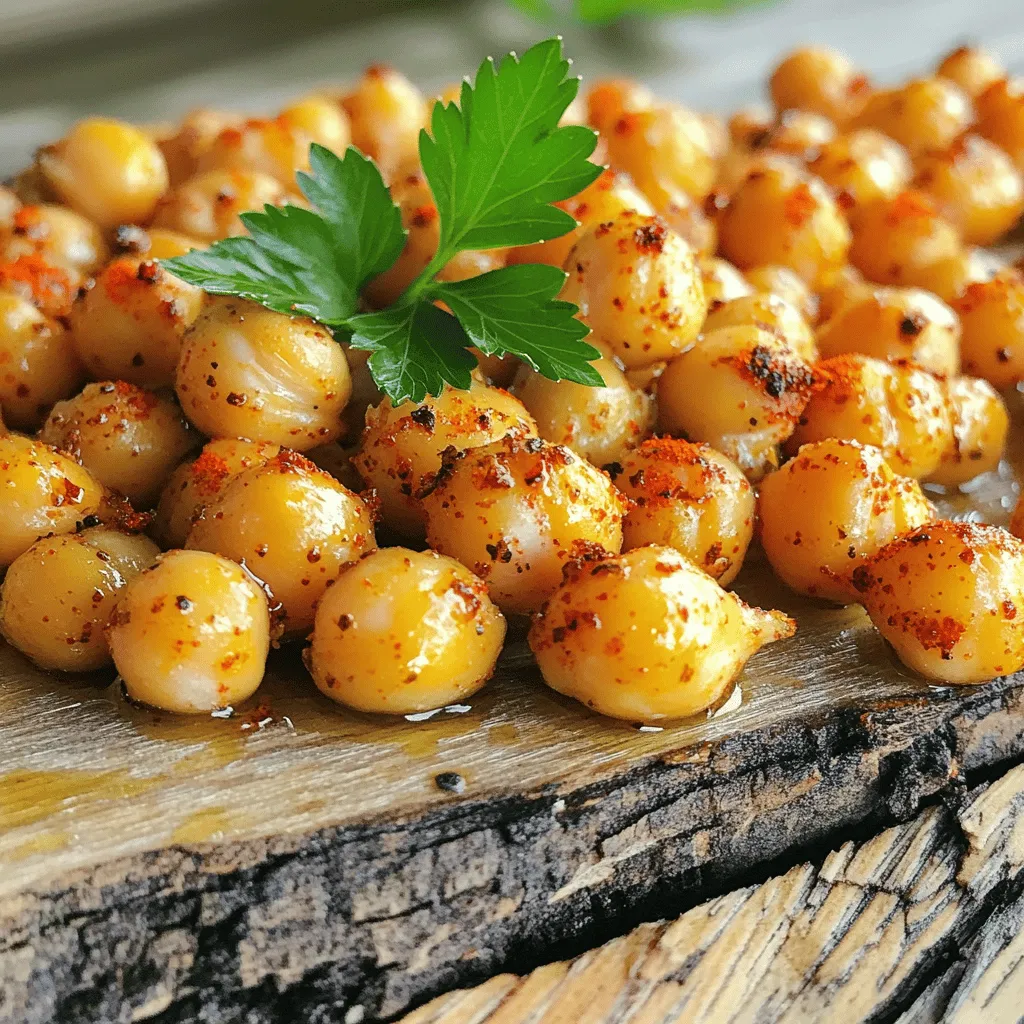
Looking for a tasty snack that packs a flavorful punch? My spicy roasted chickpeas are the answer! These crunchy bites are easy to make and full of health benefits. Using simple ingredients, you can whip up a snack that satisfies your cravings. Ready to learn how to get that perfect crisp and bold taste? Let’s dive into the delicious world of spicy roasted chickpeas!
Why I Love This Recipe
- Crispy Perfection: The roasting process transforms chickpeas into crunchy bites that are irresistible.
- Flavor Packed: The combination of spices creates a bold flavor that elevates simple chickpeas into a gourmet snack.
- Versatile Snack: Enjoy them alone or as a topping for salads and soups, adding both crunch and nutrition.
- Quick and Easy: With just 10 minutes of prep time, you can have a delicious snack ready in under 40 minutes.
Ingredients
List of Ingredients
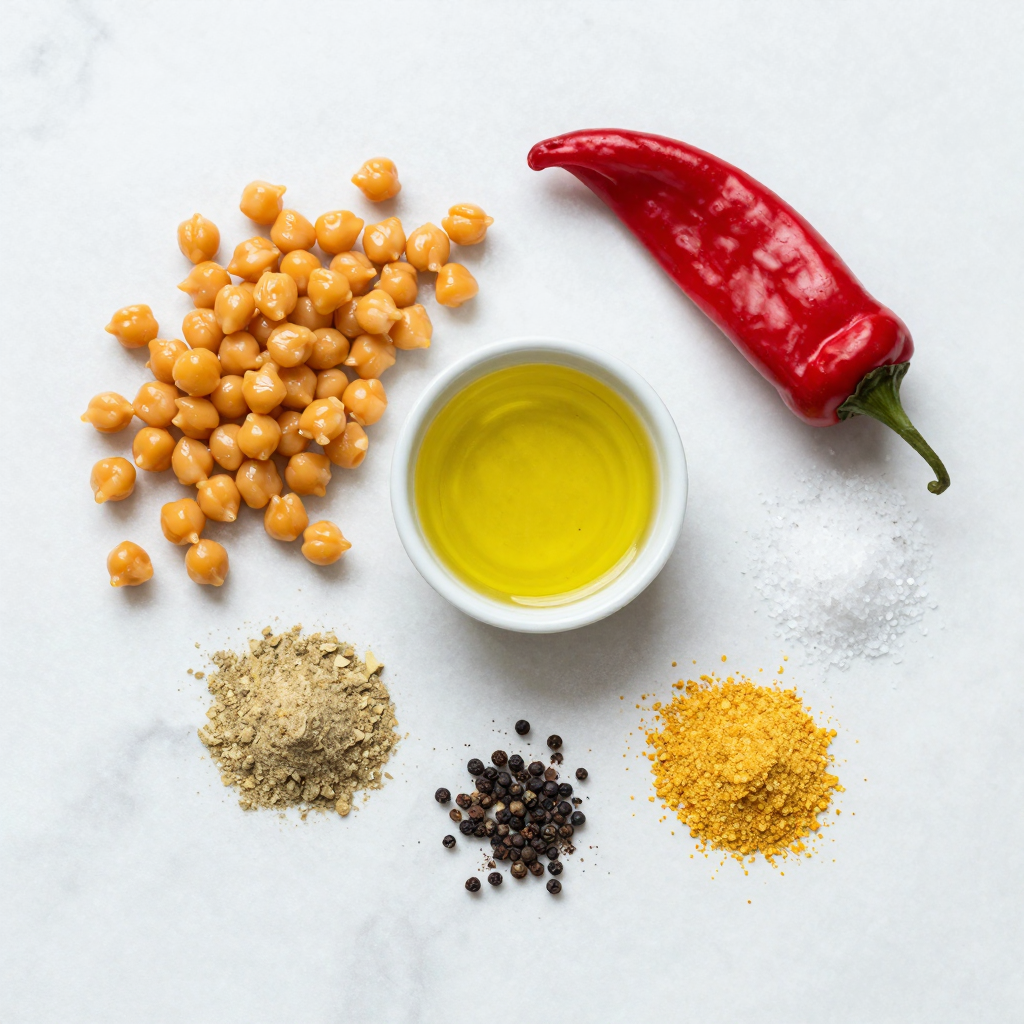
– 1 can (15 oz) chickpeas, drained and rinsed
– 2 tablespoons olive oil
– 1 teaspoon smoked paprika
– 1/2 teaspoon cayenne pepper
– 1 teaspoon garlic powder
– 1 teaspoon onion powder
– 1/2 teaspoon salt
– 1/4 teaspoon black pepper
– 1 tablespoon nutritional yeast (optional)
Chickpeas are the star of this recipe. They offer great flavor and crunch. I love using canned chickpeas for convenience. Just drain and rinse them to remove excess sodium. Olive oil adds richness and helps the spices stick.
The spices create a flavor explosion. Smoked paprika gives a nice depth. Cayenne pepper adds heat. You can adjust the amount to match your taste. Garlic and onion powder enhance the savory goodness.
Nutritional yeast is optional but great for a cheesy kick. It’s packed with vitamins! This mix of ingredients makes each bite a delightful experience.
Nutritional Information
– Each serving has about 120 calories.
– It contains 5 grams of protein.
– There are 2 grams of fat.
– Each serving has 4 grams of fiber.
Chickpeas are a superfood. They are high in protein and fiber, making them filling. These nutrients help with digestion and keep you satisfied. They also provide essential vitamins and minerals.
Roasting chickpeas makes a healthy snack. You can enjoy them without guilt. They are a great alternative to chips or other snacks. More than just tasty, they offer health benefits that you can feel good about.
Step-by-Step Instructions
Preheat and Prepare
– First, preheat your oven to 400°F (200°C). This heat is key for a crispy snack.
– Next, drain and rinse the chickpeas. Use a paper towel to pat them dry. Removing moisture helps them crisp up nicely.
Mixing the Spices
– In a bowl, mix 2 tablespoons of olive oil with the spices. Use 1 teaspoon of smoked paprika, 1/2 teaspoon of cayenne pepper, 1 teaspoon of garlic powder, 1 teaspoon of onion powder, 1/2 teaspoon of salt, and 1/4 teaspoon of black pepper.
– If you want a cheesy flavor, add 1 tablespoon of nutritional yeast. Blend the oil and spices well. This mixture is vital for flavor.
– Toss the dry chickpeas in the spice mix until they are fully coated. An even coat ensures every bite is full of flavor.
Roasting Process
– Spread the coated chickpeas on a baking sheet lined with parchment paper. Make sure they are in a single layer. This helps them roast evenly.
– Place the baking sheet in the oven. Roast for 25-30 minutes. Halfway through, toss the chickpeas to ensure they cook evenly.
– When they turn golden brown and crispy, remove them from the oven. Let them cool for a few minutes. They will get even crispier as they cool.
Pro Tips
- Dry Chickpeas for Crispy Texture: Make sure to pat the chickpeas dry before tossing them in the oil and spices; this step is crucial for achieving that perfect crunch.
- Adjust the Spice Level: Feel free to modify the amount of cayenne pepper based on your heat preference. Start with less if you are unsure, and add more if you want extra kick.
- Even Roasting: Spread the chickpeas in a single layer on the baking sheet to ensure they roast evenly. Overcrowding can lead to steaming instead of roasting.
- Cool for Maximum Crispiness: Allow the chickpeas to cool for a few minutes after roasting. They will continue to crisp up as they cool, enhancing the texture.
Tips & Tricks
Achieving Crispy Chickpeas
To make your chickpeas crispy, start by drying them well. After rinsing, use a paper towel to soak up moisture. This step is key for that crunchy texture. Next, roast them at 400°F (200°C). This heat gets them golden and crispy in about 25-30 minutes. Toss them halfway through to ensure even cooking.
Flavor Enhancements
You can boost the flavor of your chickpeas with other spices too. Try adding cumin for warmth or chili powder for extra heat. If you love cheesy flavors, sprinkle in some nutritional yeast. It gives a nice taste without dairy. Mix and match spices to find your favorite combo.
Serving Suggestions
Roasted chickpeas make a great snack on their own. You can also sprinkle them on salads or soups for a crunchy twist. For a beautiful presentation, serve them in a rustic bowl. Add a sprig of fresh parsley on top for color. You can even package them in jars for gifts or snack packs.
Variations
Different Spice Combinations
You can change the spice mix for your roasted chickpeas. Try using spices like cumin or curry powder for a different flavor. If you want a mild bite, skip the cayenne. For extra heat, add more cayenne or chili powder. You could even try a sweet twist by mixing in cinnamon and sugar for a unique snack. These options let you find the perfect balance that suits your taste buds.
Using Different Legumes
Chickpeas are great, but you can also roast other legumes. Try using black beans, kidney beans, or lentils. Each legume has its own unique taste and texture. Roasting different beans gives you new flavor profiles. Plus, you get various health benefits. Beans pack protein and fiber, making them a smart choice for a snack.
Creative Snack Ideas
Roasted chickpeas are not just a snack on their own. You can mix them into salads for a crunchy topping. Try adding them to grain bowls for extra protein. Pair them with dips like hummus or yogurt sauce for a fun twist. You can also use them in wraps or tacos for added crunch. There are endless ways to enjoy these crispy bites.
Storage Info
Storing Leftovers
To keep your spicy roasted chickpeas crispy, store them in an airtight container. Avoid using plastic bags, as they can trap moisture. Instead, use a glass jar or a metal tin. This keeps your snack crunchy and tasty. Make sure to let them cool completely before sealing the container. This helps prevent steam buildup, which can make them soggy.
Freezing Tips
Yes, you can freeze roasted chickpeas! To do this, spread them out on a baking sheet. Freeze them for about an hour. Once they are frozen solid, transfer them to a freezer bag. When you’re ready to enjoy them again, thaw the chickpeas in the fridge overnight. To re-crisp them, bake in a preheated oven at 400°F (200°C) for about 10 minutes. This will bring back their delightful crunch.
Shelf Life
When stored properly, spicy roasted chickpeas can last for about a week. Always check for signs of spoilage. If they smell off or appear soft, it’s best to toss them. To ensure freshness, label your containers with the date you made them. This simple step helps you enjoy your snack at its best.
FAQs
How long does it take to make Spicy Roasted Chickpeas?
Making Spicy Roasted Chickpeas is quick and easy. The prep time is about 10 minutes. You will spend around 25 to 30 minutes cooking them in the oven. So, the total time from start to finish is around 40 minutes. This makes it a great snack for busy days!
Can I adjust the spice levels in the recipe?
Yes, you can easily adjust the spice levels. If you like it milder, use less cayenne pepper. You can also add a bit of sugar to balance the heat. For more spice, just increase the cayenne or add a dash of hot sauce. Experiment with different spices to find your perfect mix!
What are the best ways to serve Spicy Roasted Chickpeas?
There are many fun ways to serve Spicy Roasted Chickpeas. You can enjoy them as a snack on their own. They also make a crunchy topping for salads or soups. Try adding them to grain bowls for extra texture. You can even serve them with dips like hummus or yogurt for a tasty bite.
Spicy roasted chickpeas are not just tasty but also healthy. We covered easy steps, tasty spice mixes, and creative serving ideas. Remember to dry the chickpeas well for crispiness. You can store leftovers properly to enjoy later. With these tips, you can customize this snack to fit your taste. Try different spices or legumes, and make it your own! Enjoy every crunchy bite, and share your delicious creations!


