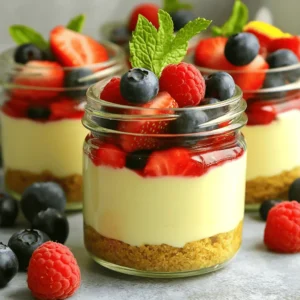
No-Bake Cheesecake Jars
Indulge in the delight of No-Bake Cheesecake Jars with this easy recipe! Perfect for summer gatherings or a cozy night in, these jars are filled with creamy cheesecake goodness layered with buttery graham crackers and topped with fresh berries. Discover how to whip up these delightful treats in just 25 minutes, then let them chill in the fridge.