
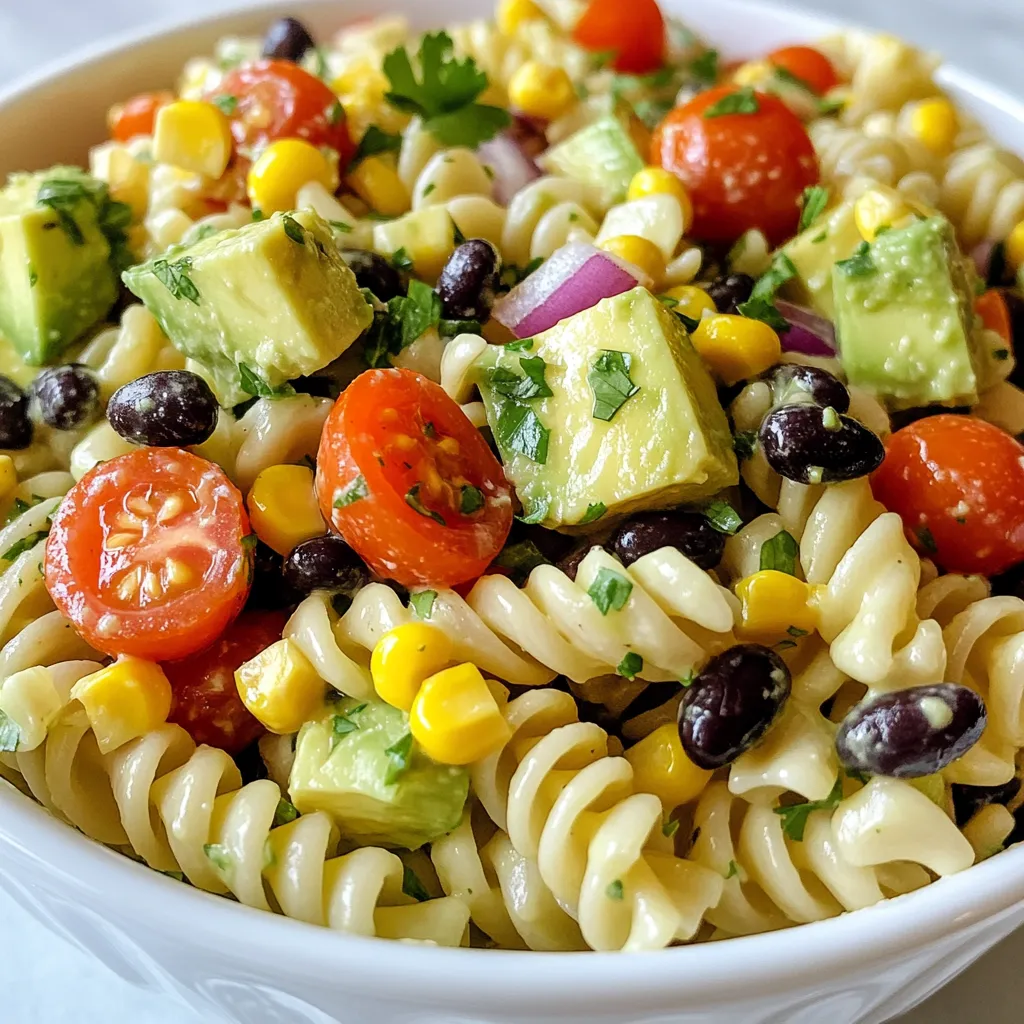
Looking for a fresh and tasty dish? You’ve got to try Avocado Ranch Pasta Salad! This simple salad combines creamy avocados with pasta and ranch flavor for a yummy meal. Perfect for lunch or dinner, it’s easy to make and packed with vibrant flavors. Join me as we explore the ingredients, step-by-step instructions, and tips to make this dish a hit every time. Let’s dive in and create something delicious together!
Why I Love This Recipe
- Fresh Ingredients: This salad is packed with fresh avocados, tomatoes, and herbs, making it a vibrant and healthy choice.
- Quick and Easy: With only 15 minutes of prep time, this recipe is perfect for busy weeknights or last-minute gatherings.
- Customizable: You can easily modify the ingredients based on your preferences or what you have on hand.
- Delicious Flavor: The combination of ranch dressing, lime juice, and fresh ingredients creates a mouthwatering taste that everyone will love.
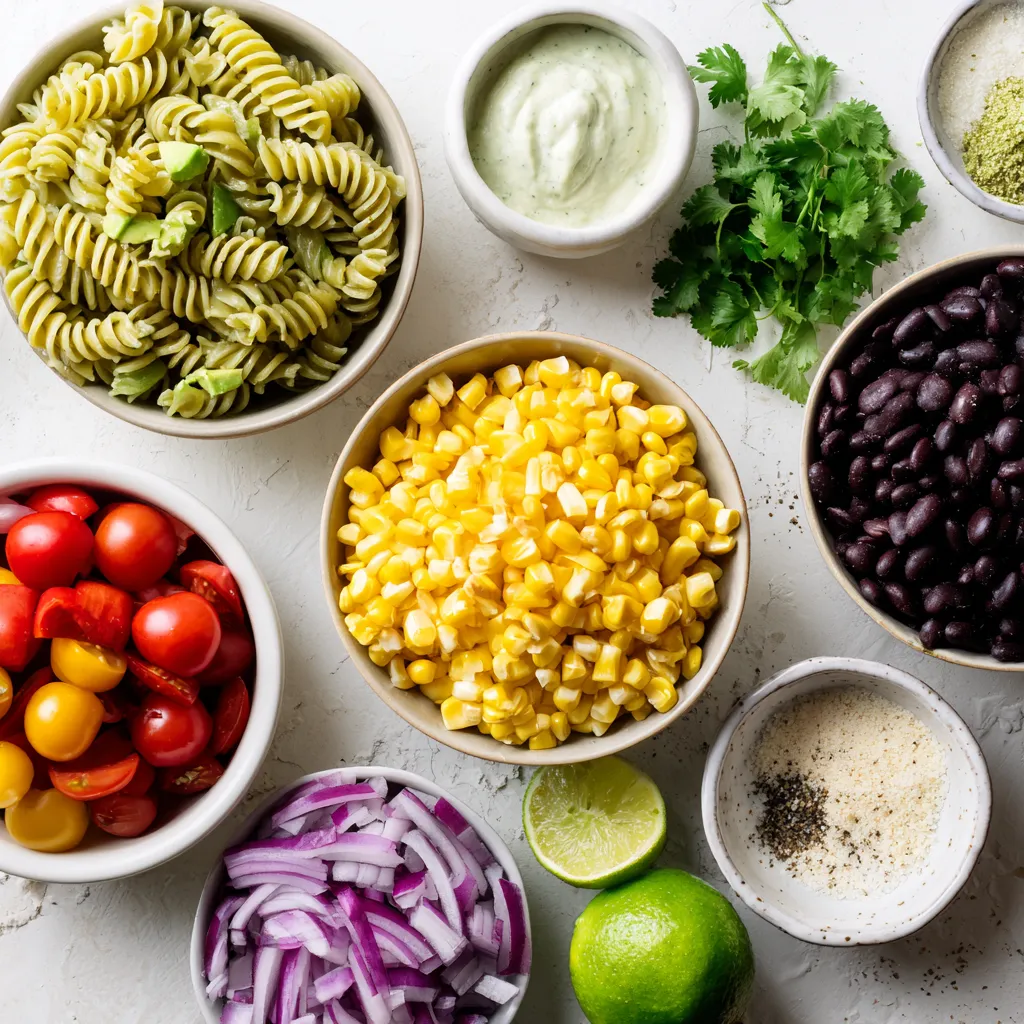
Ingredients
Detailed Ingredients List
To make Avocado Ranch Pasta Salad, you will need the following ingredients:
– 8 oz fusilli pasta
– 2 ripe avocados, diced
– 1 cup cherry tomatoes, halved
– 1 cup corn kernels (fresh or canned)
– 1 cup black beans, drained and rinsed
– 1/2 cup red onion, finely chopped
– 1/4 cup fresh cilantro, chopped
– 1/2 cup ranch dressing (store-bought or homemade)
– 1 tablespoon lime juice
– Salt and pepper to taste
– 1/2 tsp garlic powder
Fresh vs. Canned Ingredients
Using fresh ingredients gives your pasta salad a vibrant taste. Fresh avocados, tomatoes, and corn bring life to the dish. Canned corn works fine in a pinch, but fresh corn adds sweetness and crunch. I often choose fresh ingredients whenever possible. They make the salad taste bright and lively. However, canned black beans save time and still taste great.
Tips for Selecting Avocados
Choosing the right avocado makes a big difference. Look for avocados that feel slightly soft when you squeeze them. They should not be too mushy. If they are firm, they may need a few days to ripen. You can speed this up by placing them in a brown paper bag. This helps trap the ethylene gas that ripens the fruit. Always check for dark spots or blemishes. A good avocado should have smooth skin without marks. Enjoying creamy, ripe avocados makes your pasta salad even better!
Step-by-Step Instructions
Cooking the Pasta
To begin, I fill a large pot with water and add a pinch of salt. I bring the water to a boil, then add 8 oz of fusilli pasta. I cook it according to the package instructions until it is al dente. This usually takes about 8-10 minutes. Once cooked, I drain the pasta and rinse it under cold water. This stops the cooking and cools it down.
Preparing the Dressing
Next, I take a small bowl and combine 1/2 cup of ranch dressing with 1 tablespoon of lime juice. I add 1/2 teaspoon of garlic powder, along with a pinch of salt and pepper. I mix everything well and set it aside. This dressing will give the salad a creamy and zesty flavor.
Combining and Dressing the Salad
In a large mixing bowl, I add the cooled fusilli pasta. Then, I dice 2 ripe avocados and add them in. I also toss in 1 cup of halved cherry tomatoes, 1 cup of corn kernels, and 1 cup of drained black beans. I finely chop 1/2 cup of red onion and add that too, along with 1/4 cup of chopped fresh cilantro. I pour the prepared dressing over everything and gently toss it all together. I want to make sure every ingredient gets coated.
Adjusting the Seasoning
After mixing, I take a moment to taste the salad. If it needs more flavor, I can add more salt, pepper, or lime juice. It’s important to adjust the seasoning to fit my taste. Once it’s just right, I cover the salad and refrigerate it for at least 30 minutes. This helps the flavors blend.
Tips & Tricks
Best Practices for Cooking Pasta
To cook pasta well, start with a big pot. Fill it with water and add salt. The water should taste like the sea. Bring the water to a full boil before adding the fusilli pasta. Stir the pasta right away to keep it from sticking. Cook it until it’s al dente, which means it should be firm but not hard. After cooking, drain the pasta and rinse it under cold water. This stops the cooking and cools it down quickly.
Storing Leftovers
If you have extra Avocado Ranch Pasta Salad, store it in an airtight container. This keeps it fresh longer. Put it in the fridge where it can last for about three days. If the salad looks dry after a day, add a splash of ranch dressing. This helps keep the flavors bright and tasty. Avoid freezing the salad, as the avocados will turn mushy when thawed.
Making It a Meal: Protein Additions
To turn this salad into a full meal, add protein sources. Grilled chicken or shrimp works great. Canned tuna or chickpeas are also good options. Toss in about one cup of your choice. This adds more flavor and makes the dish heartier. If you want to keep it light, try adding some sliced hard-boiled eggs. They are easy to prepare and add a nice touch.
Pro Tips
- Choose Ripe Avocados: Make sure your avocados are perfectly ripe for the best creamy texture and flavor. They should yield slightly to gentle pressure when squeezed.
- Customize the Dressing: Feel free to enhance the ranch dressing with additional spices or herbs like dill or onion powder for a more personalized flavor.
- Fresh Ingredients Matter: Use fresh corn and ripe tomatoes for maximum flavor. If using canned corn, rinse it well to remove excess sodium.
- Adjust to Taste: Always taste the salad before serving. Adjust the seasoning with more lime juice, salt, or pepper to suit your palate.
Variations
Dietary Modifications (Vegan, Gluten-Free)
You can easily make avocado ranch pasta salad to fit your diet. To make it vegan, switch the ranch dressing for a plant-based version. Many stores sell vegan ranch, or you can make it at home using cashews and herbs. For a gluten-free option, choose gluten-free fusilli pasta. These simple swaps keep the salad tasty and enjoyable for everyone.
Flavor Enhancements (Spicy, Herbed)
If you like spice, add diced jalapeños or a splash of hot sauce. This kick will wake up the flavors. For a herbed twist, mix in fresh herbs like dill or parsley. These herbs add freshness and depth. You can also try adding a sprinkle of smoked paprika for a smoky flavor.
Different Pasta Types to Use
While fusilli is great, you can use other pasta types too. Penne or rotini works well, and they hold the dressing nicely. If you want something lighter, try using whole wheat or chickpea pasta. These options add more fiber and protein, making your salad even better. Experiment with your favorite pasta shapes to keep it exciting!
Storage Info
How to Properly Store Avocado Ranch Pasta Salad
To keep your Avocado Ranch Pasta Salad fresh, store it in an airtight container. Make sure the lid seals tightly. This helps to keep out air and moisture. Place the container in the fridge. The salad will stay fresh for about three days. If you notice the avocados browning, you can squeeze a little lime juice on top. This will help keep them green longer.
Freezing Guidelines
Freezing this pasta salad is not the best idea. The avocados will turn mushy when thawed. However, you can freeze the pasta and veggies separately. Cook the pasta and let it cool. Then, place it in a freezer bag. For the veggies, chop and store them in another bag. When you are ready to eat, thaw them in the fridge. Mix them with fresh dressing and avocados.
Shelf Life and Freshness Tips
To enjoy the best flavor, eat the salad within three days. After that, the taste may change. If you see any signs of spoilage, like bad smells or changes in color, it’s best to throw it away. For the best experience, always prepare the dressing fresh. This will add extra zing to your dish.
FAQs
Can I use a different type of dressing?
Yes, you can! If you want to switch things up, try using a creamy Italian or a yogurt-based dressing. These options add a unique taste. You can also use vinaigrette for a lighter flavor. Just remember that the main goal is to keep it fresh and tasty.
How do I make homemade ranch dressing?
Making homemade ranch dressing is simple! Here’s a quick recipe you can try:
– 1/2 cup mayonnaise
– 1/2 cup sour cream
– 1/2 cup buttermilk
– 1 teaspoon garlic powder
– 1 teaspoon dried dill
– 1 teaspoon onion powder
– Salt and pepper to taste
Combine all the ingredients in a bowl. Mix well until smooth. Adjust the seasoning to your liking. This dressing pairs perfectly with the Avocado Ranch Pasta Salad.
What should I serve with Avocado Ranch Pasta Salad?
Avocado Ranch Pasta Salad is great on its own! Yet, if you want to add more to your meal, consider serving it with grilled chicken or shrimp. You can also pair it with crusty bread or a green salad for balance. Enjoying it at a picnic or a barbecue makes it even better!
This blog post covered how to make a tasty Avocado Ranch Pasta Salad. We looked at key ingredients, cooking steps, and smart tips. You learned about fresh versus canned options and how to pick ripe avocados.
In the end, feel free to tweak the recipe to fit your taste. Try new pasta types or add protein for more flavor. Enjoy your cooking and the fresh tastes of this easy dis


