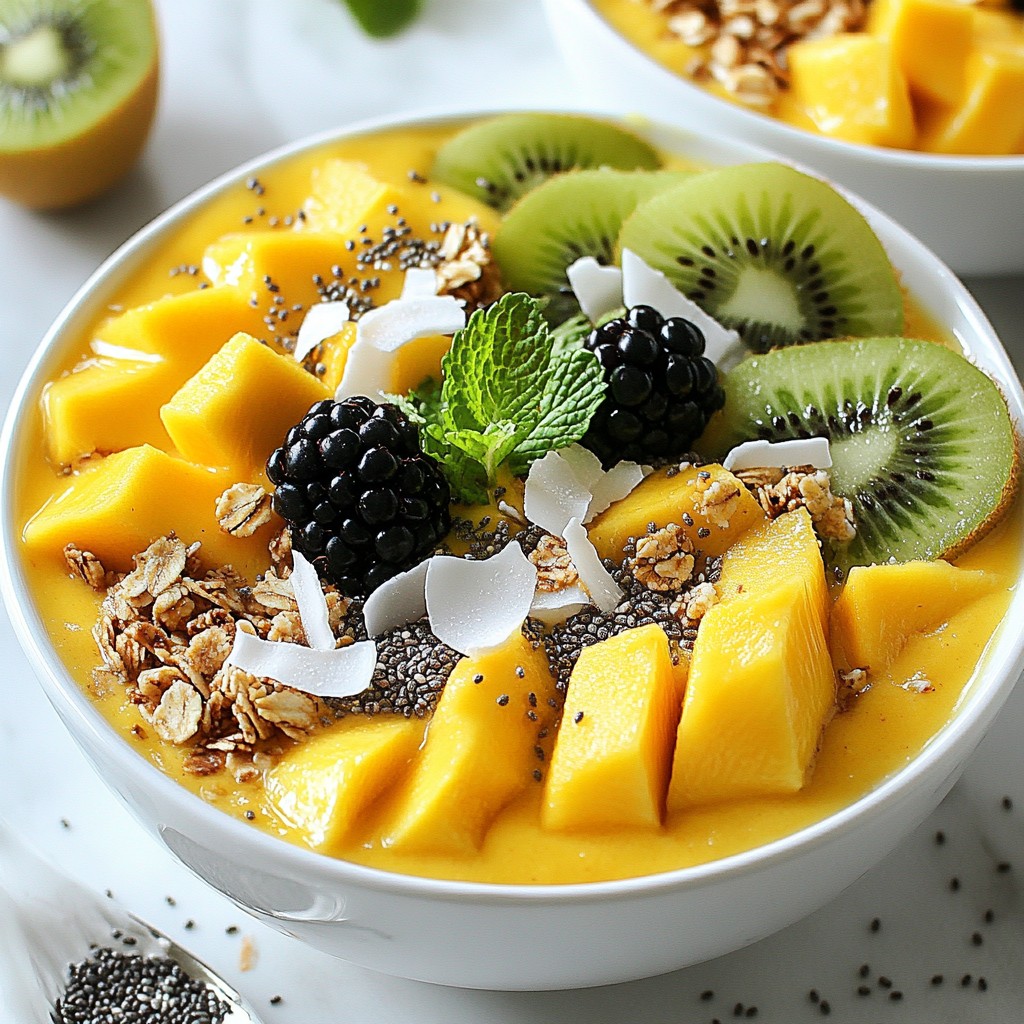
Tropical Mango Smoothie Bowls Flavorful and Refreshing
A refreshing and creamy smoothie bowl made with ripe mangoes, banana, and coconut milk, topped with...
10 min
2
Delicious recipes
Beverages and drink recipes
A refreshing and creamy smoothie bowl made with ripe mangoes, banana, and coconut milk, topped with...
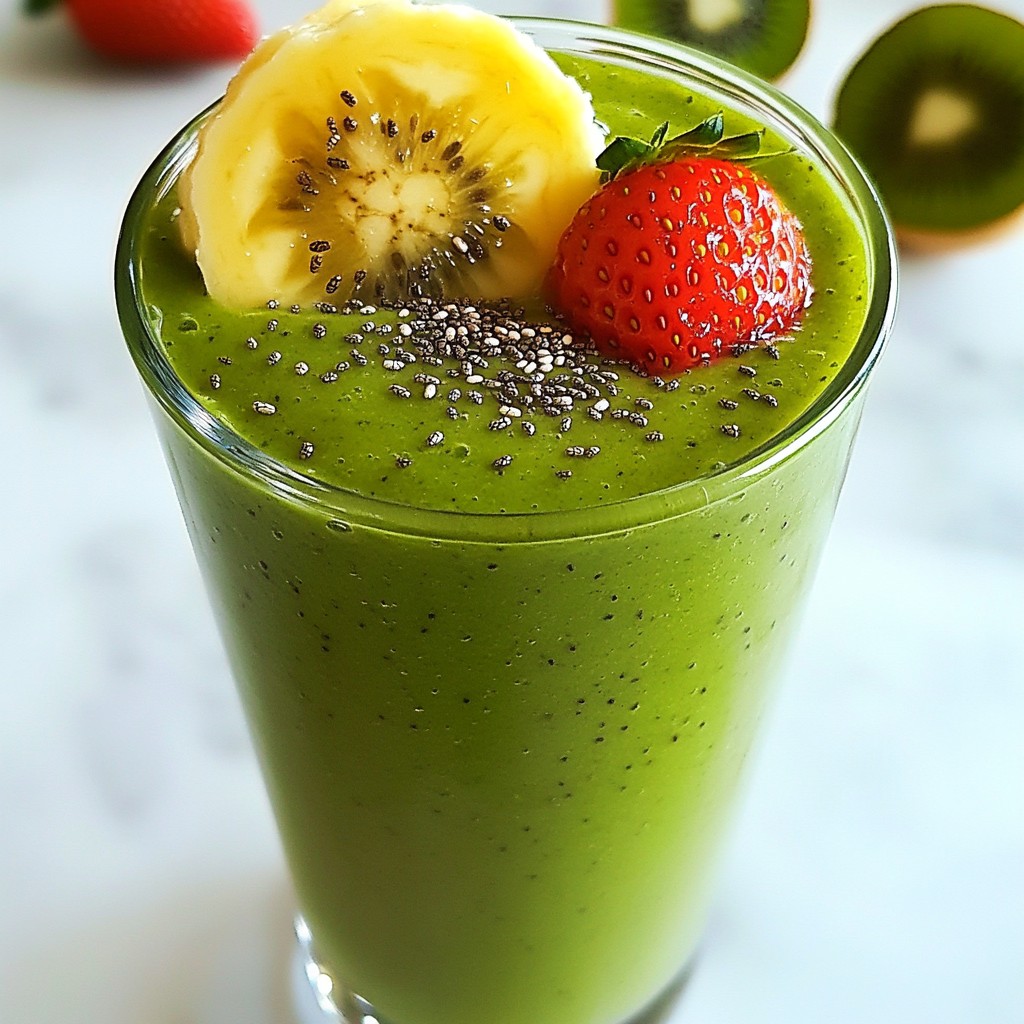
A refreshing and nutritious smoothie packed with fruits and spinach.
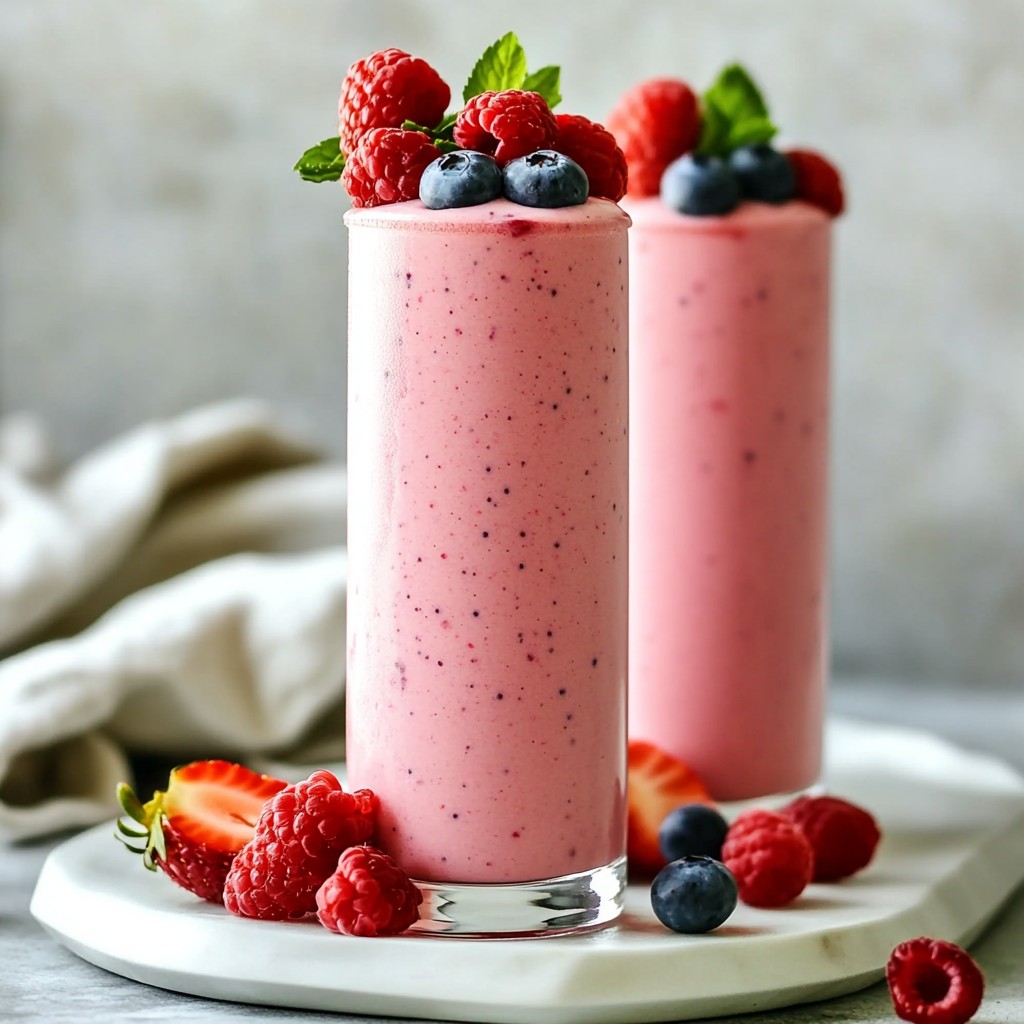
A delicious and creamy smoothie made with mixed berries and cheesecake flavors.

A refreshing and creamy smoothie packed with tropical flavors and energy-boosting ingredients.
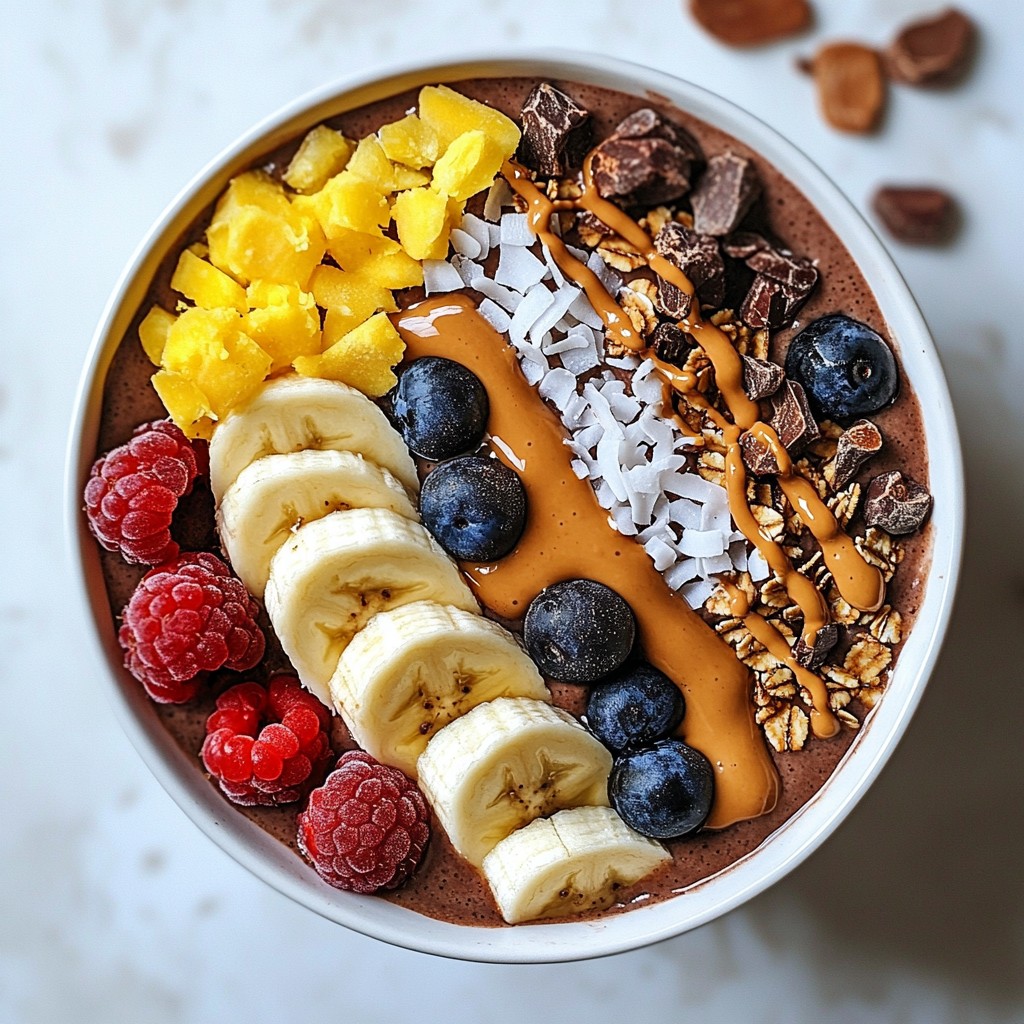
A delicious and creamy smoothie bowl made with frozen bananas, cocoa powder, and peanut butter, topp...
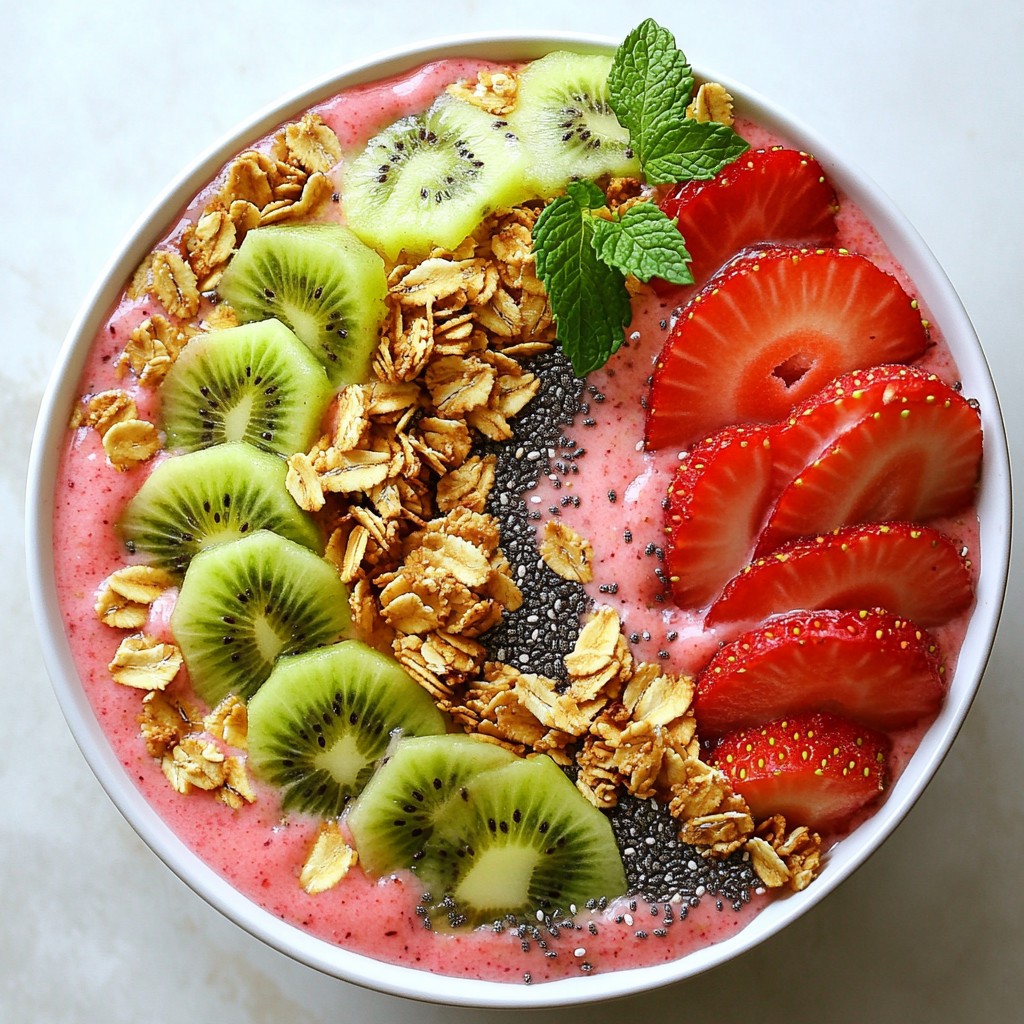
A refreshing and vibrant smoothie bowl made with strawberries, kiwis, and banana, topped with granol...
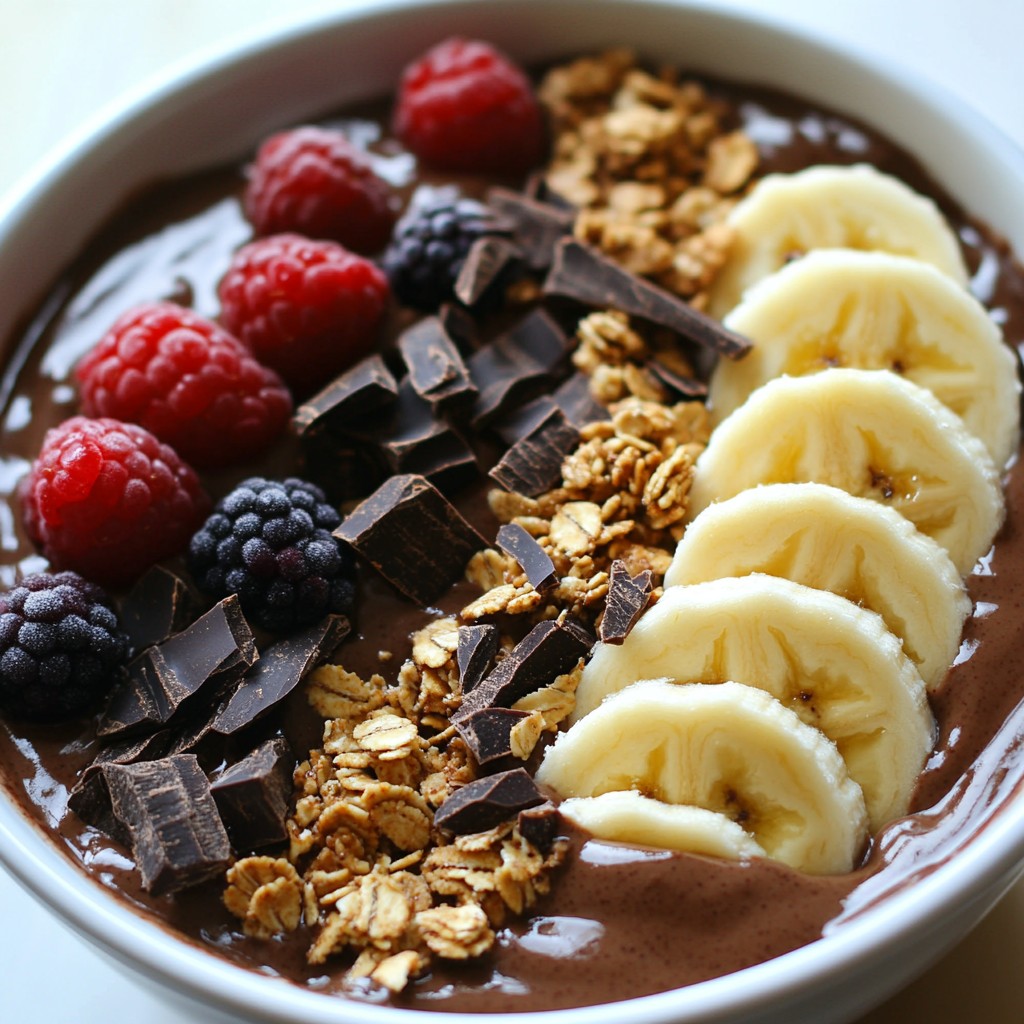
A delicious and creamy smoothie bowl made with frozen bananas, peanut butter, and cocoa powder, topp...
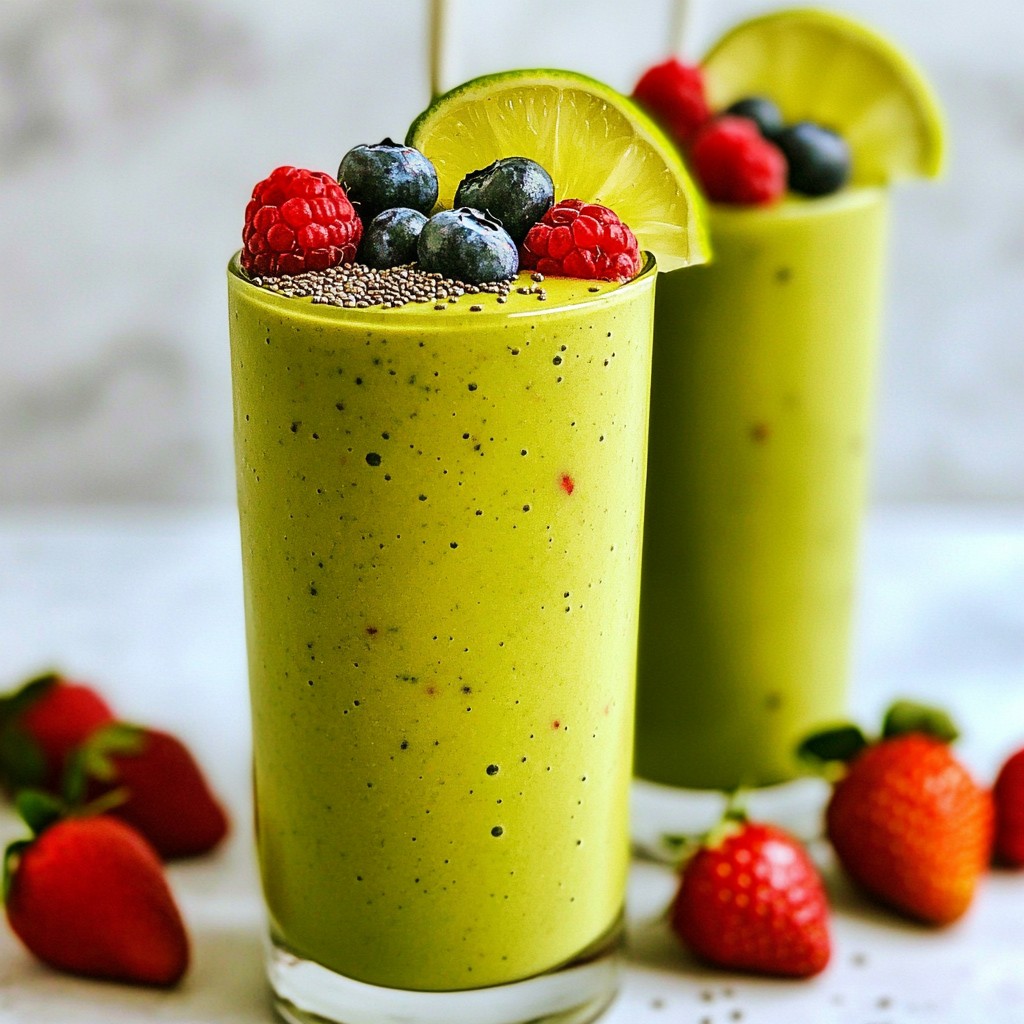
A refreshing and nutritious smoothie packed with avocado, berries, and spinach.

A refreshing slushie made with fresh blueberries and lemonade, perfect for hot days.
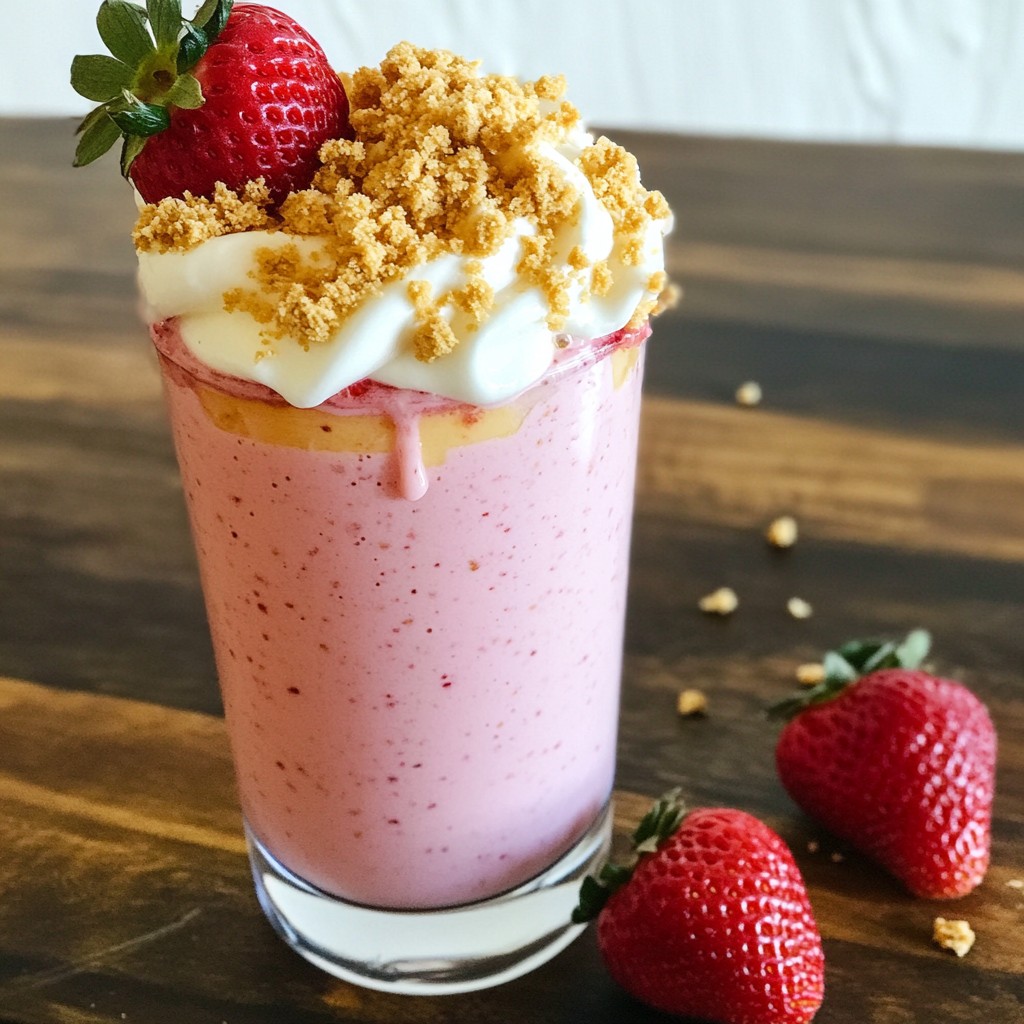
Looking for a quick and tasty treat? This Strawberry Cheesecake Smoothie is creamy and delicious! Wi...
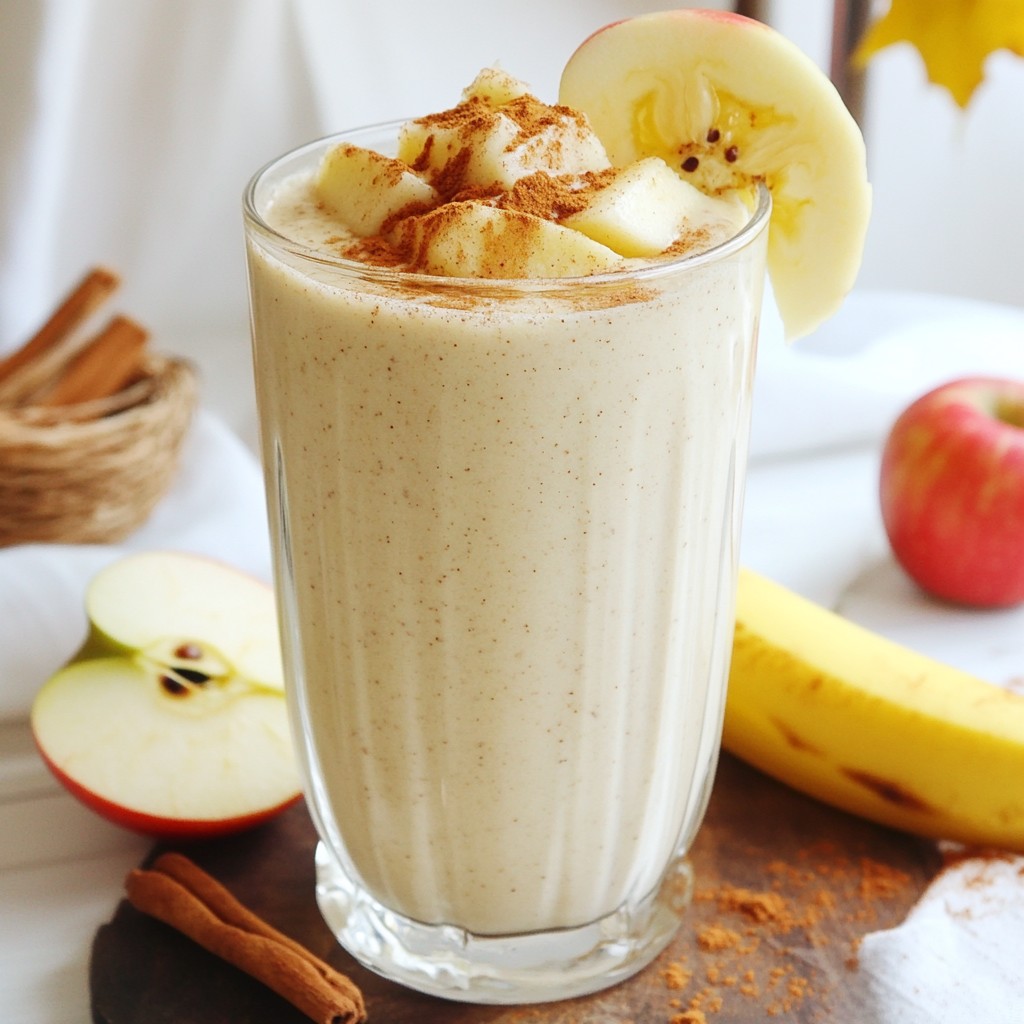
A delicious and nutritious smoothie that combines the flavors of apple pie with protein for a health...
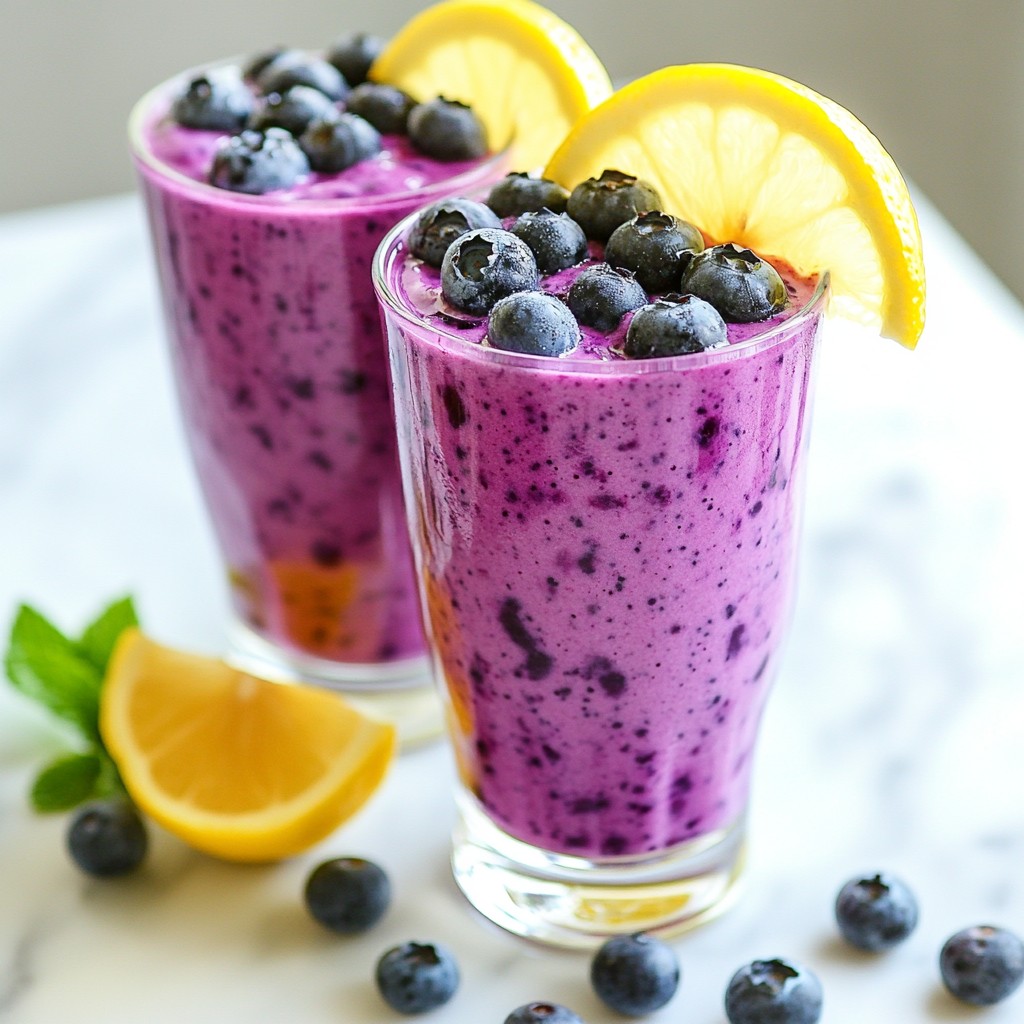
A refreshing smoothie made with blueberries, banana, and lemonade, perfect for a hot day.