
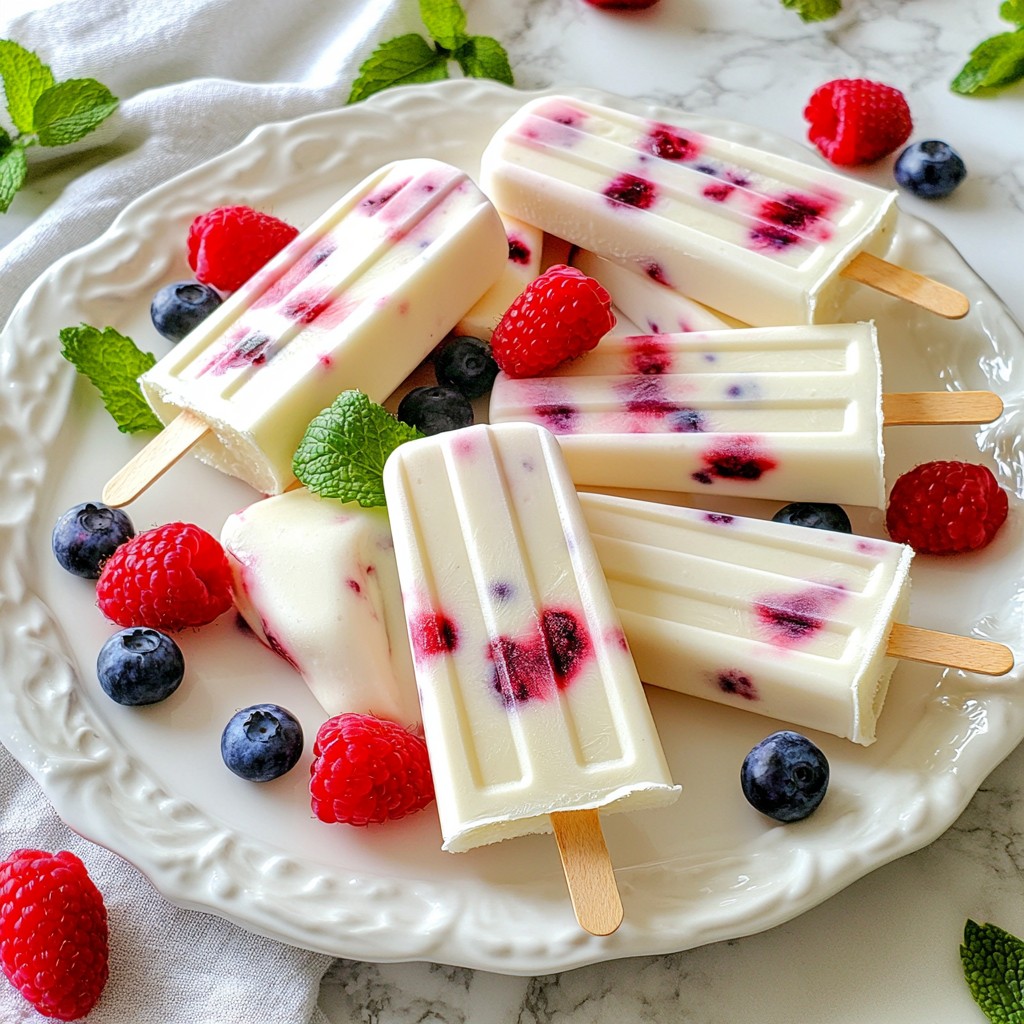
Looking for a cool treat that’s both healthy and delicious? Let’s make Berry Yogurt Popsicles! Packed with fresh berries and creamy Greek yogurt, these popsicles are perfect for hot days. You'll love how easy they are to make. Just blend, freeze, and enjoy a refreshing snack that’s great for kids and adults alike. Get ready to impress your friends and family with this simple, yummy recipe!
Why I Love This Recipe
- Refreshing Treat: These berry yogurt popsicles are the perfect way to cool down on a hot day, offering a deliciously refreshing flavor burst.
- Healthy Ingredients: Made with Greek yogurt and fresh berries, they are packed with protein and antioxidants, making them a nutritious snack.
- Customizable Sweetness: You can easily adjust the sweetness of the popsicles to your liking by modifying the amount of honey or maple syrup.
- Fun for Everyone: These popsicles are a hit with both kids and adults, making them a great treat for family gatherings or summer parties.
Ingredients
List of Ingredients
- 2 cups mixed berries (strawberries, blueberries, raspberries)
- 1 cup plain Greek yogurt
- 1/4 cup honey or maple syrup
- 1 tablespoon lemon juice
- Optional: Fresh mint leaves for garnish
The key to great berry yogurt popsicles is using fresh, ripe berries. I love mixing strawberries, blueberries, and raspberries for a colorful treat. The flavor blends beautifully with Greek yogurt. It adds creaminess and protein, making these popsicles a healthy snack.
You can sweeten the yogurt mixture with honey or maple syrup. I recommend starting with 1/4 cup and adjusting based on your taste. A dash of lemon juice brightens the flavors. It gives a nice zing to the popsicles.
For an extra touch, consider adding fresh mint leaves. They add a pop of color and flavor that makes these popsicles even more appealing. You can use them as a garnish when serving. Enjoy the vibrant mix of flavors and colors in every bite!

Step-by-Step Instructions
Prep the Berries
First, rinse your mixed berries under cold water. This step washes away dirt and germs. Next, pat the berries dry with a clean towel. If you have larger berries like strawberries, chop them into smaller pieces. This helps them blend better and makes the popsicles easier to eat.
Blend the Mixture
Now, it’s time to blend! In a blender or food processor, combine the mixed berries, plain Greek yogurt, honey or maple syrup, and lemon juice. Blend until smooth, but keep it slightly chunky if you want bits of berry in your popsicles. This adds texture and flavor. After blending, taste the mixture. You can add more honey or maple syrup to adjust the sweetness if needed.
Pour and Freeze
Next, pour the berry yogurt mixture into popsicle molds. Fill each mold about three-quarters full. This space allows the mixture to expand as it freezes. Insert the popsicle sticks into the molds. Make sure they stand straight. Finally, place the molds in the freezer. Let them freeze for at least 4 to 6 hours or until they are completely solid. To remove the popsicles, run warm water over the outside of the molds for a few seconds. You can also gently twist the molds until the popsicles come out easily. Enjoy your refreshing treat!
Tips & Tricks
Adjusting Sweetness
To get the right taste, start by tasting the mixture. If it is not sweet enough, add more honey or maple syrup. You can add small amounts at a time. Blend again to mix it well. This way, you can control the sweetness based on your preference. You want the taste to be just right!
Smooth Removal from Molds
Getting the popsicles out can be tricky. To make it easy, run warm water over the outside of the molds. Do this for just a few seconds. You can also gently twist the molds to help release the popsicles. This method works well and keeps your popsicles from breaking.
Presentation Ideas
For a lovely display, arrange the popsicles on a bright platter. Garnish each popsicle with fresh mint leaves for a pop of color. You can also serve extra mixed berries on the side. This not only looks great but adds to the fun of eating your popsicles!
Pro Tips
- Use Frozen Berries: If fresh berries are not available, frozen berries work well too. Just ensure they're thawed before blending for a smoother texture.
- Experiment with Flavors: Feel free to add other fruits like peaches or mangoes for a tropical twist. You can also mix in a hint of vanilla extract for extra flavor.
- Layering Technique: For a beautiful presentation, pour a layer of berry mixture, freeze for an hour, then add another layer before fully freezing. This creates a striped effect!
- Sweetness Adjustment: Remember that the sweetness can vary based on the tartness of the berries. Always taste the mixture before pouring it into molds.
Variations
Fruit Combinations
You can mix different berries for your popsicles. Try using blackberries or cranberries. Each berry adds a unique taste. You can also add other fruits like bananas or peaches. Bananas give a creamy texture. Peaches add sweetness and a lovely color.
Yogurt Alternatives
If you want a different flavor, try flavored yogurt. Greek yogurt gives a tangy taste. You can also use dairy-free yogurt for a vegan option. Coconut yogurt is a great choice. It adds a nice tropical flavor.
Add-ins
Want to make your popsicles more fun? Add nuts or seeds for crunch. Chia seeds add healthy fiber. Almonds or walnuts give a nice bite. You can even add chocolate chips for a sweet surprise. These add-ins make your popsicles more exciting and healthy!
Storage Info
Freezing and Handling
Store your berry yogurt popsicles in the freezer. Use an airtight container or a resealable plastic bag. This keeps them fresh and prevents freezer burn. Lay a piece of wax paper between popsicles if stacking them. This step helps to avoid sticking.
Shelf Life
These popsicles last about two months in the freezer while keeping their flavor and texture. After two months, the quality may decline. They may still be safe to eat, but they might lose their taste.
Thawing Instructions
To enjoy your popsicles, you need to thaw them a bit. Run warm water over the outside of the molds for a few seconds. This will help them release easily. You can also let them sit at room temperature for a few minutes. Avoid using a microwave, as it can make them mushy.
FAQs
How long do berry yogurt popsicles last in the freezer?
Berry yogurt popsicles last about two months in the freezer. After that, they may lose flavor or texture. To keep them fresh, store them in an airtight container. This helps prevent freezer burn and keeps them tasting great.
Can I use frozen berries instead of fresh?
Yes, you can use frozen berries. They work well in this recipe. Just make sure to thaw them a bit before blending. This helps blend them smoothly. Frozen berries may make the popsicles a little thicker, but they still taste delicious.
Are these popsicles healthy for kids?
Yes, these popsicles are a healthy treat for kids. They include Greek yogurt, which is high in protein and calcium. The mixed berries add vitamins and antioxidants. Together, they make a nutritious snack. The natural sweetness from honey or maple syrup is better than sugary snacks. Plus, they are fun to eat!
Here are some key nutritional benefits of Greek yogurt and berries:
- Greek yogurt: High in protein, good for muscles and growth.
- Berries: Rich in vitamins C and K, good for skin and bones.
- Honey or maple syrup: Natural sweeteners that provide energy without added chemicals.
In this post, we explored how to make berry yogurt popsicles. We discussed ingredients, blending, and freezing. I shared helpful tips on sweetness, mold removal, and fun presentations. You learned about different fruit combinations and yogurt options. Lastly, I covered how to store and thaw these tasty treats.
Berry yogurt popsicles are simple, healthy, and delightful. Enjoy making them for yourself or your family!


