
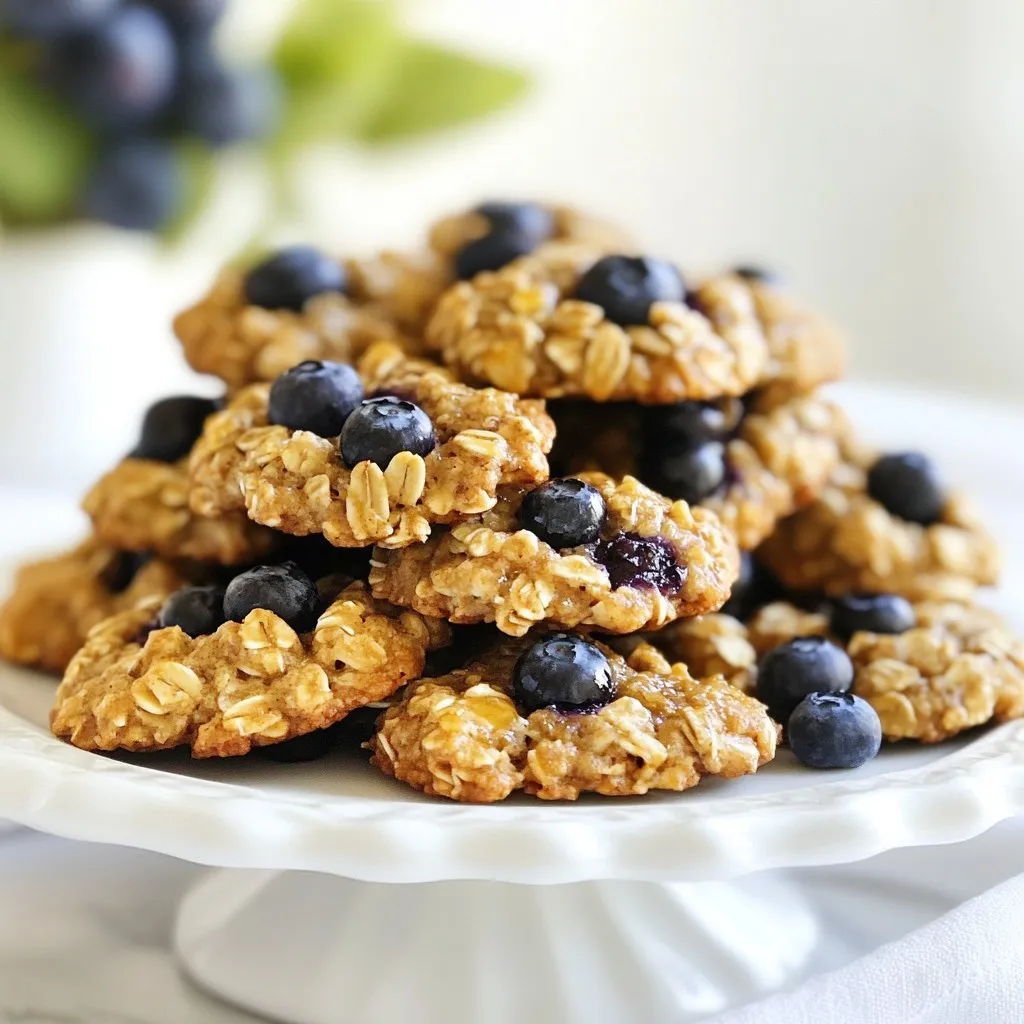
Are you craving a healthy treat that’s easy to make? Look no further than these Blueberry Oatmeal Breakfast Cookies! Packed with wholesome ingredients and bursting with fruity flavor, these cookies offer a perfect start to your day. I’ll guide you through simple steps to make this delicious snack that you and your family will love. Let’s dive into the fun of baking these tasty cookies together!
Why I Love This Recipe
- Healthy Ingredients: These cookies are packed with rolled oats and fresh blueberries, making them a nutritious choice for breakfast.
- Quick and Easy: With a prep time of just 15 minutes, you can whip up these delightful cookies in no time!
- Customizable: You can easily add nuts or swap out ingredients to suit your taste, making each batch unique.
- Perfect for Meal Prep: These cookies store well, making them a great option for a grab-and-go breakfast throughout the week.
Ingredients
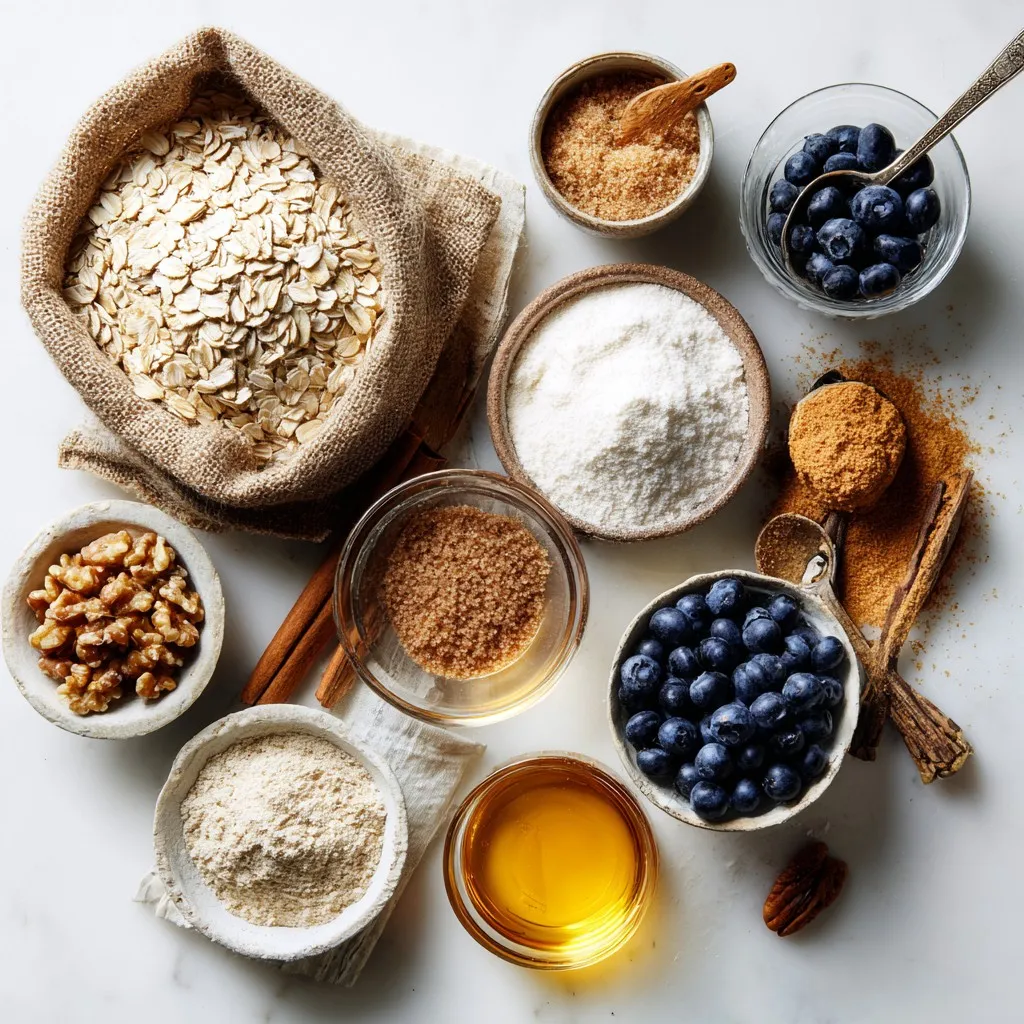
To make Blueberry Oatmeal Breakfast Cookies, gather these simple and tasty ingredients:
– 1 cup rolled oats
– 1 cup whole wheat flour
– 1/2 cup brown sugar, packed
– 1/4 cup honey or maple syrup
– 1/3 cup coconut oil, melted
– 1/2 teaspoon baking powder
– 1/2 teaspoon baking soda
– 1/2 teaspoon cinnamon
– 1/4 teaspoon salt
– 1/2 cup fresh blueberries
– 1/4 cup chopped walnuts (optional)
– 1 teaspoon vanilla extract
Each ingredient plays a key role. The rolled oats give the cookies a chewy texture. Whole wheat flour adds nutrition and a hearty flavor. Brown sugar provides sweetness and moisture. Honey or maple syrup serves as a natural sweetener. Coconut oil helps keep the cookies soft and adds a hint of coconut flavor. Baking powder and baking soda help the cookies rise, while cinnamon and salt enhance the taste. Fresh blueberries burst with juice, making every bite special. If you like, you can add chopped walnuts for extra crunch. And don’t forget the vanilla extract for a warm, sweet aroma!
Step-by-Step Instructions
Preheating the Oven
First, set your oven to 350°F (175°C). This step is crucial. It ensures that your cookies bake evenly. While the oven heats up, line a baking sheet with parchment paper. This will keep the cookies from sticking.
Mixing Dry Ingredients
Grab a large mixing bowl and add the rolled oats, whole wheat flour, baking powder, baking soda, cinnamon, and salt. Mix these dry ingredients well. This blend gives your cookies a great texture and flavor.
Combining Wet Ingredients
In another bowl, whisk together the melted coconut oil, brown sugar, honey (or maple syrup), and vanilla extract. Make sure this mixture is smooth. This step helps your cookies stay moist and sweet.
Incorporating Mixtures
Now, pour the wet mixture into the bowl with the dry ingredients. Stir gently until just combined. Be careful not to overmix. Overmixing can make the cookies tough.
Folding in Blueberries and Walnuts
Next, gently fold in the fresh blueberries and chopped walnuts, if you’re using them. This adds a burst of flavor and crunch. Make sure the fruit is evenly distributed in the dough.
Shaping and Baking the Cookies
Using a spoon or cookie scoop, drop tablespoons of dough onto the prepared baking sheet. Space them about 2 inches apart. Flatten each mound slightly with the back of the spoon. This helps them bake evenly.
Cooling Process
Bake the cookies for 12 to 15 minutes. Look for golden brown edges. The centers will stay soft but firm up while cooling. After baking, let them cool on the sheet for about 5 minutes. Then, transfer them to a wire rack to cool completely. Enjoy your warm, tasty cookies!
Tips & Tricks
Perfecting the Cookie Texture
To get the right texture, avoid overmixing the dough. When you combine wet and dry ingredients, mix until just combined. This keeps the cookies soft. Also, flatten each cookie slightly before baking. This helps them spread and bake evenly.
Sweetness Level Adjustments
You can adjust the sweetness by changing the amount of brown sugar. If you want less sugar, use 1/3 cup instead of 1/2 cup. You can also swap honey for maple syrup for a different flavor. Taste the dough before baking to find your perfect sweetness.
Substitutions for Healthier Options
To make these cookies healthier, try using unsweetened applesauce instead of coconut oil. This cuts fat and adds moisture. For a nut-free version, leave out walnuts or use seeds like pumpkin seeds. You could also use almond or oat flour instead of whole wheat flour for a gluten-free option.
Pro Tips
- Fresh Blueberries: Using fresh blueberries will provide the best flavor and texture for your cookies. If using frozen, make sure to thaw and drain them first to avoid excess moisture.
- Substituting Sweeteners: If you prefer a lower glycemic index, consider using agave syrup or coconut sugar instead of brown sugar and honey.
- Cookie Consistency: For chewier cookies, allow the dough to rest in the refrigerator for 30 minutes before baking. This helps enhance the flavors and improve the texture.
- Storage Tips: Store leftover cookies in an airtight container at room temperature for up to 5 days or freeze them for longer shelf life.
Variations
Adding Different Fruits
You can change up the flavor by adding different fruits. Try diced apples or chopped bananas. Both fruits add natural sweetness and moisture. You can also use dried fruits like cranberries or raisins. They give a nice chew and a burst of flavor. Just remember to adjust the amount of sugar if the fruit is sweet.
Nut-Free Options
If you want a nut-free version, skip the walnuts. You can replace them with seeds like sunflower or pumpkin seeds. They add crunch and nutrition without the nut allergy risk. You can also add a little extra oats to keep the texture.
Gluten-Free Adjustments
To make these cookies gluten-free, swap whole wheat flour for a gluten-free blend. Many brands offer great mixes that work well in baking. Be sure to check the labels to avoid cross-contamination. Also, make sure your oats are gluten-free, as some may be processed in facilities with gluten.
Storage Info
Best Practices for Storing Cookies
To keep your blueberry oatmeal breakfast cookies fresh, store them in an airtight container. This helps lock in moisture and flavor. Place parchment paper between layers if stacking to prevent sticking. For the best taste, enjoy them within a week.
Freezing Instructions
You can freeze these cookies for later. First, let them cool completely. Then, place them in a single layer on a baking sheet. Freeze for about an hour. Once firm, move them to a freezer bag or container. They can last up to three months in the freezer.
Shelf Life
When stored properly, these cookies can last about a week at room temperature. If kept in the fridge, they can stay fresh for about ten days. Freezing extends their life, so feel free to make a big batch!
FAQs
Can I use frozen blueberries?
Yes, you can use frozen blueberries. They work well in this recipe. Just make sure to add them straight from the freezer. This helps them keep their shape and flavor.
How can I make these cookies vegan?
To make these cookies vegan, you can swap honey for maple syrup. Use a plant-based milk if you’d like. You can also choose a vegan butter for your coconut oil.
Can I substitute the coconut oil?
Yes, you can replace coconut oil with any oil you prefer. Canola or olive oil are good choices. Just keep in mind that they may change the flavor slightly.
What’s the best way to reheat these cookies?
The best way to reheat cookies is in the oven. Preheat your oven to 350°F (175°C). Place cookies on a baking sheet for about 5 minutes. This will keep them soft and warm.
How do I know when the cookies are done baking?
You can tell the cookies are done when the edges are golden brown. The centers might still look soft. They will firm up as they cool.
You now have all the tools to make delicious cookies. We covered the key ingredients, like oats and blueberries, to create the perfect mix. I shared step-by-step instructions, so you can bake with confidence. Don’t forget the tips to make these cookies even better and the variations to suit your taste. Plus, I explained how to store them properly. With these details, you can enjoy fresh cookies anytime. Now it’s time to get bakin


