
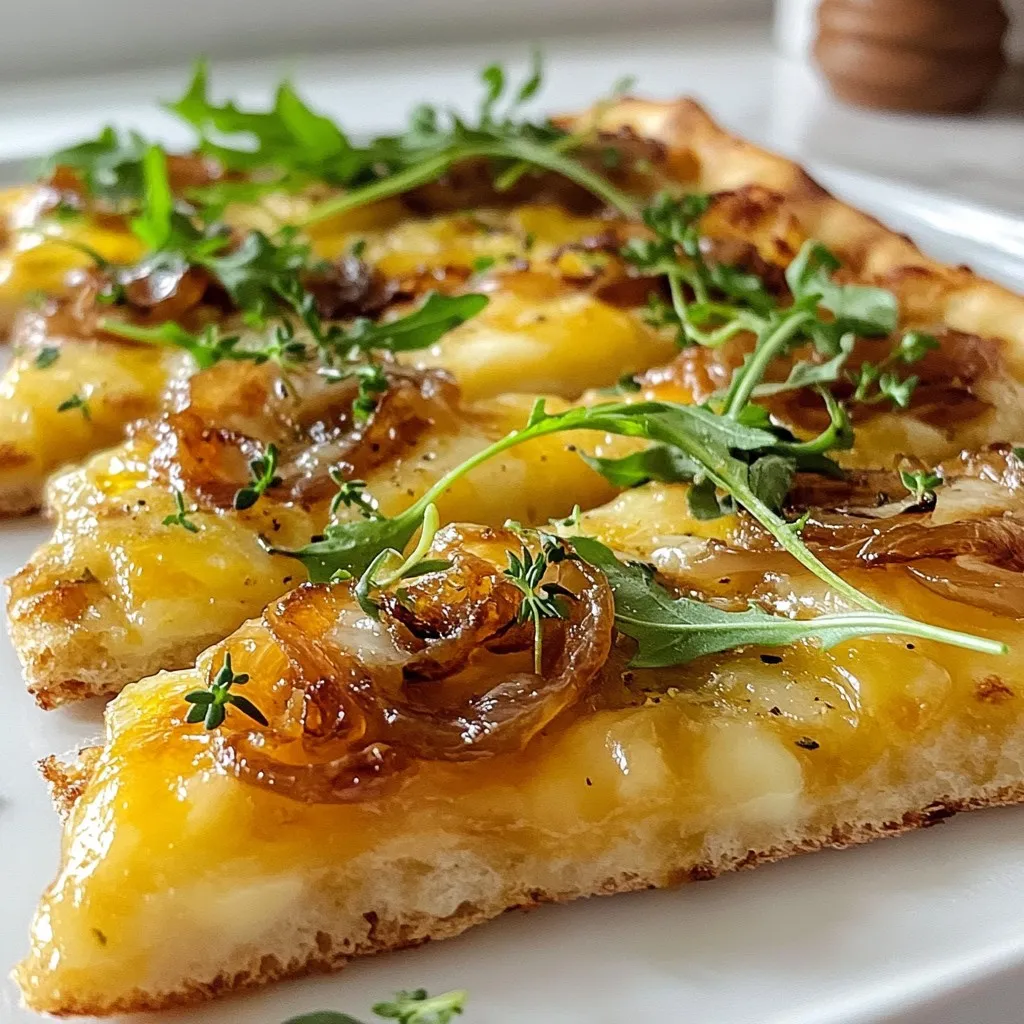
If you’re craving a delicious snack that’s easy to make, look no further! This Caramelized Onion Gruyère Flatbread is a game-changer for your taste buds. With rich, sweet onions and creamy Gruyère cheese, this treat is perfect for any occasion. I’ll guide you step-by-step through the process, sharing tips and tricks to make your flatbread shine. Get ready to impress your friends and family with this tasty delight!
Why I Love This Recipe
- Easy to Prepare: This flatbread comes together quickly with minimal ingredients, making it perfect for a weeknight dinner or a last-minute appetizer.
- Rich Flavor Combination: The sweetness of caramelized onions paired with the nutty Gruyère cheese creates a deliciously rich and savory flavor profile.
- Versatile Topping: You can customize this recipe by adding your favorite toppings, such as prosciutto, mushrooms, or even a drizzle of honey for extra sweetness.
- Impressive Presentation: This flatbread not only tastes great but also looks beautiful, making it a fantastic dish to serve at gatherings or parties.
Ingredients
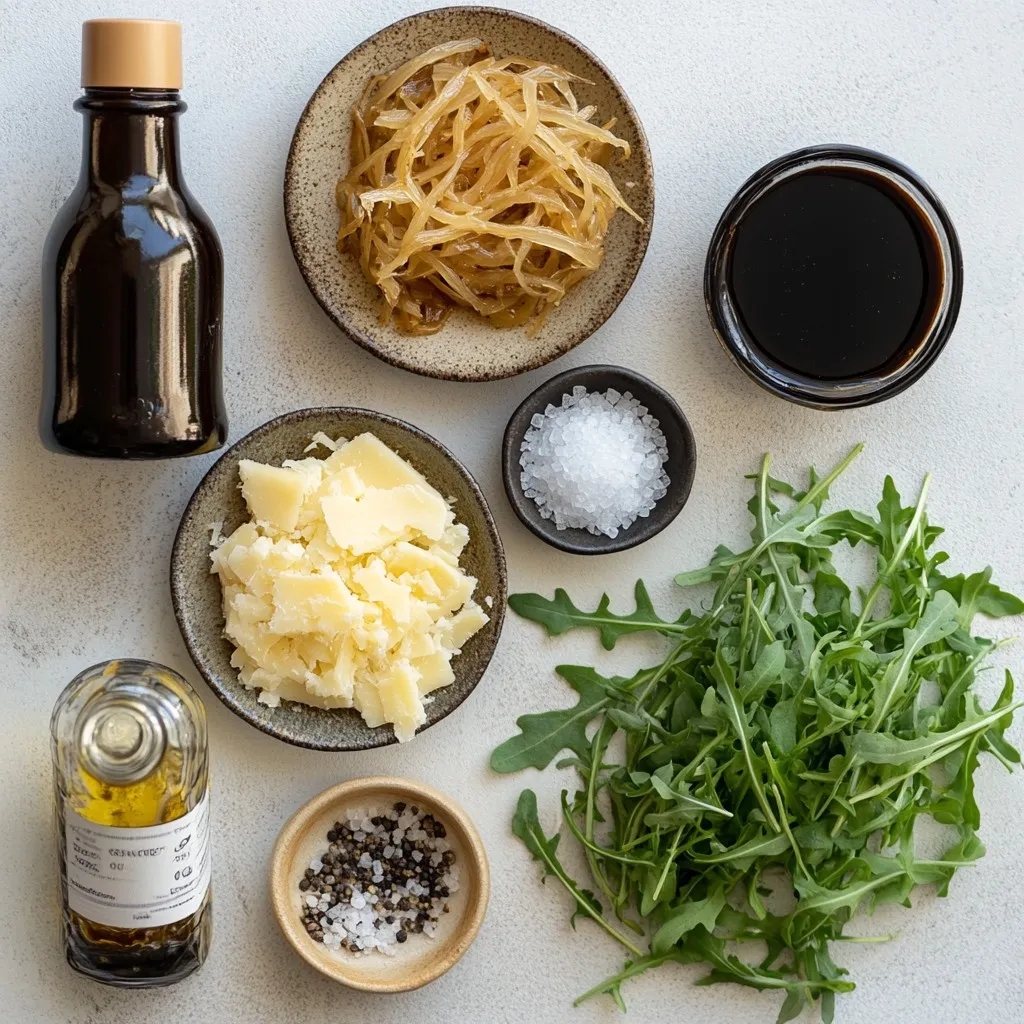
Main Ingredients for Caramelized Onion Gruyère Flatbread
– 1 large store-bought flatbread or pizza dough
– 2 medium onions, thinly sliced
– 2 tablespoons olive oil
– 1 teaspoon sugar
– 1 teaspoon balsamic vinegar
– 1 cup Gruyère cheese, grated
– 1/2 teaspoon thyme leaves (fresh or dried)
– Salt and pepper to taste
The heart of this dish lies in its simple yet flavorful ingredients. The onions form a sweet base when caramelized. Olive oil helps to cook the onions evenly. Sugar and balsamic vinegar add depth and sweetness. Gruyère cheese brings a nutty richness, while thyme adds a touch of earthiness. Salt and pepper enhance all these flavors.
Optional Ingredients
– Fresh arugula for garnish
– Additional toppings like herbs or spices
While the main ingredients shine, you can add fresh arugula for a peppery bite. You may also sprinkle extra herbs or spices for a personal touch. These additions can elevate your flatbread and make it your own. Feel free to experiment!
Step-by-Step Instructions
Caramelizing the Onions
To make great caramelized onions, start with a large, heavy skillet. A cast-iron skillet works best. Use two medium onions for this recipe. Thinly slice them to ensure even cooking. Heat two tablespoons of olive oil over medium heat. Add the onions, stirring them occasionally. Cook for about ten minutes until they start to soften.
Next, sprinkle in one teaspoon of sugar and one teaspoon of balsamic vinegar. This mix helps the onions turn a deep, rich brown. Keep cooking for another 15 to 20 minutes. Stir them often to avoid burning. You want them to be golden brown and sweet. Season with salt and pepper to taste, and then set them aside.
Preparing and Baking the Flatbread
For the flatbread, you can use store-bought flatbread or pizza dough. If using dough, roll it out into your desired shape. Aim for a thin layer, about a quarter-inch thick. Place it on a baking sheet lined with parchment paper to prevent sticking.
Spread the caramelized onions evenly over the flatbread. Leave a small border around the edges for the crust. Next, sprinkle one cup of grated Gruyère cheese on top. Add half a teaspoon of thyme leaves for flavor. Make sure to distribute the cheese evenly to ensure a good melt.
Serving Suggestions
Once baked, let the flatbread cool for a few minutes. This helps it set. Use a sharp knife to slice it into pieces. For a nice touch, you can add fresh arugula on top. The peppery flavor from the arugula contrasts well with the sweet onions and rich cheese.
Pair this flatbread with a light salad or a cold drink. It goes well with white wine or sparkling water. Enjoy your tasty treat!
Tips & Tricks
Perfecting the Caramelization Process
To get sweet, golden onions, you need the right heat. Start with medium heat. If the onions cook too fast, they burn. If they cook too slow, they won’t caramelize well.
– Stir them often. This helps them cook evenly.
– If they stick, add more oil.
– If they appear dry, you can add a splash of water.
Common issues include burning and uneven cooking. If your onions burn, lower the heat and add a bit of water. For uneven cooking, try cutting the onions to a similar size.
Cheese Recommendations
Gruyère cheese has a rich taste and melts well. If you can’t find Gruyère, try these substitutes:
– Emmental: It has a similar flavor and melt.
– Fontina: Creamy and melts great too.
– Gouda: Adds a nice sweetness.
To achieve the best melt, grate your cheese. This helps it spread evenly.
– Mix a bit of mozzarella for extra stretch.
– Avoid pre-shredded cheese. It may not melt as nicely.
These tips ensure your flatbread has that perfect gooey cheese layer.
Pro Tips
- Perfect Onion Caramelization: To achieve the best flavor, cook the onions slowly over medium heat, stirring occasionally. This helps to develop their natural sweetness without burning them.
- Cheese Choice: Gruyère cheese is ideal for this flatbread, but you can mix in other cheeses like Fontina or mozzarella for added creaminess and flavor depth.
- Fresh Herbs: Experiment with different herbs like rosemary or oregano instead of thyme for a different flavor profile that complements the cheese and onions.
- Serving Suggestions: For a delightful presentation, add fresh arugula or a drizzle of balsamic glaze right before serving to enhance both flavor and aesthetics.
Variations
Flavorful Additions
You can change up your Caramelized Onion Gruyère Flatbread easily. Try adding other cheeses. Goat cheese can bring a tangy taste. A mix of mozzarella and Gruyère gives a creamy texture. You can also add toppings like sautéed mushrooms. They add a nice earthiness that pairs well with the sweet onions.
For a vegetarian option, keep the flatbread as is. Or, use vegan cheese for a plant-based treat. There are many great brands that melt well. You can also add cooked spinach or roasted red peppers. These add color and flavor.
Seasonal Variations
Seasonal ingredients can inspire new flatbreads. In fall, try adding roasted pumpkin or squash. They bring a warm sweetness. In spring, fresh asparagus or peas can add a bright touch.
For themed flatbreads, think about the holidays. Use cranberry sauce around Thanksgiving. It pairs nicely with the onions and cheese. For a festive touch, add herbs like rosemary during Christmas time. These small changes can make your flatbread special for any occasion.
Storage Info
Storing Leftover Flatbread
To keep your leftover flatbread fresh, wrap it well. Use plastic wrap or aluminum foil for best results. You can also place it in an airtight container. Store it in the fridge for up to three days. If you want to save it longer, freeze the flatbread. Just make sure to wrap it tightly. It can stay in the freezer for up to two months.
When you’re ready to eat it, reheating is key. To keep the flatbread crispy, use the oven. Preheat your oven to 350°F (175°C). Place the flatbread directly on the oven rack or on a baking sheet. Heat for about 10 minutes. This method helps revive the texture and flavor.
Shelf Life
Your flatbread stays fresh in the fridge for three days. After that, it may lose taste and texture. Watch for signs of spoilage. If you see mold or if it smells off, it’s best to toss it. The cheese may dry out, and the bread can become stale. Trust your senses; they guide you well.
FAQs
What is the best way to caramelize onions?
For great caramelized onions, start with a large skillet. Use medium heat and add olive oil. Once hot, toss in your sliced onions. Stir often for about 10 minutes. This softens the onions. Next, add sugar and balsamic vinegar. Cook for 15 to 20 more minutes. Stir them regularly. Look for a deep golden color. This shows they are perfectly caramelized. Season with salt and pepper before setting them aside.
Can I use a different type of cheese?
Yes, you can use other cheeses! Cheddar gives a sharp bite. Mozzarella melts well but lacks flavor. Feta adds a salty twist. Goat cheese brings a creamy touch. Each cheese changes the taste and texture. Gruyère is rich and nutty, making it the best choice. Experiment to find your favorite combo!
Is it possible to make this recipe gluten-free?
Absolutely! To make it gluten-free, swap the flatbread or pizza dough. Look for gluten-free options at the store. You can also make your own with gluten-free flour. This way, you can enjoy the same great taste without gluten. Just follow the same steps for assembly and baking!
You learned how to make delicious caramelized onion Gruyère flatbread. We covered key ingredients, like onions and cheese, plus optional toppings. I shared step-by-step instructions for caramelizing onions and baking the flatbread. You now know tips to enhance flavor and variations to try. Proper storage extends the life of your flatbread. Enjoy experimenting with this tasty recipe! Remember, cooking is about fun and creativity, so make it your ow


