

If you love soft, sweet treats, you’re in for a real delight with these Carrot Cake Whoopie Pies! These charming cookies are filled with creamy goodness and pack a flavor punch. I’m excited to share easy steps to make your batch, along with tips to elevate each bite. Get ready to impress family and friends with this delightful twist on traditional carrot cake! Let’s jump right into the ingredients and start baking!
Ingredients
Dry Ingredients
– 2 cups all-purpose flour
– 1 teaspoon baking powder
– 1 teaspoon baking soda
– 1 teaspoon ground cinnamon
– 1/2 teaspoon ground ginger
– 1/2 teaspoon salt
The dry ingredients are key to getting the right structure. The flour gives body, while the baking powder and baking soda help the whoopie pies rise. The spices add warmth and flavor, making the treats truly delicious.
Wet Ingredients
– 1 cup granulated sugar
– 1 cup packed brown sugar
– 1 cup vegetable oil
– 4 large eggs
These wet ingredients bring moisture and sweetness. The sugars create a rich taste, while the oil keeps the pies soft. Eggs bind everything together for the perfect texture.
Additional Ingredients
– 2 cups grated carrots (about 4 medium carrots)
– 1/2 cup crushed pineapple, thoroughly drained
– 1 teaspoon vanilla extract
Grated carrots add natural sweetness and a lovely color. Pineapple gives a hint of tartness and keeps the cakes moist. Vanilla adds a warm, sweet note that enhances the flavor.
Cream Cheese Filling
– 8 oz cream cheese, softened at room temperature
– 1/4 cup unsalted butter, softened at room temperature
– 2 cups powdered sugar
– 1 teaspoon vanilla extract
– A pinch of salt
The cream cheese filling is rich and tangy. It balances the sweetness of the whoopie pies. Mixing in butter and powdered sugar creates a smooth texture. A pinch of salt enhances the flavors, while vanilla rounds it out.
Step-by-Step Instructions
Preparing the Baking Sheets
– Preheat your oven to 350°F (175°C).
– Line your baking sheets with parchment paper. This helps keep the whoopie pies from sticking.
Mixing Dry Ingredients
– In a medium bowl, whisk together the flour, baking powder, baking soda, ground cinnamon, ground ginger, and salt.
– Make sure everything is well combined. This will give your cookies the right texture.
Preparing the Batter
– In a large bowl, mix the granulated sugar, brown sugar, and vegetable oil. Use an electric mixer to blend them until smooth.
– Add the eggs one at a time, mixing well after each addition. This makes your batter light and fluffy.
– Gradually add the dry mixture to the wet mixture. Mix on low speed until just combined; some lumps are okay.
– Fold in the grated carrots and crushed pineapple. Add the vanilla extract for extra flavor.
Baking the Cookies
– Use a cookie scoop or tablespoon to drop rounded scoops of batter onto the prepared baking sheets.
– Space them about 2 inches apart to allow for spreading during baking.
– Bake for 12-15 minutes. The edges should be set, and the tops should spring back when touched.
Making the Cream Cheese Filling
– While the cookies cool, prepare the filling. In a large bowl, beat the softened cream cheese and butter until creamy.
– Gradually add the powdered sugar, mixing until the filling is smooth. Add the vanilla extract and a pinch of salt to enhance the flavor.
Assembling the Whoopie Pies
– Once the cookies are fully cool, take one and spread a layer of cream cheese filling on the flat side.
– Top it with another cookie, flat side down, to create a sandwich.
– Repeat this with the remaining cookies until all the whoopie pies are assembled. For a special touch, dust them with powdered sugar.
Tips & Tricks
Perfecting the Texture
To make your whoopie pies soft, avoid overmixing the batter. Overmixing makes cookies tough. Mix just until the dry ingredients blend with the wet. A few lumps are fine.
To know when cookies are done, look for set edges. Press the top gently. It should spring back. If it leaves a dent, bake a bit longer.
Serving Suggestions
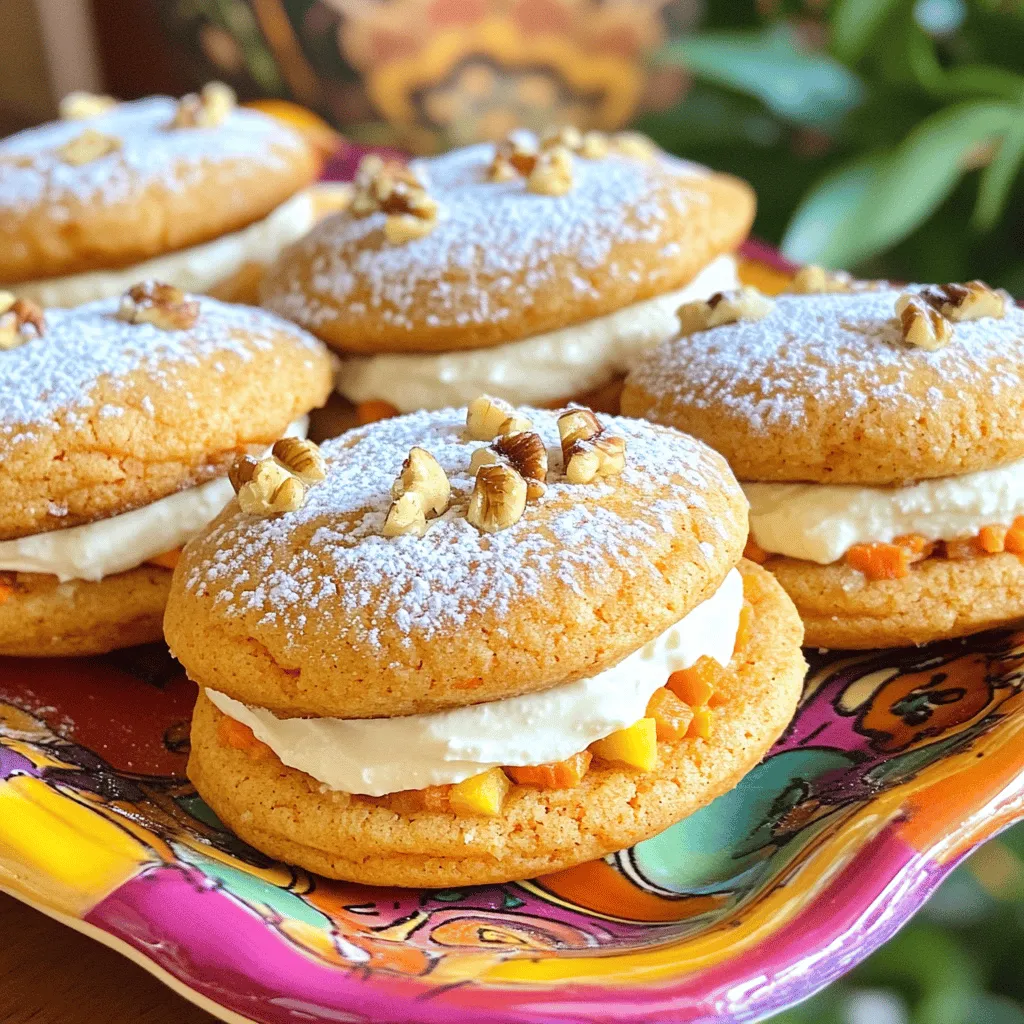
For a pretty presentation, dust the whoopie pies with powdered sugar. You can also sprinkle chopped walnuts on top. This adds texture and looks great on a platter.
Pair these sweet treats with milk or tea. A glass of cold milk balances the flavors. Tea adds warmth and comfort.
Enhancing Flavor
You can add chopped nuts or raisins to the batter. This gives extra crunch and flavor. Try walnuts or pecans for a nutty touch.
Using different spices can elevate your whoopie pies. Add nutmeg or allspice for a warm twist. A pinch of cloves can also deepen the flavor.
Variations
Alternative Fillings
You can change the cream cheese filling to suit your taste. Try different flavors like lemon or orange. They add a zesty twist to your whoopie pies. If you want something lighter, use whipped cream instead. Whipped cream gives a fluffy texture that pairs well with the carrot cake base.
Dietary Adjustments
For gluten-free options, use a gluten-free flour blend. This keeps the whoopie pies soft and tasty. If you need a vegan version, swap eggs with applesauce. Use a plant-based cream cheese for the filling. These adjustments make the treats enjoyable for everyone.
Flavor Combinations
Adding coconut brings a tropical vibe to your whoopie pies. Shredded coconut adds texture and sweetness. For chocolate lovers, consider adding cocoa powder to the batter. You can also use chocolate chips for extra richness. These combinations make each bite exciting and delicious.
Storage Info
Short-term Storage
You can store carrot cake whoopie pies at room temperature. Place them in an airtight container. This keeps them soft and fresh. They stay good for about three days. If you want them to last longer, keep them in the fridge.
Long-term Storage
To freeze whoopie pies, wrap each pie in plastic wrap. Then place them in a freezer bag. This extra layer keeps them fresh for up to three months. Label the bag with the date. When you’re ready to eat them, just pull them out and let them thaw at room temperature.
Reheating and Serving
Enjoy whoopie pies at room temperature for the best taste. If you like them warm, heat them in the microwave for 10-15 seconds. This makes the cream cheese filling soft and yummy. You can serve them as is or dust with powdered sugar for a fun touch. For a little crunch, add chopped nuts on top!
FAQs
How do you make carrot cake whoopie pies?
To make carrot cake whoopie pies, start by mixing flour, baking powder, and spices. In another bowl, blend sugars, oil, and eggs. Combine both mixtures and fold in grated carrots and pineapple. Drop spoonfuls onto baking sheets and bake until set. While they cool, whip up a cream cheese filling. Assemble by spreading filling between two cookies.
Can I prepare the batter in advance?
Yes, you can prepare the batter in advance. Just cover it and store it in the fridge for up to 24 hours. When ready to bake, let the batter sit at room temperature for a bit. Then, scoop and bake as usual.
How long do whoopie pies last?
Whoopie pies last about 3 to 4 days at room temperature. Keep them in an airtight container to stay soft and fresh. You can also refrigerate them to extend their life by a few more days.
Where can I buy carrot cake whoopie pies?
You can find carrot cake whoopie pies at local bakeries and specialty shops. Some grocery stores may also carry them in their bakery section.
What’s the best way to freeze whoopie pies?
To freeze whoopie pies, wrap each one in plastic wrap. Then, place them in a freezer bag or container. They can last up to 3 months in the freezer. To enjoy, let them thaw in the fridge or at room temperature.
Can I use different fillings for whoopie pies?
Absolutely! You can use different fillings like chocolate ganache, vanilla buttercream, or whipped cream. Get creative with flavors to suit your taste. Just ensure the filling complements the carrot cake flavor for the best results.
You learned how to make delicious carrot cake whoopie pies. We covered the ingredients, mixing, baking, and assembling steps. Tips and tricks helped you perfect the texture and enhance flavors. You explored variations for fillings and dietary needs. Finally, I provided storage info for your treats.
These whoopie pies will impress family or friends. Enjoy baking and sharing these treats!


