
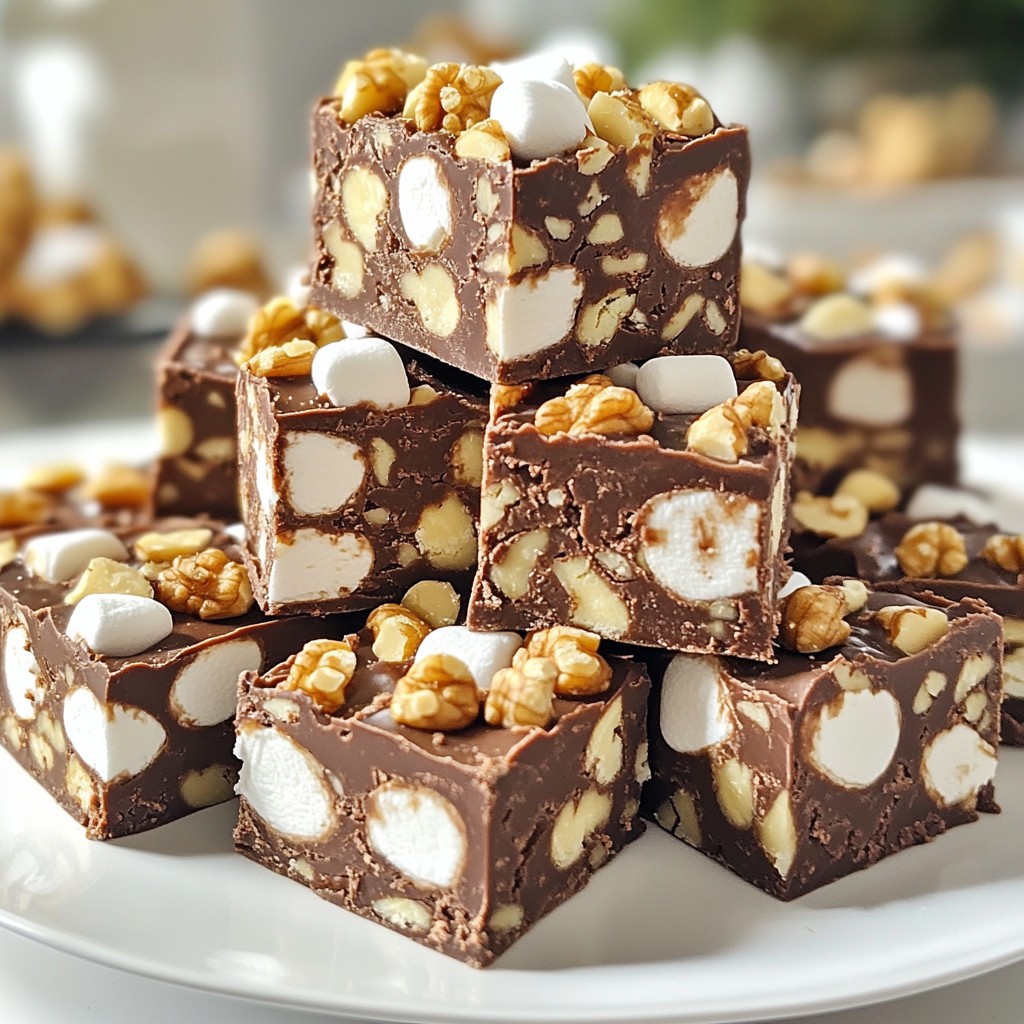
Are you ready to whip up a delicious treat that will delight everyone? Chocolate Chip Rocky Road Fudge is easy to make and oh-so-fun to enjoy! With a rich blend of chocolate, marshmallows, and nuts, this dessert hits all the right notes. Join me as I guide you through each simple step to create a fudge that’s perfect for sharing or indulging. Let’s dive into this delightful recipe together!
Why I Love This Recipe
- Decadent Chocolate Flavor: This fudge is rich and chocolatey, making it a perfect treat for any chocolate lover.
- Easy to Make: With just a few simple ingredients and quick steps, this fudge can be whipped up in no time.
- Perfect for Sharing: Cut into squares, this fudge is great for parties, gatherings, or as a thoughtful homemade gift.
- Customizable: You can easily add your favorite nuts or additional toppings to make this fudge uniquely yours.
Ingredients
Main Ingredients
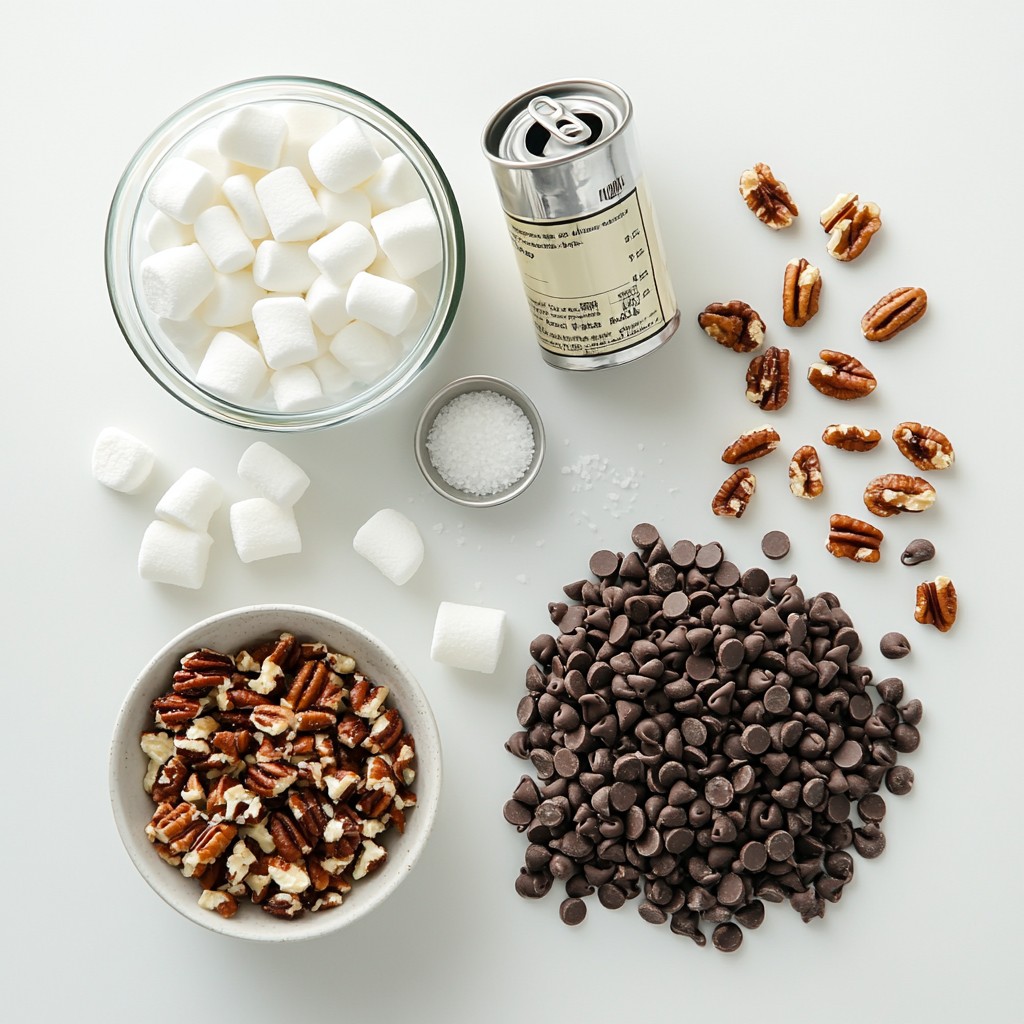
- 2 cups semi-sweet chocolate chips
- 1 cup sweetened condensed milk
- 1 cup mini marshmallows
- 1 cup chopped walnuts or pecans
- 1 teaspoon vanilla extract
- Pinch of salt
In this tasty fudge, we use semi-sweet chocolate chips to give it a rich flavor. Sweetened condensed milk helps bind the fudge, making it creamy and smooth. Mini marshmallows add a fun texture, while chopped nuts add a nice crunch. Don’t forget the vanilla extract! It enhances the chocolate flavor. A pinch of salt balances the sweetness and makes every bite pop.
Optional Toppings
- Extra mini marshmallows
- Chopped nuts
Want to make your fudge even more fun? You can sprinkle extra mini marshmallows and chopped nuts on top. This not only makes the fudge look great but adds even more flavor and texture. It’s a simple way to impress your family and friends.
Step-by-Step Instructions
Preparation of Baking Dish
First, take a 9x9 inch baking dish. Line it with parchment paper. Make sure to leave some paper hanging over the sides. This overhang helps you lift the fudge out later. It makes removal easy and keeps the fudge looking nice.
Melting the Chocolate
Next, grab a medium saucepan. Add the semi-sweet chocolate chips and sweetened condensed milk. Set the heat to low. Stir the mixture often until the chips melt completely. You want a smooth and creamy mix. If it starts to get too hot, remove it from the heat. This keeps the chocolate from burning.
Finalizing the Fudge Mixture
Now, take the melted chocolate off the heat. Stir in one teaspoon of vanilla extract and a pinch of salt. Mix it well. Then gently fold in the mini marshmallows and chopped nuts. Make sure they are evenly spread in the fudge. This gives every bite a perfect taste.
Setting the Fudge
Pour the fudge mixture into your lined baking dish. Use a spatula to spread it evenly. If you like, you can add extra mini marshmallows and nuts on top. This makes it look pretty. Now, place the dish in the fridge for at least 2 hours. This helps the fudge set and become firm. Once it's set, use the parchment overhang to lift it out. Then cut it into squares. Enjoy your tasty treat!
Tips & Tricks
Ensuring the Perfect Texture
To get that creamy fudge, don't overheat the chocolate. Heat it on low, and stir often. This keeps the chocolate smooth. If you heat it too much, it can clump. Stir gently in a circular motion as you mix. This helps blend the chocolate with the milk and keeps it silky.
Storage Tips
Store your fudge in an airtight container. This keeps it fresh. You can keep it at room temperature for about a week. For longer storage, place it in the fridge. If you want to freeze it, wrap it tightly in plastic wrap. Thaw it in the fridge when you're ready to enjoy. It can last up to three months in the freezer.
Presentation Tips
Serving fudge can be fun! Cut it into neat squares and place them on a colorful plate. You can also pack fudge in clear plastic bags. Tie them with a ribbon for a lovely gift. Dust the top with cocoa powder for an elegant look. This makes it extra special for friends and family.
Pro Tips
- Use High-Quality Chocolate: The flavor of your fudge depends greatly on the quality of the chocolate chips. Opt for high-quality semi-sweet chocolate for the best taste.
- Cool Slowly: Allow the fudge to cool at room temperature before refrigerating. This helps maintain a smooth texture and prevents it from becoming too dense.
- Mix-In Variations: Feel free to experiment with different mix-ins such as dried fruits, pretzels, or even a sprinkle of sea salt on top for a unique twist.
- Storage Tips: Store fudge in an airtight container in the refrigerator. It can last for up to two weeks, but it’s so delicious it likely won’t last that long!
Variations
Flavor Variations
You can add a fun twist to your fudge by using peppermint extract. Just one teaspoon gives your fudge a cool, minty taste. This is perfect for the holidays.
You can also switch up the chocolate. Use dark chocolate chips for a richer flavor. Or, try white chocolate chips for a sweet and creamy fudge. Each type brings out new flavors and textures.
Nut Alternatives
If you want to change the nuts, you can use almonds or pecans instead of walnuts. Each nut has a unique crunch and flavor that adds to the fudge.
For those with nut allergies, you can skip the nuts altogether. The fudge is still tasty and has a great texture without them.
Additional Mix-Ins
Get creative with your mix-ins! You can add dried fruits like cherries or cranberries. They give a sweet and chewy bite.
Candy bars can also work well. Chop up your favorites and mix them in for extra crunch and sweetness.
For seasonal fun, try pumpkin spice in the fall or holiday-themed sprinkles. These small changes can turn your fudge into a festive treat.
Storage Info
Room Temperature Storage
You can store fudge at room temperature for a few days. Place it in an airtight container. Keep it in a cool, dry spot away from sunlight. This helps avoid melting. If it gets warm, it can lose its shape. To keep it fresh, check the temperature of your kitchen.
Refrigeration and Freezing
Refrigerate fudge if you want to keep it longer. Wrap it tightly in plastic wrap or foil before placing it in a container. This helps keep moisture away. If freezing, cut the fudge into squares first. Place them in a single layer in a freezer bag. Remove as much air as possible. To thaw, leave it in the fridge overnight or at room temperature for a few hours.
Signs of Spoilage
Check for signs of spoilage before eating fudge. If it has a strange smell or off taste, throw it away. Also, look for changes in texture. If it becomes sticky or hard, it may not be good anymore. Always trust your senses when it comes to food safety.
FAQs
How long does it take to make Chocolate Chip Rocky Road Fudge?
It takes about 15 minutes to prep. The total time is 2 hours and 15 minutes. This includes the time for the fudge to set in the fridge.
Can I use different types of chocolate chips?
Yes! You can use dark, milk, or even white chocolate chips. Each type adds a unique flavor. Mix and match them if you like.
What is the best way to cut fudge?
Use a sharp knife for clean cuts. Warm the knife under hot water before cutting. Wipe it dry after each cut to avoid sticking.
Can I make this fudge ahead of time?
Absolutely! You can make it up to a week in advance. Store it in the fridge to keep it fresh.
This blog covers how to make Chocolate Chip Rocky Road Fudge. We explored key ingredients like chocolate chips, nuts, and mini marshmallows. I shared detailed instructions for melting chocolate and setting the fudge. You learned tips for perfect texture and fresh storage methods. Finally, we discussed tasty variations to customize your fudge.
Enjoy this treat by trying the suggestions you read here. Fudge is fun and simple to make!


