
If you crave a sweet treat that’s easy to make and packed with flavor, you’re in the right place! In this article, I’ll share my simple recipe for delicious chocolate chunk oatmeal cookies. With rich chocolate, chewy oats, and a touch of sweetness from brown sugar, these cookies are a crowd-pleaser. Let’s dive into the ingredients and baking steps that will have you enjoying warm, gooey cookies in no time!
Why I Love This Recipe
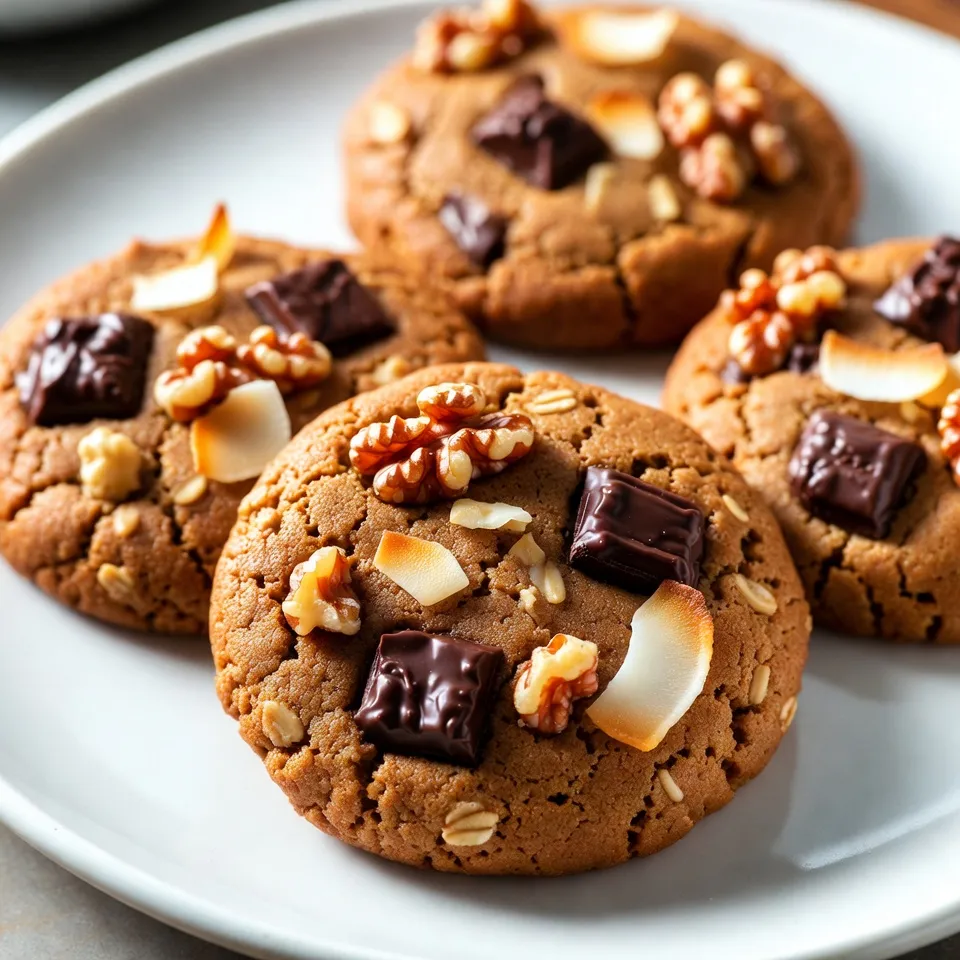
- Delicious Flavor Combination: The blend of dark chocolate, walnuts, and coconut creates a rich and satisfying taste that is hard to resist.
- Chewy Texture: The oats provide a delightful chewiness that complements the softness of the cookie, making each bite enjoyable.
- Simple to Make: This recipe is straightforward and quick, perfect for baking enthusiasts and beginners alike.
- Customizable: Feel free to add your favorite mix-ins such as dried fruit or different nuts to make these cookies your own!
Ingredients
List of Ingredients
– 1 cup unsalted butter, softened
– 3/4 cup brown sugar, packed
– 1/2 cup granulated sugar
– 2 large eggs
– 1 teaspoon vanilla extract
– 1 1/2 cups rolled oats
– 1 cup all-purpose flour
– 1/2 teaspoon baking soda
– 1/2 teaspoon baking powder
– 1/2 teaspoon salt
– 1 cup dark chocolate chunks
– 1/2 cup chopped walnuts (optional)
– 1/4 cup shredded coconut (optional)
Measurement Preferences
I like to use weight for baking. It gives accurate results. A kitchen scale helps. For this recipe, you can also use cups. Just make sure to level off the ingredients.
Ingredient Substitutions
You can swap unsalted butter for coconut oil. It adds a nice flavor. If you don’t have brown sugar, use all granulated sugar. The cookies will still taste great. For a nut-free option, skip the walnuts. You can add more chocolate chunks instead. If you want to change the flavor, try adding dried fruit or spices. Adjust based on what you have in your pantry.

Step-by-Step Instructions
Prepping Your Kitchen
Start by preheating your oven to 350°F (175°C). This step helps your cookies bake evenly. Next, line two baking sheets with parchment paper. This will prevent the cookies from sticking. Make sure your workspace is clean to keep everything organized.
Mixing Wet Ingredients
In a large bowl, add 1 cup of softened unsalted butter. Next, mix in 3/4 cup of brown sugar and 1/2 cup of granulated sugar. Use a mixer to cream them until light and fluffy. This step takes about 2-3 minutes. Now, add in 2 large eggs, one at a time. Don’t forget to mix well after each egg. Finally, stir in 1 teaspoon of vanilla extract. This adds a wonderful flavor to the cookies.
Combining Dry Ingredients
Grab another bowl and combine 1 1/2 cups of rolled oats, 1 cup of all-purpose flour, 1/2 teaspoon of baking soda, 1/2 teaspoon of baking powder, and 1/2 teaspoon of salt. Mix these dry ingredients well. Once mixed, gradually add them to your wet mixture. Be careful not to over-mix, just combine until you see no dry flour.
Forming and Baking Cookies
Now it’s time to add in the fun stuff! Fold in 1 cup of dark chocolate chunks. If you like, you can also add 1/2 cup of chopped walnuts and 1/4 cup of shredded coconut. Using a cookie scoop or a tablespoon, drop rounded balls of dough onto your prepared baking sheets. Make sure to space them about 2 inches apart. Bake in your preheated oven for 10-12 minutes. Look for edges that are golden and centers that look a bit underbaked. Let them cool on the sheets for 5 minutes before moving them to a wire rack. Enjoy your warm cookies!
Tips & Tricks
Achieving the Perfect Texture
To get the best texture, focus on the butter. Make sure it is softened but not melted. Cream the butter with both sugars until it’s light and fluffy. This step adds air and helps your cookies rise. You want a nice balance between chewy and soft. Bake them just until the edges turn golden. The centers should look slightly underbaked. They will firm up as they cool.
Best Practices for Mixing Ingredients
Mixing is key for great cookies. Start by beating your eggs one at a time. This helps them blend well into the butter mixture. When adding dry ingredients, do it gradually. Stir just until everything is combined. Over-mixing can lead to tough cookies. When folding in chocolate chunks or nuts, be gentle. You want them evenly spread but not crushed.
Troubleshooting Common Issues
Cookies can sometimes go wrong. If they spread too much, check your oven temperature. It should be set to 350°F. If they are dry, you may have overbaked them. Always watch the time closely. For cookies that are too flat, ensure your butter is softened, not melted. This can change the cookie’s shape. If they taste bland, try adding a pinch more salt. It can enhance the sweetness and flavor.
Pro Tips
- Chill the Dough: For thicker cookies, chill the dough in the refrigerator for at least 30 minutes before baking. This helps prevent spreading and enhances the flavor.
- Use Quality Chocolate: Opt for high-quality dark chocolate chunks for a richer taste. The better the chocolate, the more indulgent your cookies will be!
- Mix-Ins Variations: Feel free to swap out walnuts and coconut for other mix-ins like pecans, dried fruit, or even peanut butter chips for a unique twist.
- Watch the Baking Time: Keep an eye on your cookies as they bake. They should be slightly underbaked in the center for a chewy texture; they will continue to set as they cool.
Variations
Adding Different Types of Chocolate
You can switch up the type of chocolate you use. Try using milk chocolate chunks for a sweeter cookie. White chocolate adds a creamy touch. You can also mix dark and milk chocolates for a fun twist. The flavors combine well and create a rich taste.
Nut-Free or Gluten-Free Options
If you want nut-free cookies, skip the walnuts. You can add more chocolate chunks instead. For gluten-free cookies, use a gluten-free flour blend. Ensure the oats are labeled gluten-free. This keeps the cookies safe for everyone to enjoy.
Creative Flavor Additions
Get creative with flavors! Add a teaspoon of cinnamon for warmth. You can also toss in dried fruits like cranberries or cherries. A bit of orange zest gives a fresh, bright taste. Experimenting with flavors makes baking fun and unique.
Storage Info
How to Store Leftover Cookies
Store leftover cookies in an airtight container. This keeps them soft and fresh. You can layer them with parchment paper to avoid sticking. Place the container at room temperature. If you do this, cookies can last for about a week.
Freezing Instructions
Freezing cookies is a great way to save them for later. First, let the cookies cool completely. Then, place them in a single layer on a baking sheet. Freeze them for about an hour. Once frozen, transfer the cookies to a freezer bag. They can last up to three months in the freezer.
Best Practices for Freshness
To keep cookies fresh, avoid moisture. Use a clean, dry container for storage. If you want to keep them extra soft, add a slice of bread to the container. The cookies will absorb moisture from the bread. Just remember to replace the bread every few days.
FAQs
How long do these cookies last?
These cookies stay fresh for about one week. Store them in an airtight container. This keeps them soft and tasty. If you want to keep them longer, freeze them. They last well in the freezer for up to three months. Just make sure to thaw them before eating.
Can I use quick oats instead of rolled oats?
Yes, you can use quick oats. They absorb more liquid, so your cookies may be softer. Rolled oats give a chewier texture. If you like a heartier bite, stick with rolled oats. Both options are tasty, but the texture will change a bit.
What can I substitute for butter in this recipe?
If you need a butter substitute, try coconut oil or applesauce. Coconut oil gives a nice flavor. Applesauce makes the cookies moist and sweet. You can also use margarine if you want a dairy-free option. Just remember, each substitute may change the taste slightly.
How do I make these cookies chewy instead of crunchy?
To get chewy cookies, do not overbake them. Bake just until the edges are golden. The centers should look a bit underbaked. Also, use brown sugar instead of white sugar. It adds moisture and helps with chewiness. Letting the dough chill for a bit can also help.
These cookies combine simple ingredients into a delicious treat. I shared tips on mixing, baking, and storing for great results. You can adapt this recipe with fun twists or swaps to match your taste. Whether chewy or crunchy, these cookies will impress everyone. Bake, share, and enjoy this tasty desser


