
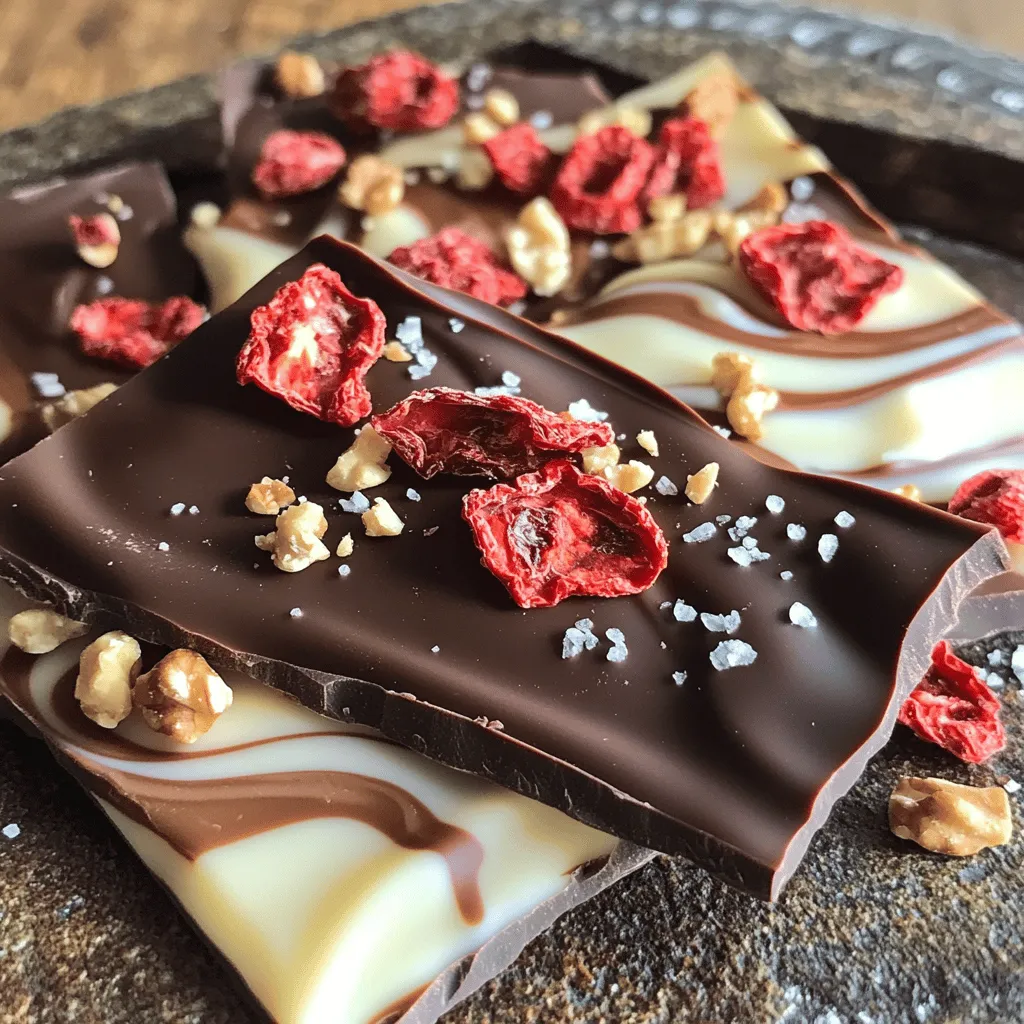
Are you ready for a sweet treat that’s simple and scrumptious? Chocolate Covered Strawberry Bark combines rich dark chocolate, creamy white chocolate, and vibrant freeze-dried strawberries for a delightful snack. Whether you want to impress guests or satisfy your own cravings, this easy recipe has you covered. Let’s dive into the fun of making your own chocolate bark and discover tasty tips along the way!
Why I Love This Recipe
- Decadent Flavor: This chocolate-covered strawberry bark combines rich dark chocolate with sweet white chocolate, creating a perfect balance of flavors.
- Easy to Make: With simple melting and mixing steps, this recipe is quick and accessible, making it ideal for both novice and experienced bakers.
- Customizable: Feel free to add your favorite toppings, such as nuts or other dried fruits, to make this bark uniquely yours.
- Beautiful Presentation: The vibrant colors of the strawberries against the chocolate make for an eye-catching treat that’s perfect for sharing.
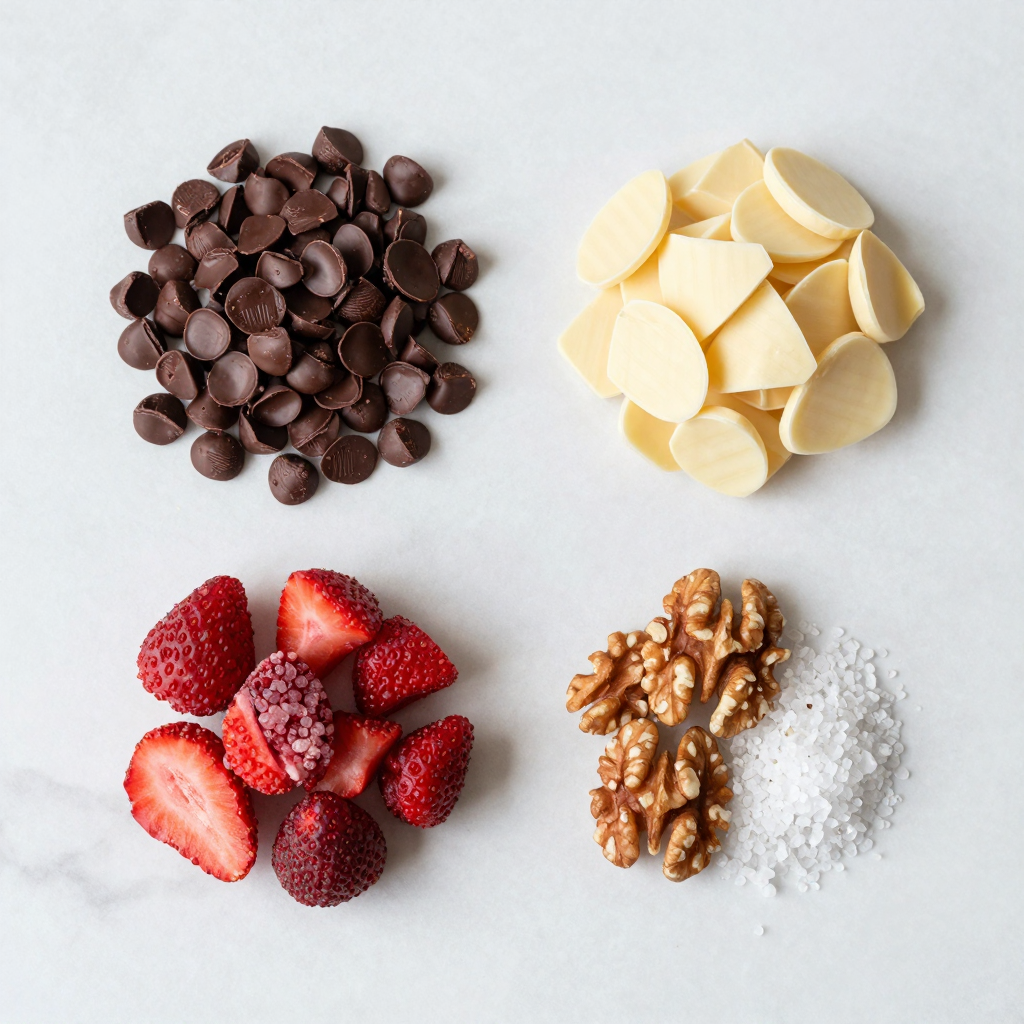
Ingredients
Main Ingredients
– 2 cups dark chocolate chips
– 1 cup white chocolate chips
– 1 cup freeze-dried strawberries
The main stars of this treat are dark and white chocolate chips. They blend well for a great taste. The freeze-dried strawberries add a fruity crunch and bright color. This combo makes each bite a delight.
Optional Ingredients
– 1/2 cup crushed walnuts
– Sea salt for sprinkling
You can add crushed walnuts for extra texture and flavor. A light sprinkle of sea salt gives a nice contrast to the sweet chocolate. Both are not must-haves but can enhance your bark.
Equipment Needed
– Microwave-safe bowls
– Baking sheet
– Parchment paper
You need a few tools to make this bark. Microwave-safe bowls help melt the chocolate easily. A baking sheet holds the bark while it sets, and parchment paper ensures it comes off cleanly. These simple items make your cooking process smooth.
Step-by-Step Instructions
Preparing the Baking Sheet
– Line with parchment paper
– Ensure even coverage
First, take a baking sheet and line it with parchment paper. This step is key. It helps the bark lift off easily once it’s set. Make sure the paper covers the whole sheet. No gaps!
Melting the Dark Chocolate
– Microwave method for efficiency
– Importance of stirring
Next, grab a microwave-safe bowl. Add the dark chocolate chips into this bowl. Microwave the chocolate in 30-second bursts. After each burst, take it out and stir. Keep going until it’s smooth and melted. Stirring helps avoid burning the chocolate.
Creating the Bark Layers
– Pouring dark chocolate onto baking sheet
– Melting and drizzling white chocolate
Now, pour the melted dark chocolate onto your lined baking sheet. Use a spatula to spread it into an even layer. This makes for a nice base. Then, take another microwave-safe bowl for the white chocolate chips. Melt them using the same 30-second method. Once melted, drizzle the white chocolate over the dark layer. Use a toothpick to swirl them together. This creates a pretty marbled look.
Finally, sprinkle the freeze-dried strawberries and crushed walnuts over the top. Press them down gently so they stick. A light sprinkle of sea salt adds a great flavor contrast. Now, place the baking sheet in the fridge for about 30 minutes. When the chocolate hardens, remove it and break it into pieces. Enjoy your treat!
Pro Tips
- Use Quality Chocolate: The flavor of your bark will heavily depend on the quality of the chocolate you choose. Opt for high-quality dark and white chocolate for the best results.
- Chill Your Ingredients: Ensure your freeze-dried strawberries and walnuts are at room temperature before adding them to the bark to prevent the chocolate from melting too quickly.
- Experiment with Toppings: Feel free to customize your bark by adding other toppings such as dried fruits, nuts, or even a sprinkle of crushed candy for added texture and flavor.
- Store Properly: Keep your chocolate bark in an airtight container at room temperature or in the fridge for longer freshness. This will help maintain its texture and prevent it from melting.
Tips & Tricks
Achieving the Best Texture
To make great chocolate bark, the type of chocolate matters. Use high-quality chocolate chips for the best taste. They melt smoothly and stay creamy. For perfect melting, heat chocolate in 30-second bursts. Stir well after each interval. This keeps the chocolate from burning.
Swirling Techniques
To create a fun marbled effect, drizzle the white chocolate over the dark chocolate. Use a toothpick or skewer to swirl them together. Be gentle to keep the design nice. If you want to get fancy, try using a fork or a spatula. Both work well for swirling.
Adding the Toppings
Evenly spread freeze-dried strawberries and walnuts over the chocolate. This helps to get a nice mix in every bite. After spreading, press down lightly on the toppings. This ensures they stick well to the chocolate. The more they stick, the better the bark will hold together.
Variations
Different Chocolate Options
You can switch up the chocolate for your bark. If you prefer sweeter flavors, try milk chocolate instead of dark. Milk chocolate gives a creamy taste. White chocolate is another fun choice. It adds a nice contrast to the fruity flavors. You can also use flavored chocolate. Think about adding mint chocolate or orange chocolate for a twist.
Alternative Toppings
Toppings can change the game for your bark. Nuts like almonds or pecans add a nice crunch. You can also crush up candies for fun colors and flavors. Dried fruits like apricots or cranberries work well, too. For added freshness, use fresh fruits. Sliced bananas or raspberries can brighten up your bark. Just remember to use fresh fruit right before serving.
Themed Variations
Make your chocolate bark special for holidays or events. For Valentine’s Day, use heart-shaped sprinkles. For Halloween, add orange and black candies. You can think outside the box with flavor combos. Try pairing dark chocolate with spicy chili flakes for a kick. Or use coconut and lime for a tropical feel. The options are endless!
Storage Info
Best Storage Practices
To keep your chocolate covered strawberry bark fresh, use an airtight container. This will stop air from getting in. It will keep the bark from drying out and losing its taste. I like using a glass or plastic container with a tight lid. You can also wrap the bark in plastic wrap before placing it in the container. This adds extra protection.
Shelf Life
Homemade chocolate bark can last about two weeks when stored correctly. If you notice any white spots or a dull look, it’s time to toss it. These signs mean the chocolate has gone bad. Always check for any off smells too. If it smells strange, don’t eat it.
Freezing Chocolate Bark
You can freeze chocolate bark if you want to keep it longer. First, break the bark into pieces. Then, place the pieces on a baking sheet lined with parchment paper. This stops them from sticking together. Freeze the pieces for about two hours. After that, move them to a freezer-safe bag. When you want to eat it, let it sit at room temperature for a bit. You can also microwave it for a few seconds to warm it up. Enjoy your treat!
FAQs
Can I use chocolate bars instead of chips?
Yes, you can use chocolate bars. Just chop them into small pieces. This helps them melt evenly. Place the chopped chocolate in a microwave-safe bowl. Heat in 30-second bursts, stirring each time. Keep an eye on it to prevent burning. Once melted, you can spread it like you do with chips.
Is it possible to make this recipe vegan?
Absolutely! You can use vegan chocolate. Look for dark chocolate that has no milk. Many brands make dairy-free chocolate chips. You can also try using cacao butter for a creamy texture. Add in your favorite toppings, like nuts or coconut, to keep it fun and tasty.
How do I know when the chocolate is fully set?
Check for a firm texture. The chocolate should feel hard when you touch it. You can also look for a shiny surface. If it looks dull, it may need more time. Place it in the fridge for about 30 minutes. Once it’s set, you can break it into pieces. Enjoy!
This blog post guides you on making delicious chocolate bark. We covered key ingredients like dark and white chocolate, freeze-dried strawberries, and optional toppings. I shared easy instructions, tips for the best texture, and fun variations to try. Remember to store your bark properly for freshness. You can even freeze it! Enjoy your chocolate bark adventures. Try different flavors and have fun with the process. Your treats will impress everyone!


