
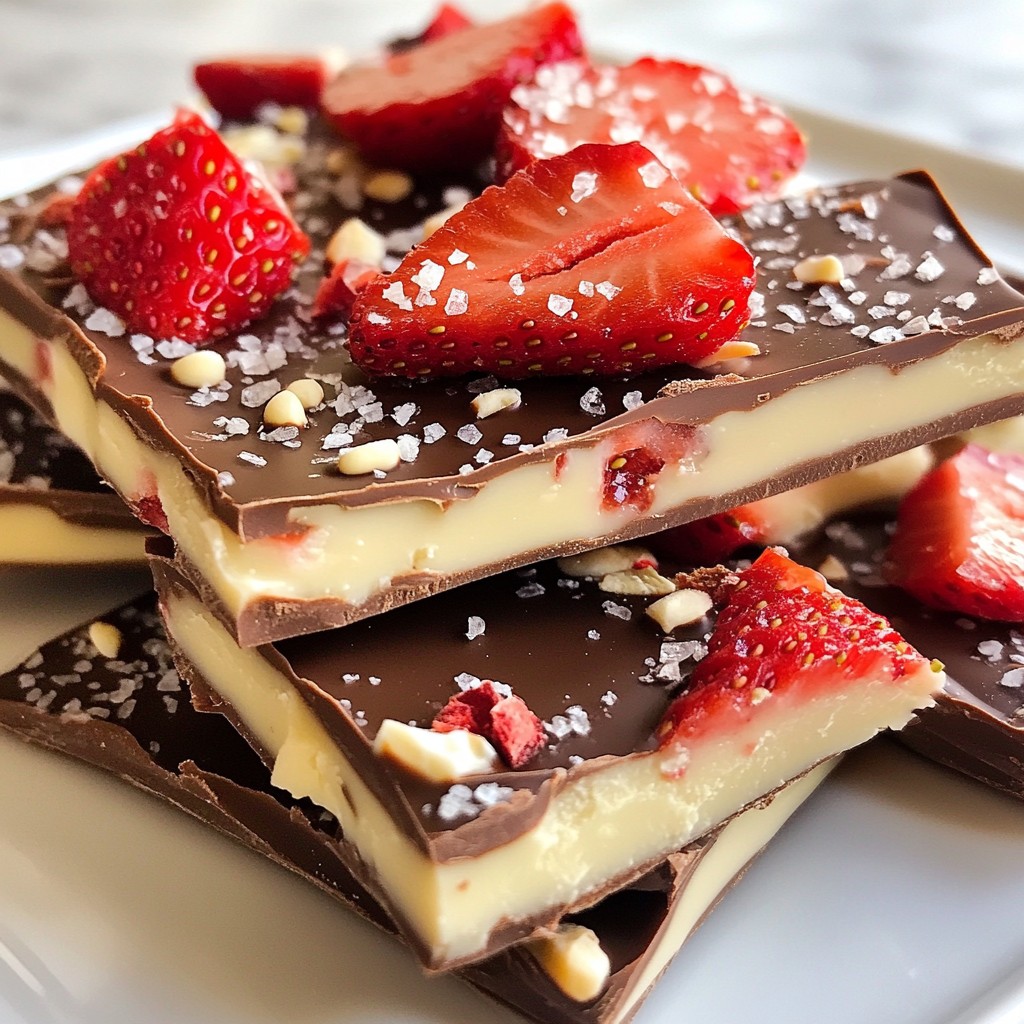
Indulge in the sweet delight of chocolate covered strawberry bark! This treat combines rich chocolate and fresh strawberries in a simple, fun way. You’ll love creating this colorful snack that pleases both the eye and the taste buds. With just a few ingredients and easy steps, you can impress your friends and family or simply enjoy a delightful dessert at home. Let's get started on this tasty journey!
Why I Love This Recipe
- Deliciously Decadent: The combination of dark and white chocolate creates a rich, indulgent treat that is hard to resist.
- Beautiful Presentation: The vibrant colors of fresh and freeze-dried strawberries make this bark visually stunning, perfect for any occasion.
- Easy to Make: With just a few simple steps, this recipe is quick and uncomplicated, making it ideal for both novice and experienced bakers.
- Customizable: Feel free to experiment with different toppings or types of chocolate to make this bark your own!
Ingredients
Main Ingredients
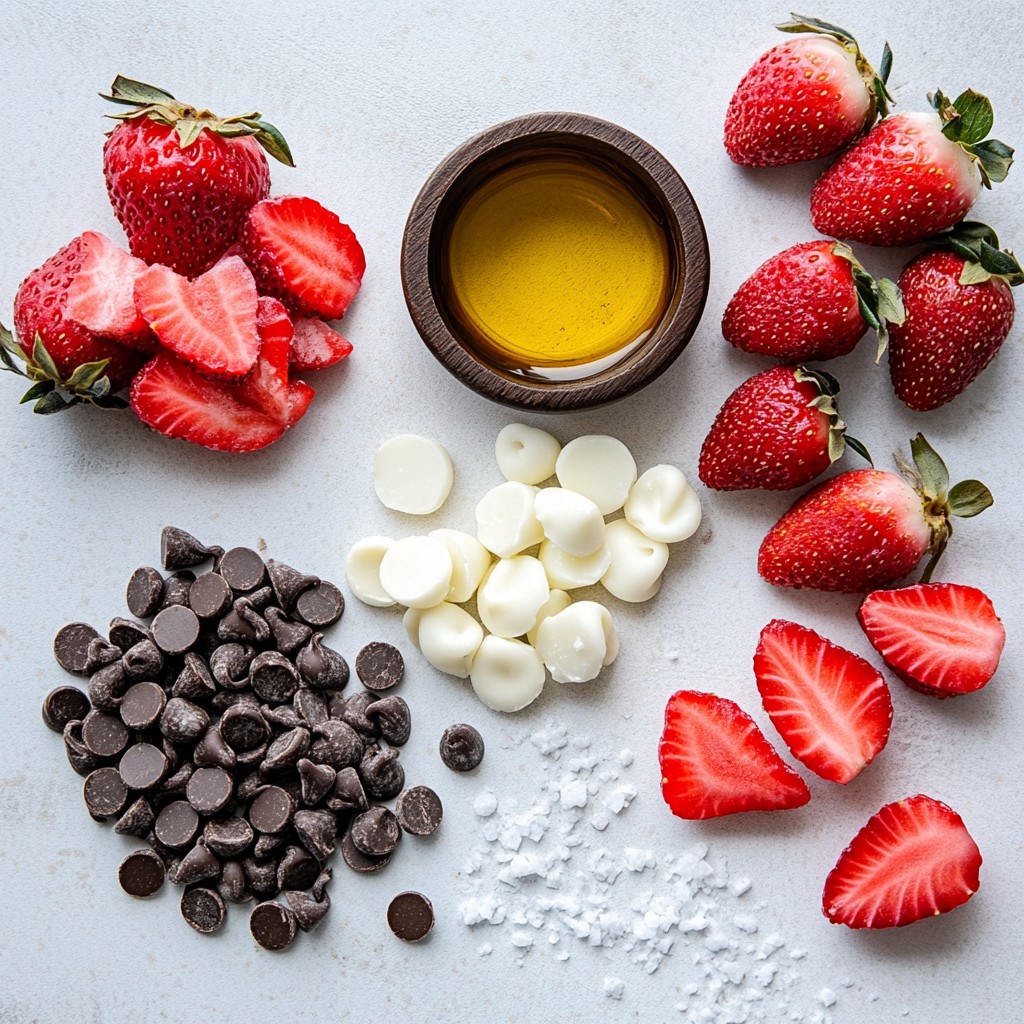
- 1 cup dark chocolate chips
- 1 cup white chocolate chips
- 1 cup freeze-dried strawberries, crushed
- 1/2 cup fresh strawberries, sliced
- 1 tablespoon coconut oil (optional)
- A pinch of sea salt
This recipe uses simple, tasty items. The dark chocolate chips create a rich base. I love using dark chocolate for its deep flavor. The white chocolate chips add sweetness and color. Together, they balance each other nicely.
For texture, we use freeze-dried strawberries. They give a fun crunch and burst of flavor. Fresh strawberries add a juicy element. They look lovely and taste great when sliced.
Coconut oil is optional. It helps the chocolate melt smoothly. If you skip it, the bark will still turn out fine. A pinch of sea salt at the end enhances the sweet flavors.
Gather these ingredients before you start. You will enjoy the process and the treat!
Step-by-Step Instructions
Preparing the Baking Sheet
Line a baking sheet with parchment paper. This step makes it easy to lift the bark later. The paper keeps the chocolate from sticking.
Melting the Chocolate
Steps for dark chocolate: In a microwave-safe bowl, add the dark chocolate chips. If you want, add coconut oil for a smooth melt. Heat in the microwave for 30 seconds. Stir and check if it’s melted. Repeat until smooth.
Steps for white chocolate: In another bowl, repeat the process with white chocolate chips. Heat in 30-second intervals until melted and creamy.
Assembling the Bark
Spreading the dark chocolate: Pour the melted dark chocolate onto the prepared baking sheet. Use a spatula to spread it evenly. Aim for about a 1/4-inch thickness.
Adding fresh strawberries: Take the sliced fresh strawberries and arrange them on top of the dark chocolate layer. Gently press them in so they stick as the chocolate cools.
Drizzling white chocolate: Once the dark chocolate and strawberries are ready, drizzle the melted white chocolate over the top. Use a spoon or a piping bag for a nice effect.
Sprinkling freeze-dried strawberries and salt: Immediately sprinkle the crushed freeze-dried strawberries over the top. Add a pinch of sea salt for extra flavor.
Chilling and Breaking the Bark
Place the baking sheet in the fridge for about 30 to 45 minutes. This time helps the chocolate harden completely. Once set, lift the bark off the parchment paper. Break it into irregular pieces. This gives it a rustic look that is fun and tasty.
Tips & Tricks
Perfect Melting Techniques
You can melt chocolate in two main ways: the microwave or a double boiler.
- Microwave: This method is quick. Use a microwave-safe bowl. Heat chocolate chips in short bursts of 30 seconds. Stir in between to avoid burning.
- Double boiler: This gives you more control. Fill a pot with water and bring it to a simmer. Place a heat-proof bowl on top, making sure it doesn’t touch the water. Stir until melted.
Both methods work well. Choose one that you feel comfortable with.
Customization Ideas
You can add your own twist to the bark. Here are some fun ideas:
- Ingredients for variations: Try using nuts, dried fruits, or even crushed cookies.
- Swapping chocolates: If you love milk chocolate, use that instead of dark. You can mix and match as you like!
Get creative! Your bark can reflect your taste.
Presentation Suggestions
How you serve your bark can make it even more special.
- Decorative serving ideas: Serve it on a pretty plate or a platter. You can also cut it into fun shapes for parties.
- Gift packaging options: Wrap pieces in clear bags tied with colorful ribbons. This makes a lovely gift for friends or family.
A nice presentation can turn this treat into a festive delight!
Pro Tips
- Use Quality Chocolate: For the best flavor and texture, choose high-quality chocolate chips or bars. This will enhance the overall taste of your bark.
- Chill Between Layers: If you want to create distinct layers, chill the dark chocolate layer briefly before adding the white chocolate. This helps maintain separation and visual appeal.
- Customize Toppings: Feel free to experiment with other toppings like nuts, coconut flakes, or different fruits. This allows for a personalized touch to your bark.
- Storage Tips: Store the bark in an airtight container in a cool, dry place. This will help maintain its freshness and prevent it from melting or becoming sticky.
Variations
Different Chocolate Combinations
You can change up the chocolate in your bark. Try using milk chocolate instead of dark chocolate. It adds a nice sweetness. You can also use flavored chocolates. Options like raspberry or mint chocolate can make the bark unique.
Adding Other Toppings
Adding toppings is a fun way to get creative. Nuts like almonds or walnuts add crunch and flavor. You can use sprinkles or candies for a festive look. Consider adding alternative fruits too. Dried bananas or blueberries can offer a different taste.
Dietary Adjustments
You can easily adjust this recipe for different diets. To make it vegan or dairy-free, use dairy-free chocolate chips. This swap keeps the taste while meeting dietary needs. If you want a gluten-free option, rest assured, this recipe is already gluten-free. Enjoy the bark without worry!
Storage Info
Best Storage Practices
To keep your chocolate covered strawberry bark fresh, store it in an airtight container. This will protect it from moisture and other odors. You can use glass jars or plastic containers with tight lids. Place a piece of parchment paper between layers if you're stacking pieces. This helps them stay separate and prevents sticking.
Shelf Life
Your chocolate covered strawberry bark will last about two weeks in the fridge. Just make sure it stays in that airtight container. If you want to save it for later, you can freeze it. Wrap each piece in plastic wrap and place them in a freezer-safe bag. It can last up to three months in the freezer. When ready to enjoy, let it thaw in the fridge before eating.
FAQs
How long does Chocolate Covered Strawberry Bark last?
Chocolate covered strawberry bark stays fresh for about one week in your pantry. If you store it in the fridge, it can last up to two weeks. Always keep it in an airtight container to maintain its taste and texture.
Can I use different fruits?
Yes, you can use other fruits! Bananas, raspberries, or even blueberries work well. Just slice them thinly or use freeze-dried options for a crunch. This way, you can mix flavors and find your favorite.
How do I make the bark look more appealing?
To make your bark eye-catching, try these tips:
- Use a mix of dark and white chocolate for contrast.
- Add vibrant fruits on top.
- Drizzle melted chocolate in zig-zags for flair.
- Serve on a bright plate or in clear bags tied with ribbon.
Is it necessary to use coconut oil?
Coconut oil is not must-have, but it helps. It makes the dark chocolate melt smooth and shiny. If you skip it, the chocolate may not spread as well. You can still enjoy the bark without it, but I recommend using it for best results.
This blog post covered how to make delicious Chocolate Covered Strawberry Bark. We discussed key ingredients like dark and white chocolate, strawberries, and coconut oil. You learned step-by-step instructions to melt the chocolate and assemble the bark.
I also shared tips for perfect melting and creative variations for your bark. Remember, this treat is easy to customize to fit your tastes. With proper storage, it can last a while. Now it's time to try this tasty recipe and impress your friends and family. Enjoy!


