
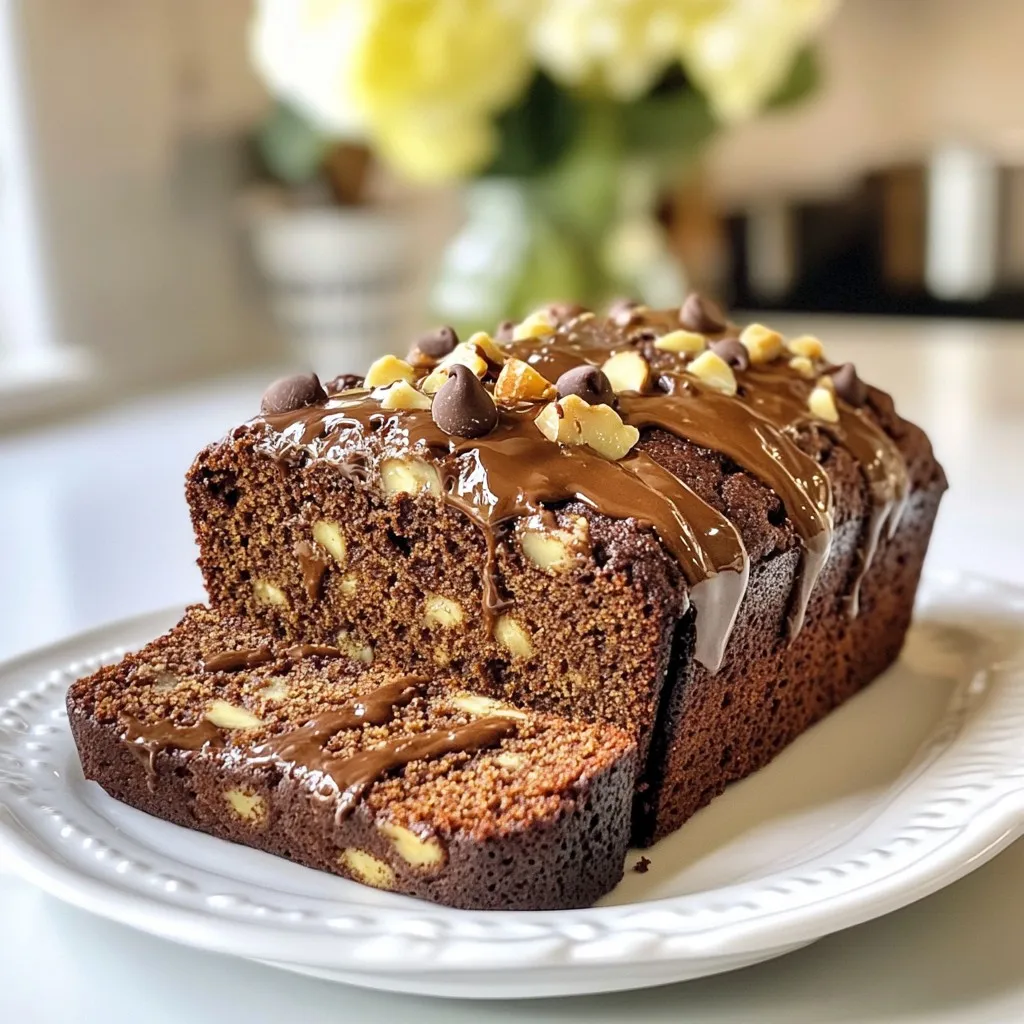
Are you ready for a sweet treat that will make your taste buds dance? Chocolate Hazelnut Banana Bread is the perfect blend of rich chocolate, nutty hazelnut, and the sweetness of ripe bananas. This easy recipe will have you filling your kitchen with a warm, mouth-watering aroma. Plus, it’s great for breakfast or an afternoon snack. Let’s dive into the steps to create this irresistible delight!
Why I Love This Recipe
- Easy to Make: This recipe comes together in just 15 minutes of prep time, making it perfect for a quick baking session.
- Delicious Flavor Combination: The rich chocolate and nutty hazelnut flavors pair beautifully with the natural sweetness of ripe bananas.
- Customizable: You can easily modify this recipe to be vegan by using flax eggs and applesauce instead of eggs and yogurt.
- Perfectly Moist: The combination of bananas and yogurt ensures this banana bread stays moist and tender, making it a delightful treat.
Ingredients
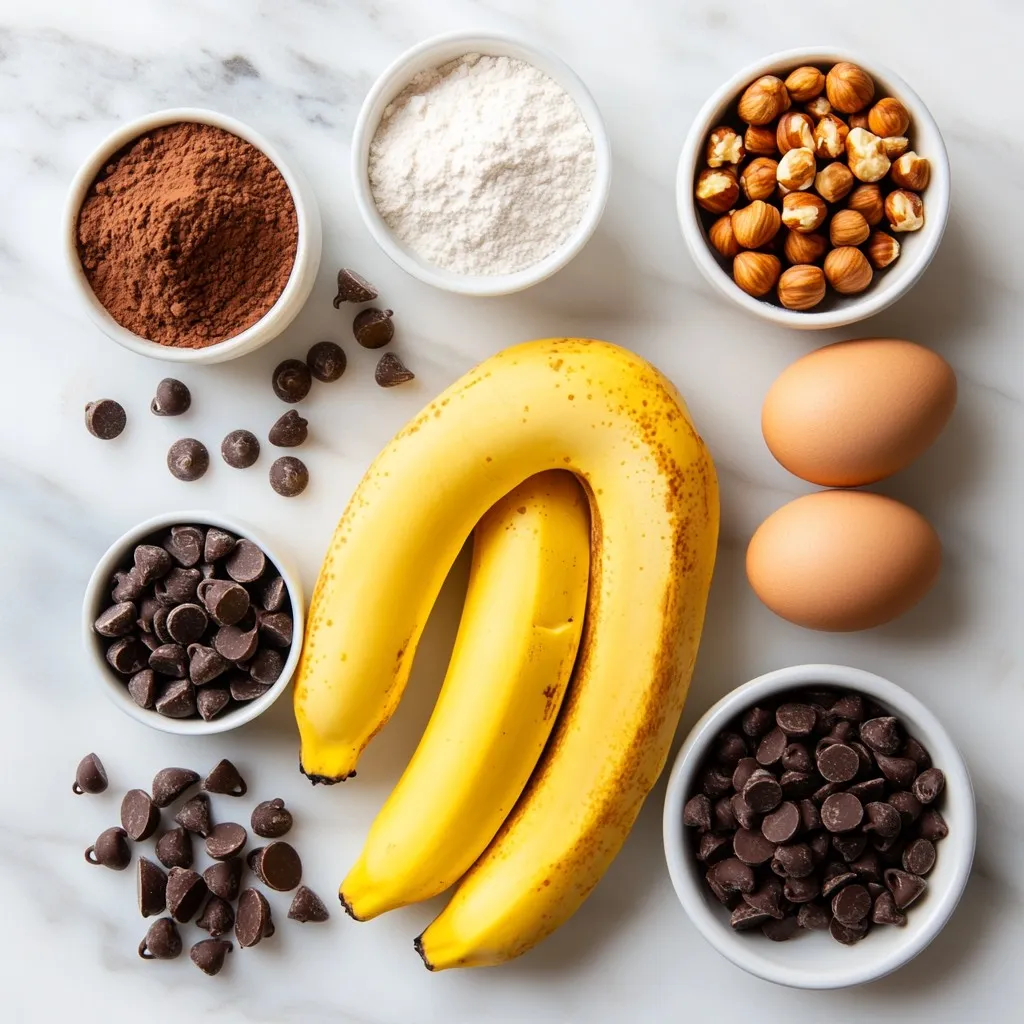
To make the best Chocolate Hazelnut Banana Bread, you’ll need some simple yet tasty ingredients. Here’s the full list:
– 3 ripe bananas, mashed
– 1/2 cup hazelnut butter
– 1/2 cup granulated sugar
– 1/4 cup brown sugar, packed
– 1/4 cup unsweetened cocoa powder
– 1/4 cup plain yogurt or applesauce
– 2 large eggs or flax eggs
– 1 teaspoon vanilla extract
– 1 teaspoon baking soda
– 1/2 teaspoon baking powder
– 1/4 teaspoon salt
– 1 cup all-purpose flour
– 1/2 cup chocolate chips
– 1/2 cup chopped hazelnuts (optional)
These ingredients blend together to create a rich, moist bread with a delightful crunch. The ripe bananas add natural sweetness and moisture. The hazelnut butter brings a nutty depth. Cocoa powder gives that chocolatey flavor. You can use yogurt or applesauce for creaminess. Eggs help bind the mixture.
If you want a vegan version, swap the eggs for flax eggs. The chocolate chips melt into gooey pockets of chocolate. Optional hazelnuts add a nice texture. Each ingredient plays a vital role in making this bread irresistible.
Step-by-Step Instructions
Preparation Overview
– Preheat your oven to 350°F (175°C).
– Grease a 9×5 loaf pan or line it with parchment paper.
Mixing Wet Ingredients
– In a large bowl, combine the mashed bananas, hazelnut butter, granulated sugar, and brown sugar. Mix until it looks smooth.
– Next, add the yogurt, eggs, and vanilla extract. Stir until everything is well mixed.
Combining Dry Ingredients
– In another bowl, sift together the cocoa powder, baking soda, baking powder, salt, and flour.
– Gradually add this dry mixture to the wet mixture. Stir gently until just combined.
Final Preparation
– Fold in the chocolate chips and chopped hazelnuts. Make sure they are evenly spread in the batter.
– Pour the batter into the prepared loaf pan. Use a spatula to smooth the top.
Baking Instructions
– Bake in the preheated oven for 50-60 minutes.
– To check if it’s done, insert a toothpick in the center. It should come out clean when the bread is ready.
Tips & Tricks
Baking Tips
– How to ensure perfect texture: Use ripe bananas for natural sweetness and moisture. Mash them well to blend smoothly. This makes your bread soft. Mix wet and dry ingredients gently. Over-mixing can make it tough. Bake until a toothpick comes out clean for best results.
– Avoiding common mistakes: Don’t skip the baking soda and baking powder. They help the bread rise. Measure ingredients carefully. Too much flour can make the bread dense. Always check your oven temperature. An oven that’s too hot or cold can ruin your bread.
Substitutions and Modifications
– Vegan options and substitutes: Replace yogurt with applesauce. Use flax eggs instead of regular eggs. Mix 1 tablespoon of ground flaxseed with 2.5 tablespoons of water. Let it sit for 5 minutes to thicken. These swaps keep your bread tasty and vegan-friendly.
– Gluten-free variations: Swap all-purpose flour with a gluten-free blend. Make sure your blend includes xanthan gum for texture. This keeps the bread moist and fluffy without gluten.
Presentation and Serving Suggestions
– How to present banana bread: Once cooled, slice the bread evenly. Serve on a wooden board for a rustic look. Drizzle some hazelnut butter on top for added flair.
– Suggested pairings and garnishes: Add extra chocolate chips and chopped hazelnuts for crunch. Serve with a scoop of ice cream or a dollop of whipped cream. A cup of coffee or tea pairs well with the rich flavors.
Pro Tips
- Use Overripe Bananas: The riper the bananas, the sweeter and more flavorful your banana bread will be. Look for bananas with lots of brown spots or even a few that are fully brown.
- Don’t Overmix: When combining the dry ingredients with the wet mixture, stir until just combined. Overmixing can lead to dense, tough banana bread.
- Let It Cool: Allow the banana bread to cool in the pan for at least 10 minutes. This helps it to set and makes it easier to remove without breaking.
- Customize Your Add-Ins: Feel free to experiment with additional mix-ins like dried fruits, seeds, or different types of nuts for a unique twist on the classic recipe.
Variations
Flavor Additions
You can change the taste of your chocolate hazelnut banana bread easily. Try using different nut butters. Almond butter or peanut butter adds a new twist. You can also mix in spices like cinnamon or nutmeg. These spices bring warmth and depth to your bread.
Adding extra flavor enhancers makes it even better. A dash of espresso powder can boost the chocolate flavor. You can also fold in some shredded coconut for a tropical hint. These small changes create a unique taste each time.
Healthier Options
To make this banana bread healthier, consider reducing the sugar. You can cut the granulated sugar to just 1/4 cup. This keeps it sweet without being too sugary. Another option is to use mashed dates or applesauce as a natural sweetener.
Adding fruits or seeds can also boost nutrition. Chopped apples or berries add flavor and moisture. Flaxseeds or chia seeds provide healthy fats and fiber. These options make your banana bread a wholesome treat.
Seasonal Variations
You can adapt this recipe to fit the seasons. In fall, add spices like pumpkin pie spice or cloves. This creates a cozy flavor perfect for autumn. You can also mix in chopped walnuts for a crunch.
During the holidays, you might want to add cranberries or orange zest. These ingredients give a festive twist. They also brighten the flavor and add a pop of color. Enjoy experimenting with these fun seasonal ideas!
Storage Info
Best Practices for Storage
To keep your chocolate hazelnut banana bread fresh, store it in an airtight container. This helps keep the moisture in and prevents it from drying out. You can keep it at room temperature for a few days. If you live in a hot area, refrigeration may be a better option.
– Store banana bread in an airtight container.
– Keep it at room temperature for up to 3 days.
– Refrigeration can help in warm climates.
Freezing Instructions
Freezing your banana bread is a great way to save some for later. To freeze, first make sure it is completely cool. Wrap it tightly in plastic wrap and then place it in a freezer bag. This keeps it fresh for up to three months.
– Allow banana bread to cool fully.
– Wrap it in plastic wrap and place it in a freezer bag.
– Store for up to three months.
When you’re ready to enjoy it again, simply remove it from the freezer. Let it thaw at room temperature for a few hours. You can also reheat slices in the microwave for a warm treat.
– Thaw at room temperature for a few hours.
– Reheat slices in the microwave if desired.
FAQs
How long does chocolate hazelnut banana bread last?
Chocolate hazelnut banana bread lasts about 3 to 5 days at room temperature. Store it in an airtight container. You can also keep it in the fridge for up to a week. For longer storage, freeze it. Wrap it tightly in plastic wrap and then aluminum foil. It can last for up to 3 months in the freezer.
Can I make this banana bread without eggs?
Yes, you can make this banana bread without eggs. Use flax eggs instead. To make a flax egg, mix one tablespoon of ground flaxseed with two and a half tablespoons of water. Let it sit for about 5 minutes until it thickens. This works well in most baking recipes.
What’s the best way to ripen bananas quickly?
To ripen bananas quickly, place them in a brown paper bag. The bag traps ethylene gas, helping them ripen faster. You can also add an apple to the bag for even quicker results. If you need them really fast, you can bake them in their skins at 300°F for about 15-20 minutes.
Can I use frozen bananas for this recipe?
Yes, you can use frozen bananas for this recipe. Just thaw them and drain any excess liquid. Mash them well before adding to your mixture. Frozen bananas work great because they are usually very ripe and sweet.
How do I know when the banana bread is done baking?
To check if the banana bread is done, insert a toothpick into the center. If it comes out clean or with a few crumbs, your bread is ready. If it has wet batter on it, bake for a few more minutes. The bread should spring back when you gently press the top.
This blog post detailed how to make delicious chocolate hazelnut banana bread. You learned about the key ingredients and step-by-step instructions for baking it. We shared tips to avoid common mistakes and ideas for creative variations. Remember, you can modify this recipe to fit your diet and taste. With proper storage and reheating methods, this treat can last and stay fresh. Enjoy your baking adventures and share this delight with friend


