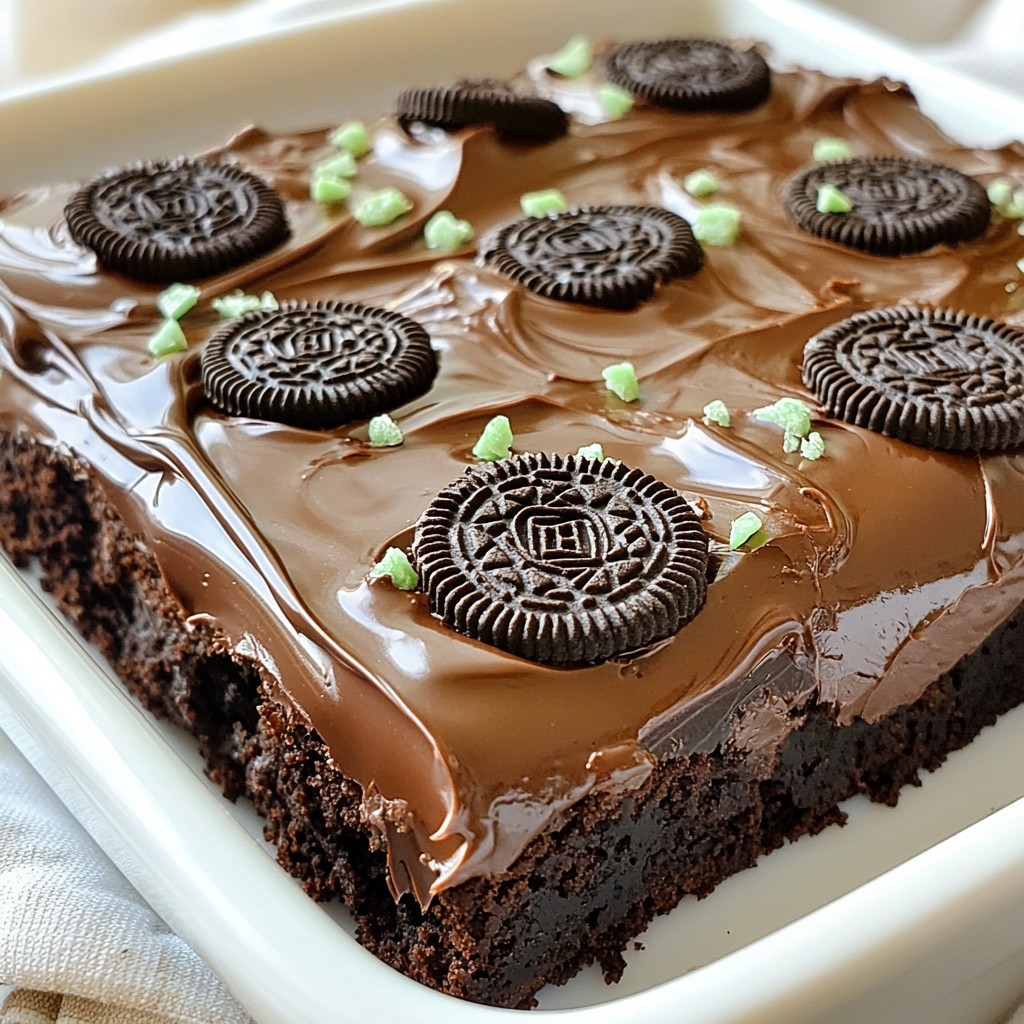
Are you ready to treat yourself to something delicious? These Chocolate Mint Oreo Brownies are a must-try for any dessert lover. Packed with rich chocolate and minty flavor, they’re easy to make and perfect for any occasion. From gathering ingredients to perfecting the texture, I’ll guide you through each step. Let’s dive into this quick and delightful recipe that’s sure to impress your friends and family!
Why I Love This Recipe
- Decadent Flavor: The combination of rich chocolate and refreshing mint creates a deliciously indulgent treat that everyone loves.
- Easy to Make: This recipe is straightforward and requires minimal effort, perfect for bakers of all skill levels.
- Perfect for Any Occasion: Whether it’s a holiday gathering or a casual get-together, these brownies are sure to impress your guests.
- Customizable: You can easily tweak the recipe by adding nuts or other favorite candies for a personal touch.
Ingredients
Complete List of Ingredients
To make these delightful chocolate mint Oreo brownies, gather the following items:
- 1 cup unsalted butter (2 sticks), melted
- 1 cup granulated sugar
- 1 cup packed brown sugar
- 4 large eggs
- 1 teaspoon vanilla extract
- 1 cup all-purpose flour
- 3/4 cup unsweetened cocoa powder
- 1 teaspoon baking powder
- 1/2 teaspoon salt
- 1 cup chocolate chips
- 1 cup mint Oreo cookies, chopped (plus extra for topping)
- 1/2 cup of peppermint frosting (store-bought or homemade)
These ingredients create a rich and minty dessert that everyone will love.
Optional Items for Extra Flavor
You can add a few extras to enhance your brownies:
- A pinch of espresso powder to boost the chocolate flavor
- Chopped nuts like walnuts or pecans for crunch
- A splash of almond extract for a different twist
These options can give your brownies a unique flair.
Notes on Ingredient Substitutions
If you need to make changes, here are some ideas:
- Use coconut oil in place of butter for a dairy-free option.
- Substitute gluten-free flour if you want a gluten-free treat.
- Replace mint Oreos with regular Oreos for a less minty flavor.
These swaps let you adjust the recipe to fit your needs while keeping it tasty.

Step-by-Step Instructions
Preparation Steps Before Baking
First, preheat your oven to 350°F (175°C). This step warms the oven for even baking. Next, get your 9x13 inch baking pan ready. You can grease it well or line it with parchment paper. Lining makes it easy to lift the brownies out later.
Mixing Wet Ingredients
In a large mixing bowl, add the melted butter. Then, sprinkle in the granulated sugar and brown sugar. Whisk these together until they blend well. Now, crack in four large eggs, one at a time. Mix well after each egg. Finally, stir in one teaspoon of vanilla extract for extra flavor.
Combining Dry Ingredients and Baking
In a separate bowl, sift together the flour, cocoa powder, baking powder, and salt. This helps to break up any lumps. Gradually add the dry mix to the wet mix. Fold gently until everything is combined. Now, it’s time to add in one cup of chocolate chips and one cup of chopped mint Oreo cookies. Stir them in carefully. Pour the brownie batter into your prepared pan and spread it evenly. Bake for 25-30 minutes. Check if they are done by inserting a toothpick. It should come out with a few moist crumbs. Let the brownies cool in the pan on a wire rack.
Tips & Tricks
Perfecting the Brownie Texture
To get the best brownie texture, focus on mixing. Mix your wet ingredients well. This step helps to blend the sugars with the butter. When adding eggs, mix well after each one. This keeps the brownies moist and rich.
Do not overmix the dry ingredients. Fold them gently into the wet mixture. Overmixing can create a tough texture.
For a fudgy brownie, use less flour. If you want a cake-like brownie, slightly increase the flour. Experiment to find your ideal texture.
Best Practices for Frosting Application
Frosting can make or break your brownies. Wait until the brownies cool completely before you frost. This prevents the frosting from melting. Spread the peppermint frosting evenly across the top. A spatula works great for this.
For a fun touch, add more chopped mint Oreo cookies on top. This adds flavor and makes your brownies look nice. You can also use a piping bag for a decorative touch.
Baking Time Variances According to Ovens
Ovens can vary in temperature. Always check your brownies a few minutes early. Start checking around 25 minutes. Use a toothpick to test doneness. If it comes out with moist crumbs, they are ready.
If your oven runs hot, reduce the temperature by 25°F. If you have a slower oven, add a few minutes. Knowing your oven helps you bake the perfect brownies each time.
Pro Tips
- Use Room Temperature Eggs: This helps to create a smoother batter and ensures even mixing, resulting in a better texture for your brownies.
- Don’t Overmix the Batter: Once you add the dry ingredients, gently fold until just combined. Overmixing can lead to tough brownies.
- Check for Doneness Early: Brownies are best when slightly underbaked. Start checking at 25 minutes with a toothpick; it should come out with a few moist crumbs.
- Cool Before Frosting: Allow the brownies to cool completely in the pan before frosting to prevent the frosting from melting and sliding off.
Variations
Additional Flavor Enhancements
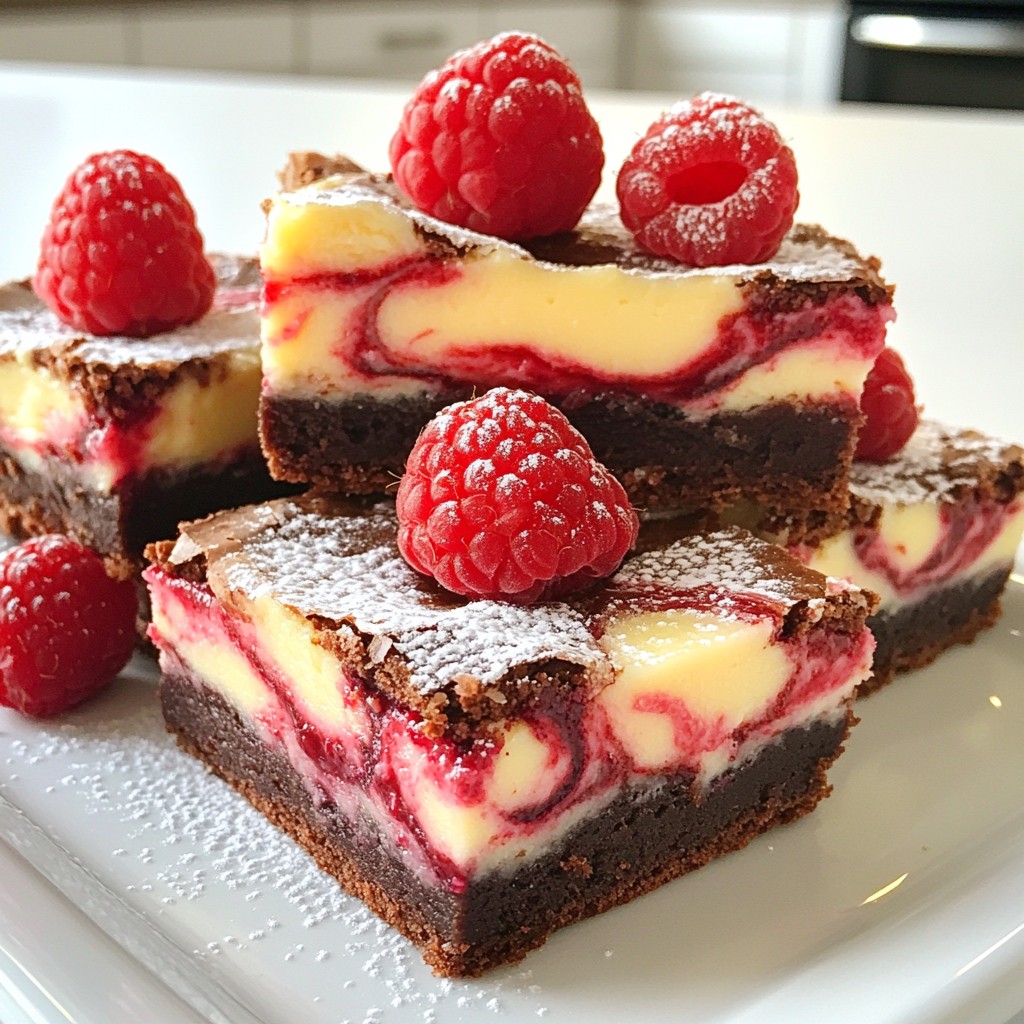
You can easily make these brownies even tastier. Try adding a splash of espresso to the batter. It boosts the chocolate flavor. You can also mix in some chopped nuts, like walnuts or pecans. They add a nice crunch. For a fruity twist, try adding some raspberry puree to the frosting. The mix of chocolate and fruit tastes amazing!
Dietary Modifications (Gluten-Free, Vegan)
If you need gluten-free brownies, swap the all-purpose flour for a gluten-free blend. Make sure the baking powder is gluten-free too. For a vegan version, use flax eggs instead of real eggs. Mix 1 tablespoon of ground flaxseed with 2.5 tablespoons of water for each egg. Use coconut oil instead of butter, and choose vegan chocolate chips.
Creative Toppings Beyond Mint Oreos
You can go beyond mint Oreos for toppings. Try crushed candy canes for a festive touch. Shredded coconut gives a tropical vibe. Drizzle some caramel sauce on top for added sweetness. You can also sprinkle on mini marshmallows for a fun twist. These toppings make your brownies look and taste special!
Storage Info
How to Properly Store Brownies
To keep your chocolate mint Oreo brownies fresh, store them in an airtight container. If you don’t have one, wrap them tightly in plastic wrap. This helps keep moisture in and prevents them from drying out. It also keeps other smells from your kitchen away. Make sure to let them cool completely before storing. This helps maintain the perfect texture.
Freezing for Later Enjoyment
If you want to save some brownies for later, freezing is a great option. Cut the brownies into squares first. Place each square on a baking sheet and freeze for about an hour. Once they are firm, transfer them to a freezer bag. Make sure to label the bag with the date. You can enjoy them later by letting them thaw in the fridge or at room temperature.
How Long Do They Last?
When stored properly, your brownies can last for about 3 to 4 days at room temperature. If you keep them in the fridge, they can last up to a week. In the freezer, they can last for about 2 to 3 months. Just remember, the longer they sit, the less fresh they will taste. So, enjoy them while they are at their best!
FAQs
Can I use regular Oreos instead of mint?
Yes, you can use regular Oreos. The brownies will still taste great. However, they won’t have the mint flavor that makes these brownies special. If you want a minty taste, try adding a few drops of peppermint extract or using mint chocolate chips.
What’s the best way to cut brownies cleanly?
To cut brownies neatly, use a sharp knife. Dip the knife in hot water before cutting. Wipe it clean after each cut. This keeps the edges smooth and prevents sticking. You can also chill the brownies in the fridge for an hour before cutting. This helps them hold their shape better.
Can I make these brownies ahead of time?
Absolutely! You can make the brownies a day or two in advance. Store them in an airtight container. Keep them at room temperature if you plan to eat them soon. If you want them to last longer, freeze them. Just make sure to wrap them well to prevent freezer burn.
This blog post provided a detailed guide on making delicious brownies. You learned about key ingredients, step-by-step baking instructions, and tips to achieve the perfect texture. I shared variations to cater to different diets and personal tastes, along with proper storage methods to enjoy later. In the end, making brownies is fun and rewarding, allowing you to explore flavors and creativity. Use these insights to create your own delicious batches. Happy baking!