
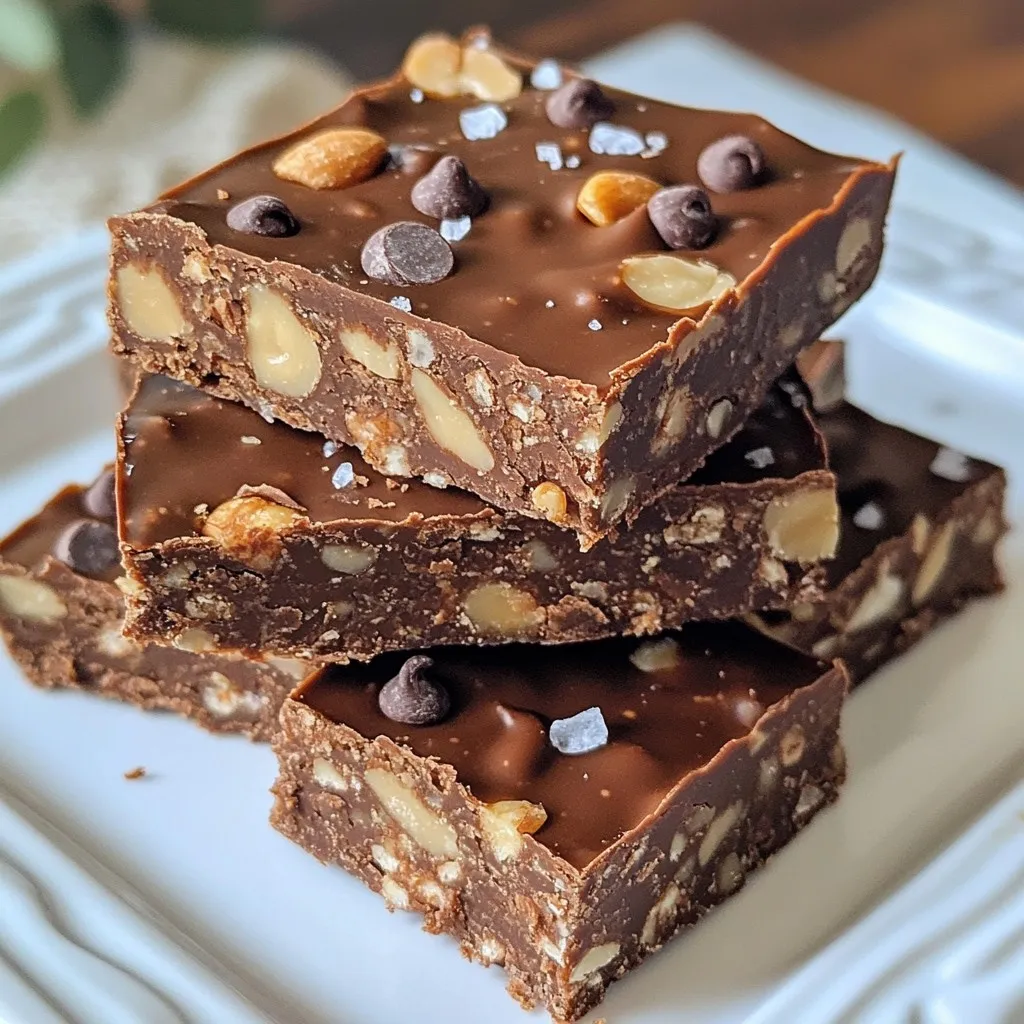
If you’re looking for a quick, tasty pick-me-up, you’ll love these Chocolate Peanut Butter Energy Bars! They’re packed with nutrients and easy to make, giving you the fuel you need for a busy day. In this guide, I’ll share simple steps, helpful tips, and tasty variations to boost your energy. Say goodbye to store-bought snacks and hello to your new favorite treat! Ready to dive in? Let’s get started!
Why I Love This Recipe
- Easy to Make: This recipe requires minimal ingredients and just a few simple steps, making it a breeze to whip up anytime you need a quick snack.
- Nutritious Energy Boost: Packed with oats, flaxseed, and nuts, these bars provide a healthy balance of protein, fiber, and healthy fats for sustained energy.
- Customizable: You can easily modify the recipe by adding your favorite nuts, seeds, or even dried fruits, tailoring it to your taste preferences.
- Perfect for Meal Prep: These energy bars store well in the fridge, making them an ideal option for meal prep and on-the-go snacking throughout the week.
Ingredients
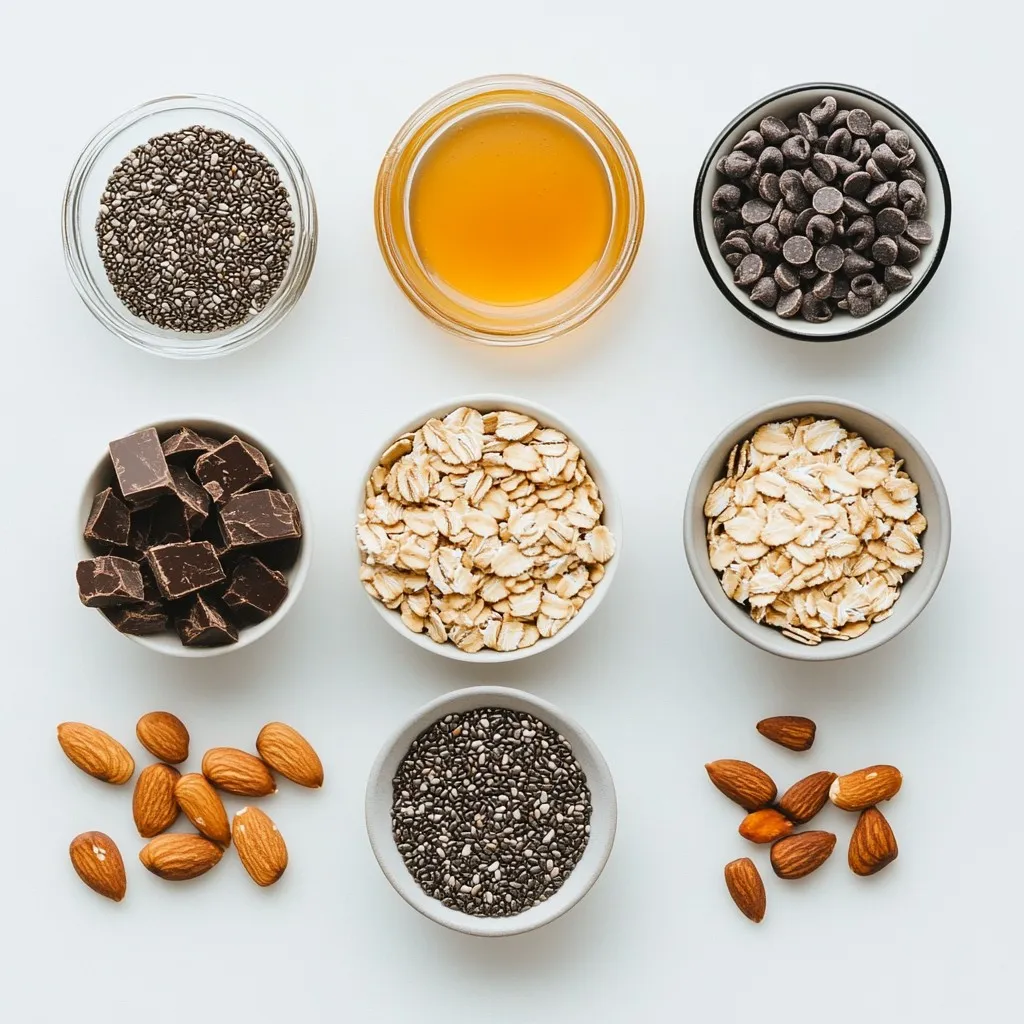
List of Ingredients
– 1 cup rolled oats
– 1/2 cup natural peanut butter
– 1/4 cup honey or maple syrup
– 1/2 cup dark chocolate chips
– 1/4 cup ground flaxseed
– 1/4 teaspoon salt
– 1 teaspoon vanilla extract
– 1/4 cup chopped nuts (like almonds or walnuts)
– 2 tablespoons chia seeds (optional)
Nutritional Benefits of Each Ingredient
These ingredients not only taste great but also pack a health punch.
– Rolled Oats: They provide fiber and keep you full. Oats give you lasting energy.
– Natural Peanut Butter: This adds healthy fats and protein. It helps build and repair muscles.
– Honey or Maple Syrup: Both are natural sweeteners. They provide quick energy and taste sweet.
– Dark Chocolate Chips: They bring antioxidants. Dark chocolate can boost your mood too.
– Ground Flaxseed: This is rich in omega-3 fatty acids. It supports heart health and digestion.
– Salt: A pinch enhances flavor. It also helps balance electrolytes.
– Vanilla Extract: This adds a warm flavor. It makes the bars taste even better!
– Chopped Nuts: They offer crunch and healthy fats. Nuts are great for brain health.
– Chia Seeds (optional): These tiny seeds are full of fiber. They help with hydration and digestion.
Optional Add-Ins or Substitutes
You can customize your energy bars easily. Here are some ideas:
– Protein Powder: Add a scoop for extra protein. Great for after workouts.
– Dried Fruits: Consider raisins or cranberries for sweetness. They add chewiness too.
– Seeds: Pumpkin or sunflower seeds offer crunch and nutrients.
– Different Nut Butters: Almond or cashew butter can replace peanut butter. They offer unique flavors.
– Sweeteners: Use agave syrup or coconut sugar as alternatives to honey.
Experimenting with these options can help you find your perfect energy bar blend!
Step-by-Step Instructions
Detailed Preparation Steps
1. Start by grabbing a medium bowl. Add the rolled oats, ground flaxseed, chopped nuts, chia seeds, and salt. Mix these dry items well.
2. In a new bowl, combine the peanut butter, honey or maple syrup, and vanilla extract. Stir until you have a smooth mixture.
3. Pour the peanut butter mix into the dry ingredients. Stir until they blend nicely.
4. Now, gently fold in the dark chocolate chips. Make sure they spread evenly.
Tips for Mixing and Combining Ingredients
– Use a sturdy spatula for mixing. It helps combine everything without breaking the oats.
– If your peanut butter is thick, warm it slightly. This makes it easier to mix.
– Don’t rush when folding in the chocolate chips. This keeps them intact and evenly spread.
Best Practices for Pressing and Setting
– Line your 9×9 inch baking pan with parchment paper. Leave some paper hanging over the edge. This helps lift the bars out later.
– Once you add the mixture to the pan, press it down firmly. Use a spatula or your hands to make an even layer.
– Refrigerate the pan for 1-2 hours. This helps the bars set well. The longer you chill, the firmer they get.
Tips & Tricks
How to Perfectly Store Energy Bars
To keep your energy bars fresh, store them in an airtight container. This helps them last longer. Place them in the refrigerator for the best results. They can stay good for up to two weeks. If you want to enjoy them later, freeze them. Wrap each bar in plastic wrap before placing them in a freezer bag. This keeps them safe from freezer burn.
Common Mistakes to Avoid
One mistake is not measuring ingredients well. This can change the texture of your bars. Use a measuring cup for the oats and peanut butter. Another error is not pressing the mixture firmly enough in the pan. If it’s loose, the bars may crumble. Lastly, don’t skip the chilling step. The bars need to set in the fridge to hold together.
Enhancing Flavor and Texture
To boost flavor, try adding spices like cinnamon or nutmeg. A pinch can make a big difference. For extra crunch, mix in seeds like sunflower or pumpkin. You can also swap dark chocolate chips for white or milk chocolate. This gives a fun twist to the bars. If you like a sweeter treat, use more honey or maple syrup.
Pro Tips
- Storage Solution: Keep the energy bars in an airtight container in the refrigerator to maintain freshness for up to two weeks.
- Nut Alternatives: Feel free to swap the chopped nuts for your favorites or omit them altogether for a nut-free version.
- Sweetness Control: Adjust the amount of honey or maple syrup based on your sweetness preference, or use a sugar substitute if desired.
- Custom Add-ins: Get creative by adding in your favorite seeds, dried fruits, or spices like cinnamon for extra flavor and nutrition.
Variations
Alternative Flavors or Add-Ins
You can mix up the flavors of your energy bars easily. Try using almond butter instead of peanut butter for a nutty twist. You can also swap dark chocolate chips for white chocolate or dried fruit like cranberries or apricots. For crunch, add seeds like pumpkin or sunflower seeds. A dash of cinnamon can give a warm spice note. These small changes can create new favorites.
Vegan or Gluten-Free Modifications
Making these bars vegan is simple. Just use maple syrup in place of honey. For a gluten-free option, choose gluten-free rolled oats. Always check other ingredients for hidden gluten. You can also skip the chocolate chips or use vegan chocolate chips for a fully vegan treat. These tweaks let everyone enjoy a tasty energy boost.
Different Serving Suggestions
You can serve these bars in many fun ways. Cut them into small squares for a quick snack. Serve them with yogurt and fresh fruit for a healthy breakfast. You can also pack them for a lunch box treat. For a dessert, drizzle melted chocolate over the bars. These serving ideas make each bite special.
Storage Information
Best Ways to Store for Freshness
To keep your energy bars fresh, store them in an airtight container. This prevents air from making them dry or stale. Place them in the fridge for the best taste and texture. You can stack them with parchment paper in between to avoid sticking. This method keeps them firm and ready to grab on a busy day.
Freezing Instructions
If you want to save some for later, freezing is a great option. Wrap each bar in plastic wrap or foil. Then, place the wrapped bars in a freezer-safe bag. You can freeze them for up to three months. When you’re ready to eat one, let it thaw in the fridge or at room temperature for a few hours.
Shelf Life and Signs of Spoilage
These energy bars can last up to two weeks in the fridge. After that, they may start to lose their flavor and texture. Look for any signs of spoilage, like a strange smell or mold. If they feel too soft or sticky, it may be time to toss them. Always check before you enjoy your tasty treat!
FAQs
How long do Chocolate Peanut Butter Energy Bars last?
These energy bars last up to two weeks when stored in an airtight container. Keep them in the fridge. This helps keep them fresh and tasty. If you want to store them longer, freeze them. They can last for up to three months in the freezer. Just wrap them well to avoid freezer burn.
Can I use almond butter instead of peanut butter?
Yes, you can use almond butter instead of peanut butter. The bars will still taste great! Almond butter adds a nice nutty flavor. It also makes the bars a bit creamier. If you have a nut allergy, try sunflower seed butter as a safe option.
Are these energy bars suitable for meal prep?
Absolutely! These energy bars are perfect for meal prep. They are easy to make and store. You can whip them up in just 15 minutes. After they set, cut them into bars. Grab one as a quick snack or a boost before a workout. This keeps you fueled and ready to go.
This blog post covers how to make energy bars from scratch. We discussed the key ingredients and their nutritional benefits. You learned step-by-step instructions for preparation and tips for success. We also explored ways to store the bars and common mistakes to avoid. Finally, we highlighted fun variations to try.
Making your own energy bars is simple and rewarding. With the right ingredients and methods, you can create tasty snacks that fit your needs. Enjoy experimenting with flavors and ingredients to find what you lov


