
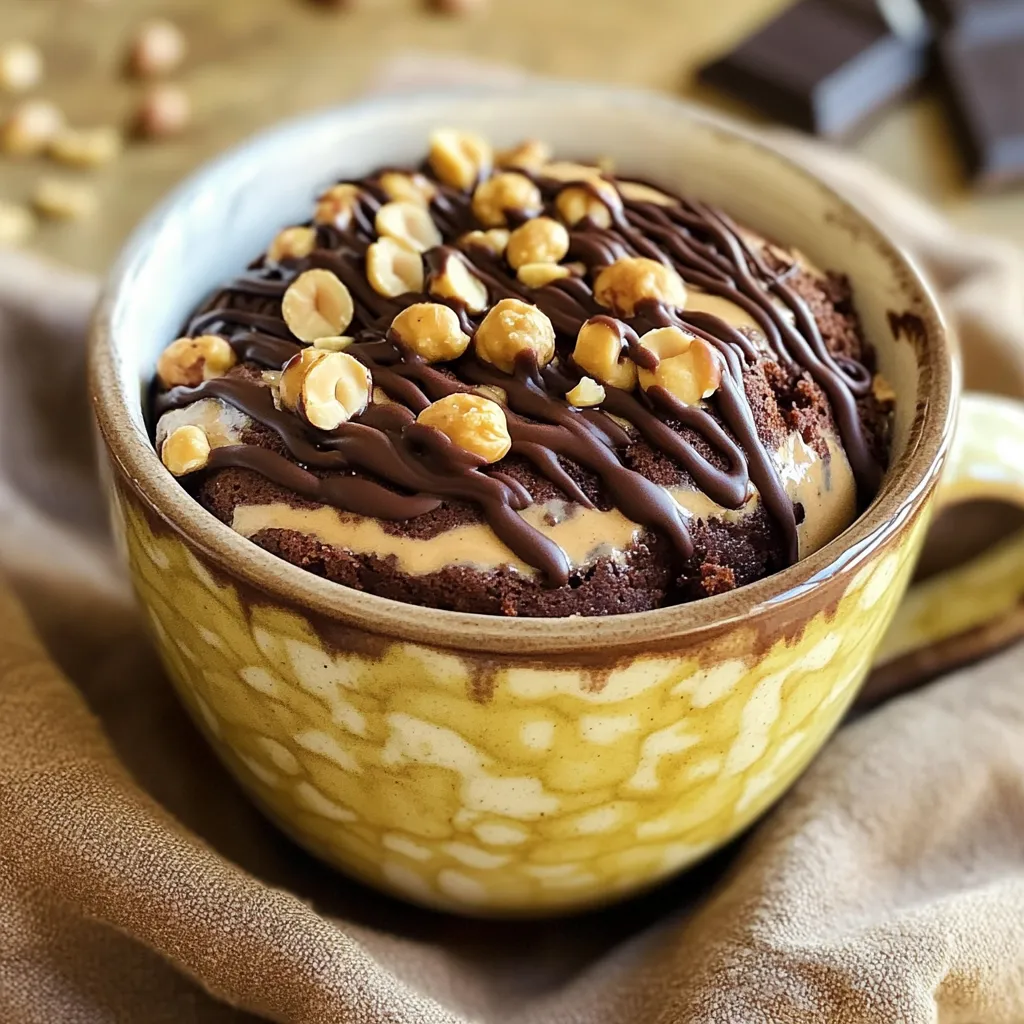
Craving something sweet, quick, and easy? The Chocolate Peanut Butter Mug Cake is your answer! This tasty treat takes just minutes to make and delivers a rich, gooey delight right in your microwave. Whether you want a late-night snack or a fun dessert, I’ve got you covered. Join me as we whip up this simple dessert together with just a few ingredients and easy steps. Let’s dive into the delicious world of mug cakes!
Why I Love This Recipe
- Quick and Easy: This mug cake can be whipped up in minutes, making it the perfect dessert for those late-night cravings.
- Decadent Flavors: The combination of rich chocolate and creamy peanut butter creates a deliciously indulgent treat.
- Single Serving: No need to bake an entire cake; this recipe yields a single serving, perfect for satisfying solo cravings without leftovers.
- Customizable: Add your favorite toppings like chocolate chips or nuts for an extra layer of flavor and texture.
Ingredients
List of Ingredients
To make your Chocolate Peanut Butter Mug Cake, you will need:
– 4 tablespoons all-purpose flour
– 3 tablespoons granulated sugar
– 2 tablespoons unsweetened cocoa powder
– 1/4 teaspoon baking powder
– 1/4 teaspoon salt
– 3 tablespoons milk (dairy or non-dairy)
– 1 tablespoon vegetable oil
– 1 tablespoon creamy peanut butter
– 1/2 teaspoon vanilla extract
– Optional: Chocolate chips or chopped peanuts for topping
Measurement Conversions
Here are some helpful conversions for your ingredients:
– 1 tablespoon = 3 teaspoons
– 1/4 teaspoon = 1 dash
– 1 cup = 16 tablespoons
– 1 ounce = 2 tablespoons (for chocolate chips)
Using the right measurements ensures your mug cake turns out just right.
Optional Add-ins
Feel free to customize your mug cake! Consider these tasty add-ins:
– A handful of chocolate chips for extra sweetness
– Chopped peanuts for added crunch
– A sprinkle of sea salt for a sweet-salty kick
– A spoonful of Nutella for a hazelnut twist
These options can take your mug cake to the next level!

Step-by-Step Instructions
Mixing Dry Ingredients
First, grab a microwave-safe mug. In the mug, add 4 tablespoons of all-purpose flour. Next, add 3 tablespoons of granulated sugar. Then, mix in 2 tablespoons of unsweetened cocoa powder. Don’t forget 1/4 teaspoon of baking powder and 1/4 teaspoon of salt. Use a fork or small whisk to mix well. This step is key to avoid lumps.
Combining Wet Ingredients
Now it’s time for the wet mix. Pour in 3 tablespoons of milk. You can use any type you prefer. Add 1 tablespoon of vegetable oil next. For flavor, add 1/2 teaspoon of vanilla extract. Stir this mixture until it’s smooth. Make sure there are no lumps left. This makes a rich base for our cake.
Marbling the Peanut Butter
Here comes the fun part! Take 1 tablespoon of creamy peanut butter. Spoon it into the batter you just made. Now, gently swirl it in with a spoon. Don’t mix completely! You want swirls of peanut butter for yummy pockets of flavor. This adds a nice touch to each bite.
Cooking the Mug Cake
Place the mug in the microwave. Set it to cook on high for 1 minute and 30 seconds. Keep an eye on it; microwaves can vary in strength. The cake should rise and look set. It should still look moist in the middle. After cooking, let it cool for a minute. Now, it’s ready to enjoy!
Pro Tips
- Use a Large Mug: Make sure to use a mug that is large enough to allow the cake to rise without overflowing during cooking.
- Experiment with Nut Butters: Try swapping out peanut butter for almond or cashew butter for a different flavor profile.
- Check Microwave Power: Keep an eye on the cooking time as microwaves vary in power; you may need to adjust the time slightly.
- Serve Warm: This mug cake is best enjoyed warm, so consider topping it with ice cream or whipped cream for an indulgent treat!
Tips & Tricks
Ensuring Proper Mug Selection
Choose a microwave-safe mug. It should hold at least 12 ounces. This size helps the cake rise without spilling over. A narrow mug can trap steam and cause uneven cooking. Opt for a straight-sided mug for the best results.
Avoiding Common Mistakes
Don’t overmix your batter. Stir just until wet and dry ingredients combine. If you overmix, the cake can become tough. Make sure to measure ingredients accurately. Too much flour or cocoa can lead to a dry cake. Also, avoid adding cold ingredients from the fridge; room temperature works best.
Microwave Cooking Tips
Microwave power varies, so watch your cake as it cooks. Start with 1 minute and 30 seconds. If it looks wet, add time in 10-second bursts. The cake is done when it rises and is set but moist. Let it cool for a minute; the cake will continue to cook slightly after you take it out. Enjoy your warm treat right in the mug!
Variations
Gluten-Free Adaptation
You can easily make this mug cake gluten-free. Simply swap all-purpose flour for a gluten-free flour blend. This will keep the taste and texture just right. Make sure to check that your baking powder is also gluten-free. Enjoy your treat without worry!
Vegan Option
For a vegan version, replace milk with a plant-based milk like almond or oat. Use a vegan butter or oil to keep it dairy-free. You can also find vegan chocolate chips to sprinkle on top. This way, everyone can enjoy this yummy cake!
Different Flavor Combinations
Feel free to get creative with flavors. You can add a pinch of cinnamon for warmth. Try swapping peanut butter with almond or cashew butter for a new taste. Add a splash of espresso powder for a coffee flavor, or mix in some chopped fruit like bananas. The options are endless!
Storage Info
Can You Store Leftovers?
You can store leftover mug cake, but it’s best fresh. If you have some left, cover it tightly. Use plastic wrap or a small lid. Keep it in the fridge for up to two days.
Reheating Instructions
To reheat, place the mug cake in the microwave. Heat it for about 10 to 15 seconds. Check if it’s warm enough. If not, heat in short bursts. Avoid overheating, or it may dry out.
Making Ahead for Later
You can mix the dry ingredients ahead of time. Store them in a sealed bag or jar. When you’re ready to bake, just add wet ingredients. This saves time and makes it even easier to enjoy your mug cake!
FAQs
How do I know when my mug cake is done?
You can tell your mug cake is done by looking for a few signs. First, the cake should rise and look set on top. It should not be wet or jiggly in the center. If it looks done, use a toothpick to poke the center. If it comes out clean or with a few crumbs, it’s ready! If it has wet batter, microwave it for another 10-15 seconds.
Can I use a different type of nut butter?
Yes, you can use other nut butters! Almond butter, cashew butter, or even sunflower seed butter work great. Each type will add its own flavor. Just make sure it’s creamy, so it blends well into the batter. This will keep your mug cake rich and tasty!
What toppings go well with chocolate peanut butter mug cake?
Toppings can really make your mug cake shine! Here are some great ideas:
– Whipped cream for a light touch
– Extra chocolate chips for more sweetness
– Chopped peanuts for a nice crunch
– A drizzle of chocolate syrup for extra indulgence
– Fresh fruit, like bananas or strawberries, for a fresh twist
Can I double this recipe for sharing?
You can double the recipe, but not in one mug. Use two mugs instead! This keeps the cooking time right. Just mix each mug separately. If you try to cook a bigger batch in one mug, it may not cook evenly. Enjoy your treat with a friend!
This blog post covered everything you need for a tasty mug cake. We discussed key ingredients, cooking steps, and smart tips for success. I shared ways to customize your cake and how to store it. You can create gluten-free or vegan versions, ensuring everyone can enjoy it. Remember, cooking should be fun and easy. Use these steps and ideas to unleash your creativity. Enjoy your mug cake experience!


