
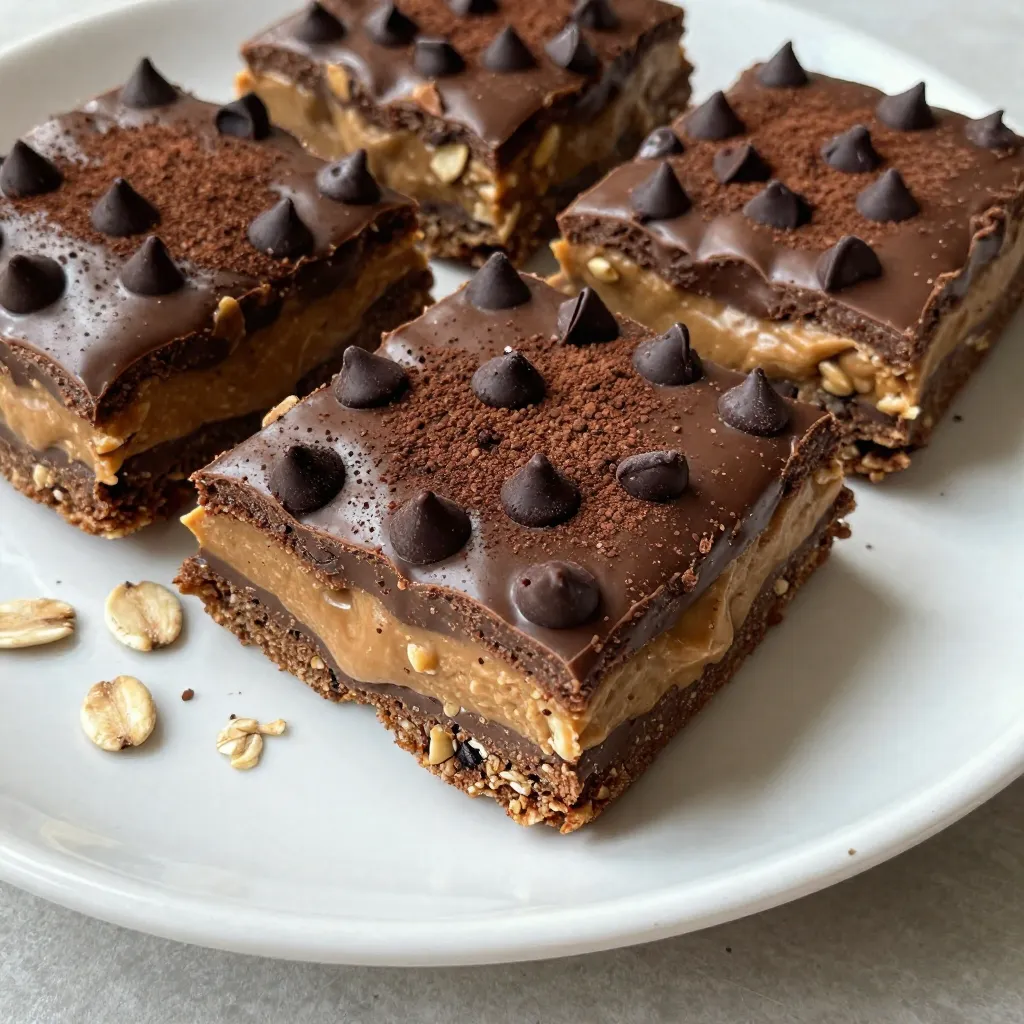
If you’re craving a delicious yet healthy snack, you’ve found your answer! Chocolate Peanut Butter Oat Bars are not only easy to make, but they’re also packed with nutrients. Imagine crunchy oats, creamy peanut butter, and rich dark chocolate all in one bite. I’ll guide you through each step, from gathering your ingredients to baking and serving. Let’s create a treat that satisfies your sweet tooth and keeps you fueled throughout the day!
Why I Love This Recipe
- Healthy Ingredients: Packed with rolled oats and peanut butter, these bars offer a nutritious snack option that keeps you full.
- Quick and Easy: With just a 10-minute prep time, you can whip these up in no time, making them perfect for busy days.
- Customizable: Feel free to add your favorite nuts or dried fruits, making each batch unique to your taste!
- Deliciously Indulgent: The combination of chocolate and peanut butter is irresistible, satisfying your sweet tooth without the guilt.
Ingredients
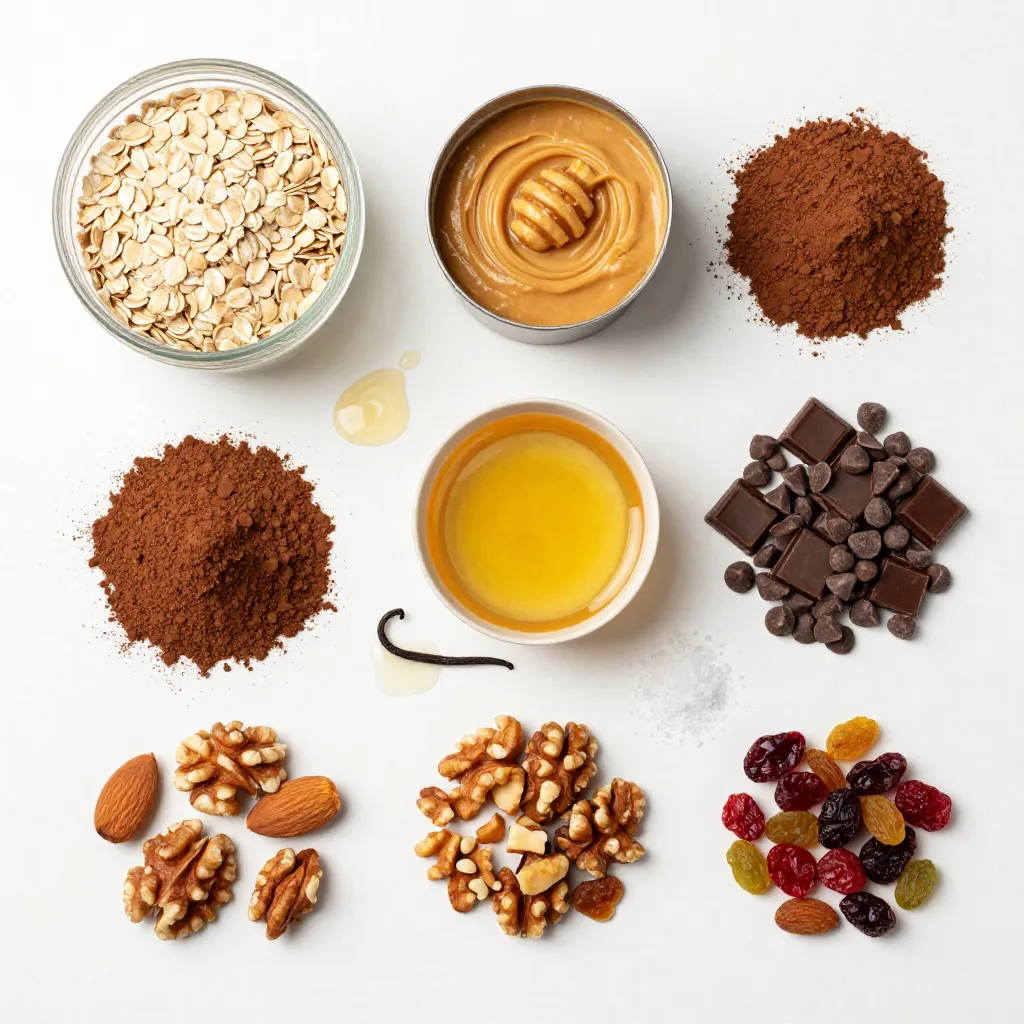
List of Ingredients
– 2 cups rolled oats
– 1 cup creamy peanut butter
– 1/2 cup honey or maple syrup
– 1/2 cup dark chocolate chips
– 1/4 cup unsweetened cocoa powder
– 1/2 teaspoon vanilla extract
– 1/4 teaspoon salt
– Optional mix-ins: 1/2 cup chopped nuts or dried fruit
I love this mix of ingredients! Each one adds its own special touch. The rolled oats give a nice chewy base. Creamy peanut butter adds rich flavor and healthy fats. Honey or maple syrup sweetens the bars naturally.
Dark chocolate chips provide a burst of sweetness and richness. Unsweetened cocoa powder deepens the chocolate taste without extra sugar. Vanilla extract adds warmth and enhances all the flavors. A pinch of salt balances the sweetness perfectly.
Feel free to get creative with the optional mix-ins! Chopped nuts give a nice crunch. Dried fruit like cranberries or raisins adds a bit of chewiness and sweetness. You can switch things up based on what you have on hand or what you love!
Step-by-Step Instructions
Preparing the Baking Pan
First, preheat your oven to 350°F (175°C). This step is key to getting the bars just right. While the oven heats, line an 8×8-inch baking pan with parchment paper. Make sure to leave some overhang. This makes it easy to lift out the bars later.
Mixing Dry Ingredients
Next, grab a large bowl and combine 2 cups of rolled oats, 1/4 cup of unsweetened cocoa powder, and 1/4 teaspoon of salt. Mix well to ensure the cocoa is evenly spread throughout. This mixture forms the base of your bars and adds a rich chocolate flavor.
Combining Wet Ingredients
Now, take a microwave-safe bowl and add 1 cup of creamy peanut butter and 1/2 cup of honey or maple syrup. Heat this mixture in the microwave for about 30 to 40 seconds. This warms it up and makes it easier to mix. Stir until everything is smooth and well combined.
Combining Ingredients
Pour the peanut butter mixture into the dry ingredients. Add 1/2 teaspoon of vanilla extract for extra flavor. Stir until the dry ingredients are fully coated. Then, fold in 1/2 cup of dark chocolate chips. You can also add 1/2 cup of chopped nuts or dried fruit if you want.
Baking the Bars
Transfer the mixture into your prepared baking pan. Press it down firmly with a spatula or your hands. You want an even layer for even cooking. Bake in the oven for 15 to 20 minutes. The edges should look slightly golden when done.
Cooling and Cutting
Once baked, remove the pan from the oven. Let the bars cool in the pan for about 10 minutes. Use the parchment overhang to lift the bars out of the pan. Place them on a wire rack to cool completely. Once cooled, cut into squares and enjoy!
Tips & Tricks
Perfecting Texture and Flavor
To avoid dry bars, use creamy peanut butter. This adds moisture and flavor. If the mixture feels crumbly, add a little more honey or maple syrup. This will help bind the oats properly.
Balancing sweetness is key. Use unsweetened cocoa powder to cut the sweetness from the honey. This creates a rich taste without overpowering the bars. You can also adjust the honey amount based on your preference. If you like it less sweet, reduce the honey.
Serving Suggestions
These bars pair well with many drinks. Try them with almond milk or a hot cup of coffee. They also taste great with a glass of cold milk.
For presentation, drizzle melted chocolate on top before cutting. This adds a nice touch. Serve on a rustic wooden board to make it look inviting. A simple touch like fresh fruit on the side can enhance the display.
Common Mistakes to Avoid
Mixing ingredients properly is crucial. Make sure to combine the dry and wet ingredients well. This ensures every bite is full of flavor. If you see dry spots, mix a bit more.
Cooling is very important. Let the bars cool completely before cutting. If you cut them too soon, they may fall apart. Cooling helps them firm up and hold their shape better.
Pro Tips
- Chill Before Cutting: For cleaner cuts, refrigerate the bars for at least 30 minutes before slicing. This makes them firmer and easier to handle.
- Mix It Up: Feel free to experiment with different mix-ins like coconut flakes, seeds, or various nut butters for a unique flavor twist.
- Storage Tips: Keep the bars in an airtight container at room temperature for up to a week, or refrigerate them for extended freshness.
- Healthy Swaps: Substitute the honey or maple syrup with agave nectar for a lower glycemic index option that still provides sweetness.
Variations
Vegan Chocolate Peanut Butter Oat Bars
You can make these bars vegan by using maple syrup instead of honey. Maple syrup has a sweet taste and works well in this recipe. It keeps the bars moist and tasty. Simply swap the honey for the same amount of maple syrup. This change makes the bars friendly for those who avoid animal products.
Gluten-Free Options
To make these bars gluten-free, use gluten-free oats. Most stores sell gluten-free oats. Always check the label to ensure they are certified gluten-free. You can also add gluten-free mix-ins like nuts or dried fruit. This keeps the texture crunchy and adds flavor.
Additional Flavor Profiles
You can spice up your bars by adding cinnamon or nutmeg. These spices add warmth and depth to the flavor. Another option is to use flavor extracts. A splash of almond or peppermint extract can make your bars unique.
If you want a different taste, try swapping chocolate chips for carob chips. Carob has a sweet and earthy flavor. It is also caffeine-free, making it a great choice for kids or those sensitive to caffeine.
Storage Info
Best Storage Practices
To keep your Chocolate Peanut Butter Oat Bars fresh, store them in an airtight container. This helps to lock in moisture and flavor. Place a piece of parchment paper between layers if stacking. Store the bars at room temperature for up to one week. If you want them to last longer, the fridge is a good option. They can last up to two weeks when chilled.
Freezing Tips
Freezing these oat bars is easy and smart. Wrap each bar in plastic wrap or foil. Place them in a freezer-safe bag or container. Make sure to remove as much air as possible. This will prevent freezer burn. They can stay fresh for up to three months in the freezer. When you’re ready to eat, just thaw them in the fridge overnight.
Reheating Instructions
To enjoy leftover bars warm, use a microwave. Heat for about 10-15 seconds on a low setting. This method softens them without drying them out. You can also place them in a toaster oven at 350°F for about 5 minutes. This gives them a nice crisp outside while keeping the inside chewy.
FAQs
How long do these bars last?
These bars can last up to one week at room temperature. Store them in an airtight container. If you see any mold or they smell off, throw them away. For longer storage, keep them in the fridge for two weeks.
Can I make these bars without peanut butter?
Yes, you can! Use almond butter or sun butter as a nut-free option. These alternatives will give a similar texture and flavor. If you need it to be nut-free, sun butter is a great choice.
What can I use instead of honey or maple syrup?
You can use agave syrup or brown rice syrup. Both will sweeten the bars well. Keep in mind that these may change the texture slightly. You can also try mashed bananas for a natural sweetener.
How do I know when the bars are done baking?
Look for golden edges and a firm center. If the top looks set and not shiny, they are likely done. You can also insert a toothpick; it should come out clean. Avoid overbaking to keep them soft and chewy.
We covered how to make delicious Chocolate Peanut Butter Oat Bars. You learned the key ingredients and simple steps for baking. Remember to balance flavors and avoid common mistakes. Whether you go vegan or gluten-free, feel free to mix in extras for fun. Proper storage means you can enjoy your bars longer. These treats make a great snack or dessert. Enjoy your baking and the tasty result


