
Deviled eggs are a classic treat that everyone loves. In this simple recipe, I’ll show you how to make classic deviled eggs with sweet relish. You only need a few easy ingredients and some quick steps. Whether you’re preparing for a party or a family meal, these tasty bites are sure to impress. Let’s get started and make your kitchen the center of deliciousness!
Why I Love This Recipe
- Classic Flavor: This recipe captures the timeless taste of deviled eggs, making it a favorite at any gathering.
- Easy to Make: With simple ingredients and straightforward steps, anyone can whip these up in no time.
- Customizable: Add your own twist with different spices or toppings to suit your taste preference.
- Perfect for Any Occasion: Whether it’s a party, picnic, or holiday feast, deviled eggs are always a hit!
Ingredients
List of Ingredients
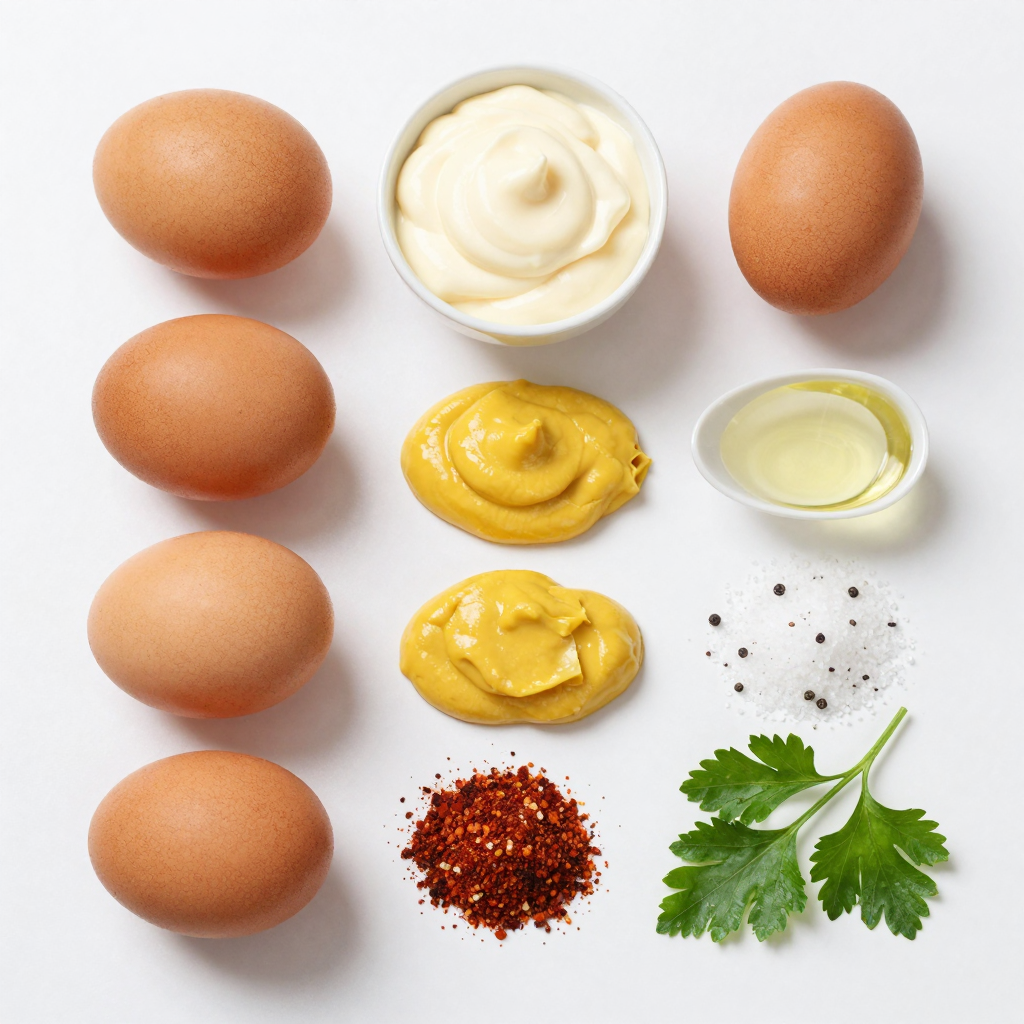
– 6 large eggs
– 3 tablespoons mayonnaise
– 1 tablespoon mustard (yellow or Dijon)
– 2 tablespoons sweet pickle relish
– 1 teaspoon apple cider vinegar
– Salt and pepper to taste
– Paprika for garnish
– Fresh chives or parsley for garnish
Suggested Serving Size
– Servings: 12 halves
Ingredients Variations
You can swap out some ingredients for dietary needs. Here are some ideas:
– Use vegan mayo in place of regular mayo.
– Try different mustard types, like spicy brown or honey mustard.
– If you love heat, add a dash of hot sauce to the yolk mix.
– For a low-sugar option, choose a sugar-free sweet relish.
By making these swaps, you can cater to various tastes and dietary preferences. Enjoy experimenting!
Step-by-Step Instructions
Boiling the Eggs
To boil the eggs, start by placing them in a saucepan. Cover the eggs with cold water. Make sure the water is about an inch above the eggs. Bring the water to a boil over medium-high heat. You want to see bubbles rising. Once the water boils, cover the saucepan and take it off the heat. Let the eggs sit in the hot water for 12 minutes. This ensures the yolks are cooked perfectly. After 12 minutes, move the eggs to a bowl filled with ice water. Let them cool for about 5 to 10 minutes. This cooling step makes peeling them much easier.
Preparing the Filling
Now it’s time to prepare the filling. Gently tap the cooled eggs on a hard surface. This helps crack the shell. Peel the eggs under running water for easy shell removal. Slice each egg in half lengthwise. Carefully remove the yolks and place them in a mixing bowl. Keep the whites on a serving platter. Add mayonnaise, mustard, sweet pickle relish, apple cider vinegar, salt, and pepper to the yolks. Mash these ingredients together until the mixture is smooth and creamy. This is the key to a great texture.
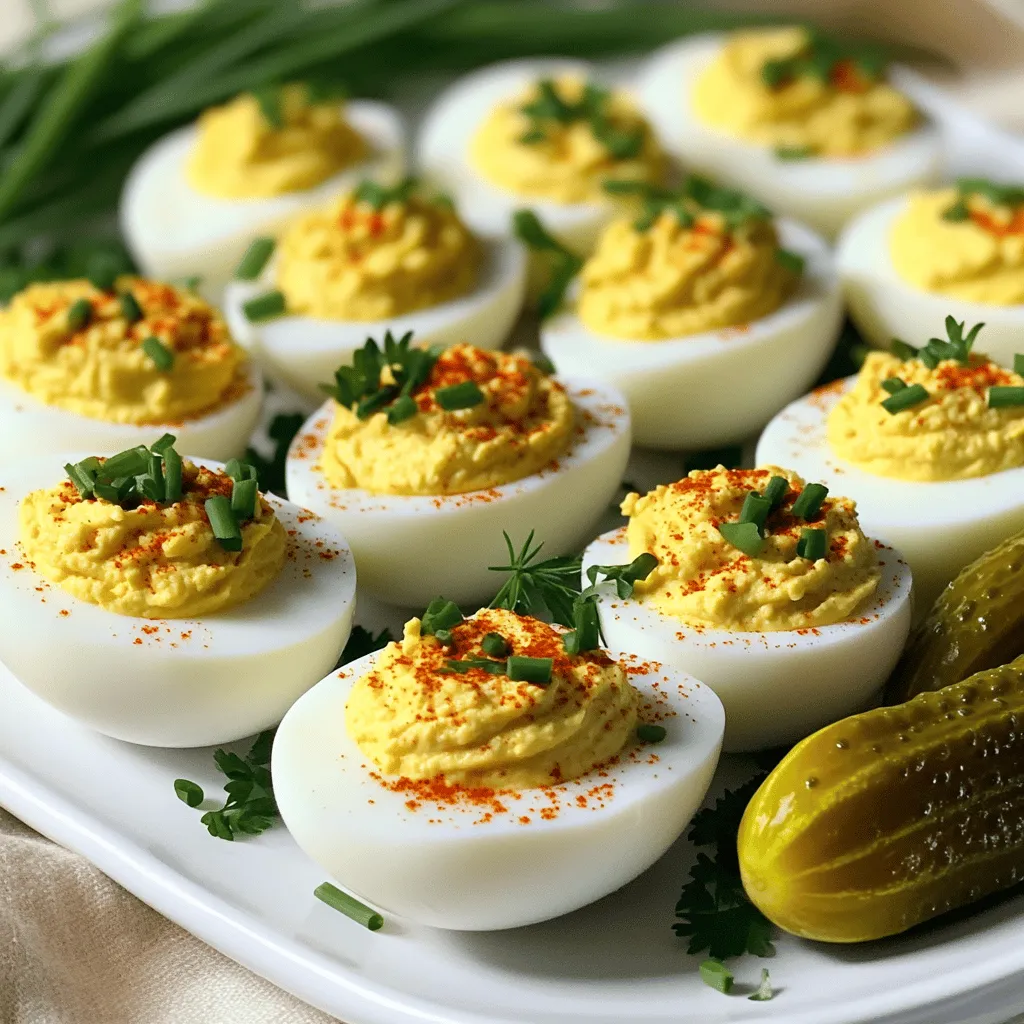
Assembling the Deviled Eggs
For assembling, you can either spoon or pipe the yolk mixture back into the egg whites. Use a piping bag for neatness if you have one. Fill each egg white half generously. After that, sprinkle paprika over the filled eggs for added flavor and color. Finally, garnish with chopped fresh chives or parsley for a nice touch. This adds freshness and makes the dish look beautiful. Enjoy your classic deviled eggs with sweet relish!
Pro Tips
- Freshness Check: Always use fresh eggs for deviled eggs; older eggs peel easier after boiling.
- Perfect Boil: Start with cold water to ensure even cooking and prevent cracked shells.
- Flavor Enhancements: Experiment with different mustards or add a dash of hot sauce for an extra kick.
- Serving Style: For a gourmet touch, use a piping bag to fill the egg whites for a beautiful presentation.
Tips & Tricks
Perfecting the Boil
To boil eggs without cracking, start with cold water. Place the eggs in a pot and cover them with water. Use about an inch of water above the eggs. Heat on medium-high until boiling. Then, cover the pot and turn off the heat. Let the eggs sit for 12 minutes. This method helps cook them evenly and keeps them from cracking.
Peeling Made Easy
Peeling eggs can be tricky. To make it easier, cool the eggs in ice water for 5-10 minutes after boiling. The cold water helps separate the shell from the egg. Tap each egg gently on a hard surface to crack it. Peel under running water if needed. This trick washes away tiny bits of shell and makes peeling much simpler.
Presentation Tips
To serve deviled eggs nicely, use an elegant platter. Arrange the filled eggs in a neat row. For a pop of color, sprinkle paprika on top. You can also add fresh chives or parsley. Whole sweet pickles or herb sprigs make great decorations too. A beautiful presentation makes your deviled eggs even more inviting!
Variations
Flavor Twists
You can add unique flavors to your deviled eggs. For a smoky taste, try adding crispy bacon bits. This gives each bite a crunchy texture. If you want some heat, mix in sriracha or hot sauce. This adds a nice kick. Experiment with different spices too, like curry powder or dill.
Dietary Adjustments
For vegan friends, use chickpea salad instead of eggs. Mash cooked chickpeas and mix with vegan mayo. This keeps the creamy texture without eggs. For gluten-free needs, double-check your mustard and relish labels. Most are gluten-free, but it’s good to be safe!
Themed Variations
Deviled eggs can fit any holiday. For Easter, dye the egg whites with food coloring for fun colors. For a Halloween treat, add black olive spiders on top. During Christmas, sprinkle red and green herbs for a festive look. Get creative and match your theme with colors and flavors!
Storage Info
Refrigeration Tips
To keep your deviled eggs fresh, store them in an airtight container. Place a piece of plastic wrap over the eggs before sealing the lid. This helps prevent them from drying out. If you have leftover filling, you can store that in a separate container too. Just make sure to use it within a few days for the best taste.
Shelf Life
Deviled eggs can last in the fridge for about 3 to 5 days. Keep an eye on the smell and texture. If they look or smell off, it’s best to toss them. Always check the eggs before serving them again, especially if they have been stored for a while.
Freezing Insights
I do not recommend freezing deviled eggs. Freezing changes the egg’s texture, making it watery when thawed. The filling may also lose its creamy quality. It’s best to enjoy deviled eggs fresh or store them in the fridge for a short time.
FAQs
What is the best way to hard-boil eggs?
The best way to hard-boil eggs is simple. First, place the eggs in a saucepan. Cover them with cold water. Heat the water on medium-high until it boils. Once it boils, cover the pan and remove it from heat. Let the eggs sit for 12 minutes. This quick method helps keep the yolks bright and creamy.
To cool the eggs, transfer them to a bowl of ice water. This step makes peeling much easier. After about 5-10 minutes, the eggs are cool and ready to peel. Cracking them gently on a hard surface helps. If needed, peel them under running water to remove stubborn bits of shell.
Can I use other types of relish?
Yes, you can use other types of relish! While sweet pickle relish is classic, feel free to try dill relish for a tangy kick. Some people enjoy using spicy relish, which can add an exciting flavor.
Experimenting with different relishes can help you find your favorite taste. You might also want to try homemade relish for a fresh twist. Just remember, the flavor of the relish will change the overall taste of your deviled eggs.
How can I make deviled eggs spicy?
To make deviled eggs spicy, consider adding hot sauce, like sriracha or Tabasco. Start with a small amount and taste as you go. You can also mix in diced jalapeños for a crunchy heat.
Another option is to use spicy mustard instead of regular mustard. You can even sprinkle cayenne pepper on top for an extra kick. Each of these options will give your deviled eggs a fun, spicy twist that your guests will love.
This blog post covered how to make tasty deviled eggs. You learned about key ingredients and serving sizes. I shared step-by-step cooking instructions and helpful tips for perfecting your eggs. You can also explore creative variations to match your taste. Remember, proper storage helps keep leftovers fresh. Experiment and enjoy this classic dish your way!


