
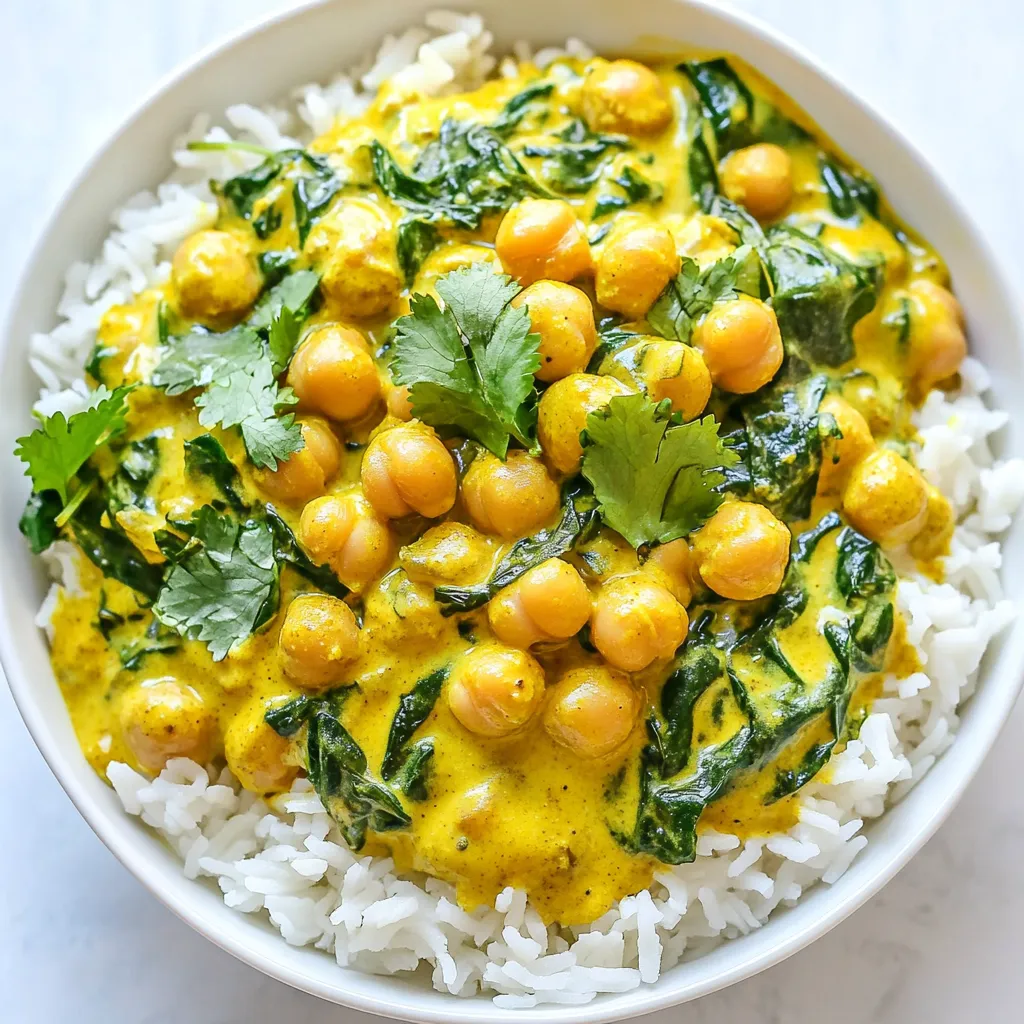
Are you ready to dive into a dish that bursts with flavor and is simple to make? This Coconut Curry Chickpeas recipe combines creamy coconut milk with hearty chickpeas and fragrant spices. It’s perfect for busy weeknights and packed with nutrients. In this guide, I’ll walk you through each step, share helpful tips, and even offer some tasty variations. Let’s make your kitchen sizzle with this delicious recipe!
Why I Love This Recipe
- Flavorful and Aromatic: This coconut curry chickpeas recipe is bursting with vibrant flavors from the spices and fresh ingredients.
- Quick and Easy: With a total preparation time of just 30 minutes, this dish is perfect for a weeknight dinner.
- Nutritious Ingredients: Chickpeas and spinach provide protein and fiber, making this a healthy choice for any meal.
- Customizable: You can easily adjust the spices or add your favorite vegetables to make it your own!
Ingredients
Main Ingredients
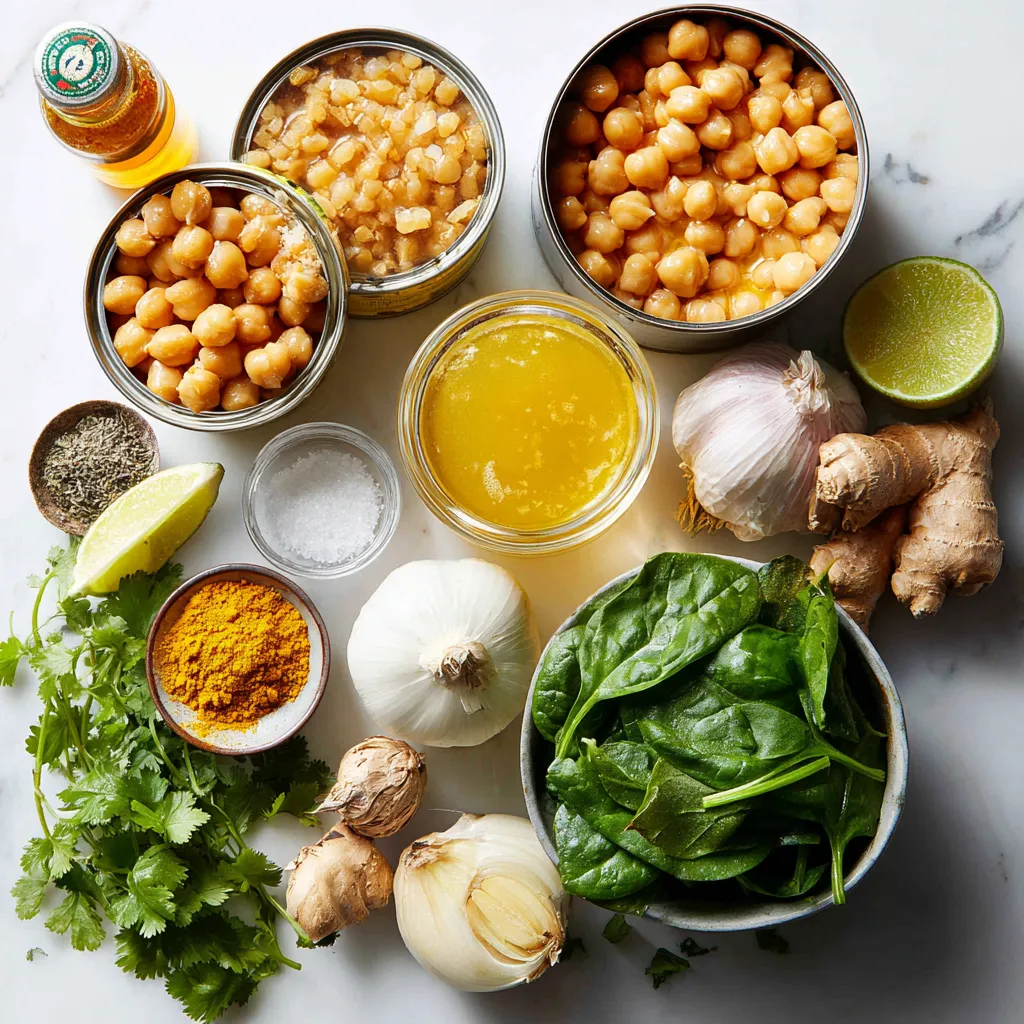
– 2 cans (15 oz each) chickpeas, drained and rinsed
– 1 tablespoon coconut oil
– 1 medium onion, finely chopped
– 3 cloves garlic, minced
– 1 tablespoon fresh ginger, grated
– 1 can (13.5 oz) coconut milk
– 1 cup vegetable broth
Chickpeas form the heart of this dish. They add protein and fiber. Coconut milk gives a rich and creamy texture. Aromatics like onion, garlic, and ginger bring a powerful flavor base.
Spices and Seasonings
– 1 tablespoon curry powder
– 1 teaspoon cumin
– 1 teaspoon turmeric
– Salt and pepper to taste
The spice mix is where the magic happens. Curry powder adds warmth and depth. Cumin offers a nutty flavor, while turmeric gives a lovely golden color and health benefits.
Optional Ingredients
– 1 tablespoon lime juice
– 1 cup spinach, roughly chopped
– Fresh cilantro, for garnish
Adding lime juice brightens the dish. Spinach boosts nutrients and color. Fresh cilantro adds a fragrant finish to your Coconut Curry Chickpeas.
Step-by-Step Instructions
Preparing the Aromatics
1. Start by heating coconut oil in a large pot over medium heat.
2. Add the chopped onion and sauté it for about five minutes. You’ll want it soft and slightly clear.
3. Next, stir in the minced garlic and grated ginger. Cook for one more minute. The aroma should be amazing!
Toasting the Spices
1. Now sprinkle in the curry powder, cumin, and turmeric.
2. Stir well and cook for about one minute. This toasting brings out deep flavors. It’s key to a rich taste.
Combining Ingredients
1. Add the drained chickpeas to your pot. Stir them to coat in the spice mix.
2. Sauté the chickpeas for another two minutes. This adds more flavor.
3. Pour in the coconut milk and vegetable broth, stirring to mix everything.
4. Bring the pot to a gentle simmer. Reduce the heat to low and cover it. Let it cook for about 15 minutes. This helps the flavors blend.
Finishing Touches
1. Stir in the chopped spinach. Cook for another two to three minutes until it wilts.
2. Add lime juice and season with salt and pepper. Taste and adjust to your liking.
Serving Suggestions
1. Serve the coconut curry chickpeas over cooked rice or quinoa.
2. Garnish with fresh cilantro for a pop of color and flavor. Enjoy your delightful dish!
Tips & Tricks
Perfecting the Flavor
To make your coconut curry chickpeas shine, choose the right curry powder. Look for brands like Madras or Thai curry. They pack a punch and help bring out the dish’s full flavor. Fresh spices matter too. Always use fresh spices when you can. They have more aroma and taste than old ones.
Consistency and Texture
To get the best texture, you may want to adjust the liquid. If you like a thicker curry, use less vegetable broth. For a thinner sauce, add more coconut milk. If you need extra thickness, you can mash a few chickpeas. This adds creaminess without extra ingredients.
Quick Cooking Alternatives
If you’re short on time, use pre-cooked chickpeas. They cut down on cooking time and still taste great. You can also try one-pot cooking. Just throw everything in one pot. This method saves time and reduces cleanup. It’s perfect for busy days when you crave a warm meal.
Pro Tips
- Use Fresh Spices: Fresh spices enhance the flavor significantly. If possible, use whole spices and grind them just before cooking for the best aroma.
- Adjust Coconut Milk: For a richer curry, use full-fat coconut milk. If you’re looking for a lighter option, you can use light coconut milk or a mix of both.
- Add Vegetables: Feel free to add other vegetables like bell peppers or carrots for extra nutrition and texture. Just make sure to adjust the cooking time accordingly.
- Garnish for Flavor: Don’t skip the cilantro garnish! It adds a fresh pop of flavor that complements the curry beautifully.
Variations
Protein Additions
You can easily boost the protein in Coconut Curry Chickpeas. Adding tofu makes a great vegan option. Just cube firm tofu and sauté it with the onions. It absorbs the curry flavor well. If you prefer meat, add cooked chicken. Shred the chicken and mix it in with the chickpeas for a hearty meal. You can also swap chickpeas for lentils or other beans. Black beans or kidney beans work well, too.
Flavor Profile Adjustments
Want more heat? Add chili pepper or red pepper flakes. This gives your dish a spicy kick. You can also add ginger for extra zing. Plus, adding a mix of veggies can boost nutrition. Try bell peppers, carrots, or zucchini. Just chop them and toss them in when you add the chickpeas. They will cook down nicely in the sauce.
Dietary Adaptations
This recipe is easy to adapt for different diets. For gluten-free options, check your broth and spices. Most are gluten-free, but it’s good to confirm. If you want a vegan version, make sure your broth is plant-based. You can also skip the lime juice if you prefer. It still tastes great without it!
Storage Info
Refrigeration Tips
To store your leftover Coconut Curry Chickpeas, let them cool first. Once cooled, transfer them to an airtight container. This helps keep the flavors fresh. I recommend using glass or BPA-free plastic containers. They seal well and are easy to clean.
Freezing Coconut Curry Chickpeas
If you want to save some for later, freezing is a great option. Pour the cooled chickpeas into freezer-safe bags or containers. Make sure to remove as much air as possible before sealing. This keeps them fresh longer. When you’re ready to eat, thaw them overnight in the fridge. To reheat, simply warm them in a pot over low heat. Add a splash of water if needed to keep it creamy.
Shelf Life
In the fridge, your Coconut Curry Chickpeas will last about 4 to 5 days. In the freezer, they can stay good for up to 3 months. Always check for signs of spoilage. If you see mold or smell something off, it’s best to toss them out. Enjoy your meal knowing you can savor it later, too!
FAQs
How long does it take to make Coconut Curry Chickpeas?
This dish is quick to make. It takes about 10 minutes to prep. The cooking time is around 20 minutes. So, you can enjoy this meal in just 30 minutes total.
Can I make it spicy?
Yes, you can add heat easily. Try adding red pepper flakes or diced jalapeños. You can also use a spicy curry powder. Start with a small amount and adjust to your taste.
What can I serve with Coconut Curry Chickpeas?
This dish pairs well with rice or quinoa. You can also serve it with naan bread. For a fresh side, try a simple cucumber salad. These sides balance the flavors nicely.
Can I use fresh chickpeas instead of canned?
Yes, you can use dried chickpeas. First, soak them overnight. Then, cook them until tender. This may take about 1 to 2 hours. Make sure to adjust the cooking time for the curry.
Is this recipe suitable for meal prep?
Absolutely! This dish stores well. Cook a big batch and divide it into containers. It keeps in the fridge for about 4 days. You can also freeze it for up to 3 months. Just reheat before serving.
This post covered a tasty Coconut Curry Chickpeas recipe. We explored key ingredients, spices, and optional add-ins. You learned about step-by-step instructions, tips for flavor, and fun variations. Remember to store leftovers safely and check for spoilage signs.
With these insights, you can create a delicious dish that fits your needs. Experiment to find your perfect flavor. Enjoy cooking and sharing this nutritious meal with other


