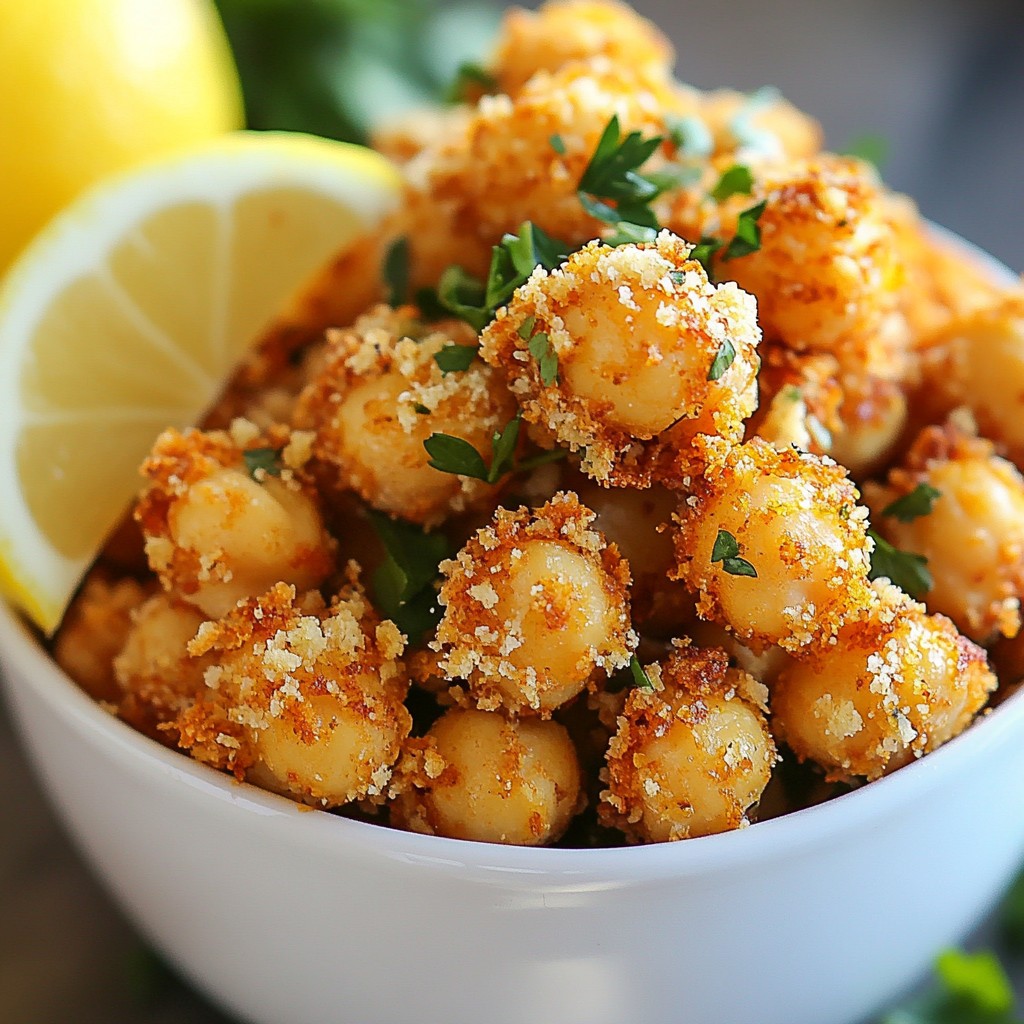
If you're looking for a snack that’s crunchy, spicy, and fun to make, you’re in the right place! My crispy air-fried Harissa chickpea poppers are a game-changer. They pack bold flavor while being healthy and easy to whip up. Whether you serve them at a party or enjoy them solo, these poppers will impress everyone. Let’s get started on this delicious journey!
Why I Love This Recipe
- Bold Flavor: The harissa paste adds a vibrant and spicy kick to the chickpeas, making these poppers incredibly flavorful.
- Healthy Snack: These chickpea poppers are not only delicious but also packed with protein and fiber, making them a nutritious snack option.
- Crispy Texture: Air frying gives these poppers a delightful crunch without the need for excess oil, keeping them light and crispy.
- Quick & Easy: This recipe comes together in just 30 minutes, making it perfect for a quick appetizer or snack!
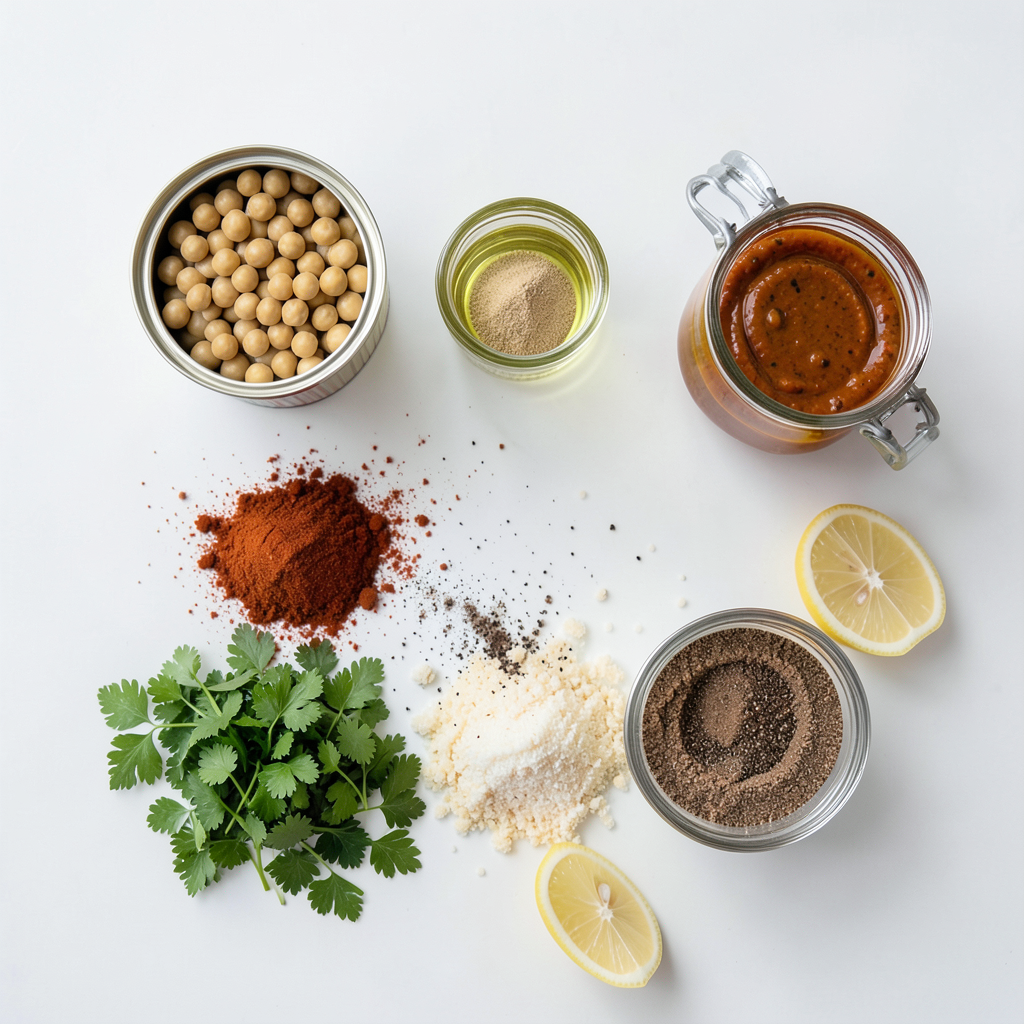
Ingredients
Main Ingredients for Harissa Chickpea Poppers
- 1 can (15 oz) chickpeas, drained and rinsed
- 2 tablespoons harissa paste
- 1 tablespoon olive oil
- 1 teaspoon garlic powder
- 1 teaspoon onion powder
- ½ teaspoon smoked paprika
- Salt and pepper to taste
- ½ cup panko breadcrumbs
These items are key to making your poppers tasty and crispy. Chickpeas are rich in protein and fiber. Harissa gives them a spicy kick. Olive oil adds flavor and helps them crisp up. Garlic and onion powders bring depth to the taste, while smoked paprika offers a nice, subtle smokiness.
Optional Garnishes
- Fresh parsley, chopped (for garnish)
- Lemon wedges (for serving)
Garnishes add freshness and a pop of color. Chopped parsley makes your dish look nice. Lemon wedges give a bright flavor when squeezed over the hot poppers.
Nutritional Information
This recipe serves about four people. Each serving provides a healthy snack option. Chickpeas offer protein and fiber, while olive oil adds healthy fats. The spices give flavor without extra calories. Overall, these poppers are a great choice for a light snack or appetizer.
Step-by-Step Instructions
Prepping Your Chickpeas
Start with one can of chickpeas. Drain and rinse them well. This step helps remove extra salt and makes them cleaner. Pat the chickpeas dry with a towel. This is key for crispiness.
Mixing the Chickpea Coating
In a large bowl, combine the chickpeas with two tablespoons of harissa paste. Add one tablespoon of olive oil, one teaspoon of garlic powder, and one teaspoon of onion powder. Sprinkle in half a teaspoon of smoked paprika. Then, add salt and pepper to taste. Stir well until each chickpea gets coated nicely.
Next, add half a cup of panko breadcrumbs to the bowl. Gently mix again. These breadcrumbs give the poppers their crunch. It's important to make sure they stick well to the chickpeas.
Air-Frying the Chickpea Poppers
Preheat your air fryer to 400°F (200°C) for about five minutes. Lightly spray the air fryer basket with cooking spray. This step prevents the poppers from sticking.
Now, carefully place the chickpea mixture into the basket. Spread them in a single layer. If your air fryer is small, you may need to cook in batches. Air-fry the chickpeas for about 15 to 20 minutes. Shake the basket halfway through. This ensures even cooking.
When they're crispy and golden brown, remove them from the fryer. Let them cool for a few minutes. Serve warm. Garnish with chopped parsley and lemon wedges for a fresh touch. Enjoy your crispy air-fried harissa chickpea poppers!
Tips & Tricks
Achieving Extra Crispiness
To make your chickpeas super crispy, start with dry chickpeas. After rinsing, pat them dry with a towel. This step removes excess moisture. The less water, the better the crunch. Use panko breadcrumbs; they add a great texture. Make sure to spread the chickpeas in a single layer in the air fryer. Give the basket a shake halfway through cooking. This helps them cook evenly. For an even crispier result, try spraying them lightly with olive oil before air frying.
Adjusting Spice Levels
Harissa can be spicy, so taste as you go. Start with one tablespoon of harissa paste. If you prefer more heat, add a bit more. You can mix in some cayenne pepper or crushed red pepper flakes for extra kick. For milder flavors, you can reduce the harissa paste to half a tablespoon. Always adjust based on your taste buds. Remember, you can always add more spice, but you can’t take it away once it’s in.
Common Mistakes to Avoid
One common mistake is overcrowding the air fryer. If you pile in too many chickpeas, they won’t crisp up. Keep them in a single layer for best results. Another mistake is not shaking the basket. This step is key for even cooking. Lastly, don’t skip the resting time after cooking. Letting them cool for a few minutes helps them become even crisper. These tips will help you create the perfect crispy harissa chickpea poppers every time!
Pro Tips
- Roasting Time: Adjust the cooking time based on your air fryer model, as some cook faster than others. Keep an eye on the chickpeas to prevent burning.
- Add Extra Flavor: Experiment with different spices or herbs, like cumin or coriander, to enhance the flavor profile of your chickpea poppers.
- Batch Cooking: If making a larger quantity, keep the cooked poppers warm in a low oven while you finish air-frying the remaining batches.
- Garnish Ideas: Try adding a drizzle of tahini or yogurt sauce on top before serving for an extra layer of flavor.
Variations
Alternative Spices and Flavors
You can change the flavor of your chickpea poppers by using different spices. Try cumin for warmth or coriander for a fresh taste. You can also add cayenne if you like heat. Mix in some Italian herbs for a twist. The beauty of this recipe lies in its flexibility. Experiment with spices to find your favorite blend.
Vegan Cheese or Nutritional Yeast Topping
Want to add a cheesy taste without dairy? Nutritional yeast works great! Just sprinkle it over the poppers before air frying. You can also use vegan cheese shreds. They melt and add a nice flavor. This option makes your dish even more savory and satisfying. It’s a fun way to enhance the dish while keeping it plant-based.
Serving Ideas and Pairings
Serve your chickpea poppers warm with lemon wedges for a zesty kick. They pair well with a cool dip like tahini or yogurt. Try them alongside a fresh salad for a complete meal. They also make a great snack for movie night. You can even serve them at parties to impress your guests. The versatility of this dish makes it a hit on any table.
Storage Info
Storing Leftovers
After making your crispy air-fried harissa chickpea poppers, you might have some left. Store them in an airtight container. This keeps them fresh and prevents sogginess. Place the container in the fridge. They will stay good for up to three days.
Reheating Techniques
When you want to enjoy the leftovers, reheating is key. Use the air fryer for the best results. Set it to 350°F (175°C) for about 5-7 minutes. This helps them regain their crispiness. You can also use an oven. Preheat it to 350°F (175°C) and bake for 10 minutes.
Freezing Options
If you want to save some for later, freezing is a great choice. Allow the chickpea poppers to cool completely. Then, place them in a freezer-safe bag. Make sure to remove as much air as you can. They will last for up to two months in the freezer. To eat, thaw them in the fridge overnight, then reheat as mentioned.
FAQs
Can I use dried chickpeas instead of canned?
Yes, you can use dried chickpeas. Start by soaking them overnight. Then, cook them until they are soft. Once cooked, drain and rinse them. You can then follow the same steps in the recipe. Using dried chickpeas may take more time but offers great flavor.
How do I make my chickpea poppers extra spicy?
To add heat, increase the amount of harissa paste. You can also mix in crushed red pepper flakes. Another option is to sprinkle cayenne pepper into the chickpea mix. Adjust the spice to suit your taste. Just remember to start small and taste as you go.
What can I serve with Harissa chickpea poppers?
These poppers go well with many sides. Try serving them with a fresh salad. You can also pair them with yogurt or a tahini sauce. Lemon wedges add a nice touch, too. For a complete meal, serve them with pita bread or rice.
Harissa chickpea poppers are tasty and easy to make. You learned about the right ingredients, steps, and tips for a great batch. We discussed how to customize flavors and store leftovers. Remember, achieving the perfect crispiness is key. You can also adjust spice levels to suit your taste. Lastly, these poppers pair well with various sauces and sides. Enjoy experimenting with this fun recipe!