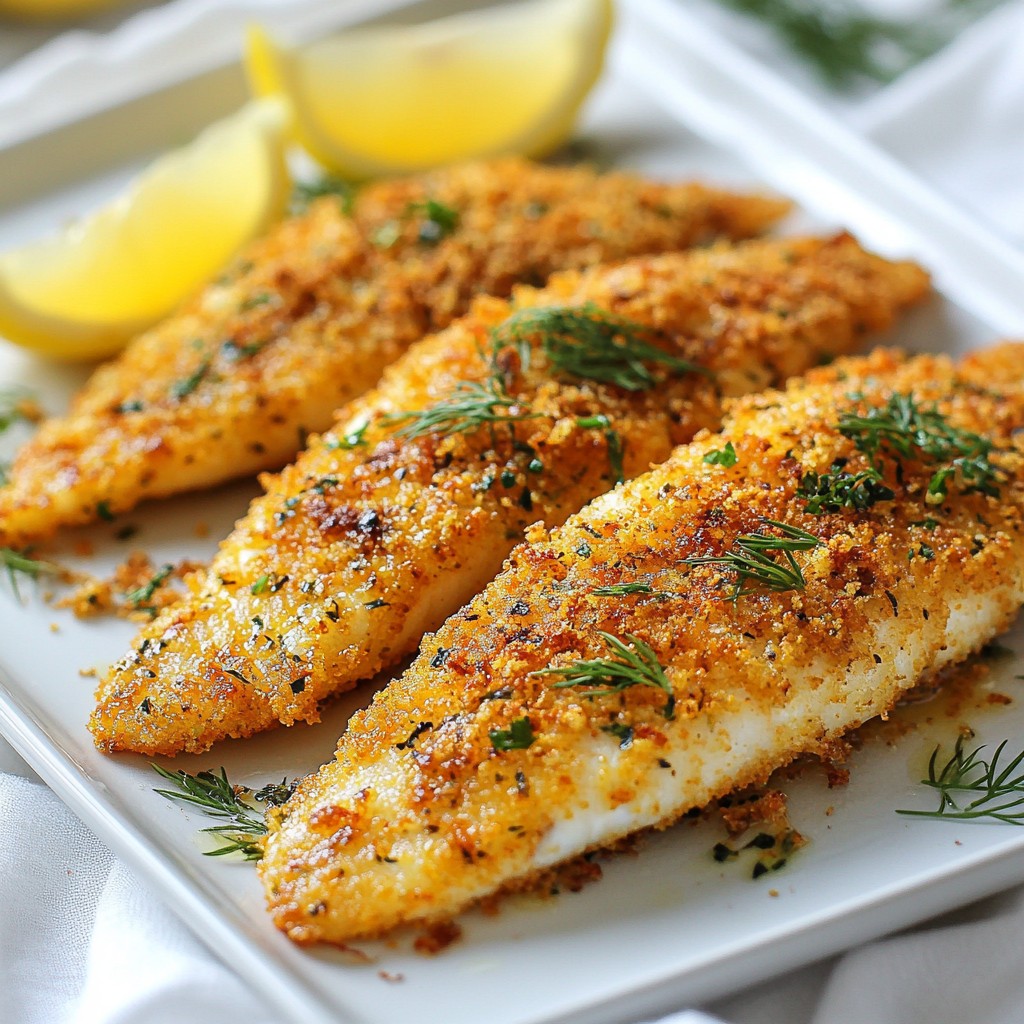
Welcome to a tasty adventure with my Crispy Air Fryer Lemon Dill Chicken Tenders! If you're looking to impress with crispy, flavorful chicken, you’ve found the right recipe. These tenders are easy to make and bursting with zesty lemon and fresh dill. With my step-by-step guide, you’ll whip up a dish that's not just delicious but also healthier. Let's dive into the ingredients and bring some crunch to your table!
Why I Love This Recipe
- Flavorful Marinade: The buttermilk and lemon juice create a tender and flavorful base that infuses the chicken with a delightful zest.
- Perfectly Crispy: Using panko breadcrumbs ensures a crunchy texture that makes these tenders irresistible, especially when air-fried.
- Quick and Easy: With minimal prep and cook time, this recipe is perfect for busy weeknights or when you want a delicious meal in a hurry.
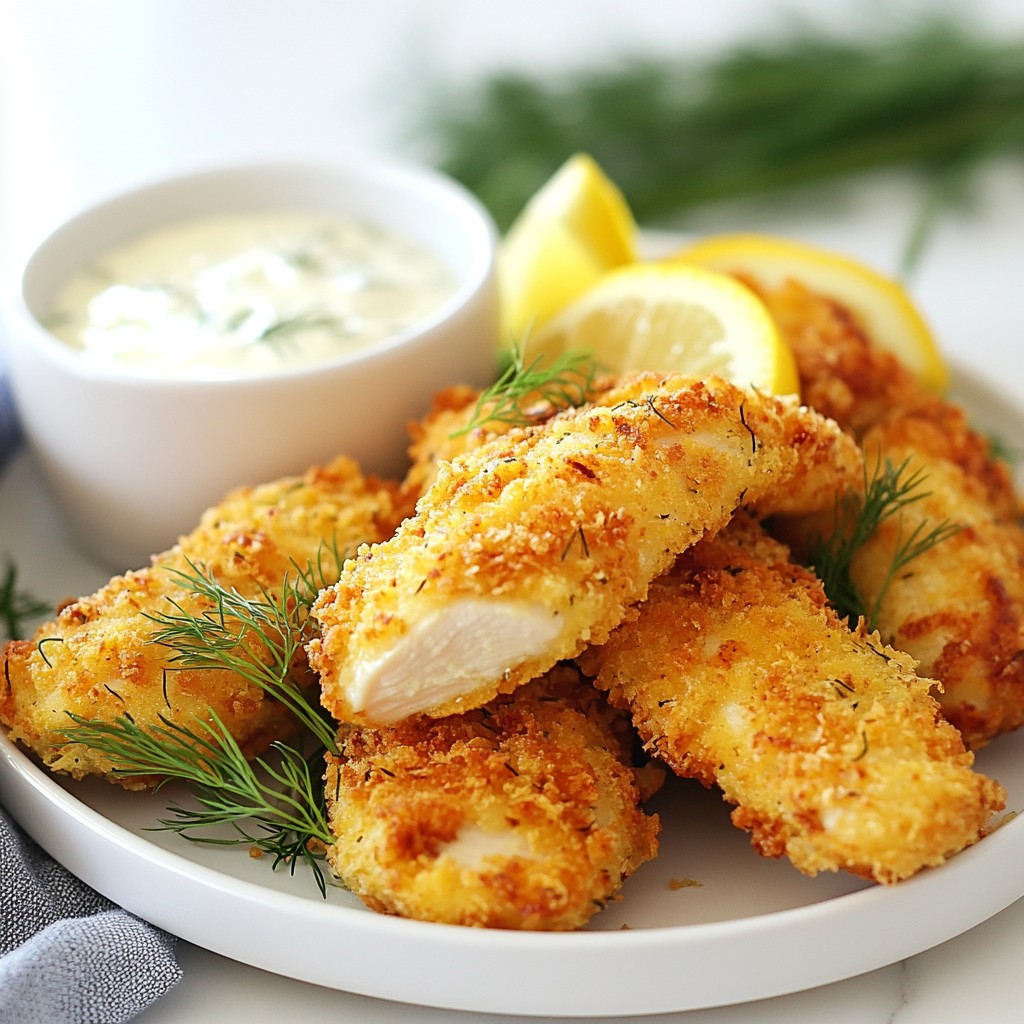
- Customizable Dipping Sauces: Pair these tenders with your favorite sauces, from creamy dill to spicy honey mustard, for a personalized touch.
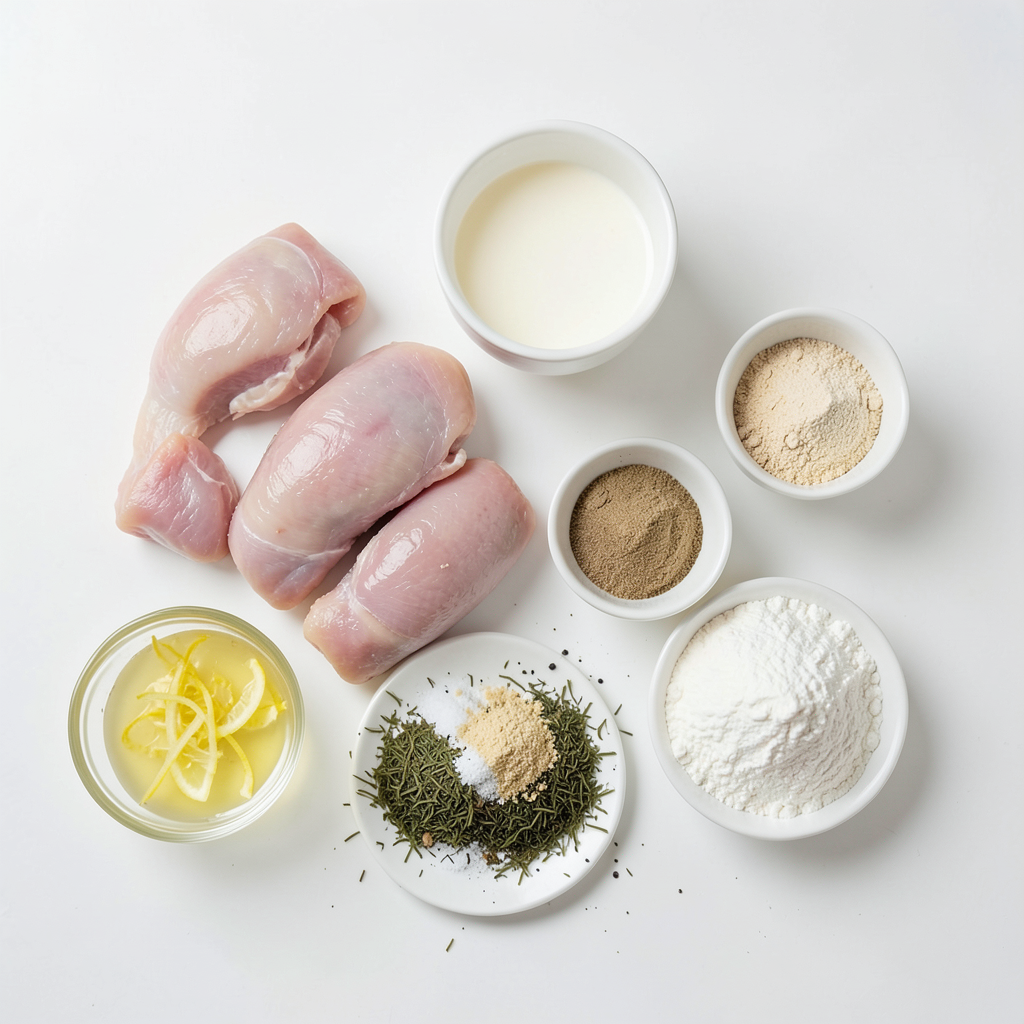
Ingredients
Main Ingredients
- 1 lb chicken tenderloins
- 1 cup buttermilk
- 1 tablespoon lemon juice
- Zest of 1 lemon
- 1 teaspoon dried dill
- 1 teaspoon garlic powder
- 1 teaspoon onion powder
- Salt and pepper to taste
The main ingredients for this recipe include chicken tenderloins, which are juicy and perfect for this dish. The buttermilk marinade makes the chicken tender and adds flavor. Lemon juice and zest bring bright notes, while dill, garlic, and onion powder add depth. Don’t forget to season with salt and pepper for a well-rounded taste.
Coating Ingredients
- 1 cup breadcrumbs (panko for extra crispiness)
- ½ cup all-purpose flour
- Olive oil for crispiness
For the coating, I recommend using panko breadcrumbs instead of regular ones. Panko gives a light and crispy texture you’ll love. The all-purpose flour helps the breadcrumbs stick better. Finally, a light spray of olive oil makes everything golden and crispy. It’s all about achieving that perfect crunch!
Step-by-Step Instructions
Marinating the Chicken
To start, I prepare the marinade. In a large bowl, I mix together buttermilk, lemon juice, lemon zest, dried dill, garlic powder, onion powder, salt, and pepper. This mix brings a bright, zesty flavor to the chicken.
Marinating is key. I let the chicken sit in this mixture for at least 30 minutes. If I have more time, I let it marinate for up to 2 hours. This helps the chicken absorb the flavors and stay moist.
Breading the Chicken
Next, I set up my breading station. I use three bowls: one with flour, one with the remaining breadcrumbs, and one empty for dry ingredients. This makes coating easy and fun.
To coat the chicken, I take each tender from the buttermilk mix. I let any excess drip off. First, I coat it in flour, then in breadcrumbs. I press gently to ensure an even, crispy layer.
Air Frying Process
Now, it’s time to air fry. I preheat the air fryer to 400°F (200°C). This step is crucial for getting that perfect crunch.
I arrange the coated chicken tenders in a single layer in the basket. I make sure not to overcrowd them, which helps them cook evenly.
To boost crispiness, I lightly spray or brush the chicken tenders with olive oil. I then air fry them for 10 to 12 minutes. Halfway through, I flip them for even cooking.
To check for doneness, I use a meat thermometer. The chicken should reach an internal temperature of 165°F (75°C). Once done, I remove them from the air fryer and let them rest for a couple of minutes before serving.
Tips & Tricks
Achieving Maximum Crispiness
To get your chicken tenders nice and crispy, olive oil plays a key role. The oil helps the breadcrumbs brown and crisp up. You want to spray or brush a light layer of olive oil on the chicken. This small step makes a big difference.
Placement in the air fryer is also important. Avoid overcrowding the basket. This allows hot air to circulate around each piece. If the tenders are too close, they may steam instead of crisp. Cook in batches if needed for the best results.
Flavor Enhancements
To boost flavor, consider adding more spices or herbs. A pinch of smoked paprika gives a nice depth. You can also try adding cayenne for some heat. Fresh herbs can elevate your dish too. Always choose fresh dill when possible for the best taste.
Using fresh ingredients matters. Fresh lemon juice and zest bring brightness. They enhance the overall flavor of the chicken. The same goes for garlic and onion powders. Fresh spices deliver better taste and aroma. Don’t skip on freshness for the best results!
Pro Tips
- Marinate Longer for Flavor: Allow the chicken tenderloins to marinate for up to 2 hours for a deeper flavor infusion.
- Use Panko Breadcrumbs: For an extra crispy texture, opt for panko breadcrumbs instead of regular ones.
- Don’t Overcrowd the Air Fryer: Cook the chicken tenders in batches if necessary to ensure even cooking and crispiness.
- Check Internal Temperature: Always use a meat thermometer to ensure the chicken reaches an internal temperature of 165°F (75°C) for safe consumption.
Variations
Flavorful Marinades
You can play with different marinades to boost flavor. Try using yogurt instead of buttermilk. This swap adds creaminess and a tangy taste. For a spicy kick, mix in some hot sauce or cayenne pepper. You can also add fresh herbs like parsley or basil for a fresh touch.
Alternative Coating Options
If you need gluten-free options, use almond flour or crushed cornflakes. Both give a nice crunch. For a different twist, try using crushed tortilla chips for a zesty flavor. You can also mix regular breadcrumbs with herbs or spices for added taste. This customization makes each batch unique.
Storage Info
Leftovers Storage
After cooking your crispy chicken tenders, let them cool down. This step keeps them fresh. Place the tenders in an airtight container. Glass or plastic containers work well. You can also use freezer bags. Remove as much air as possible before sealing. This keeps the chicken tender and tasty for longer.
Reheating Tips
When you’re ready to enjoy leftovers, reheating is key. The best method is using the air fryer. Set it to 350°F (175°C) and heat for about 5-7 minutes. Check them often to avoid overcooking. This method keeps the chicken crispy. If you don’t have an air fryer, you can use the oven. Preheat it to 375°F (190°C) and bake for 10-12 minutes. Avoid the microwave. It makes the chicken soggy, and no one likes that. Enjoy your tasty chicken tenders!
FAQs
How can I make chicken tenders less greasy?
To make chicken tenders less greasy, here are some best practices:
- Use less oil when cooking.
- Choose panko breadcrumbs for a lighter texture.
- Coat the chicken lightly with olive oil.
- Air fry at the right temperature. Too low can cause more grease.
Using these tips helps keep your chicken tenders crispy and healthy.
Can I use chicken breasts instead of tenders?
Yes, you can use chicken breasts instead of tenderloins. Here’s how:
- Cut the chicken breasts into strips.
- They may need a few extra minutes to cook through.
- Check for an internal temperature of 165°F (75°C).
Adjusting cooking time ensures your chicken stays juicy.
What can I serve with Lemon Dill Chicken Tenders?
These chicken tenders pair well with several sides:
- Fresh salad with lemon vinaigrette.
- Crispy fries or sweet potato fries.
- Creamy dipping sauces like ranch or honey mustard.
Serve with lemon wedges and fresh dill for added flavor.
You learned how to make delicious, crispy chicken tenders. We covered key ingredients, from chicken tenderloins to a buttermilk marinade. You also discovered how to achieve the perfect coating using panko breadcrumbs and olive oil. Marinating and breading are key steps for a great taste.
In this journey, I shared tips for the best texture and flavor. Don’t forget to try different marinades and sides for variety. Enjoy your cooking and savor every bite of your crispy chicken tenders!