
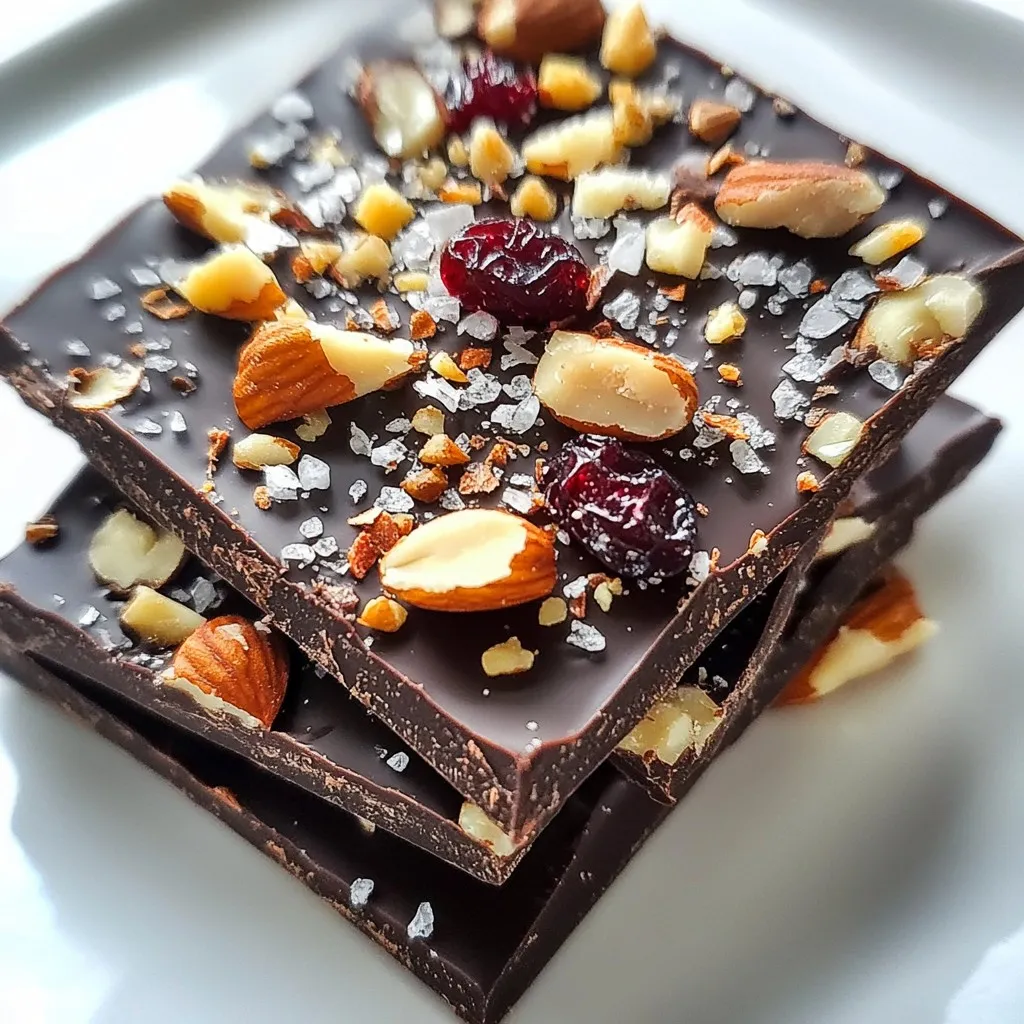
Do you want a sweet treat that’s simple to make and packed with flavor? Dark chocolate sea salt bark is a must-try! With just a few key ingredients—dark chocolate, nuts, and dried fruit—you’ll create a delicious snack that’s both rich and satisfying. In this article, I’ll walk you through the easy steps to make your own batch and share tips to customize it just how you like it. Let’s get started!
Why I Love This Recipe
- Decadent Flavor: This bark combines rich dark chocolate with the crunch of nuts and a hint of sweetness from dried fruit, creating a delightful taste experience.
- Simple to Make: With just a few easy steps, you can whip up this delicious treat in under an hour, making it perfect for a last-minute dessert.
- Customizable: You can easily swap in your favorite nuts or dried fruits, or add spices like cinnamon for a personal touch.
- Perfect for Gifting: This chocolate bark makes a beautiful and thoughtful gift for friends and family, especially during the holidays.
Ingredients
Main Ingredients
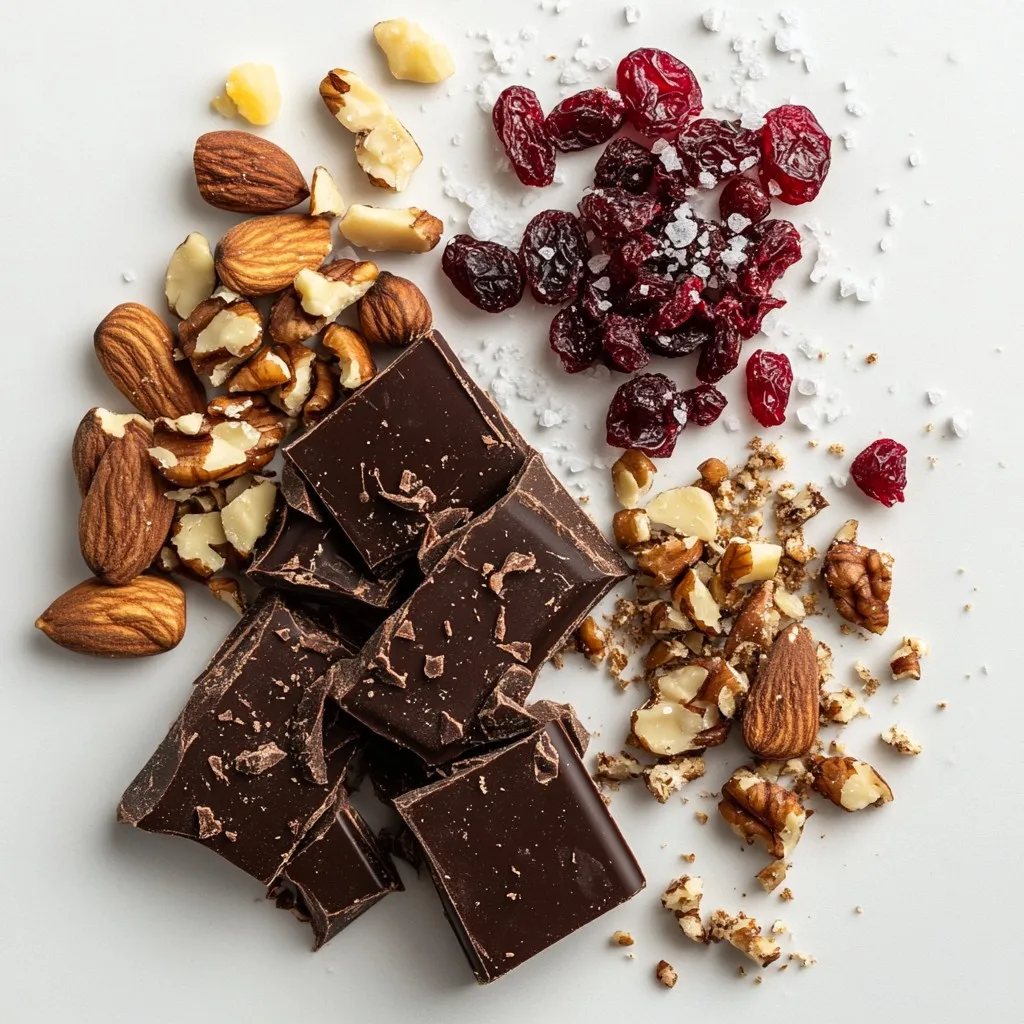
– 8 oz dark chocolate (70% cocoa or higher), chopped
– 1/2 cup mixed nuts (almonds, walnuts, pecans), roughly chopped
– 1/4 cup dried cranberries or cherries
– 1 tablespoon sea salt
– Optional: 1 tablespoon orange zest
To make Dark Chocolate Sea Salt Bark, start with great ingredients. First, use dark chocolate. I recommend chocolate with at least 70% cocoa. This gives the bark a rich taste.
Next, gather mixed nuts. Almonds, walnuts, and pecans work well together. Chop them roughly so they mix well in the chocolate.
You also need dried fruit. Dried cranberries or cherries add a sweet touch. They balance the dark chocolate’s bitterness.
Sea salt is a must. It brings out the chocolate flavor. You can sprinkle it on top for a lovely crunch.
If you want to add a twist, use orange zest. It gives a fresh flavor that pairs well with chocolate.
With these simple ingredients, you are ready to make a tasty treat!
Step-by-Step Instructions
Melting the Chocolate
To melt the chocolate, you have two easy methods. The first is the double boiler method. Fill a pot with a little water and bring it to a simmer. Place a heatproof bowl on top. Add the chopped dark chocolate to the bowl. Stir it gently until it melts. This way, the chocolate heats slowly and evenly.
The second method is the microwave. Place the chopped chocolate in a microwave-safe bowl. Heat it in 30-second bursts. Stir after each burst until it is smooth and melted. Both methods work well, but the double boiler can help prevent burning.
Preparing the Baking Sheet
Next, prepare your baking sheet. I suggest using a sheet that is about 9×12 inches. Line it with parchment paper. This makes it easy to lift out the bark later. The paper also helps with easy cleanup.
Combining Ingredients
Now it’s time to mix in the fun stuff. In the melted chocolate, add your chopped mixed nuts and dried cranberries. Stir until they are well mixed. If you want a burst of flavor, add the orange zest now. It gives a nice twist to the bark.
Spreading and Salting
Pour the chocolate mixture onto your lined baking sheet. Use a spatula to spread it out evenly. Aim for about a 1/4 inch thick layer. While the chocolate is still warm, sprinkle the sea salt over the top. Be sure to distribute it evenly, so every piece has a bit of salt.
Chilling and Breaking
Now, place the baking sheet in the refrigerator. Let it chill for about 30 to 45 minutes. This time allows the chocolate to set fully. Once set, remove the bark from the sheet. To break it, you can use your hands. Break it into irregular pieces. This makes for a rustic look that is just perfect.
Tips & Tricks
Perfecting the Melted Chocolate
To melt chocolate well, avoid overheating. Use gentle heat to keep it smooth. If you use a double boiler, keep the water simmering, not boiling. Stir the chocolate often while it melts. This helps it melt evenly. If you choose the microwave, set it for 30 seconds at a time. Stir after each interval until it is fully melted.
A smooth consistency is key. If your chocolate is grainy, it may have burned. Use high-quality chocolate, as it melts better.
Customizing Your Bark
You can make this bark your own. Try different nuts like cashews or macadamia nuts. Dried fruits also work well. You can use apricots or raisins for a twist. For a sweeter treat, add more dried fruit or use chocolate with less cocoa.
If you want a flavor boost, consider adding spices. A pinch of cinnamon or chili can add depth. You can also play with extracts like almond or vanilla for an extra kick.
Serving Suggestions
When it’s time to serve your bark, think about fun ways to present it. You can break it into pieces and place them in a bowl. For gifts, package it in cellophane bags tied with ribbons.
You could also layer bark in a jar. This makes a great treat for friends. Enjoy it right away or store it for later.
Pro Tips
- Use High-Quality Chocolate: The flavor of your bark largely depends on the chocolate you choose. Opt for high-quality dark chocolate with at least 70% cocoa for the best taste and texture.
- Customize Your Toppings: Feel free to experiment with different nuts, seeds, or dried fruits to create a unique flavor profile that suits your taste.
- Check for Full Melting: Ensure the chocolate is completely melted and smooth before mixing in other ingredients to achieve a uniform texture in the bark.
- Store Properly: To maintain freshness, store the bark in an airtight container away from direct sunlight and heat to prevent melting or softening.
Variations
Flavor Combinations
You can change up the flavor of your dark chocolate sea salt bark. Adding spices can make it fun and tasty. Try mixing in a pinch of cinnamon for warmth. If you like heat, add a dash of chili powder. These spices bring a new twist to the classic bark.
You can also use different types of chocolate. Swap in milk chocolate for a sweeter treat. White chocolate adds creaminess and pairs well with nuts. Dark chocolate fans can mix in some milk chocolate for a layered taste experience.
Dietary Adaptations
If you follow a vegan diet, you can still enjoy this treat. Use dairy-free chocolate made from cocoa solids. Many brands offer tasty options that melt well. This way, everyone can enjoy dark chocolate sea salt bark.
For those who need gluten-free options, you are in luck! All the ingredients in this recipe are naturally gluten-free. Just make sure to check labels on nuts and dried fruit. This way, you ensure there are no hidden gluten sources.
Seasonal Variations
Seasonal ingredients can make your bark exciting! During the holidays, add festive decorations. Sprinkle in some holiday-themed sprinkles or edible glitter.
You can also mix in seasonal flavors. Use peppermint pieces for a winter treat. In fall, try adding a bit of pumpkin spice. These small changes can make your bark special for any time of year.
Storage Info
Best Storage Practices
To keep your dark chocolate sea salt bark fresh, use airtight containers. This helps it stay crisp and tasty. Store the bark at room temperature, away from direct sunlight. A cool, dry spot works best. Avoid storing it in the fridge unless necessary, as this can affect the texture.
Shelf Life
At room temperature, your bark lasts up to a week. If you want it to last longer, refrigerate it. In the fridge, it can stay fresh for up to two weeks. Just remember to let it come to room temperature before enjoying it. This way, you can savor its full flavor and crunch.
FAQs
What is dark chocolate sea salt bark?
Dark chocolate sea salt bark is a sweet treat made from melted dark chocolate. It often includes nuts and dried fruit. The combination of rich chocolate and crunchy toppings creates a tasty snack. The sea salt adds a nice contrast, making it even more appealing. This treat is easy to make and fun to share.
Can I use milk chocolate instead?
Yes, you can use milk chocolate. However, it will change the flavor. Milk chocolate is sweeter and creamier than dark chocolate. This change can make the bark taste less rich. It may also alter the texture, making it softer. If you prefer a sweeter treat, milk chocolate can work well.
How do I store leftovers?
To keep your bark fresh, place it in an airtight container. Store it at room temperature. This way, it can last up to a week. Avoid direct sunlight or heat, which can cause the chocolate to melt. If you want to store it longer, refrigerate it. Just remember to let it come to room temperature before eating.
Can I make this recipe ahead of time?
Yes, you can make dark chocolate sea salt bark ahead of time. It’s a great treat for parties or gifts. You can prepare it up to a week in advance. Just follow the steps and store it properly. Make sure to chill it until firm, then keep it in an airtight container.
Where can I buy ready-made dark chocolate sea salt bark?
You can find ready-made dark chocolate sea salt bark in many stores. Check local grocery stores or specialty shops. Online options include websites like Amazon or gourmet food sites. Many chocolate brands also offer this treat. Always look for brands that use high-quality chocolate for the best flavor.
In this article, I covered how to make dark chocolate sea salt bark. We explored main ingredients, like dark chocolate, mixed nuts, and dried fruit. I shared step-by-step instructions, tips, and ways to customize your bark. Remember, you can get creative with flavors or nuts. Storing this treat properly will keep it fresh longer. Making this bark is easy and fun, whether for yourself or as a gift. Enjoy your delicious creations and impress your friends with your new skill


