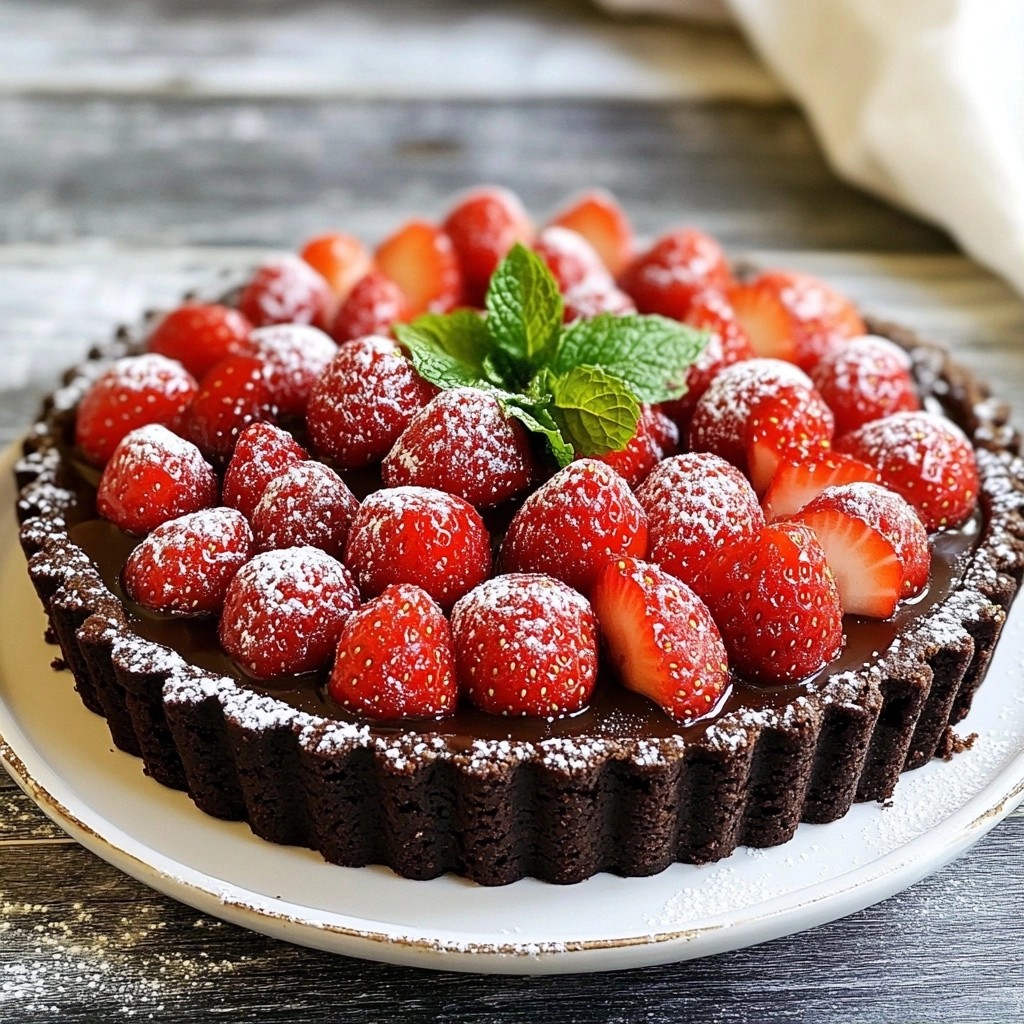
Are you ready to impress your taste buds? This Decadent Air Fryer Chocolate Strawberry Tart is a game changer! You’ll enjoy rich chocolate paired with fresh strawberries, all made in your air fryer. It’s quick and easy, perfect for any occasion. In this post, I'll guide you step-by-step through the process, sharing tips and tricks to make your tart a tasty success. Let's dive in and get baking!
Why I Love This Recipe
- Decadent Flavor: This tart combines rich dark chocolate and fresh strawberries for a heavenly dessert that’s hard to resist.
- Quick and Easy: Using a pre-made chocolate tart crust saves time, making this recipe perfect for any occasion.
- Air Fryer Convenience: The air fryer cooks the tart evenly and quickly, ensuring a perfect texture without the hassle of a traditional oven.
- Fresh and Fruity: The addition of sugared strawberries adds a delightful freshness that balances the richness of the chocolate.
Ingredients
List of Ingredients
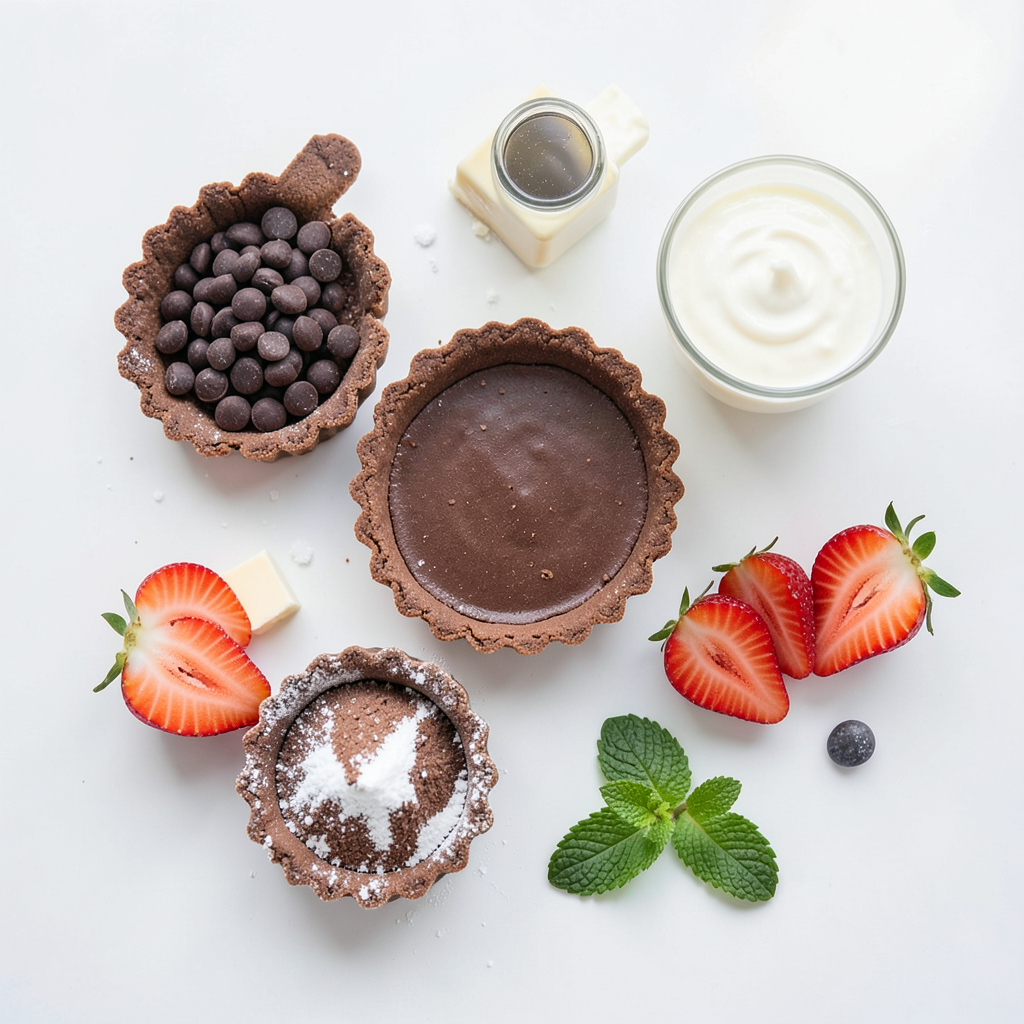
- 1 pre-made chocolate tart crust
- 1 cup dark chocolate chips
- 2 tablespoons unsalted butter
- 1/2 cup heavy cream
- 1 teaspoon vanilla extract
- 1/4 teaspoon sea salt
- 1 cup fresh strawberries, hulled and sliced
- 2 tablespoons powdered sugar
- Fresh mint leaves for garnish (optional)
Recommended Tools
To make this tart, you need some basic tools:
- Air fryer
- Microwave-safe bowl
- Mixing spoon
- Small bowl for strawberries
- Serving plate
Ingredient Substitutions
You can swap ingredients based on what you have:
- Use milk chocolate chips if you prefer a sweeter taste.
- Replace unsalted butter with coconut oil for a dairy-free option.
- Try almond milk or oat milk instead of heavy cream for a lighter filling.
- Use any fresh fruit like raspberries or blueberries if strawberries are not available.
- For a gluten-free crust, look for a pre-made gluten-free tart shell.
Step-by-Step Instructions
Preheating the Air Fryer
Start by preheating your air fryer to 320°F (160°C). This step is key. It helps the tart cook evenly. Make sure to allow enough time for it to reach the right temperature.
Melting the Chocolate Filling
In a microwave-safe bowl, mix the dark chocolate chips and butter. Heat the bowl in the microwave. Do this in 20-second bursts. Stir the mixture well after each burst. Keep going until it is smooth. This will create a rich filling.
Assembling the Tart
Pour the melted chocolate mixture into your pre-made chocolate tart crust. Use a spatula to spread it evenly. Make sure every corner is filled. This is where the magic happens, so take your time.
Cooking the Tart in the Air Fryer
Carefully place your tart in the air fryer basket. Cook for 10-12 minutes. You want the filling to be set but still soft in the middle. Check it at the 10-minute mark to see how it looks.
Cooling and Setting the Tart
Once done, let the tart cool at room temperature for about 15 minutes. After that, refrigerate it for at least 30 minutes. This helps the filling set properly. When you take it out, it should be firm and ready for the strawberries.
Tips & Tricks
Achieving the Perfect Chocolate Texture
To get the best chocolate texture, use dark chocolate chips. They melt well and give a rich taste. Heat the chocolate and butter slowly. Use 20-second bursts in the microwave. Stir between each burst. This method helps avoid burning the chocolate. Once melted, add heavy cream. This makes the chocolate smooth and creamy. The sea salt adds depth and balances the sweetness.
Enhancing Strawberry Flavor
To make strawberries taste even better, sprinkle them with powdered sugar. This draws out their natural sweetness. Toss the sliced strawberries gently in a small bowl. Let them sit for a few minutes. This will help the sugar work its magic. You can also use ripe strawberries for a stronger flavor. Fresh mint leaves are a nice touch to add freshness.
Serving Suggestions
Serve the tart chilled for a refreshing dessert. Cut it into slices for easy serving. Top each slice with the sugared strawberries. For a fancy look, add mint leaves on top. Pair the tart with a scoop of vanilla ice cream for extra creaminess. Enjoy this dessert at parties or family gatherings. It's a crowd-pleaser that looks great on any table.
Pro Tips
- Tip Title: Use Quality Chocolate: The flavor of your tart will greatly depend on the quality of the chocolate you choose. Opt for high-quality dark chocolate for a richer taste.
- Tip Title: Don't Overcook: Keep an eye on the tart while it cooks in the air fryer. You want the filling to be set but still slightly soft in the center for the best texture.
- Tip Title: Chill Before Serving: Allow the tart to cool at room temperature and then refrigerate it. Chilling will help the filling to set properly and enhance the flavors.
- Tip Title: Fresh Strawberries: For the best taste, use fresh, ripe strawberries. Tossing them with powdered sugar not only enhances their sweetness but also adds a lovely glaze.
Variations
Alternative Tart Crust Options
You can change the crust for your tart. If you want a twist, consider using a graham cracker crust. It adds a nice crunch. A cookie crust can also work well. Just crush your favorite cookies and mix them with melted butter. Another option is a shortbread crust. This adds a buttery flavor that pairs well with chocolate.
Flavor Variations for the Chocolate Filling
The filling is where you can get creative. Try using milk chocolate chips for a sweeter taste. You could also mix in some peanut butter for a nutty flavor. If you like spice, add a pinch of chili powder or cinnamon. For a fruity twist, mix in orange zest or espresso powder. Each change gives you a new taste experience.
Seasonal Fruit Toppings
Fruits can change with the seasons, and so can your toppings. In spring, use fresh raspberries or blueberries. Summer calls for juicy peaches or cherries. In fall, sliced apples or pears can be perfect. Winter can bring pomegranates or citrus fruits like oranges. Each fruit adds color and flavor, making your tart even more special.
Storage Info
Best Storage Practices
To keep your tart fresh, store it in the fridge. Place it in an airtight container. This helps protect it from other smells. If you have leftovers, try to finish them within three days.
How to Reheat the Tart
If you want to enjoy the tart warm, reheat it gently. Place a slice on a plate. Use the microwave on low power for about 15-20 seconds. Check to make sure it does not overheat.
Freezing Recommendations
You can freeze the tart if you want to save it for later. Wrap it tightly in plastic wrap. Then place it in a freezer bag. It can last for up to three months. When you’re ready to eat, thaw it in the fridge overnight. Enjoy it chilled or let it sit at room temperature for a bit before serving.
FAQs
How to make a homemade tart crust?
To make a homemade tart crust, you need a few simple ingredients. Use flour, butter, sugar, and salt. Start by mixing them in a bowl. Then, add cold water until the dough forms. Roll it out and place it in your tart pan. Bake it for about 20 minutes at 350°F (175°C). Let it cool before adding your filling.
Can I use milk chocolate instead of dark chocolate?
Yes, you can use milk chocolate. Milk chocolate will make the tart sweeter and creamier. Just be aware that it may change the flavor a bit. If you love milk chocolate, go ahead and make the swap.
What are the best types of strawberries to use?
Look for fresh, ripe strawberries. Varieties like June-bearing or everbearing are great choices. They should be bright red with no green spots. Taste them if you can, as sweet strawberries will make your tart even better.
How long does the tart last in the fridge?
The tart lasts about three days in the fridge. Make sure to cover it well to keep it fresh. After three days, the strawberries might not taste as good, and the crust may get soggy.
Can I make this tart in the oven instead of an air fryer?
Yes, you can bake the tart in an oven. Preheat the oven to 350°F (175°C). Bake it for about 15 to 20 minutes. Keep an eye on it to ensure it doesn't burn. The air fryer gives a nice texture, but the oven works well too.
This blog post shared how to create a delicious chocolate tart in an air fryer. You learned the key ingredients, tools, and substitutes. Steps included preheating, melting chocolate, and assembling your tart. I also gave tips for texture, flavor, and storage. The variations and FAQs made this guide easy to follow. Enjoy your tasty dessert and have fun making it your own! Take these ideas, experiment, and share your results. Happy baking!