
Are you ready to make your summer grilling easy and delicious? With my Easy Grilled Veggie Skewers, you’ll create a mouthwatering dish that even non-veggie lovers can’t resist. I’ll guide you through simple steps and smart tips to ensure your skewers are colorful, flavorful, and perfectly cooked every time. Grab your skewers, and let’s dive into this tasty summer delight that will impress your friends and family!
Why I Love This Recipe
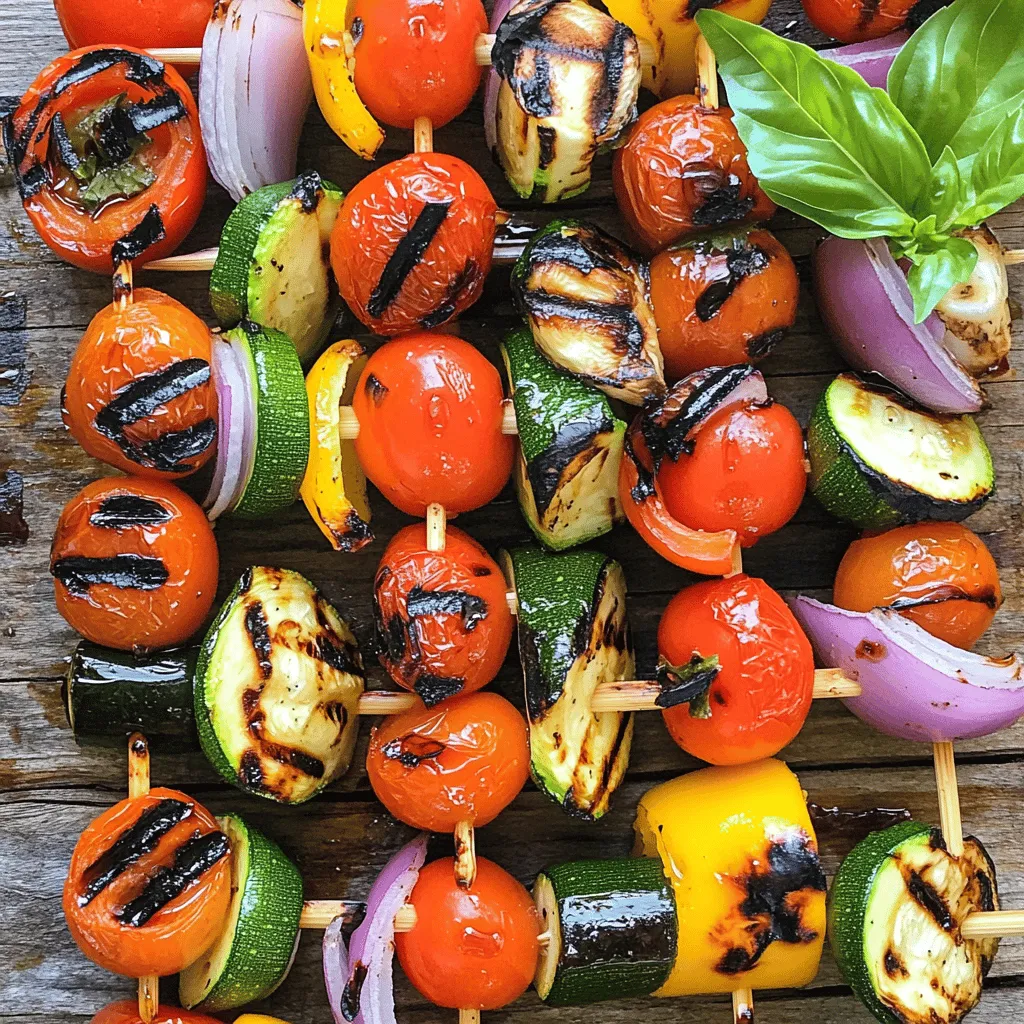
- Colorful Presentation: The vibrant mix of vegetables not only looks appealing on the grill but also adds a burst of color to your plate.
- Healthy and Nutritious: This recipe is packed with vitamins and minerals, making it a great option for a healthy meal.
- Quick and Easy: The simple preparation and grilling process make it a perfect recipe for busy weeknights or weekend barbecues.
- Customizable: You can easily swap in your favorite vegetables or add proteins for a heartier dish, tailoring it to your taste.
Ingredients
List of Ingredients
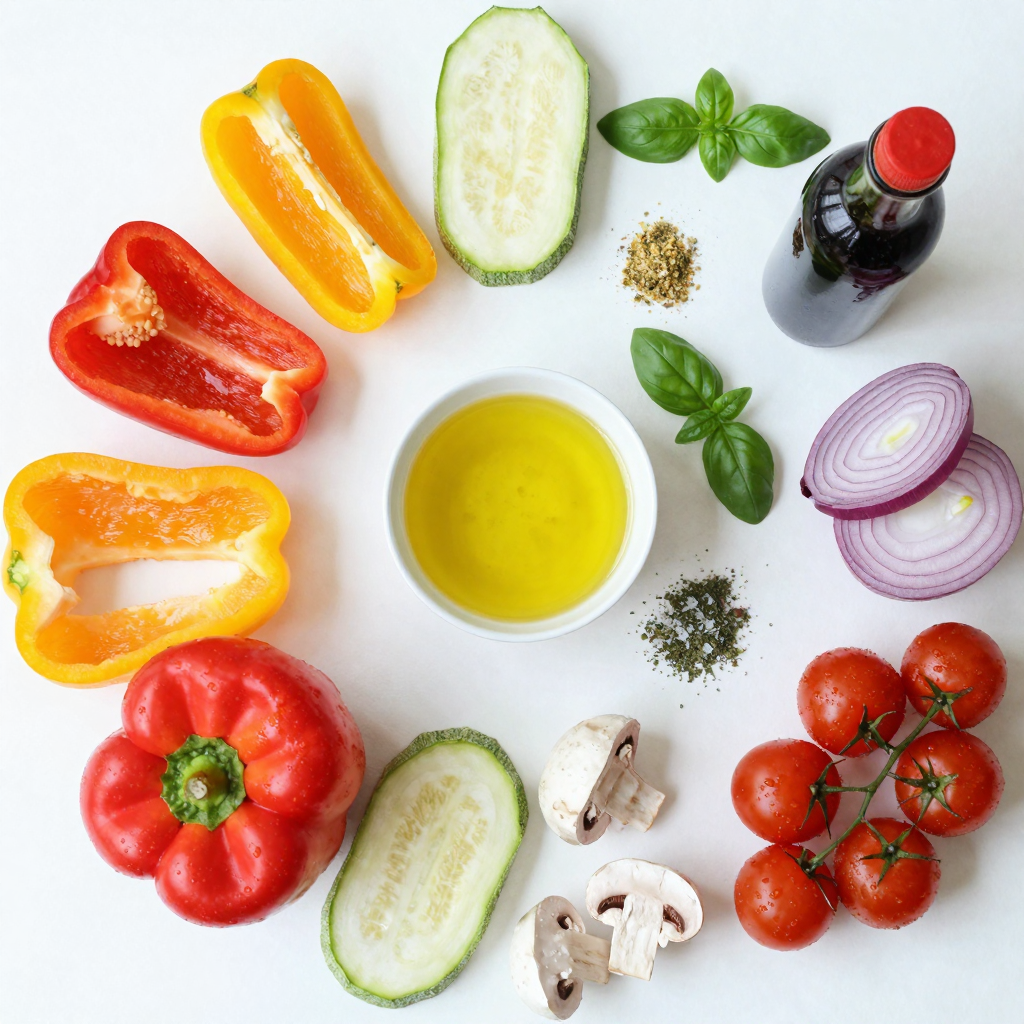
To make easy grilled veggie skewers, you need:
– 1 bell pepper (any color), cut into 1-inch pieces
– 1 zucchini, sliced into thick rounds
– 1 red onion, cut into wedges
– 1 cup cherry tomatoes
– 8 button mushrooms, cleaned and stems trimmed
– 3 tablespoons olive oil
– 1 tablespoon balsamic vinegar
– 1 teaspoon garlic powder
– 1 teaspoon dried oregano
– Salt and pepper to taste
– Fresh basil for garnish
Recommended Product Links
For the best grilling experience, consider these products:
– Skewers: Look for stainless steel or bamboo skewers.
– Grill: A simple charcoal or gas grill works well.
Optional Ingredients for Customization
You can add more colors and flavors to your skewers. Try these options:
– Yellow squash for a bright touch.
– Eggplant for a unique texture.
– Bell peppers in different colors for variety.
– Different herbs like thyme or rosemary for extra flavor.
Step-by-Step Instructions
Preparation Steps for Grilling
First, gather all your ingredients. You’ll need a bell pepper, zucchini, red onion, cherry tomatoes, and button mushrooms. Cut the bell pepper into 1-inch pieces. Slice the zucchini into thick rounds and cut the onion into wedges. Clean the mushrooms and trim their stems.
Next, get a large bowl. Pour in olive oil, balsamic vinegar, garlic powder, dried oregano, salt, and pepper. Whisk this mixture well. Add all your veggies to the bowl. Toss gently until they are evenly coated. Let them marinate for about 15-20 minutes. This step boosts the flavor a lot!
Grilling Techniques for Perfect Skewers
Now, it’s time to thread the veggies onto skewers. Alternate the vegetables for a nice look. If you’re using wooden skewers, soak them in water for 30 minutes first. This prevents burning.
Preheat your grill to medium-high heat. Place the skewers on the grill and cook them for 10-12 minutes. Turn them occasionally. You want the veggies to be tender and slightly charred. This gives them a great taste!
Tips for Ensuring Even Cooking
To ensure even cooking, try to cut all the veggies to similar sizes. This helps them cook at the same rate. Keep an eye on them while grilling. If some are cooking faster, move those skewers to a cooler part of the grill.
Once they’re done, remove the skewers from the grill. Let them cool for a couple of minutes. Then, garnish with fresh basil before serving. Enjoy your Easy Grilled Veggie Skewers!
Pro Tips
- Choose Fresh Veggies: Select vibrant and firm vegetables for the best flavor and texture. Fresh produce enhances the overall taste of your skewers.
- Marinate for Maximum Flavor: Allow the vegetables to marinate for at least 15-20 minutes. This helps to infuse them with the marinade’s flavors, making each bite delicious.
- Use a Variety of Colors: Incorporating different colored vegetables not only makes your skewers visually appealing but also adds a range of nutrients to your meal.
- Watch the Grill Time: Keep an eye on the skewers while grilling. Overcooking can lead to mushy vegetables, so aim for a tender yet slightly crisp finish.
Tips & Tricks
Best Practices for Marinating Vegetables
Marinating vegetables boosts their flavor. Use a simple mix of olive oil, balsamic vinegar, garlic powder, dried oregano, salt, and pepper. This blend brings out the best in veggies. Let them soak for 15 to 20 minutes for great taste. If you have more time, let them sit longer. This adds even more flavor depth.
How to Choose the Right Vegetables
Not all veggies work well on skewers. Select firm vegetables that hold their shape. Bell peppers, zucchini, red onion, cherry tomatoes, and button mushrooms are great choices. Choose colorful options for a beautiful plate. Freshness is key; always pick the freshest veggies for the best flavor.
Common Mistakes to Avoid
Avoid cutting your veggies too small; they may fall through the grill. Don’t skimp on marinating time; this is crucial for flavor. If using wooden skewers, always soak them first. This prevents burning and helps them hold their shape. Finally, don’t overcrowd the skewers. Leave space for even cooking and nice grill marks.
Variations
Alternative Vegetable Combinations
You can change the veggies in your skewers to fit your taste. Try using eggplant, asparagus, or even sweet corn. Each brings a new flavor and texture. For a rainbow look, mix in different colors of bell peppers. You can even add small potatoes for heartiness. Just make sure they are cut small enough to cook well.
Seasoning Variations for Different Flavors
Seasonings can change the whole dish. You can use lemon juice, cumin, or smoked paprika for a twist. For a spicy kick, add chili powder or cayenne. Want an Italian vibe? Try Italian herbs like thyme and rosemary. Experiment with your favorite flavors to find what you love best.
Make It a Complete Meal with Protein Additions
To turn your skewers into a full meal, add protein. Chicken or shrimp works great. You can also use tofu or tempeh for a vegetarian option. Marinate the protein the same way you do with veggies. This way, everything shares the same tasty flavors. Grilling protein with your veggies makes for a fun and easy meal.
Storage Info
How to Store Leftover Skewers
After your meal, let the skewers cool down. Place them in an airtight container. Store them in the fridge. They will stay fresh for about 3 to 4 days. If you want to keep them longer, consider freezing.
Reheating Tips for Grilled Veggies
To reheat your skewers, use the oven or microwave. For the oven, preheat it to 350°F (175°C). Place the skewers on a baking sheet. Heat for about 10 minutes until warm. In the microwave, heat them for 1-2 minutes. Check to ensure they warm evenly.
Freezing Instructions and Tips
To freeze, place the cooled skewers in a freezer-safe bag. Remove as much air as possible before sealing. They can last for up to 3 months in the freezer. When ready to eat, thaw them in the fridge overnight. Reheat using the tips above for best results.
FAQs
What vegetables are best for grilling?
You can grill many vegetables, but some are best. Bell peppers add color and sweetness. Zucchini brings a nice texture. Red onions have a great flavor when grilled. Cherry tomatoes burst with juice. Button mushrooms are hearty and soak up marinades well. These veggies stay firm and taste amazing when grilled.
Can I make veggie skewers ahead of time?
Yes, you can prep veggie skewers ahead of time. Just cut the veggies and marinate them. Store them in the fridge for up to 24 hours. This way, they soak up the flavors. When you’re ready to grill, simply thread them onto skewers. This saves time and makes grilling easier.
How long do veggie skewers take to grill?
Veggie skewers usually take about 10 to 12 minutes to grill. Make sure your grill is hot. Turn the skewers every few minutes. Check for tenderness and slight charring. This ensures even cooking and great flavor.This gives you all the instructions you need for perfect grilled veggie skewers.
You learned the key ingredients and steps for making perfect veggie skewers. We discussed how to prepare, grill, and store them. I shared tips for marinating, choosing vegetables, and avoiding common mistakes. Remember, you can customize your skewers with different flavors and proteins. Enjoy the process and experiment with new combinations. Now, gather your ingredients and get ready to create delicious skewers that everyone will love. Happy grilling!


