
Looking for a fun and quick breakfast? You’ve found it! French Toast Waffles combine the best of two favorites into one delicious dish. With simple ingredients and easy steps, you can whip these up in no time. Whether you want classic flavors or unique twists, I’ll show you how to make them just right. Get ready for a tasty morning treat that everyone will love!
Ingredients
Main Ingredients for French Toast Waffles
For French Toast Waffles, you will need:
– 4 slices of thick bread (Brioche or Challah recommended for ideal texture)
– 2 large eggs
– 1 cup milk (use either dairy or your favorite non-dairy alternative)
– 1 teaspoon vanilla extract
– 1 teaspoon ground cinnamon
– 1 tablespoon sugar (optional, for added sweetness)
– Pinch of salt
– Butter or cooking spray (for greasing the waffle iron)
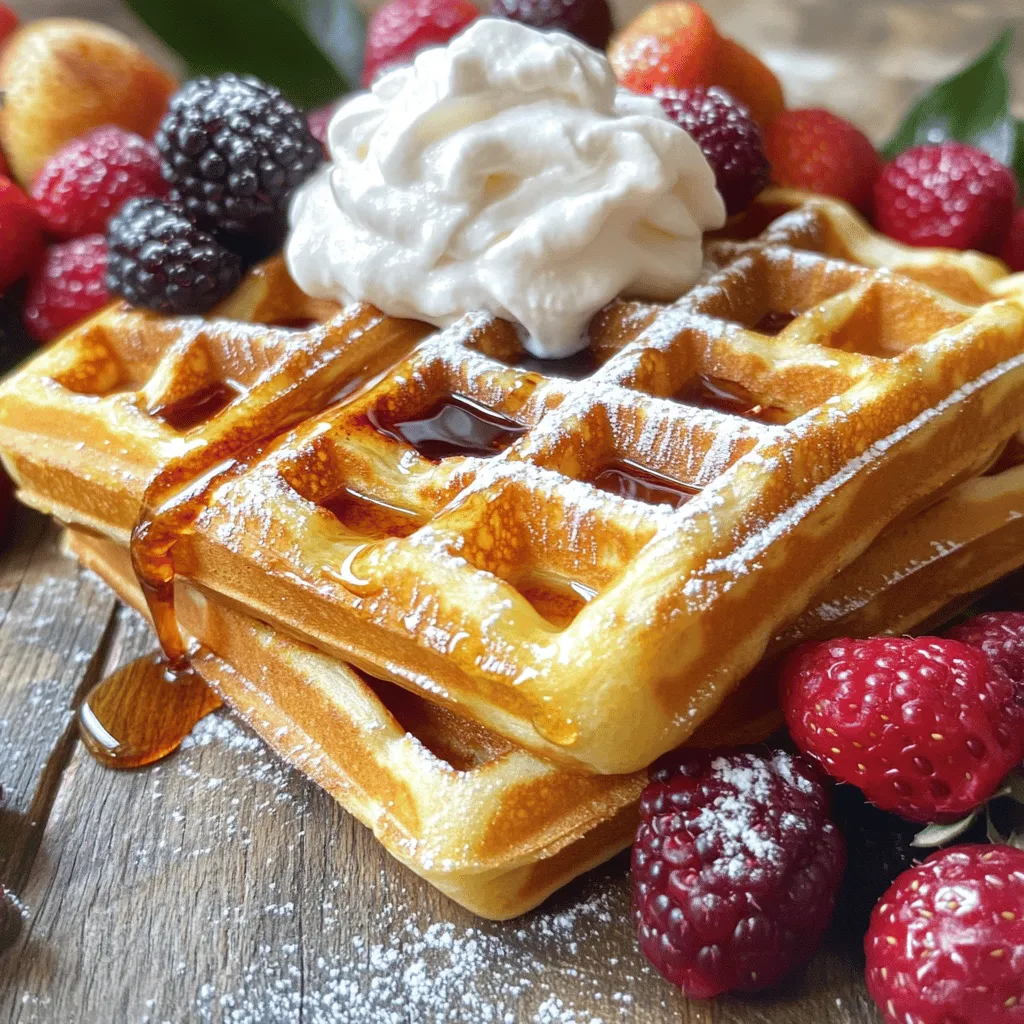
– Maple syrup, fresh berries, or whipped cream (for serving)
These ingredients combine to create a rich and tasty breakfast dish. Each component plays a role in flavor and texture. The eggs and milk form a creamy base that soaks into the bread. Cinnamon adds warmth, while vanilla gives a sweet aroma.
Optional Ingredients for Customization
You can customize your French Toast Waffles by adding:
– Chocolate chips for a sweet twist
– Fresh fruit like bananas or strawberries mixed into the batter
– Nuts, such as pecans or walnuts, for crunch
– A pinch of nutmeg for extra spice
– A splash of orange juice or zest for a citrus kick
These additions let you create a unique flavor profile. Feel free to experiment with what you like best.
Recommended Bread Choices
Choosing the right bread is key. I recommend:
– Brioche: Soft, buttery, and rich in flavor.
– Challah: Slightly sweet with a fluffy texture.
– Texas Toast: Thick slices hold up well for soaking.
– Sourdough: Offers a tangy flavor that contrasts nicely.
The type of bread you choose affects the final taste and texture. Each bread adds its own charm to this dish.
Step-by-Step Instructions
Preparation of Waffle Iron
First, preheat your waffle iron. Follow the instructions from your waffle maker. I like to use a non-stick spray or butter to grease the plates. This step helps keep the waffles from sticking. Make sure the iron is hot for the best results.
Making the Egg Mixture
Next, grab a large bowl. In it, whisk together these ingredients:
– 2 large eggs
– 1 cup milk
– 1 teaspoon vanilla extract
– 1 teaspoon ground cinnamon
– 1 tablespoon sugar (optional)
– Pinch of salt
Mix until everything is smooth. This step is key to flavor. The eggs will help bind the bread and give it a rich taste.
Cooking the Waffles
Now it’s time to cook! Take your thick bread slices and dip them into the egg mixture. Make sure to coat both sides well. Let any extra egg mixture drip off. Place the soaked bread in your preheated waffle iron. Close the lid and cook for about 4-5 minutes. You want a golden brown color and a crispy outside.
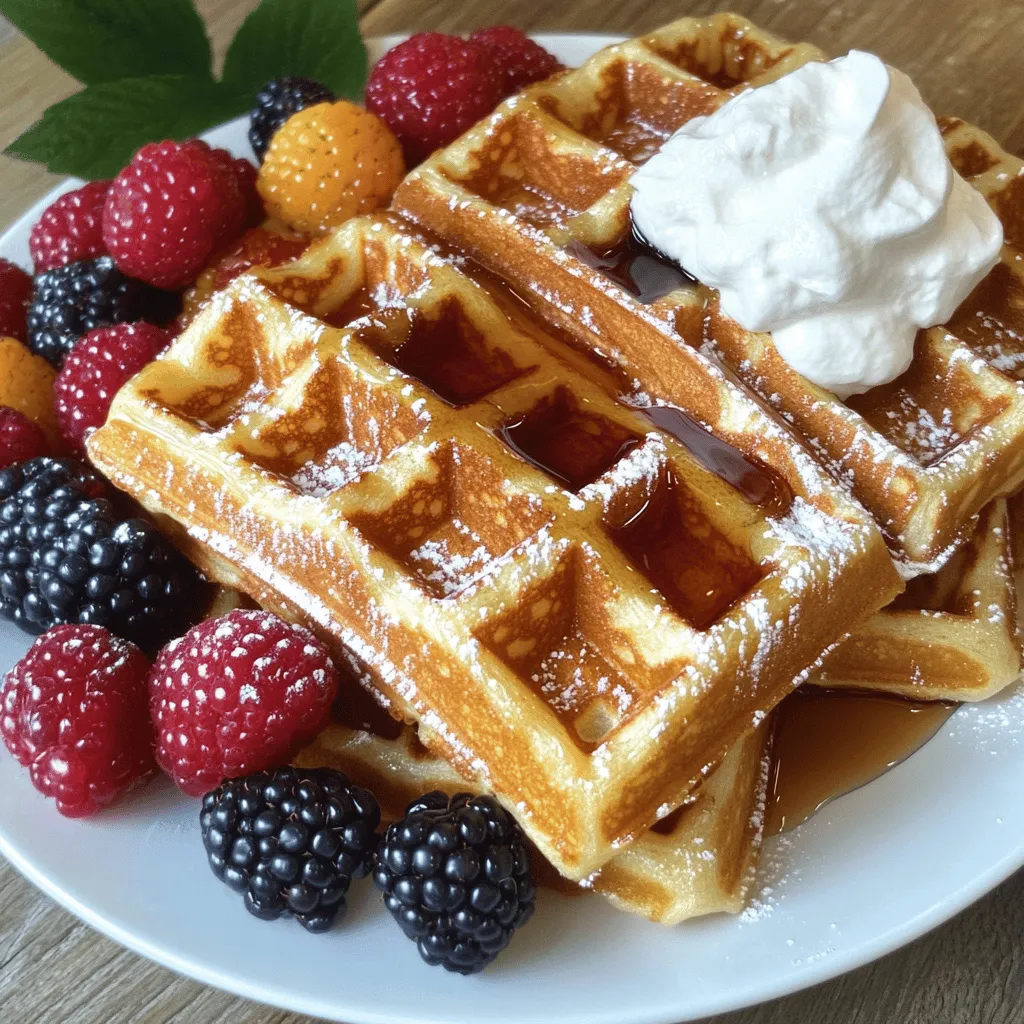
Once cooked, remove the waffles carefully. Place them on a warm plate or in the oven to keep them hot. Serve your French toast waffles with maple syrup or fresh berries. For a special treat, add whipped cream. Enjoy your tasty breakfast delight!
Tips & Tricks
Achieving Perfectly Crisp Waffles
To get that perfect crisp, use thick bread like Brioche or Challah. Soak the bread just enough. If you soak it too long, it might be soggy. Preheat your waffle iron properly; this helps the outside crisp up. Greasing the iron with butter or cooking spray also helps. Cook the waffles until golden brown, about 4-5 minutes. This will give you that crunchy texture.
Common Mistakes to Avoid
One common mistake is using thin bread, which can fall apart. Also, don’t skip the greasing step. If the iron isn’t greased, the waffles may stick. Another mistake is not letting excess egg mixture drip off. This can lead to a soggy waffle. Lastly, avoid opening the waffle iron too soon; this can ruin the texture.
Suggestions for Serving and Pairing
These waffles shine when topped with maple syrup. Fresh berries add a nice touch of flavor. Whipped cream makes it even more special. You can also add a sprinkle of powdered sugar for a beautiful look. For a fun twist, consider serving with yogurt or a scoop of ice cream. Each bite is a delightful mix of flavors!
Variations
Flavor Variations
You can make French toast waffles fun and tasty by adding different flavors. Try chocolate chips for a sweet treat. Just sprinkle a handful into the egg mixture before soaking the bread. If you love fall, add pumpkin spice. Mix in about one teaspoon of pumpkin pie spice for a cozy twist. Other great choices include adding a splash of almond extract or zest from an orange or lemon. Each option brings a new taste to your breakfast.
Dietary Modifications
You can easily make these waffles fit your diet. For a gluten-free version, use gluten-free bread. Many stores offer great options that taste amazing. If you want a vegan recipe, swap eggs for flaxseed meal. Mix one tablespoon of flaxseed with two and a half tablespoons of water, then let it sit for a few minutes. Use almond milk or soy milk instead of regular milk. These changes keep your waffles delicious and friendly for many diets.
Accompaniments and Toppings
The best part of French toast waffles is how you can top them. Maple syrup is a classic choice, but you can explore more. Fresh berries like strawberries, blueberries, or raspberries add freshness. For something rich, try whipped cream or yogurt. You can also sprinkle nuts for crunch. If you want a sweet touch, drizzle honey or chocolate sauce on top. Each topping creates a new experience for your taste buds.
Storage Info
Refrigeration Guidelines
Store leftover French toast waffles in an airtight container. Keep them in the fridge for up to three days. Be sure to let them cool to room temperature before sealing. This helps maintain their texture and flavor.
Freezing Instructions
To freeze, place the cooled waffles in a single layer on a baking sheet. Once frozen, transfer them to a freezer-safe bag or container. They will stay fresh for up to two months. Make sure to label the bag with the date for easy tracking.
Reheating Tips
Reheat your waffles in the toaster for a crispy finish. You can also use an oven set to 350°F (175°C) for about 10 minutes. If you prefer a microwave, warm them for 30 seconds to a minute. Keep an eye on them to avoid sogginess. Enjoy these delightful treats warm with your favorite toppings.
FAQs
What type of bread is best for French Toast Waffles?
For French toast waffles, I recommend using thick bread. Brioche and challah are my favorites. They soak up the egg mixture well. This makes them soft inside and crispy outside. You can also use Texas toast if you want. Just ensure the slices are thick enough to hold the batter.
Can I make these waffles ahead of time?
Yes, you can make these waffles ahead of time. Just cook them as usual, then let them cool. Store them in an airtight container in the fridge. They will stay fresh for about 2 days. You can also freeze them for longer storage.
How do I prevent soggy waffles?
To prevent soggy waffles, you need to be careful when soaking the bread. Dip it quickly in the egg mixture. Make sure both sides are coated but not soggy. Allow the excess mixture to drip off. This keeps the waffles from getting too wet. Also, cook them until they are golden brown and crispy.
Can I use a different type of milk?
Absolutely! You can use any milk you prefer. Dairy or non-dairy options work well. Almond milk, oat milk, or soy milk all taste great. Just choose what fits your diet and taste best.
What toppings go well with French Toast Waffles?
You have many options for toppings! Maple syrup is a classic choice. Fresh berries add a nice touch of sweetness. You can also use whipped cream for a fun twist. If you want something different, try yogurt or nut butter.
How do I store leftover waffles?
Store leftover waffles in the fridge or freezer. For the fridge, place them in an airtight container. They will last for about 2 days. For the freezer, wrap them well in plastic wrap. They can last up to 3 months.
Can I make these waffles vegan?
Yes, you can make these waffles vegan! Use plant-based milk and replace eggs with a flaxseed mixture. Just mix 1 tablespoon of ground flaxseed with 2.5 tablespoons of water. Let it sit for a few minutes until it thickens. This works great as a binder for the batter.
How long do I cook the waffles?
Cook the waffles for about 4-5 minutes. This time can vary based on your waffle iron. Check them when they turn golden brown. Every waffle maker is a bit different, so trust your eyes!
What is the best way to reheat waffles?
Reheat waffles in a toaster or an oven. If using a toaster, set it on medium. For the oven, preheat it to 350°F (175°C) and place them on a baking sheet for about 5-10 minutes. This keeps them crispy and warm.
In this post, I shared how to make French toast waffles. We covered main ingredients, optional toppings, and ideal bread types. I outlined simple steps for preparing your waffle iron and cooking the perfect waffles. Tips helped you avoid common mistakes and achieve a crisp texture. We explored fun flavor variations and ideas for dietary needs. Finally, I provided storage tips to keep your waffles fresh.
Enjoy crafting your French toast waffles. You can mix and match flavors and toppings to suit your taste. Happy cooking!


