
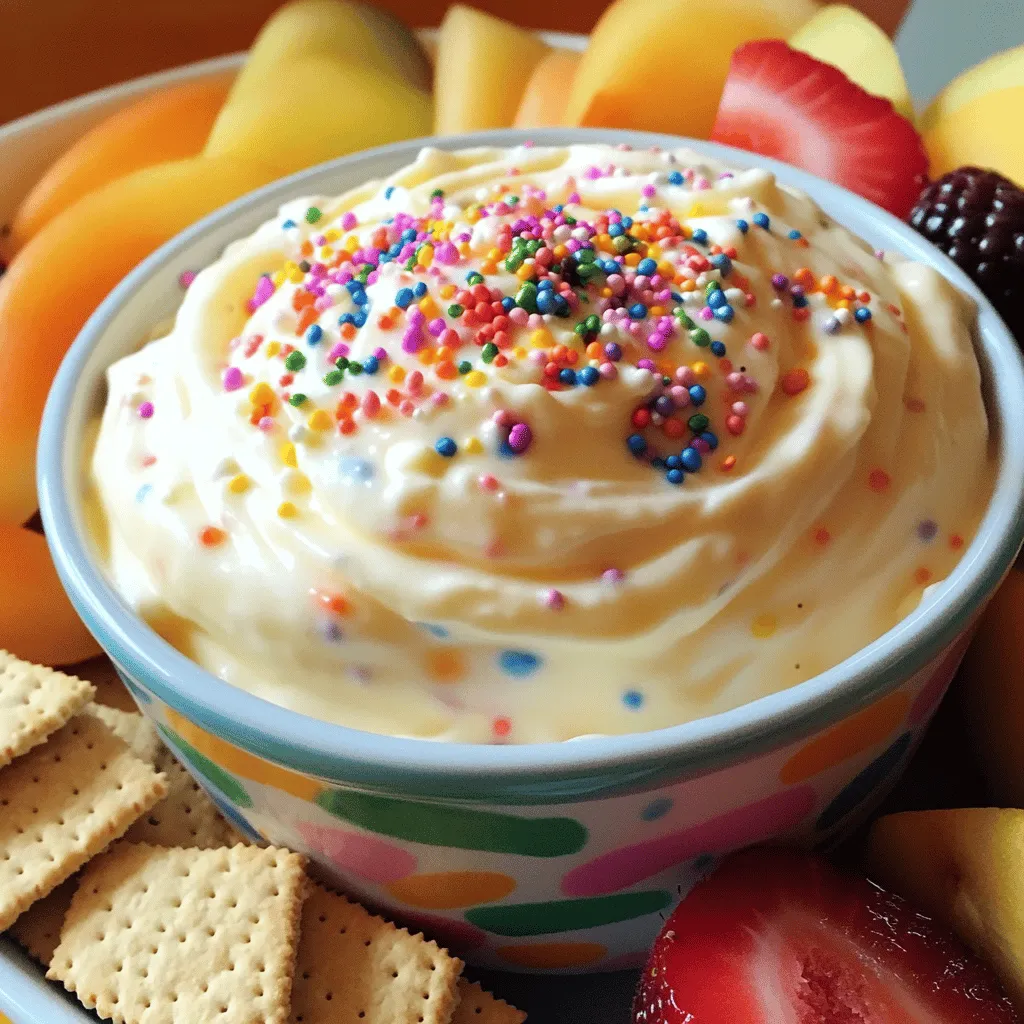
If you love fun desserts, you need to try this Funfetti Cake Batter Dip! This tasty treat combines sweet cream cheese, fluffy butter, and colorful sprinkles. It’s easy to make and perfect for parties. Serve it with graham crackers or fresh fruit, and everyone will love it! In this post, I’ll guide you through the simple steps to create this dessert dip and share tips for tasty variations. Let’s get started!
Why I Love This Recipe
- Easy to Make: This dip comes together in just a few minutes, making it perfect for last-minute gatherings.
- Fun for Everyone: With colorful rainbow sprinkles, this dip is a hit with both kids and adults alike!
- Versatile Dip: Serve it with graham crackers, fruit, or anything you love for dipping – the options are endless!
- Decadent Flavor: The combination of cream cheese and butter creates a rich, indulgent taste that’s hard to resist.
Ingredients
Main Ingredients
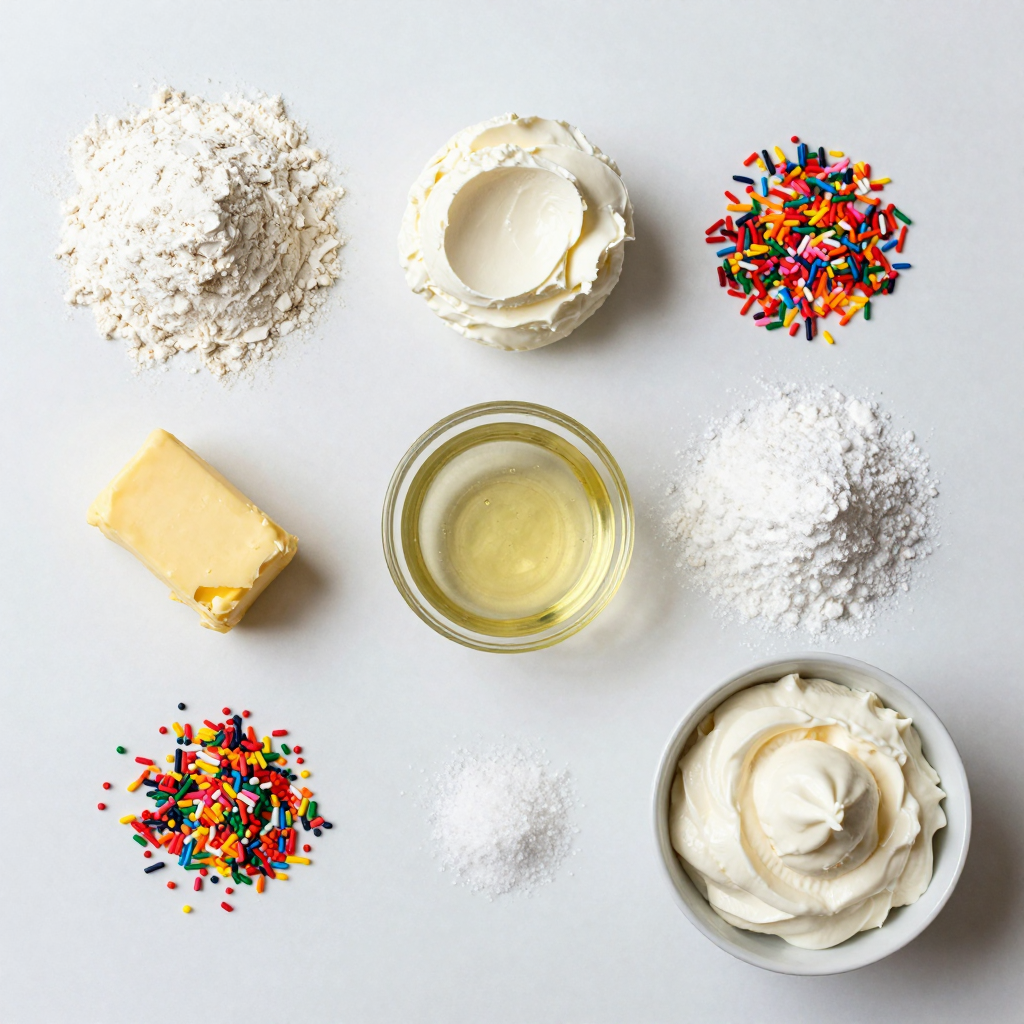
– 1 cup all-purpose flour (heat-treated)
– 1 cup cream cheese, softened
– 1/2 cup unsalted butter, softened
– 1 cup powdered sugar
Flavorings and Add-ins
– 1/2 cup vanilla extract
– 1/4 teaspoon salt
– 1 cup rainbow sprinkles
– 1 cup whipped topping (optional)
Serving Suggestions
– Recommended dippers: graham crackers, vanilla wafers, fresh fruit
– Suggested serving bowls: colorful or festive bowls enhance the look
When I make Funfetti Cake Batter Dip, I love the bright colors and sweet taste. The main ingredients are simple. Heat-treating the flour is key for safety. This step helps remove any risk from eating raw flour. Remember to let the flour cool before you mix it in.
The flavorings add a lot of joy to this dip. The vanilla extract gives it that classic cake flavor, while the rainbow sprinkles make it fun and festive. If you want a lighter texture, you can fold in whipped topping. It adds airiness to the dip and makes each bite feel special.
When serving, I like to use a colorful platter. Graham crackers and vanilla wafers are perfect dippers. Fresh fruit, like strawberries or apple slices, adds a nice touch. You can use any fun bowls you have to present it. The more colorful, the better! This dip is not just a treat; it’s a celebration on a plate.
Step-by-Step Instructions
Preparing the Flour
To make our Funfetti Cake Batter Dip safe, we need to heat-treat the flour. Raw flour can have germs that make you sick.
1. Spread the flour: Take 1 cup of all-purpose flour and spread it evenly on a baking sheet.
2. Bake it: Preheat your oven to 350°F (175°C). Bake the flour for about 5 minutes.
3. Cool it down: Let the flour cool completely before using it in the dip. This step ensures safety.
Mixing the Dip
Now we will mix the dip to make it creamy and tasty.
1. Combine cream cheese and butter: In a mixing bowl, add 1 cup of softened cream cheese and 1/2 cup of softened unsalted butter. Use a hand mixer to beat them until smooth.
2. Add the sugar: Gradually add 1 cup of powdered sugar while mixing. Make sure there are no lumps in your dip.
Finalizing the Dip
Now we add the last few ingredients to finish our dip.
1. Mix in vanilla and salt: Pour in 1/2 cup of vanilla extract and 1/4 teaspoon of salt. Mix until everything is well combined.
2. Fold in sprinkles and whipped topping: Gently fold in 1 cup of rainbow sprinkles. If you want a fluffier dip, add 1 cup of whipped topping now.
Transfer the dip to a serving bowl. Top it with some extra sprinkles for a fun look! Enjoy with your favorite dippers.
Pro Tips
- Heat-Treating Flour: Always heat-treat your flour to eliminate any harmful bacteria, making it safe for raw consumption.
- Softened Ingredients: Ensure your cream cheese and butter are at room temperature for easy blending, resulting in a smoother dip.
- Customize Your Sprinkles: Feel free to use themed sprinkles for different occasions, adding a festive touch to your dip.
- Serving Suggestions: Pair the dip with a variety of dippers like pretzels, fruit, or cookies to enhance the experience.
Tips & Tricks
Achieving the Perfect Texture
To get the right creaminess, I suggest adding whipped topping. It makes the dip fluffy. If you want a thicker dip, cut back on the whipped topping. This way, the flavor stays strong.
Enhancements for Flavor
You can change the dip’s flavor with other extracts. Almond extract adds a nice twist. Lemon extract gives it a fresh taste. Also, try different sprinkles. Use chocolate sprinkles or pastel ones for a fun look. Each adds its own flair to the dip.
Presentation Tips
To make your dip look great, use colorful bowls. Pair it with bright plates or serving trays. Arrange the sprinkles on top in a fun way. This adds to the festive feel. I love serving it with graham crackers or fruit. It looks appealing and invites people to dig in!
Variations
Healthier Substitutes
You can make this Funfetti Cake Batter Dip healthier without losing taste. Try using Greek yogurt instead of cream cheese. Greek yogurt adds protein and a nice tang. It also makes the dip creamy. You can swap out sugar too. Use natural sugar alternatives like honey or maple syrup. These options lower calories and keep your dip sweet!
Flavor Variations
Want to change things up? Make a chocolate version! Add cocoa powder to the mix. This twist gives you a rich chocolate Funfetti Cake Batter Dip. You can also try seasonal sprinkles. For Halloween, use orange and black sprinkles. During the holidays, swap in red and green sprinkles. These small changes make your dip festive and fun!
Themed Add-ons
Make your dip even more exciting with toppings! You can add chopped nuts, chocolate chips, or more sprinkles. These add texture and flavor. Pair your dip with themed dippers. Use graham crackers for a classic taste or holiday treats like gingerbread cookies. This makes each bite special and adds more fun to your snack time!
Storage Info
Proper Storage Techniques
To keep your Funfetti Cake Batter Dip fresh, store it in the fridge. Use an airtight container to prevent air from drying it out. Glass containers work best as they do not absorb odors. If you plan to serve it again, make sure to cover it well.
Shelf Life
Funfetti Cake Batter Dip lasts about 3 to 5 days in the fridge. Always check for any off smells or changes in texture before eating. If it looks or smells funny, it’s best to toss it.
Reheating Tips
You don’t need to reheat this dip, as it’s best served cold. If it thickens a bit, stir it well before serving. If needed, add a splash of milk to help loosen it up. This keeps the dip smooth and creamy for your next party.
FAQs
Can I eat raw flour?
No, eating raw flour can make you sick. Raw flour may contain harmful bacteria. To stay safe, you must heat-treat the flour. Heat-treating flour kills any bad germs. To do this, spread the flour on a baking sheet and bake it at 350°F (175°C) for about 5 minutes. Let it cool completely before using it in your dip. This step is very important for safety.
Can I make this dip ahead of time?
Yes, you can make this dip ahead of time! It’s great for meal prep. You can prepare the dip a day in advance. Just keep it in the fridge in a tight container. The flavors will mix well, and it will taste even better. When you’re ready to serve, just give it a quick stir. Then, add extra sprinkles on top for fun!
Is it suitable for gluten-free diets?
Yes, you can make this dip gluten-free! Simply replace the all-purpose flour with a gluten-free blend. Many brands offer these blends, and they work well in this recipe. Always check labels to ensure they are certified gluten-free. This way, everyone can enjoy the fun and flavor of the dip.
How can I thicken my dip?
If your dip is too runny, you can thicken it easily. Add more heat-treated flour to the mix. Start with a tablespoon and stir it in well. You can also add a bit more cream cheese to help. Just be careful not to add too much, or it will change the taste. Adjust until you reach your desired thickness.
This blog post covers how to make a delicious Funfetti Cake Batter Dip. We discussed key ingredients like cream cheese and heat-treated flour. I shared a step-by-step guide for mixing the dip and enhancing its flavor. You learned tips for presentation and variations to suit health needs. Remember to store it properly for the best taste. Making this dip is fun and flexible, so feel free to get creative. Try new mixes or add festive dippers to impress your guests. Enjoy your tasty treat!


