
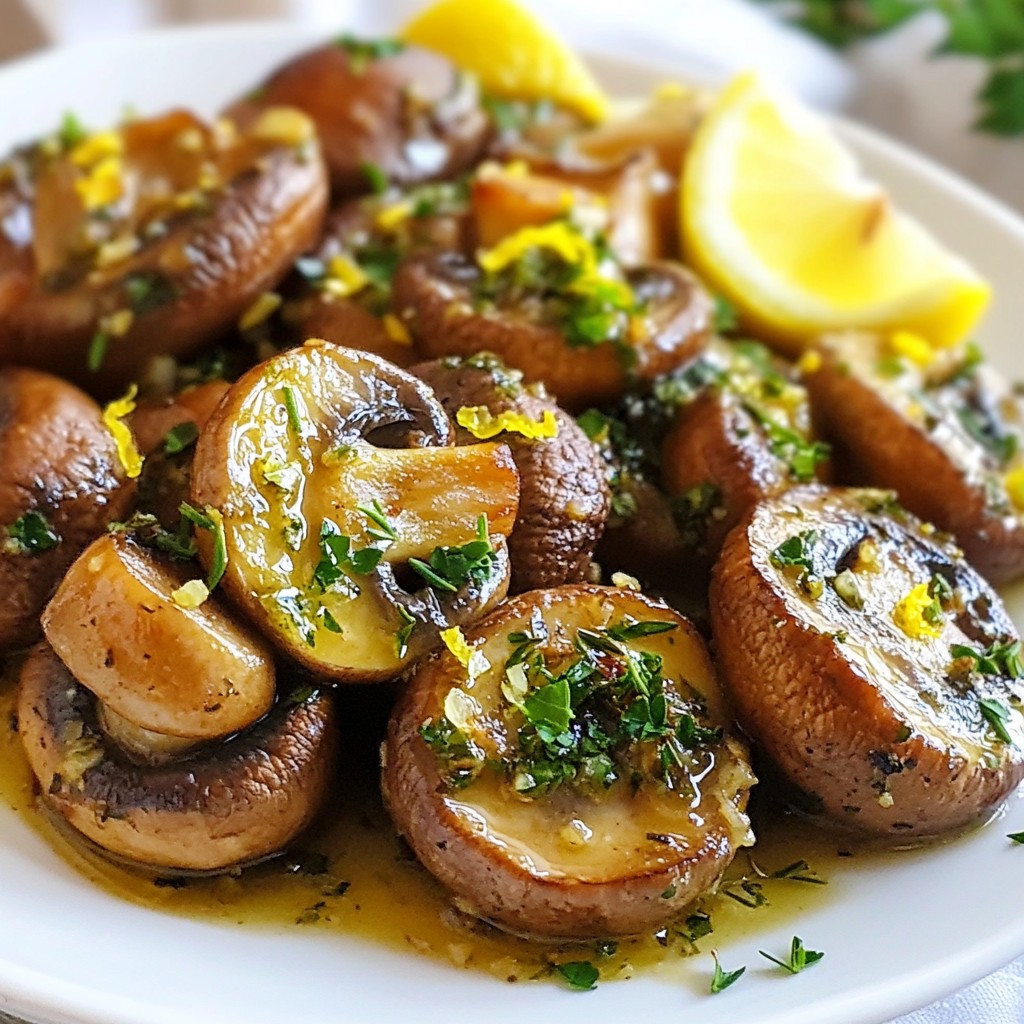
If you're looking for a quick and tasty dish, try Garlic Herb Roasted Mushrooms. This recipe is packed with flavor and simple to make. With just a few fresh ingredients like garlic, olive oil, and herbs, you can transform ordinary mushrooms into a delicious side. I’ll guide you through easy steps to achieve the perfect roast. Let’s dive into the ingredients and get cooking!
Why I Love This Recipe
- Delicious Flavor Combination: The mix of garlic, rosemary, and thyme enhances the earthy taste of the mushrooms, creating a savory delight.
- Simple Preparation: With just a few ingredients and straightforward steps, this recipe is perfect for cooks of all skill levels.
- Versatile Serving Options: These roasted mushrooms can be served as a side dish, a topping for bread, or even tossed into salads for added flavor.
- Healthy and Nutritious: Mushrooms are low in calories and high in nutrients, making this dish a healthy addition to any meal.
Ingredients
List of Ingredients
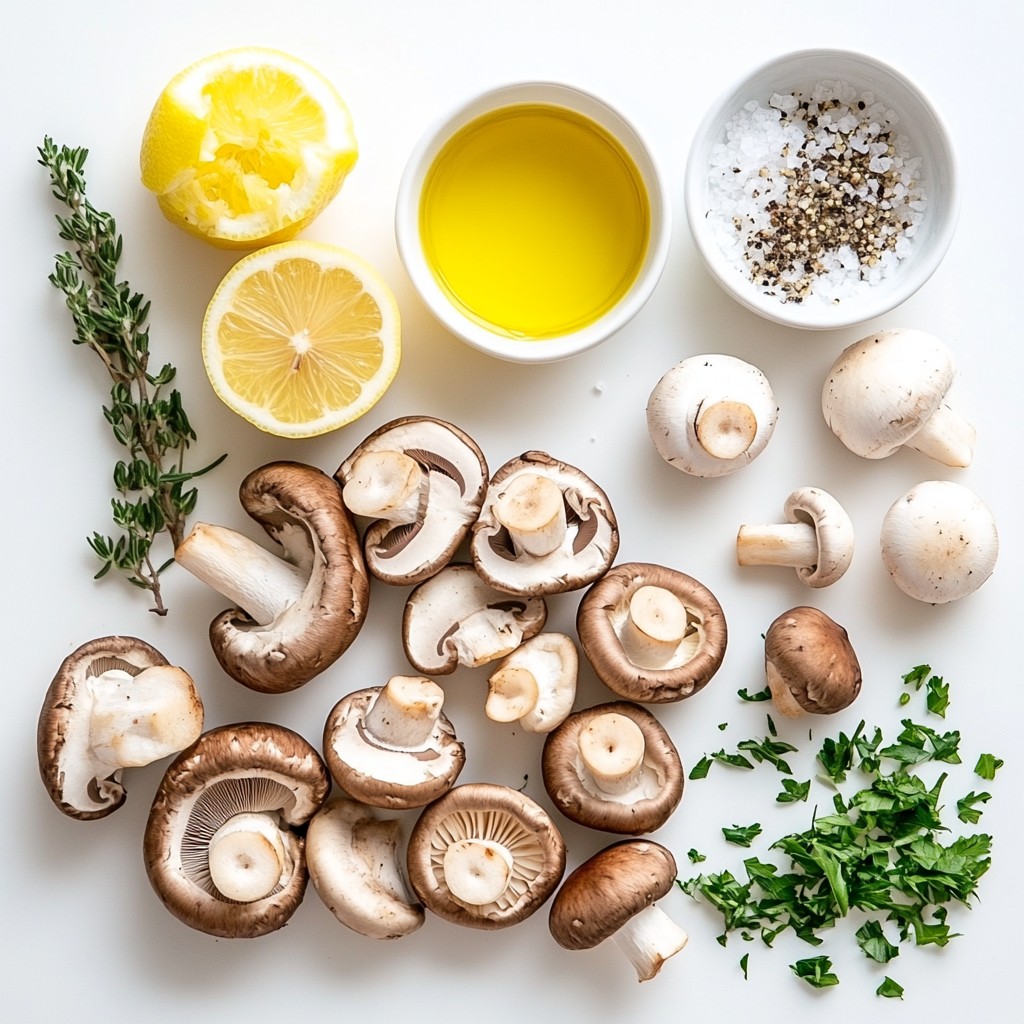
- 500g of mixed mushrooms (button, shiitake, and cremini)
- 4 cloves of garlic, minced
- 3 tablespoons olive oil
- 1 tablespoon fresh rosemary, finely chopped
- 1 tablespoon fresh thyme, finely chopped
- 1 teaspoon salt
- ½ teaspoon black pepper
- 2 tablespoons fresh parsley, chopped (for garnish)
- Zest of 1 lemon
Gathering the right ingredients is key. I love using a mix of mushrooms. Button, shiitake, and cremini all add unique flavors. You get a lovely depth with each bite.
Garlic is a must. The minced garlic brings out the rich taste of the mushrooms. Olive oil helps everything roast well. It also adds a smooth finish.
Fresh herbs like rosemary and thyme make a big difference. They brighten the dish and add aroma. Don’t skip the salt and pepper; they balance the flavors perfectly.
The lemon zest at the end gives a fresh kick. It adds brightness that ties everything together. For garnish, fresh parsley adds color and a hint of freshness.
Now that you know the ingredients, let’s get cooking!
Step-by-Step Instructions
Preparation Steps
- Preheat your oven to 200°C (400°F).
- In a large mixing bowl, combine:
- 500g of mixed mushrooms (button, shiitake, and cremini), cleaned and halved
- 4 cloves of garlic, minced
- 3 tablespoons olive oil
- 1 tablespoon fresh rosemary, finely chopped
- 1 tablespoon fresh thyme, finely chopped
- 1 teaspoon salt
- ½ teaspoon black pepper
- Toss all the ingredients until the mushrooms are coated.
Roasting Steps
- Spread the mushrooms in a single layer on a baking sheet.
- Roast them for 20-25 minutes.
- Stir the mushrooms halfway through cooking for even roasting.
Final Touches
- Once cooked, toss the mushrooms with the zest of 1 lemon.
- Transfer the mushrooms to a serving dish.
- Garnish with 2 tablespoons of fresh parsley, chopped.
Tips & Tricks
Selecting the Best Mushrooms
For the best flavor, use a mix of mushrooms. I recommend button, shiitake, and cremini. Each adds a unique taste and texture. Clean the mushrooms gently with a damp cloth or paper towel. Avoid soaking them in water. Mushrooms absorb water, which can make them soggy.
Cooking Techniques
Even roasting is key to great mushrooms. Spread them in a single layer on the baking sheet. This allows hot air to circulate. If you use larger mushrooms, like portobellos, adjust the roasting time. They may need a few extra minutes to cook through.
Enhancing Flavor
Want to boost flavor? Add more herbs like oregano or basil. Fresh herbs make a big difference. You can also try different oils, like avocado or sesame oil. For a spicy kick, sprinkle in some red pepper flakes. These little changes can transform your dish!
Pro Tips
- Use Fresh Herbs: Always opt for fresh herbs instead of dried for a more vibrant and aromatic flavor in your roasted mushrooms.
- Don’t Overcrowd the Pan: Ensure the mushrooms are spread out in a single layer on the baking sheet to achieve an even roast and avoid steaming.
- Experiment with Mushroom Varieties: Feel free to mix in different types of mushrooms like portobello or oyster for varied textures and flavors.
- Serve Immediately: For the best taste and texture, serve the roasted mushrooms right after cooking while they are still warm.
Variations
Add-ins
You can mix things up with add-ins. Try adding other vegetables like bell peppers or zucchini. They roast well and add color. You can also toss in some baby spinach. It wilts nicely and gives a fresh taste.
Adding cheese can take this dish to another level. Feta or goat cheese will add creaminess. If you like crunch, sprinkle in some pine nuts or walnuts. They add texture and flavor.
Cooking Methods
You have choices for cooking mushrooms. Stovetop sautéing is quick and gives them a nice sear. Heat some olive oil in a pan. Add the mushrooms and sauté for about 10 minutes. Stir often for even cooking.
Roasting is my favorite method. It brings out the natural sweetness of the mushrooms. If you want a smoky flavor, try grilling them. Just toss the mushrooms in olive oil and herbs. Place them on a hot grill for about 5-7 minutes.
Flavor Combinations
Mushrooms pair well with many flavors. Try adding balsamic vinegar for a tangy twist. A splash of soy sauce can also enhance the umami taste.
For side dishes, garlic herb roasted mushrooms go well with grilled meats. They also complement pasta dishes. Serve them over rice or with crusty bread. Don’t forget to drizzle with olive oil and lemon juice before serving!
Storage Info
Storing Leftovers
After enjoying your garlic herb roasted mushrooms, store any leftovers in the fridge. Use an airtight container to keep them fresh. This way, they won’t dry out or absorb odors from other foods. Leftover mushrooms stay good for about 3 to 5 days. Make sure to check them for any signs of spoilage before eating.
Reheating Methods
To reheat your roasted mushrooms, the best method is using an oven. Preheat it to 180°C (350°F). Spread the mushrooms on a baking sheet and heat for about 10 minutes. This keeps them warm and tasty. If you want to avoid sogginess, don’t cover them while reheating. You can also use a skillet over medium heat for about 5 minutes. Stir them gently to heat evenly.
Freezing Information
You can freeze roasted mushrooms, but they may change texture. To freeze, let them cool completely first. Then, place them in a single layer on a baking sheet. After they freeze solid, transfer them to a freezer bag. This helps prevent clumping. They can last up to 3 months in the freezer. When you are ready to use them, thaw in the fridge overnight or use the microwave. Add them to soups, sauces, or even on pizza for great flavor.
FAQs
How do I ensure mushrooms don't become soggy?
To keep your mushrooms firm, start with dry ones. Clean them gently with a damp cloth instead of soaking them in water. When you mix the mushrooms with oil and herbs, make sure to coat them lightly. This helps control moisture. Spread them out in a single layer on the baking sheet. Avoid crowding the pan, as this can trap steam and lead to sogginess. Stirring halfway through cooking also helps them roast evenly.
Can I use dried herbs instead of fresh?
Yes, you can use dried herbs. They add great flavor too! Use one-third the amount of dried herbs compared to fresh. For example, if the recipe calls for 1 tablespoon of fresh rosemary, use about 1 teaspoon of dried rosemary. Remember that dried herbs are more potent, so adjust as needed. Mix them in with the oil before adding to the mushrooms.
What dishes pair well with garlic herb roasted mushrooms?
Garlic herb roasted mushrooms make a versatile side. They pair well with grilled meats, like chicken or steak. You can also serve them with pasta, risotto, or on top of crusty bread. Toss them in salads for added flavor. Their rich taste complements many dishes, so feel free to experiment!
This article outlined how to make delicious garlic herb roasted mushrooms. We covered selecting fresh mushrooms, preparing, and roasting them perfectly. We explored flavor tips, variations, and storage ideas. Remember, the right herbs and cooking methods can elevate your dish. Don’t hesitate to try new flavors and pairings. You now have the tools to create a tasty side that impresses. Enjoy experimenting in your kitchen with these simple steps. Happy cooking!


