
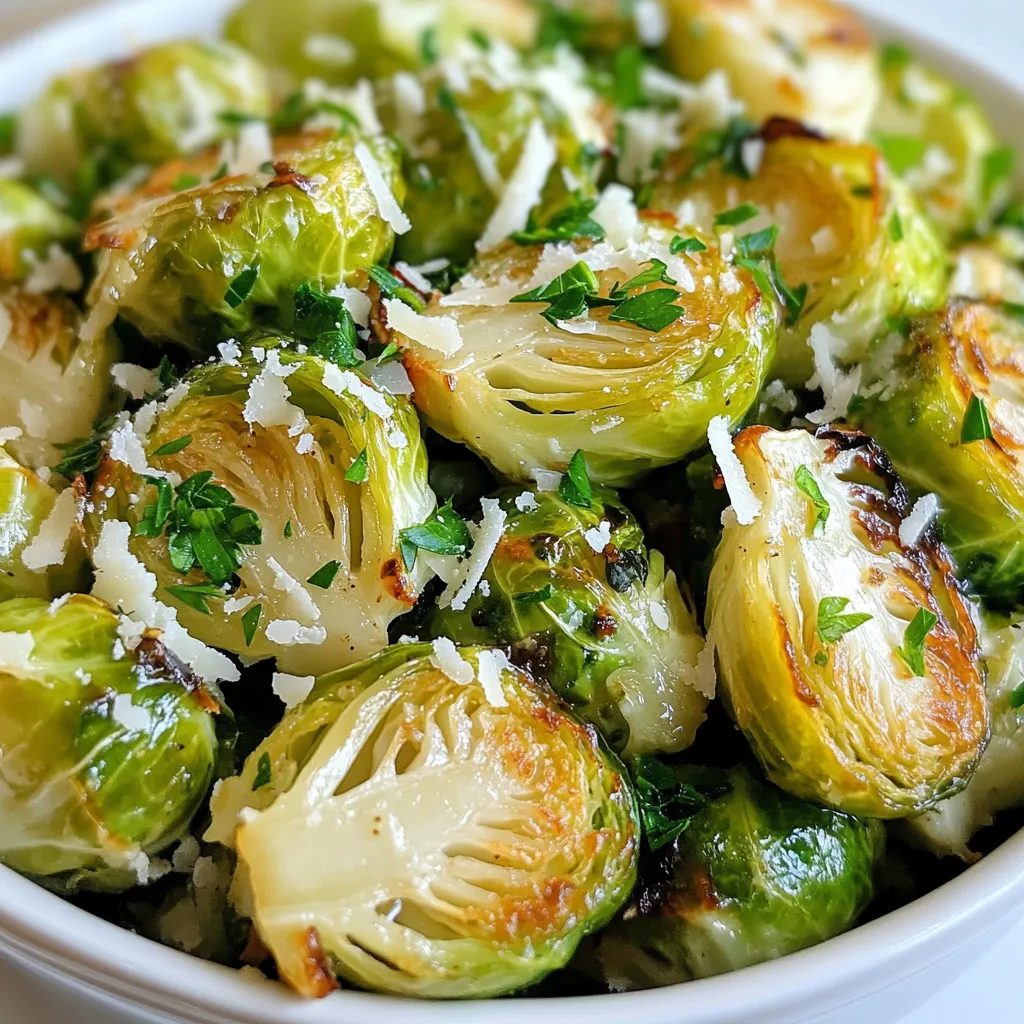
Are you ready to transform ordinary Brussels sprouts into a savory delight? With just a few simple ingredients, you can create Garlic Parmesan Brussels Sprouts that will impress even the pickiest eaters. In this guide, I’ll walk you through the easy steps to achieve crispy, flavor-packed bites that are perfect for any meal. Get your taste buds ready for a roasted treat that’s both fun and simple to make!
Why I Love This Recipe
- Delicious Flavor Combination: The savory garlic and rich Parmesan cheese perfectly complement the natural earthiness of Brussels sprouts.
- Easy to Prepare: With just a few simple ingredients and steps, you can whip up this delightful dish in no time.
- Healthy Side Dish: Brussels sprouts are packed with nutrients, making this recipe a wholesome addition to any meal.
- Versatile Serving Options: These sprouts can be served as a side, tossed in salads, or enjoyed as a snack!
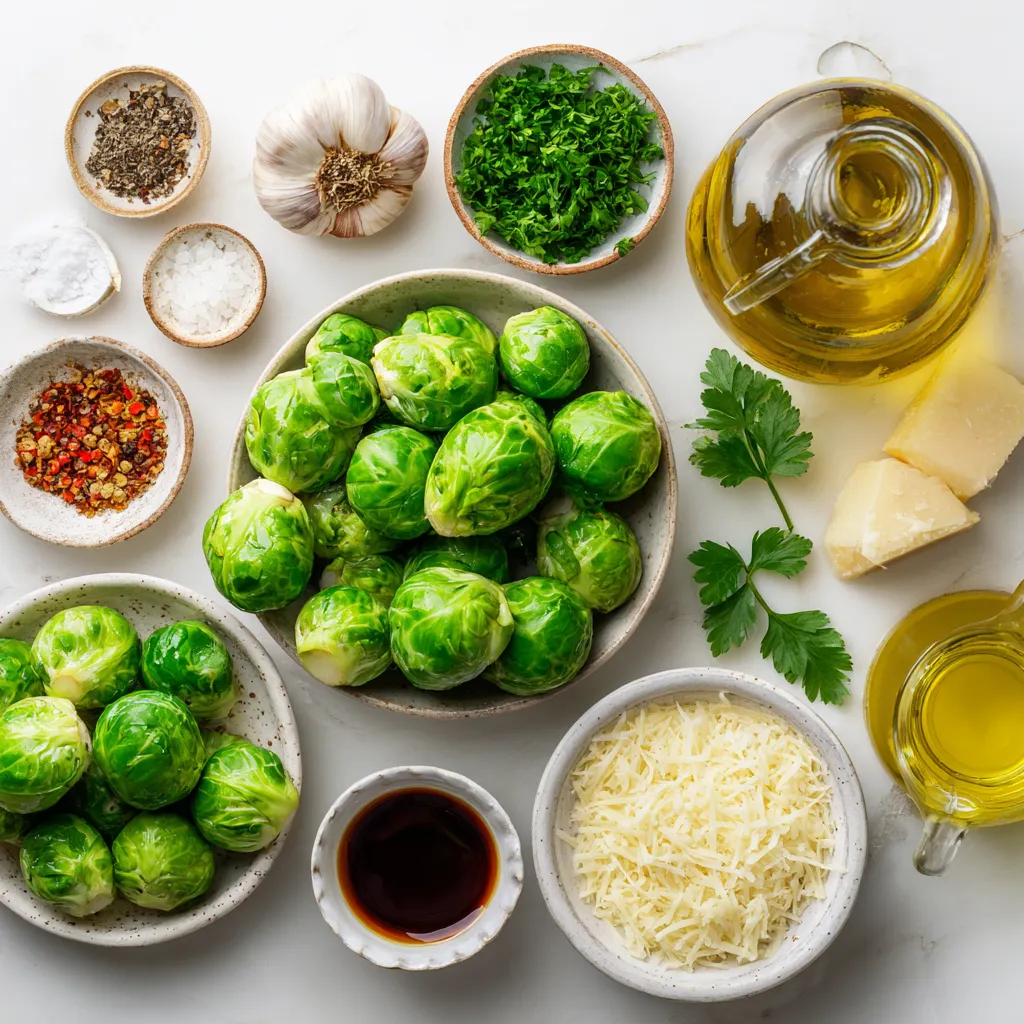
Ingredients
Main ingredients
– 1 lb Brussels sprouts
– 4 cloves garlic
– 1/4 cup grated Parmesan cheese
– 3 tablespoons olive oil
Seasoning and optional enhancements
– Salt and pepper
– 1 teaspoon red pepper flakes
– 1 tablespoon balsamic vinegar
– Fresh parsley for garnish
Brussels sprouts are the star of this dish. You need one pound of Brussels sprouts. Trim them and cut them in half. This helps them cook evenly. Garlic adds a strong flavor. You need four cloves of minced garlic. The Parmesan cheese brings a nice salty taste. Just a quarter cup will do. Olive oil is key for roasting. You need three tablespoons to coat the sprouts.
Now, let’s talk about seasoning. You will want salt and pepper to taste. If you like heat, add red pepper flakes. One teaspoon will give a nice kick. Balsamic vinegar adds a sweet and tangy touch. A tablespoon is optional but great. Finally, fresh parsley adds color and freshness. Chop some for garnish.
With these ingredients, you create a tasty dish. The garlic and cheese make every bite special. Roasting brings out the natural sweetness of the Brussels sprouts. You will love how easy it is to make this delight!
Step-by-Step Instructions
Preheating and preparation
– Preheat your oven to 400°F (200°C).
– Trim and halve the Brussels sprouts.
First, you want to get your oven nice and hot. This helps the Brussels sprouts roast evenly. Next, take your Brussels sprouts and trim off the ends. Then, cut them in half. This step lets them cook faster and get crispy edges.
Mixing and coating
– Combine Brussels sprouts with ingredients.
– Toss until well-coated.
In a large bowl, add the halved Brussels sprouts. Now, add the minced garlic, olive oil, salt, and pepper. If you want, toss in some red pepper flakes for heat. Mix everything well. You want each sprout to be coated in that tasty mix.
Roasting and finishing touches
– Spread on baking tray.
– Roast and add Parmesan cheese.
– Drizzle balsamic vinegar (optional).
Take a baking tray and line it with parchment paper. Spread the Brussels sprouts in one layer. This helps them roast nicely. Pop them in the oven for 20-25 minutes. Stir them halfway through to ensure even cooking. When they are golden brown, take them out. Sprinkle the grated Parmesan cheese on top. Return the tray to the oven for another 5 minutes. This melts the cheese and gives it a nice crust. If you like, drizzle some balsamic vinegar over the sprouts. Toss them gently to mix. Finally, garnish with chopped parsley to add freshness.
Tips & Tricks
Achieving the perfect roast
To roast Brussels sprouts just right, aim for 20-25 minutes at 400°F (200°C). This heat crisps the outside while keeping the inside tender. Spread your sprouts in a single layer on a baking sheet. This helps them roast evenly. Stir halfway through cooking for the best results. This simple step ensures every sprout gets nice and crispy.
Flavor enhancement suggestions
Try different cheeses for a twist. Asiago or Pecorino Romano can add a new taste. You can also mix in spices to boost flavor. Garlic powder, paprika, or thyme work well. If you like heat, toss in more red pepper flakes. For a tangy burst, drizzle balsamic vinegar right before serving. It adds depth and balance to the dish.
Pro Tips
- Choose Fresh Brussels Sprouts: Look for firm, bright green sprouts that are tightly closed. Avoid those that are yellowing or have brown spots for the best flavor and texture.
- Don’t Skip the Toss: Ensure the Brussels sprouts are evenly coated with the olive oil and seasonings. This promotes even roasting and enhances flavor.
- Adjust Roasting Time: Depending on your oven and the size of the Brussels sprouts, you may need to adjust the roasting time. Keep an eye on them to prevent burning, especially towards the end.
- Experiment with Seasonings: Feel free to add your favorite herbs and spices, such as thyme or paprika, for a unique twist on the classic garlic Parmesan flavor.
Variations
Alternative ingredient options
You can switch things up with different veggies. Try using cauliflower or green beans. Both can roast well with garlic and cheese. They will give you a fun twist on the classic flavor. If you want a vegan option, skip the Parmesan cheese. Consider using nutritional yeast for a cheesy taste without dairy. You can also use cashew cream for a creamy texture.
Serving suggestions
Garlic Parmesan Brussels sprouts pair great with many foods. They complement chicken, steak, or tofu very well. Serve them with a grain like quinoa or rice for a complete meal. You can also toss them into a salad for crunch and flavor.
For gatherings, serve in a large bowl with extra parsley on top. Use a rustic wooden bowl or a decorative plate to make it look nice. You could even skewer them for a fun appetizer. Guests will love the creative touch!
Storage Info
Leftover storage tips
To keep your Garlic Parmesan Brussels sprouts fresh, store them in the fridge. Use an airtight container to prevent them from drying out. They taste best when eaten within three days. When you want to reheat them, use the oven or a skillet. This method keeps them crisp and tasty. Heat them at 350°F (175°C) for about 10 minutes. If using a skillet, warm on medium heat for a few minutes. This way, they stay delicious and do not become soggy.
Freezing guidance
Yes, you can freeze Garlic Parmesan Brussels sprouts! Freezing is a great option if you have leftovers or want to prep ahead. First, let the sprouts cool completely before freezing. Place them in a freezer-safe bag or container. Make sure to remove as much air as possible to avoid freezer burn. If you want to keep them for a long time, use a vacuum-sealed bag. They can last up to three months in the freezer. When you’re ready to use them, thaw in the fridge overnight. Then, reheat in the oven for the best taste.
FAQs
Common preparation questions
Can I use frozen Brussels sprouts?
Yes, you can use frozen Brussels sprouts. Just thaw them first. This helps them roast better. Keep in mind that frozen sprouts may be a bit softer. You may need to adjust cooking time to ensure they become crispy.
How do I keep Brussels sprouts from getting soggy?
To keep Brussels sprouts crispy, spread them out on the baking sheet. Make sure they are not crowded. Use enough olive oil to coat them evenly, but not too much. Stir them halfway through cooking for even roasting.
Serving and pairing inquiries
What dishes pair well with Garlic Parmesan Brussels Sprouts?
These Brussels sprouts go well with many dishes. They pair nicely with grilled chicken, steak, or fish. You can also serve them with pasta or quinoa for a hearty meal. They add a great flavor contrast.
Can I serve them cold?
While these sprouts taste best hot, you can serve them cold. They make a nice addition to salads or cold platters. Just remember, the cheese might not be as tasty when cold.
Tips on ingredient substitutions
What if I don’t have Parmesan cheese?
If you don’t have Parmesan, try using pecorino or nutritional yeast. Both give a nice cheesy flavor. You can also use another hard cheese like Grana Padano.
Gluten-free or dairy-free options?
For a gluten-free version, this recipe is already safe! Just skip the balsamic vinegar if it has gluten. For dairy-free, use a dairy-free cheese or skip cheese altogether. The sprouts will still taste great!
You’ve learned how to make Garlic Parmesan Brussels sprouts with easy steps and tips. From selecting fresh ingredients to perfect roasting techniques, this dish can impress anyone. Remember, you can customize flavors and pair these sprouts with many meals. Store leftovers properly to keep them tasty. Enjoy experimenting with variations and serving ideas. With practice, you’ll master this crowd-pleaser in no tim


