
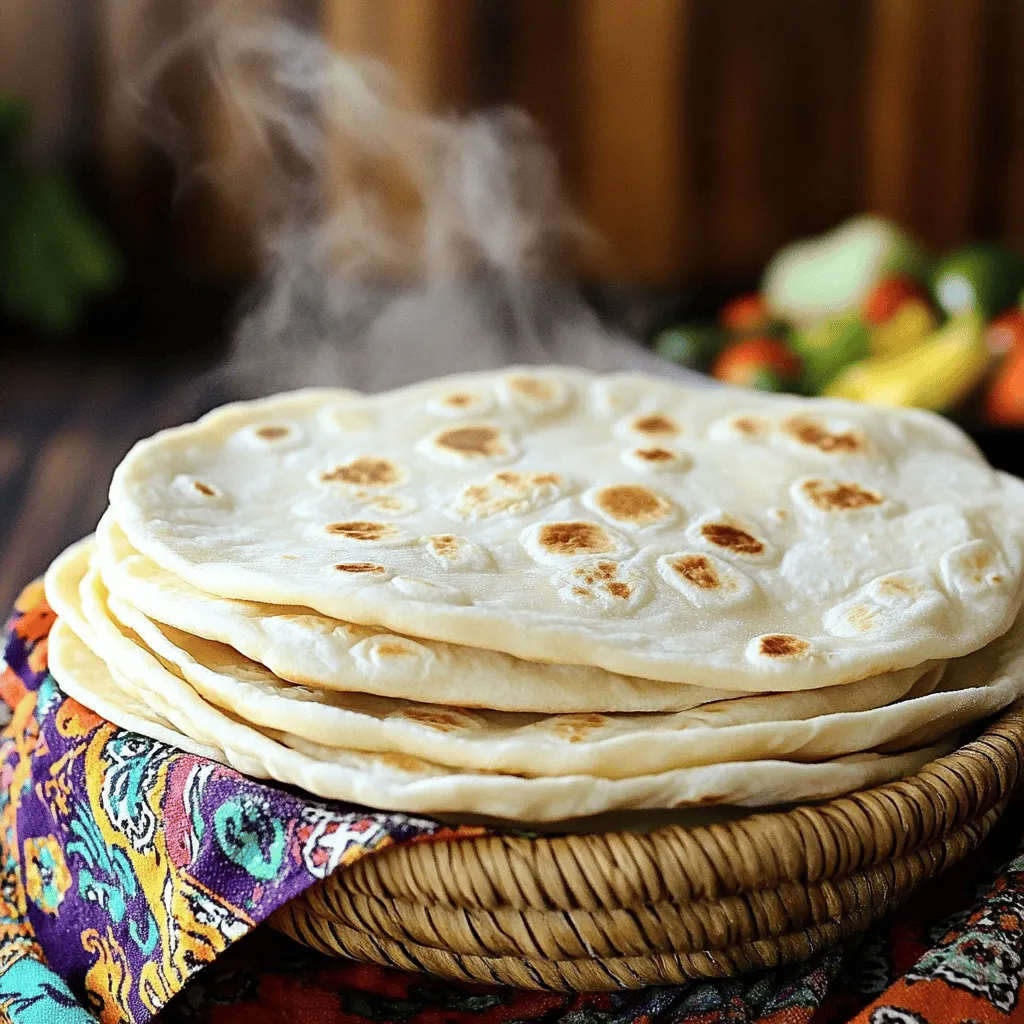
If you crave warm, soft flour tortillas, this easy recipe is for you! Making homemade tortillas is simple and satisfying. You only need a few ingredients, like all-purpose flour and vegetable oil. I’ll guide you through each step, from mixing the dough to cooking the perfect tortilla. Trust me, once you try these, store-bought tortillas will be a thing of the past! Let’s get started on your delicious journey.
Why I Love This Recipe
- Easy to Make: This recipe requires just a few simple ingredients and minimal effort, making it perfect for any home cook.
- Customizable: You can easily adjust the thickness and size of the tortillas to suit your preferences or the dishes you plan to serve.
- Freshness: There’s nothing quite like the taste of homemade tortillas; they are soft, warm, and free from preservatives.
- Versatile: These tortillas can be used in a variety of dishes, from tacos to wraps, allowing for endless meal possibilities.
Ingredients
List of Ingredients
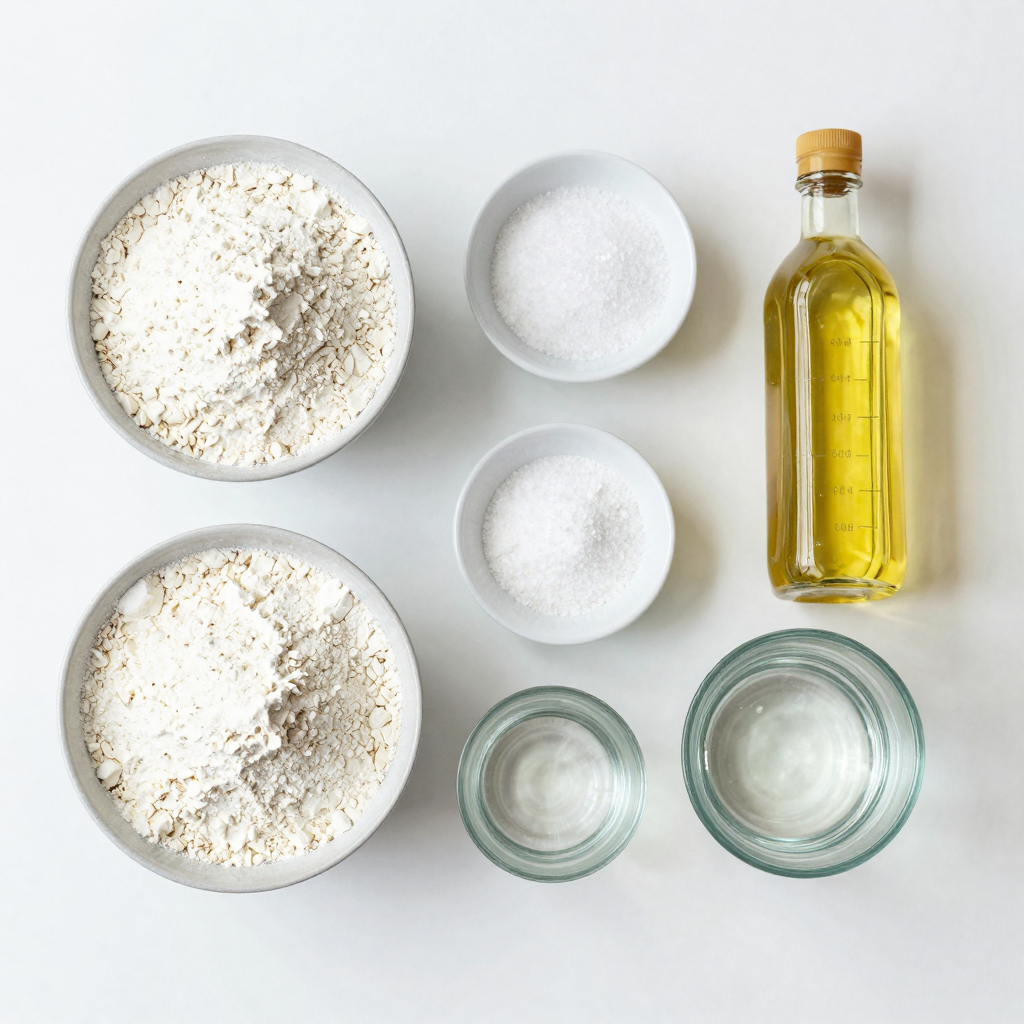
– 2 cups all-purpose flour
– 1/2 teaspoon salt
– 1/2 teaspoon baking powder
– 3 tablespoons vegetable oil or lard
– 3/4 cup warm water
Key Ingredient Functions
What is the purpose of all-purpose flour?
All-purpose flour gives the tortilla its structure. It helps create a soft, yet sturdy base. The protein in the flour helps the dough hold together.
Why are salt and baking powder important?
Salt adds flavor to the tortillas. It enhances the taste of every bite. Baking powder helps the tortillas puff up as they cook. This makes them light and airy.
What role does oil or lard play in texture?
Oil or lard makes the tortillas tender. It keeps them soft and prevents dryness. This fat creates a nice, chewy texture that you will love.
Step-by-Step Instructions
Preparing the Dough
To start, we mix our dry ingredients. In a large bowl, combine:
– 2 cups all-purpose flour
– 1/2 teaspoon salt
– 1/2 teaspoon baking powder
Stir these well. This helps blend the flavors. Next, we add the fat. You can use:
– 3 tablespoons vegetable oil or lard
Use your fingers or a fork. Rub the fat into the flour until it looks like crumbs. This step adds flavor and makes the tortillas soft.
Now, we need warm water. Gradually add:
– 3/4 cup warm water
Add it one tablespoon at a time. Mix with your hands or a spoon until you see a dough form.
Kneading and Shaping
Once you have a dough, it’s time to knead. Place it on a lightly floured surface. Knead for about 3-5 minutes. You want the dough smooth and elastic. This makes the tortillas chewy.
Now, divide the dough. Cut it into 8 equal pieces. Shape each piece into a ball. Cover them with a clean towel. Let them rest for at least 15 minutes. This resting helps the dough relax.
Rolling and Cooking
After resting, we roll out the dough. Flatten each ball with your hands. Then, use a rolling pin. Roll each ball into a thin circle, about 8-10 inches wide. Dust with flour to avoid sticking.
Next, we cook the tortillas. Heat a dry skillet over medium-high heat. Cook each tortilla for about 30 seconds on one side. Look for bubbles to form. Then flip and cook for another 30 seconds. You want light brown spots to appear.
Remove the tortilla from heat. Wrap it in a clean towel to keep warm. Repeat this with all dough balls.
By following these steps, you create soft, delicious tortillas.
Pro Tips
- Resting the Dough: Allowing the dough to rest for at least 15 minutes helps to relax the gluten, making the tortillas easier to roll out and resulting in a softer texture.
- Use Warm Water: Using warm water when mixing the dough helps dissolve the fat more effectively and creates a smoother dough, which enhances the final texture of the tortillas.
- Rolling Technique: When rolling out the tortillas, apply even pressure and rotate the dough frequently to achieve a uniform thickness, ensuring even cooking.
- Store Properly: To keep the tortillas fresh, wrap them in a clean towel or store them in a sealed container. They can also be frozen for longer storage, just make sure to separate them with parchment paper.
Tips & Tricks
Achieving the Best Texture
Resting the dough is key for soft tortillas. This step lets the gluten relax. It makes the dough easier to roll. After kneading, cover the dough and let it rest for at least 15 minutes. This short wait is worth it!
When rolling out the dough, a little flour helps. Dust your surface and the dough lightly. This keeps it from sticking. Use a rolling pin to make even circles. Try to keep the thickness the same throughout.
Cooking Tips
The ideal skillet temperature is medium-high. You want it hot, but not too hot. A good test is to sprinkle a drop of water on the skillet. If it sizzles, it’s ready!
To know when your tortillas are done, look for bubbles. Cook for about 30 seconds on one side. Flip it when you see bubbles forming. Cook until light brown spots appear. This shows they are ready to enjoy!
Serving Suggestions
Homemade tortillas are great with many fillings. Try grilled chicken, fresh veggies, or avocado. They pair well with beans, cheese, or salsa too.
For meals, stack warm tortillas in a basket. Serve with your favorite dishes. You can use these tortillas for tacos, wraps, or quesadillas. The options are endless!
Variations
Flavored Tortillas
You can easily add flavor to your tortillas. Try herbs like cilantro or spices such as cumin. Just mix them into the dry ingredients before adding the wet ones. This simple step can change the taste. For a whole wheat version, swap half or all of the all-purpose flour with whole wheat flour. Whole wheat gives a nutty flavor and a bit more fiber.
Gluten-Free Options
If you need gluten-free tortillas, use alternative flours. Almond flour, coconut flour, or a gluten-free blend work well. Remember, these flours absorb more liquid. You may need to adjust the water in your dough. Adding a binding agent like xanthan gum can also help keep your tortillas together.
Creative Uses
Tortillas are not just for wraps. You can cut them into triangles and bake them for chips. Serve these with salsa or guacamole for a tasty snack. You can also layer tortillas with cheese and veggies to make a quick quesadilla. This adds fun and flavor to any meal!
Storage Info
Short-term Storage
To store cooked tortillas, keep them in a sealed plastic bag or airtight container. This keeps them soft and fresh. You can also wrap them in a clean kitchen towel. This method helps them stay warm for a while. For best results, use them within two days.
Long-term Storage
To freeze tortillas, stack them with parchment paper between each one. This prevents them from sticking together. Place the stack in a freezer bag and seal it tightly. When you want to use them, thaw the tortillas in the fridge overnight. You can also microwave them for quick reheating. Just place a damp paper towel over them for about 20-30 seconds.
Shelf Life
Homemade tortillas can last up to a week in the fridge. If stored correctly, they can stay fresh for about three months in the freezer. Look for signs like a dull color or hard texture. These mean it’s time to discard them. Always trust your senses; if it smells off, it’s best to toss it.
FAQs
How do I make soft flour tortillas?
To make soft flour tortillas, start by mixing dry ingredients. In a bowl, combine 2 cups of all-purpose flour, 1/2 teaspoon of salt, and 1/2 teaspoon of baking powder. Then, add 3 tablespoons of vegetable oil or lard. Rub the fat into the flour until it looks like coarse crumbs. Gradually mix in 3/4 cup of warm water, one tablespoon at a time. Knead the dough for about 3 to 5 minutes until it’s smooth. Let the dough rest for at least 15 minutes. Shape it into balls, roll them into thin circles, and cook on a hot skillet for about 30 seconds on each side.
Can I use whole wheat flour instead of all-purpose flour?
Yes, you can use whole wheat flour. However, the texture will change. Whole wheat tortillas may be denser and less soft than those made with all-purpose flour. To adjust, mix in a little more water as whole wheat absorbs more moisture. Start with the same amount of water and add more if needed.
What’s the best way to reheat tortillas?
To reheat tortillas, wrap them in a damp paper towel. Microwave for about 20 seconds. This keeps them soft. You can also heat them in a skillet over low heat for 15 seconds per side. Avoid high heat, as it can dry them out.
Can I make tortillas ahead of time?
Yes, you can make tortillas ahead of time. After cooking, store them in a sealed bag. Keep them in the fridge for up to a week. For longer storage, freeze them in layers with parchment paper in between. When ready to eat, thaw in the fridge overnight and reheat as needed.
You learned about making homemade tortillas with simple ingredients and easy steps. I shared tips to perfect the texture and ways to store your tortillas for later use. You can also explore flavorful variations, gluten-free options, and creative dishes. Remember, the key to great tortillas is practice, so don’t hesitate to experiment. Enjoy making your own tortillas and get creative with fillings and meals. Happy cooking!


