
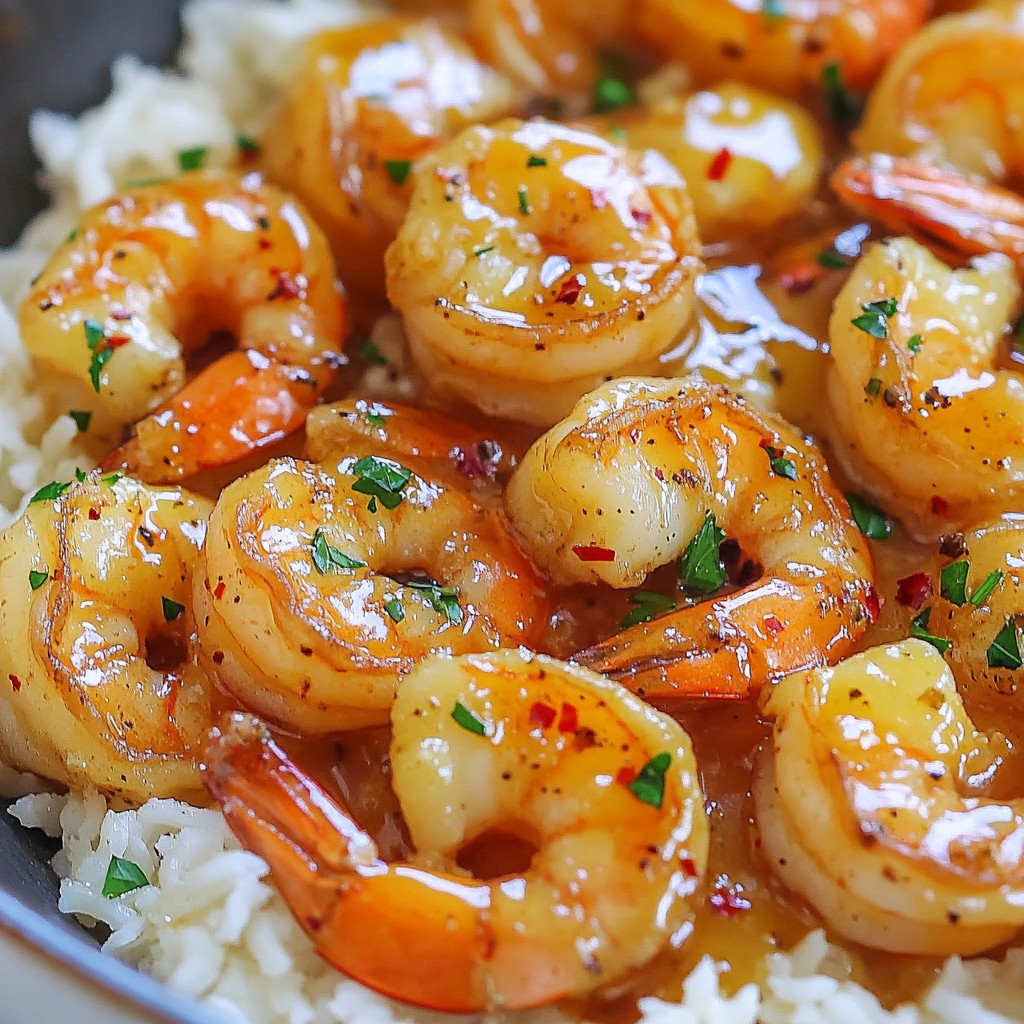
Looking for a quick and tasty meal that packs a flavor punch? Try my Honey Garlic Butter Shrimp Skillet! This dish features large shrimp cooked in a rich honey-garlic sauce, making it perfect for a weeknight dinner or a special occasion. You’ll love how fast it comes together, and who doesn't enjoy a one-skillet meal? Let’s dive into the simple ingredients and steps to make this delicious shrimp dish!
Why I Love This Recipe
- Quick and Easy: This recipe comes together in just 15 minutes, making it perfect for busy weeknights.
- Delicious Flavor: The combination of honey, garlic, and butter creates a mouthwatering sauce that enhances the shrimp perfectly.
- Customizable: You can easily adjust the level of spice by adding more or less red pepper flakes.
- Versatile Serving Options: This dish pairs well with rice or pasta, allowing for a flexible meal that suits your preference.
Ingredients
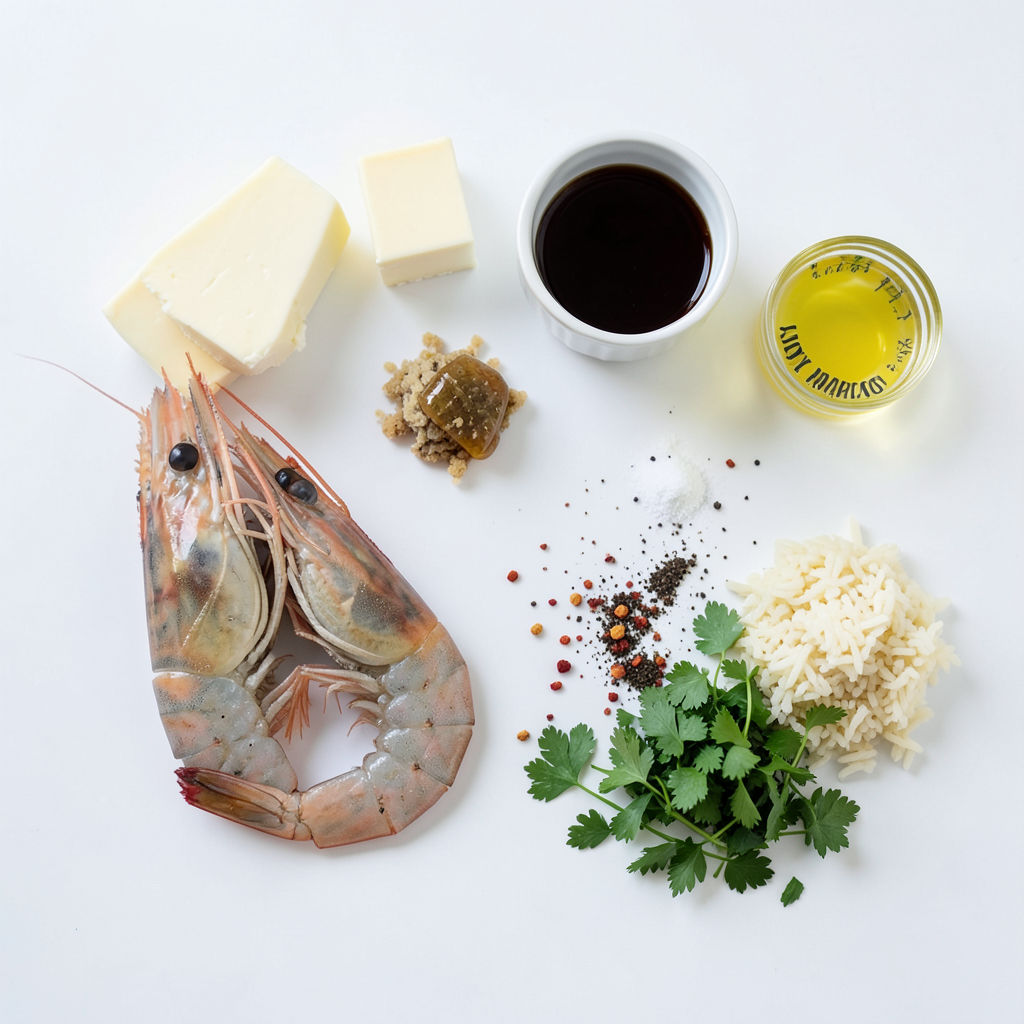
To make Honey Garlic Butter Shrimp, you need some simple ingredients. Here’s what you will need:
- 1 lb large shrimp, peeled and deveined
- 3 tablespoons unsalted butter
- 3 tablespoons honey
- 4 cloves garlic, minced
- 1 tablespoon low sodium soy sauce
- 1 tablespoon fresh lemon juice
- 1/2 teaspoon red pepper flakes (optional)
- Salt and pepper to taste
- 2 tablespoons chopped fresh parsley (for garnish)
- Cooked rice or pasta (for serving)
These ingredients come together to create a dish that is sweet, savory, and full of flavor. The shrimp are the stars here, and the honey garlic sauce adds a delicious glaze. The butter makes it rich, while the lemon juice adds a bright touch. If you like a bit of heat, add the red pepper flakes. This dish is quick to make and perfect for a weeknight meal.
Step-by-Step Instructions
Preparation Steps
- Rinse and dry the shrimp.
- Season the shrimp with salt and pepper.
Start by rinsing the shrimp under cold water. This step helps clean them well. Then, dry the shrimp using a paper towel. Next, sprinkle salt and pepper over the shrimp. This simple seasoning adds a nice flavor base.
Sauce Preparation
- Mix honey, minced garlic, soy sauce, lemon juice, and red pepper flakes.
In a small bowl, combine honey, minced garlic, soy sauce, lemon juice, and red pepper flakes. Stir it well. This sauce is sweet and savory. The red pepper flakes add a hint of spice. Set this bowl aside for later.
Cooking Process
- Melt butter in a skillet over medium heat.
- Cook shrimp until pink and opaque.
- Add sauce and finish cooking the shrimp.
Heat a large skillet over medium heat. Add the butter and let it melt until bubbly. Once the butter is ready, add the shrimp in a single layer. Cook for 2-3 minutes. Watch as they turn pink and opaque. This means they are cooking through.
Next, flip the shrimp to cook the other side. Pour the honey garlic sauce over the shrimp. Cook for another 2-3 minutes. Spoon the sauce over the shrimp as they cook. This helps coat them well. When done, the shrimp should be fully cooked and shiny from the sauce.
Tips & Tricks
Perfecting the Shrimp
To keep shrimp from overcooking, watch the color. When they turn pink and opaque, they are done. You should cook them for 2-3 minutes on each side. For the best results, use large shrimp. They cook evenly and have great texture. Look for shrimp that are 16-20 count per pound. That size is perfect for this dish.
Enhancing Flavor
You can boost the flavor by adding a pinch of black pepper or a dash of paprika. For a twist, try adding ginger or a splash of sesame oil. If you want a different sauce, mix hoisin sauce or teriyaki sauce. These will give your shrimp a fun new taste.
Serving Suggestions
Serve your honey garlic butter shrimp over rice or pasta. Both options soak up the sauce well. For sides, steamed broccoli or a fresh salad work great. They add color and crunch. Garnish with fresh parsley for a pop of green. You can also add lemon wedges for extra zing on the plate.
Pro Tips
- Choose Fresh Shrimp: Always opt for fresh or high-quality frozen shrimp for the best flavor and texture.
- Adjust the Sweetness: Feel free to adjust the amount of honey based on your preference for sweetness.
- Add More Flavor: For an extra layer of flavor, consider adding a splash of white wine to the skillet before serving.
- Serve Immediately: This dish is best served fresh and hot, so try to serve it right after cooking for optimal taste.
Variations
Ingredient Swaps
You can easily change the main protein in this dish. If you prefer chicken, swap shrimp for one pound of diced chicken breast. Cook it until it’s no longer pink, then follow the same steps. You can also use tofu for a plant-based option. Just press the tofu to remove excess water, then cube it before cooking.
For sweeteners, try maple syrup instead of honey. This adds a different flavor but keeps the dish sweet. You could also use agave nectar if you want a vegan option.
Cooking Methods
You don’t have to stick to the skillet method. For an oven-baked version, preheat your oven to 400°F (200°C). Arrange the shrimp in a single layer on a baking sheet and drizzle with the sauce. Bake for about 8-10 minutes, until they are pink and cooked through.
Grilling shrimp is another fun method. Simply marinate the shrimp in the sauce and thread them onto skewers. Grill them for about 2-3 minutes on each side until they are opaque.
Dietary Adjustments
For a gluten-free option, use tamari instead of soy sauce. It tastes similar but is safe for those avoiding gluten.
You can also make this dish vegan. Replace shrimp with your favorite plant protein, like chickpeas or mushrooms. Use maple syrup instead of honey and skip the butter. Instead, use olive oil to keep it light and healthy.
Storage Info
How to Store Leftovers
After you enjoy your honey garlic butter shrimp, store any leftovers in the fridge. Use a clean, airtight container. This keeps the shrimp fresh and tasty. Make sure to cover the container well. Leftovers can stay good for up to three days.
Reheating Recommendations
When you are ready to eat your leftovers, you want to reheat them the right way. The best method is to use a skillet. Heat the skillet over low heat. Add a little butter or oil to keep the shrimp moist. Stir gently to warm them evenly. This way, your shrimp stay tender and juicy.
Freezing Guidelines
If you have more shrimp than you can eat, freezing is a great option. First, let the shrimp cool completely. Then, place them in a freezer-safe bag. Squeeze out as much air as you can before sealing. This helps prevent freezer burn. They can last up to three months in the freezer.
When you're ready to eat frozen shrimp, defrost them in the fridge overnight. This keeps the texture nice. Avoid defrosting in the microwave, as it can overcook the shrimp.
FAQs
How long does it take to cook shrimp in a skillet?
It takes about 4 to 6 minutes to cook shrimp in a skillet. First, you cook them for 2 to 3 minutes on one side. Then, flip them and cook for another 2 to 3 minutes. They will turn pink and opaque when done.
Can I use frozen shrimp for this recipe?
Yes, you can use frozen shrimp. Just thaw them before cooking. Place the shrimp in cold water for about 20 minutes. Pat them dry with a paper towel after thawing. This helps remove excess moisture.
What is the best way to tell when shrimp are fully cooked?
Shrimp are fully cooked when they turn pink and opaque. They should also curl into a "C" shape. If they stay straight, they may be overcooked. Use a timer to avoid guessing.
Is honey garlic shrimp spicy?
Honey garlic shrimp is not very spicy. The red pepper flakes are optional. If you skip them, the dish will taste sweet and garlicky. If you like spice, add more flakes for a kick.
Can I make this recipe ahead of time?
You can prepare the shrimp and sauce ahead of time. Store them separately in the fridge. Cook the shrimp just before serving for the best taste and texture.
This blog post covered how to make honey garlic butter shrimp. You learned about the ingredients, step-by-step cooking, and helpful tips. We shared ideas for variations and storage options too.
For a tasty meal, enjoy this shrimp with rice or pasta. Remember, you can customize it with different proteins or sauces. With these tips, you can serve a dish that impresses everyone!


