
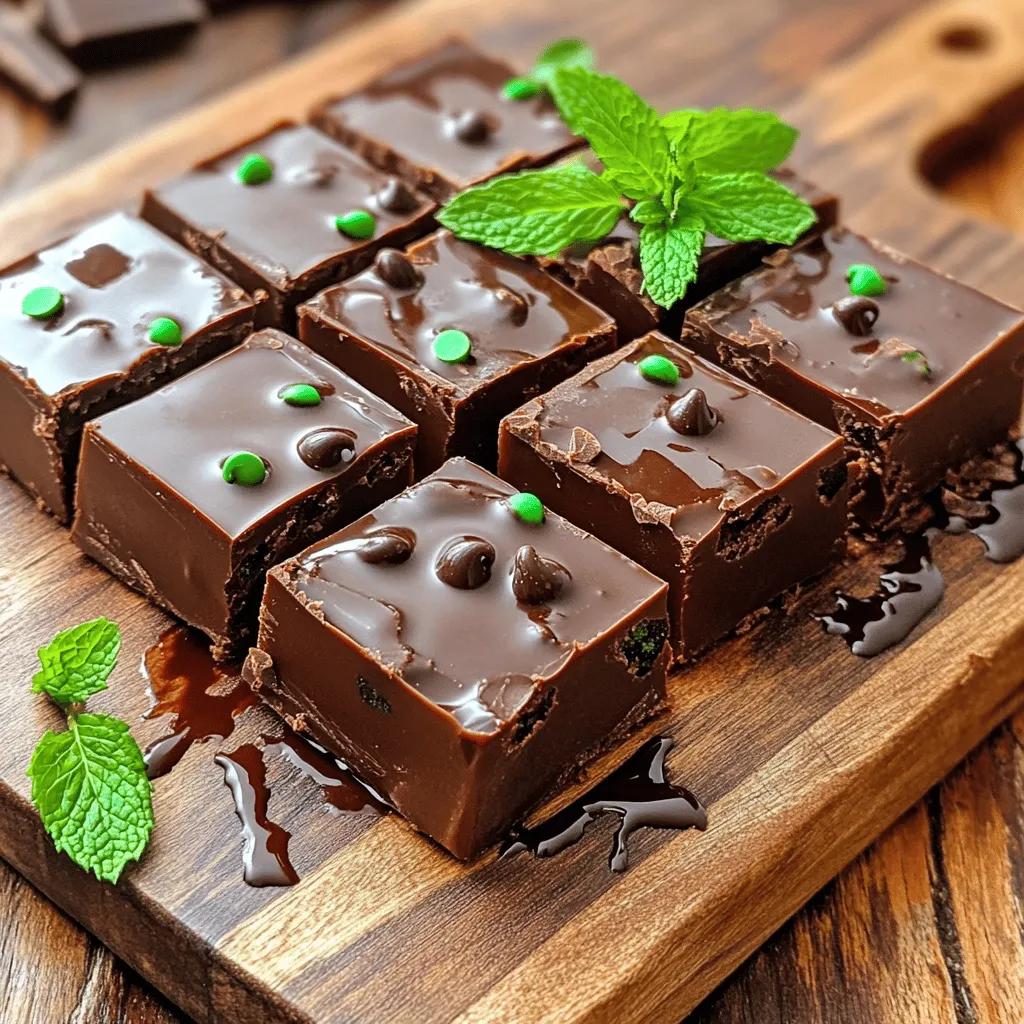
If you love mint and chocolate, you will adore this Mint Chocolate Chip Fudge! It’s creamy, sweet, and so easy to make. With just a few simple ingredients, you can create a treat that delights your taste buds. I’ll guide you step-by-step, from melting the chocolate to cutting your fudge into perfect squares. Get ready to impress your friends and family with this fun and tasty dessert!
Why I Love This Recipe
- Decadent Flavor: This fudge combines rich semi-sweet chocolate with refreshing peppermint, creating a delightful balance of flavors that is hard to resist.
- Easy to Make: With just a few simple ingredients and straightforward steps, this recipe is perfect for both novice and experienced bakers.
- Perfect for Any Occasion: Whether it’s a holiday gathering, a birthday party, or just a sweet treat at home, this fudge is sure to impress your guests.
- Customizable: You can easily adjust the mint flavor or add different mix-ins, making this fudge a versatile dessert that suits your taste.
Ingredients
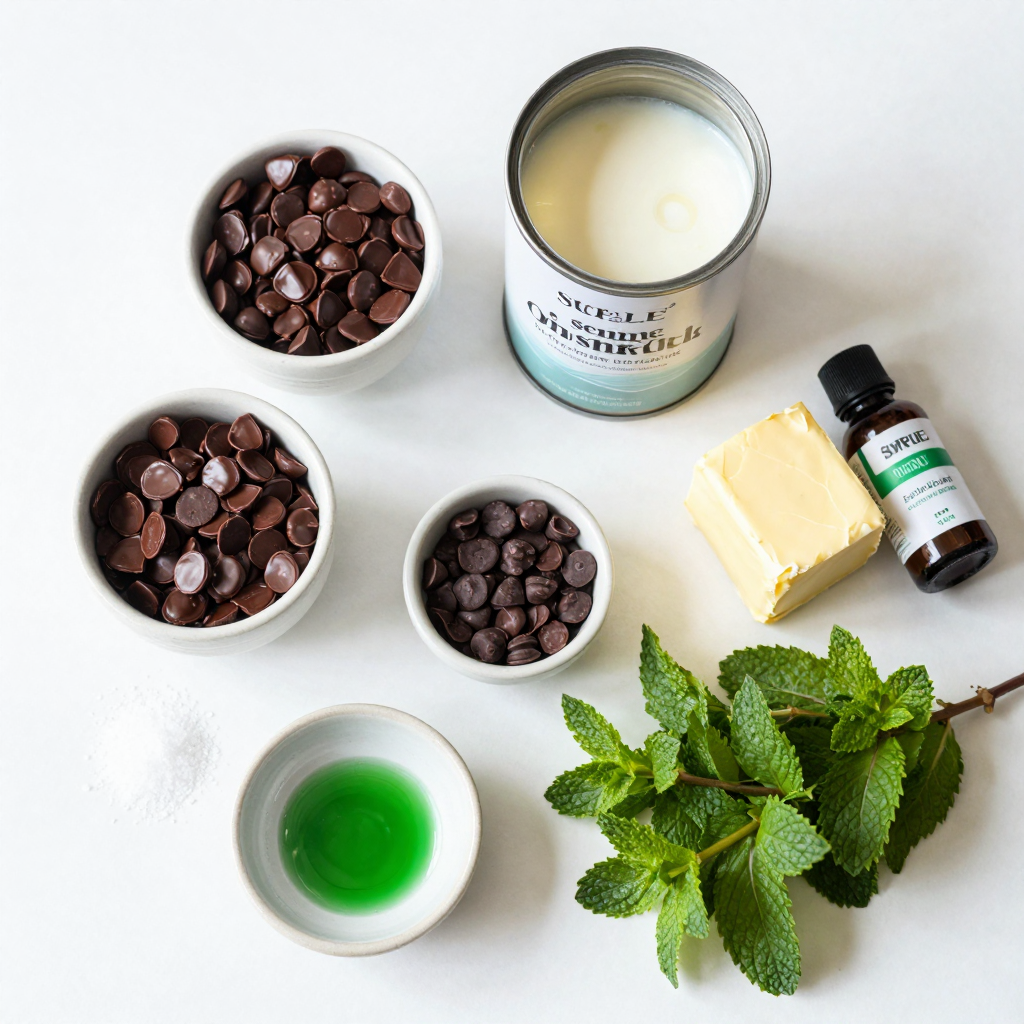
To make mint chocolate chip fudge, gather these simple ingredients:
– 2 cups semi-sweet chocolate chips
– 1 cup sweetened condensed milk
– 1/4 cup unsalted butter
– 1 teaspoon peppermint extract
– 1/2 cup mini chocolate chips
– 1/4 cup finely chopped fresh mint leaves (or 1 tablespoon dried mint)
– Pinch of salt
– Green food coloring (optional)
Each ingredient plays a key role in creating this delightful treat. The semi-sweet chocolate chips provide the main flavor and richness. The sweetened condensed milk adds creaminess and sweetness. Butter helps to create a smooth texture. Peppermint extract gives that fresh mint kick, while mini chocolate chips add fun texture. Fresh mint leaves enhance the minty flavor, making each bite refreshing. A pinch of salt balances the sweetness, and green food coloring makes it festive.
When you have everything ready, you can create a treat that everyone will love.
Step-by-Step Instructions
Preparation Steps
– Step 1: Prepare the Pan
Line an 8×8 inch baking pan with parchment paper. Leave some paper hanging over the sides. This helps you lift the fudge out later. Lightly spray the parchment with cooking spray.
– Step 2: Melt the Base
In a medium saucepan, combine 2 cups of semi-sweet chocolate chips, 1 cup of sweetened condensed milk, and 1/4 cup of unsalted butter. Place it over low heat. Stir until everything melts and the mix is smooth.
– Step 3: Flavoring
After melting, take the pan off the heat. Stir in 1 teaspoon of peppermint extract and a pinch of salt. If you want some color, add a few drops of green food coloring. Mix it well until it blends.
Fudge Assembly Steps
– Step 4: Add Mint and Chips
Gently fold in 1/2 cup of mini chocolate chips and 1/4 cup of finely chopped fresh mint leaves. You can also use 1 tablespoon of dried mint. Make sure everything mixes evenly.
– Step 5: Set the Fudge
Pour the fudge mixture into the prepared pan. Use a spatula to spread it evenly. Lightly tap the pan on the counter. This helps remove any air bubbles trapped inside.
– Step 6: Chill
Cover the pan with plastic wrap. Place it in the fridge for at least 2 hours. The fudge needs to be completely firm before you cut it.
– Step 7: Cut and Serve
Once your fudge is firm, lift it out using the parchment paper. Place it on a cutting board. Cut it into squares or rectangles.
These steps will help you create a delicious mint chocolate chip fudge.Enjoy this easy and tasty treat!
Pro Tips
- Chill for Perfection: Make sure to refrigerate the fudge for at least 2 hours to achieve the ideal firmness. This step is crucial for easy cutting and a smooth texture.
- Mint Freshness: If using fresh mint, chop it finely to ensure even distribution throughout the fudge. This enhances the flavor without overpowering the chocolate.
- Color It Up: Adding green food coloring is optional, but it can make your fudge look festive and appealing. Just a few drops will do; you can always add more if needed.
- Serving Suggestions: For an extra touch, drizzle melted dark chocolate over the fudge before serving. This not only enhances the appearance but also adds another layer of flavor.
Tips & Tricks
Expert Tips for Perfect Fudge
– Temperature Control During Melting
Keep the heat low when melting chocolate. High heat can burn it. Stir often to mix well. This helps the chocolate blend smoothly with butter and milk.
– Ensuring Smooth Consistency
Use sweetened condensed milk for a creamy base. If the mixture seems grainy, keep stirring. This will help achieve a silky texture.
– Best Practices for Chilling and Cutting
Chill the fudge for at least two hours. This makes it firm and easy to cut. Use a hot knife to slice the fudge into squares. This way, each piece looks neat.
Common Mistakes to Avoid
– Overheating the Chocolate
Don’t rush the melting process. Overheating can ruin the flavor and texture. Always melt chocolate slowly and carefully.
– Not Allowing Enough Chilling Time
Chilling is key for great fudge. If you don’t chill long enough, it will be too soft. Always wait until it sets completely in the fridge.
Variations
Flavor Alternatives
You can switch up the flavor of your fudge in fun ways. For a minty treat, stick with peppermint extract. If you want something unique, try vanilla extract. Vanilla will give your fudge a warm and creamy taste. It pairs well with the rich chocolate.
You can also change the type of chocolate you use. Semi-sweet chocolate gives a classic taste. If you prefer a richer flavor, use dark chocolate. This will create a more intense fudge. On the other hand, white chocolate can add a sweet and creamy twist. It’s perfect for those who enjoy a sweeter dessert.
Add-Ins and Customizations
Make your fudge even more special with add-ins. You can add nuts, like walnuts or pecans, for a crunchy bite. Chopped candies, like M&M’s or Reese’s Pieces, can add fun colors and flavors. These extras make each piece unique.
For a festive touch, use colored sprinkles or toppings. You can sprinkle them on top before the fudge sets. This adds a bright look and a bit of crunch. You can also drizzle some melted chocolate over the top for extra flair. These fun touches make your mint chocolate chip fudge truly irresistible.
Storage Information
Best Practices for Storing Fudge
– Room Temperature Storage: You can keep your fudge at room temperature. Make sure to place it in an airtight container. This helps keep it fresh and tasty. It is best to store it in a cool, dry place. Avoid direct sunlight. Fudge will stay good for about a week this way.
– Refrigeration and Freezing Methods: For longer storage, refrigerate your fudge. Wrap it tightly in plastic wrap, then place it in a container. This keeps moisture out. If you want to store it even longer, freeze it. Cut it into pieces and wrap each piece well. Place them in a freezer bag. Frozen fudge can last for up to three months.
Shelf Life of Mint Chocolate Chip Fudge
– How Long Will It Last?: Mint chocolate chip fudge can last about a week at room temperature. In the fridge, it can last two to three weeks. If you freeze it, it can last up to three months. But for the best taste, I recommend eating it within a few weeks.
– Signs of Spoilage: Check for changes in smell or texture. If your fudge becomes dry or hard, it may be old. If you see any mold, discard it right away. Fresh fudge should be soft and chewy, with a strong mint flavor.
FAQs
Common Questions About Mint Chocolate Chip Fudge
Can I use milk chocolate instead of semi-sweet?
Yes, you can use milk chocolate. It will make your fudge sweeter. However, the mint flavor may not stand out as much. Semi-sweet chocolate gives a nice balance to the mint.
How can I make my fudge firmer?
To make your fudge firmer, chill it for longer. You can also add more chocolate chips. Ensure you follow the recipe closely for the right texture.
Is it possible to use mint extract instead of fresh mint?
Yes, you can use mint extract instead of fresh mint. Just use less than what the recipe calls for. Start with a teaspoon and taste as you mix. Extract can be more potent than fresh herbs.
Additional User Questions
What’s the best way to cut fudge?
The best way to cut fudge is to use a sharp knife. Warm the knife under hot water for clean cuts. Wipe the knife dry between cuts for neat squares.
Can I double the recipe?
Yes, you can double the recipe. Just make sure to use a larger pan. Adjust the chilling time as needed, since thicker fudge may take longer to set.
How do I melt chocolate without burning it?
To melt chocolate without burning, use low heat. Stir often to avoid hot spots. You can also use a double boiler for even heat. This method prevents the chocolate from burning easily.
Ingredients
To make your mint chocolate chip fudge, gather these simple ingredients:
– 2 cups semi-sweet chocolate chips
– 1 cup sweetened condensed milk
– 1/4 cup unsalted butter
– 1 teaspoon peppermint extract
– 1/2 cup mini chocolate chips
– 1/4 cup finely chopped fresh mint leaves (or 1 tablespoon dried mint)
– Pinch of salt
– Green food coloring (optional)
These ingredients create a rich and creamy fudge. The key here is the balance of chocolate and mint. The chocolate chips give a deep, sweet flavor, while the mint adds a fresh note. The sweetened condensed milk makes the fudge smooth and creamy. If you want a pop of color, the green food coloring is a fun touch.
When choosing mint, fresh mint gives a bright taste. Dried mint works too if fresh is not available. The mini chocolate chips add extra texture, making every bite even more delightful. This combination of flavors and textures creates a perfect sweet treat.
As you prepare, remember to measure everything accurately. This ensures your fudge turns out just right. Enjoy the process, and get ready for a tasty dessert!
You now have all the steps to make mint chocolate chip fudge. We covered ingredients, preparation, and helpful tips. I shared variations to keep your fudge exciting and storage advice to keep it fresh. Remember to control temperatures while melting chocolate and allow enough chilling time. This fudge is a simple way to satisfy cravings and impress your friends. Get creative with flavors and enjoy your tasty treat!


