
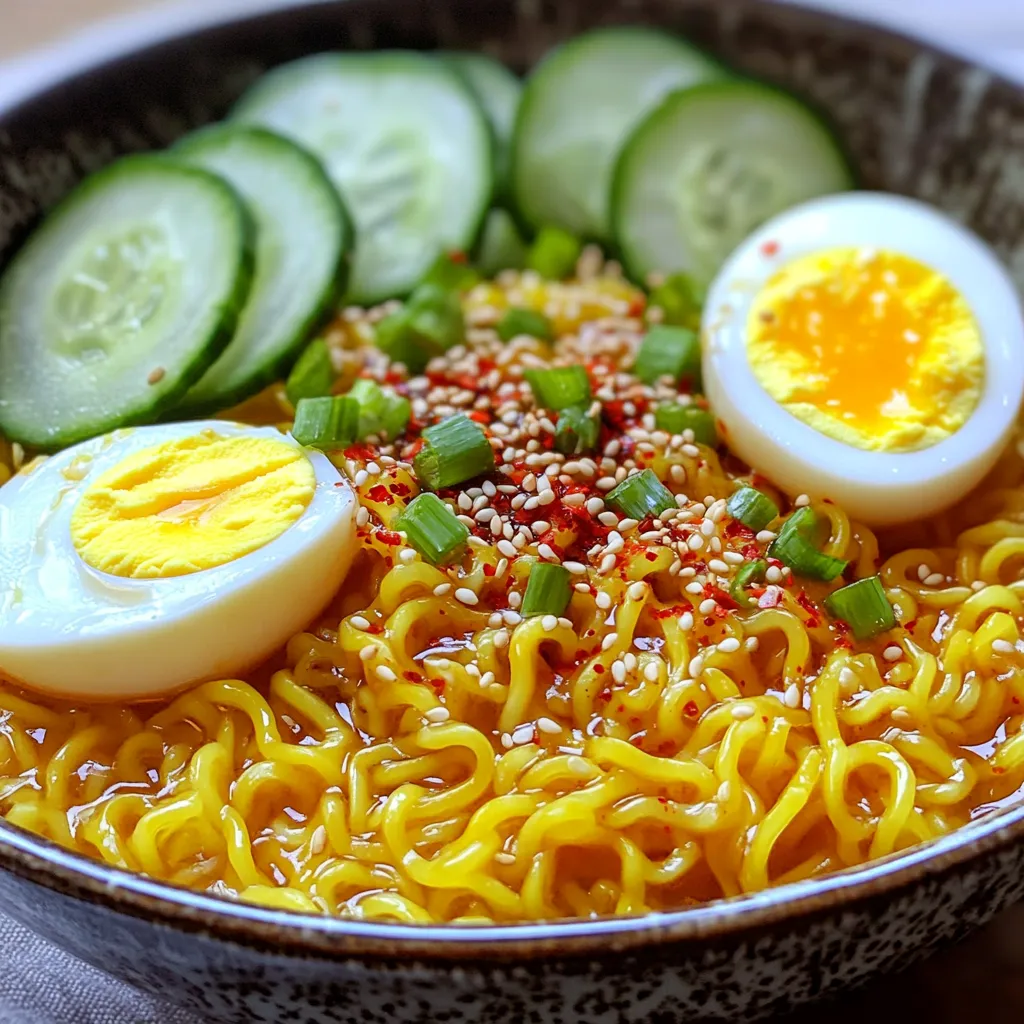
Craving a quick, spicy meal? Try my Minute Sesame Chili Garlic Ramen! This dish packs bold flavors with minimal effort. With instant ramen, garlic, and a kick of chili, you can whip it up in no time. Perfect for busy weeknights, this recipe dazzles with easy toppings and customizable options. Let’s dive into the simple steps that will make your dinner exciting and delicious!
Why I Love This Recipe
- Quick & Easy: This recipe is perfect for busy days as it takes only 15 minutes to prepare, making it a go-to meal for any occasion.
- Flavor Packed: With the combination of garlic, chili flakes, and sesame oil, this ramen is bursting with flavor that will satisfy your taste buds.
- Customizable: The optional toppings like soft boiled egg and fresh veggies allow you to personalize your ramen to suit your preferences.
- Budget Friendly: Using instant ramen and simple pantry staples, this dish is not only delicious but also easy on the wallet.
Ingredients
Main Ingredients
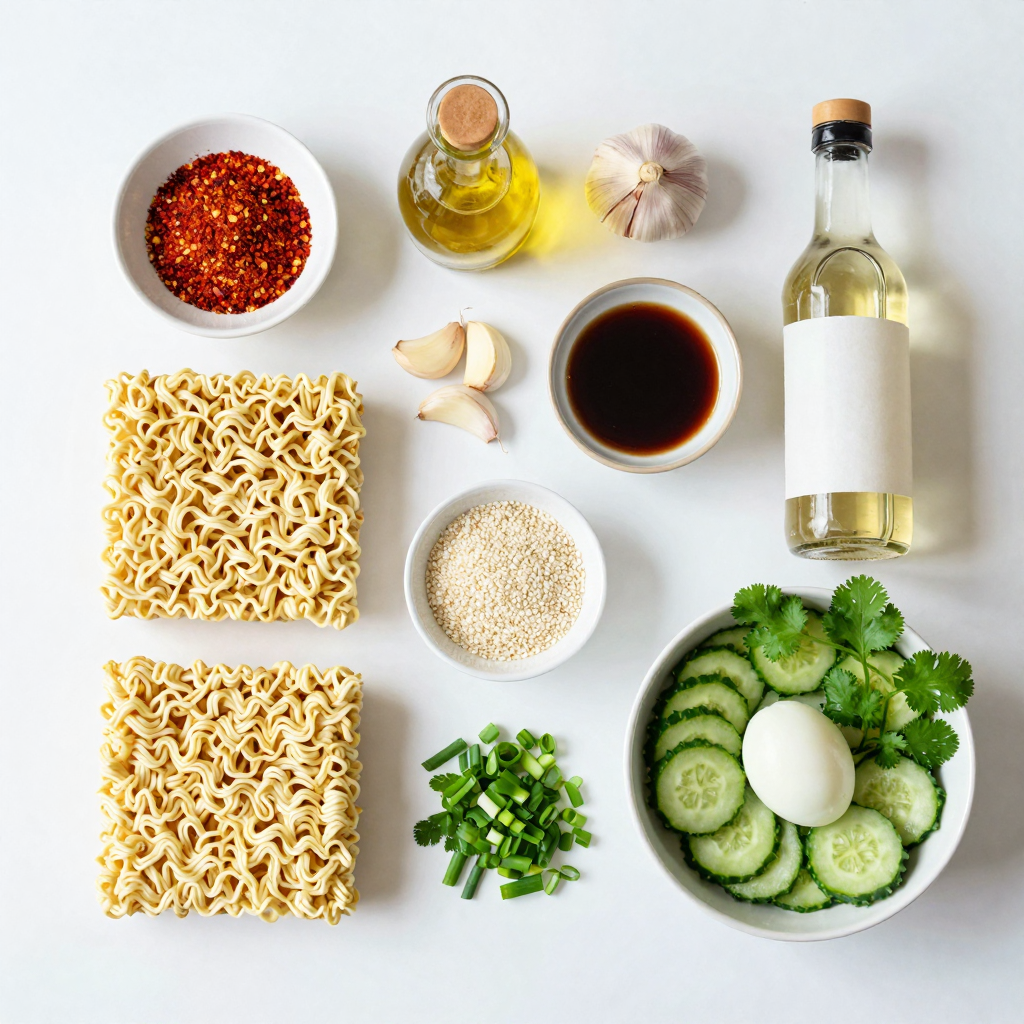
– 2 packs instant ramen noodles
– 2 tablespoons sesame oil
– 3 cloves garlic, minced
– 1 teaspoon red chili flakes (adjust to taste)
Additional Seasonings
– 2 tablespoons soy sauce
– 1 tablespoon rice vinegar
– 1 tablespoon sesame seeds
– 2 green onions, chopped
Optional Toppings
– Soft boiled egg
– Chopped cilantro
– Sliced cucumber
In this dish, the main ingredients shine. Instant ramen noodles give you a quick base. I love using two packs since it makes a hearty meal. Sesame oil adds a rich, nutty flavor. Fresh garlic brings warmth and depth. You can adjust red chili flakes for the spice you like.
For the additional seasonings, soy sauce adds saltiness and umami. Rice vinegar gives a tangy kick that brightens the dish. Sesame seeds add a lovely crunch and boost flavor. Chopped green onions give freshness and color.
Optional toppings can make your ramen even better. A soft boiled egg adds creaminess. Chopped cilantro gives a fresh herb taste. Sliced cucumber adds a crisp, cool bite. Feel free to mix and match based on what you have at home!
Step-by-Step Instructions
Cooking the Noodles
To start, bring 2 cups of water to a boil in a medium saucepan. Once the water is boiling, add 2 packs of instant ramen noodles. Cook the noodles for about 3 to 4 minutes, following the package instructions. Stir occasionally to separate the noodles. This step is crucial for the right texture.
Preparing the Sauce
While the noodles cook, grab a separate pan and heat 2 tablespoons of sesame oil over medium heat. Once the oil is hot, add 3 cloves of minced garlic. Sauté the garlic for about 30 seconds until it becomes fragrant and lightly golden. This step adds a rich flavor to your dish. Next, stir in 1 teaspoon of red chili flakes. Cook for another 10 seconds to infuse the oil with heat.
Combining Ingredients
After the noodles are cooked, drain them carefully. Pour the drained noodles into the pan with the garlic sauce. Add 2 tablespoons of soy sauce and 1 tablespoon of rice vinegar to the mix. Stir everything well to coat the noodles in the sauce. This step helps the noodles absorb flavors.
Garnishing and Serving
Finally, toss in 1 tablespoon of sesame seeds and 2 chopped green onions. Mix them through the noodles for added crunch and flavor. Serve the ramen in bowls and feel free to add optional toppings like a soft boiled egg, chopped cilantro, or sliced cucumber. These toppings can make your meal even more delicious and colorful!
Pro Tips
- Use Fresh Garlic: Fresh garlic adds a brighter and more vibrant flavor compared to pre-minced garlic. Always opt for fresh for the best taste.
- Adjust the Spice: Feel free to adjust the amount of red chili flakes based on your heat preference. Start with a small amount and add more if you want it spicier.
- Cook Noodles Al Dente: For a better texture, cook the noodles al dente. They will continue to soften when mixed with the sauce.
- Add Protein: Boost the nutritional value of your ramen by adding protein like tofu, chicken, or shrimp. This makes it a more filling meal.
Tips & Tricks
Achieving the Best Flavor
To make your ramen truly shine, adjust the chili flakes. If you love heat, add more. For a milder dish, use less.
Always use fresh garlic. It adds a bright punch to the sauce. Dried garlic can’t match the flavor of fresh.
Quick Cooking Tips
Boil your noodles in just enough water. Use a medium saucepan with two cups of water. This keeps it quick.
While the noodles cook, multitask. Heat the sesame oil and get your garlic ready. This saves time and keeps things moving.
Elevating Your Dish
For extra toppings, consider a soft boiled egg. It adds creaminess and richness. Chopped cilantro or sliced cucumber brings freshness.
You can add protein like chicken or tofu. Toss in some veggies for color and health. Broccoli or bell peppers work great!
Variations
Different Flavor Profiles
You can easily change the taste of your ramen. Adding miso or sesame paste gives a richer flavor. Miso adds depth and a slight sweetness. Sesame paste offers a creamier texture. You can also swap sesame oil for other oils. Try using olive oil for a lighter flavor or avocado oil for a hint of nuttiness. Each oil brings its own unique taste to the dish.
Dietary Modifications
Are you gluten-free? You can use gluten-free ramen noodles. They taste great and keep the dish classic. For a vegan twist, swap the soft boiled egg for extra veggies. Sliced bell peppers or mushrooms work well. You can even add tofu for protein. Both options keep your meal plant-based and delicious.
Serving Suggestions
To make this ramen a full meal, add protein and veggies. Grilled chicken or shrimp complements the dish nicely. You can also serve it with a side salad or steamed broccoli. Pair it with a refreshing drink, like iced green tea or lemonade. This balances the spice and makes your meal even more enjoyable.
Storage Info
Leftover Storage Tips
To keep your cooked ramen fresh, store it in an airtight container. Let it cool to room temperature first. This helps keep the noodles from getting mushy. For sauces, keep them in a separate container. This way, your noodles stay nice and firm.
Reheating Instructions
The best way to reheat your ramen is on the stove. Add a splash of water to the pan. Heat on low until warm, stirring gently. You can also use a microwave. Place the ramen in a bowl with a bit of water. Cover it and heat in short bursts, stirring in between. This helps keep the flavors strong.
Freezing Considerations
You can freeze cooked ramen, but it may change texture. To freeze, place it in a freezer-safe bag. Squeeze out as much air as you can. For thawing, put it in the fridge overnight. You can also use warm water to speed up the process. Just remember to reheat slowly to enjoy the best taste.
FAQs
How long does it take to make Minute Sesame Chili Garlic Ramen?
It takes about 15 minutes to make this dish. You will spend 5 minutes prepping and 10 minutes cooking. This recipe is quick and easy, perfect for busy days.
Can I make this recipe with other noodle types?
Yes, you can use other noodles. Try udon, soba, or rice noodles. Just adjust the cooking time as needed. Each type brings a different texture and taste.
What can I substitute for sesame oil?
If you need a substitute for sesame oil, use olive oil or peanut oil. These alternatives have different flavors but still work well. You can also skip the oil if you prefer a lighter taste.
How spicy is this recipe?
This recipe has a mild to medium spice level. Start with 1 teaspoon of red chili flakes. You can add more if you like it hotter. Taste as you go to find your perfect spice level.
Can I prepare this ramen ahead of time?
Yes, you can prep the ramen ahead. Cook the noodles and store them in the fridge. Keep the sauce separate to prevent sogginess. When ready to eat, heat and mix them together for a quick meal.
This blog post covers how to make a quick and tasty Minute Sesame Chili Garlic Ramen. You learned the main ingredients like ramen noodles, sesame oil, garlic, and red chili flakes. I shared tips for cooking the noodles and preparing the sauce to boost flavor. Remember to customize your dish with toppings or variations for extra flair. Whether you want a simple meal or something special, this ramen is flexible and fun to make. Enjoy your delicious creation, and don’t forget to share it with friends!


