No Bake Birthday Cake Energy Bites for Easy Fun

Looking for a fun and tasty snack that’s easy to make? These No Bake Birthday Cake Energy Bites are the perfect solution! Packed with wholesome ingredients, these bites are a hit for kids and adults alike. You’ll love how simple they are to whip up without turning on the oven. Get ready to enjoy a sweet treat that’s filled with energy and joy! Let’s dive into the recipe.
Why I Love This Recipe
- Healthy Snack Option: These energy bites are packed with wholesome ingredients, making them a nutritious choice for a quick snack or post-workout fuel.
- No Bake Convenience: No need for an oven! These bites are easy to prepare and perfect for those hot days when you want a sweet treat without the heat.
- Customizable Delight: You can easily adjust the flavors and mix-ins to suit your preferences, whether you prefer different nut butters or additional superfoods.
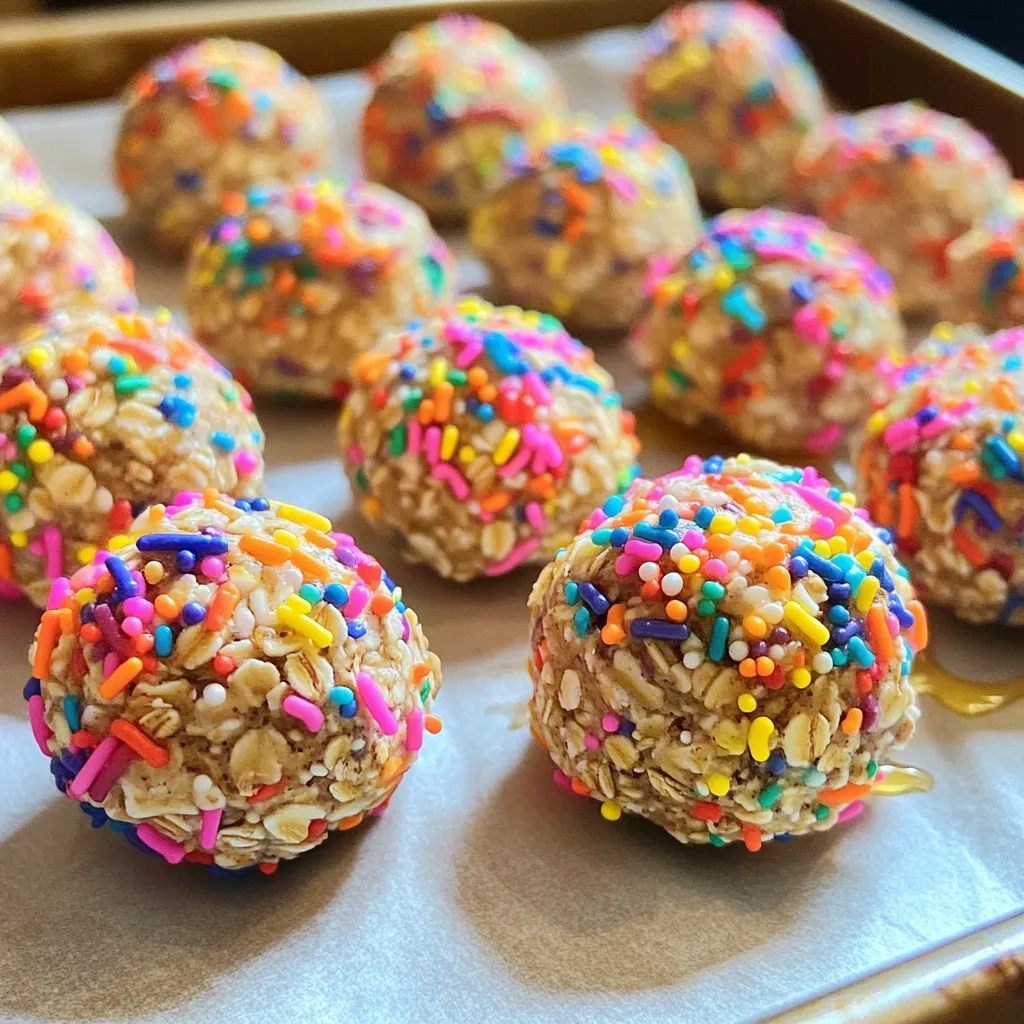
- Kid-Friendly Fun: With colorful sprinkles and a delicious taste, these energy bites are a hit with kids, making them a fun addition to lunchboxes or birthday celebrations.
Ingredients
Main Ingredients List
- 1 cup rolled oats
- 1/2 cup almond flour
- 1/4 cup protein powder (vanilla flavored)
- 1/2 cup almond or peanut butter
- 1/4 cup honey or maple syrup
- 1 teaspoon vanilla extract
- 1/4 cup sprinkles
- 1/4 teaspoon salt
These ingredients come together to create tasty energy bites. I love how easy they are to mix. You can find most items in your pantry or at the store.
Suggested Ingredient Substitutions
You can make a few swaps for your tastes. Try sunflower seed butter or cashew butter instead of almond or peanut butter. For sweeteners, you can use agave syrup or coconut nectar instead of honey or maple syrup. These options keep the bites delicious and fun.
Dietary Considerations
If you need gluten-free options, use certified gluten-free rolled oats. For vegan options, swap honey for maple syrup. This way, everyone can enjoy these yummy bites.

Step-by-Step Instructions
Preparation Steps
First, gather your ingredients. You need rolled oats, almond flour, and protein powder. In a large bowl, mix the dry ingredients well. This helps to blend the flavors.
Next, add the wet ingredients. Pour in natural almond or peanut butter, honey or maple syrup, and vanilla extract. Stir everything together. Make sure all the dry ingredients are coated well. This mixture should be slightly sticky.
Finally, sprinkle in the salt. Then, fold in the colorful sprinkles. This is what makes these bites fun and festive!
Forming the Energy Bites
Now it’s time to shape the energy bites. Use your hands to knead the mixture. It should feel sticky but hold together nicely.
Scoop out tablespoon-sized portions. Roll each portion into a ball using your palms. Keep them about one inch wide. Place each ball on a parchment-lined baking sheet. This makes cleanup easier!
Chilling and Storage
Chilling is very important. It helps the bites firm up and hold their shape. Chill them in the fridge for at least 30 minutes.
To store your energy bites, use an airtight container. They will last in the fridge for up to a week. You can also freeze them for longer storage. Just make sure to label the container!
Pro Tips
- Use Nut Butter Wisely: Choose a nut butter that’s smooth and creamy for easier mixing. If using a natural variety, make sure it’s well-stirred to avoid separation.
- Customize Your Sprinkles: For a festive touch, opt for vegan-friendly sprinkles or choose colors that match the occasion. You can even mix in some dried fruit or nuts for extra texture.
- Chill Time Matters: Allowing the energy bites to chill for at least 30 minutes helps them firm up, making them easier to handle and eat. Don’t skip this step!
- Storage Tips: Store energy bites in an airtight container in the refrigerator for up to a week. For longer storage, freeze them and simply thaw as needed.
Tips & Tricks
Storage Tips
To keep your No Bake Birthday Cake Energy Bites fresh, store them in an airtight container. This helps maintain their taste and texture. You can keep them in the fridge for up to a week. For longer storage, freeze them. Place the bites in a freezer-safe bag or container. They can last up to three months in the freezer.
Perfecting Texture
If your mixture feels too sticky, add a bit more almond flour. This will help balance the texture. On the other hand, if the bites are too dry, add a touch of almond butter or honey. You want them firm but not hard. The right firmness makes them easy to chew and enjoyable.
Flavor Enhancements
Want to spice things up? Try adding a few drops of almond or coconut extract. This can give your bites a fun twist. You can also mix in dried fruits or chopped nuts for extra flavor. These additions make your energy bites unique and tasty.

Variations
Different Flavor Profiles
You can easily change the flavor of your energy bites. For chocolate chip birthday cake bites, simply swap in mini chocolate chips instead of sprinkles. This twist adds a rich taste. You can also use a chocolate protein powder for an extra boost. For funfetti energy bites, stick with the original recipe but add more colorful sprinkles. This makes the bites even more festive!
Healthier Alternatives
If you want lower calorie options, you can reduce the nut butter. Use just 1/4 cup instead of 1/2 cup. This change keeps the flavor while cutting calories. For a protein-rich version, add an extra scoop of protein powder. You can even use Greek yogurt in place of nut butter for a creamy taste.
Seasonal Themes
Want to make your bites fit for the holidays? Use seasonal sprinkles, like red and green for Christmas or pastels for Easter. You can also shape them into festive forms, like stars or hearts. For special occasions, customize the flavors to match the event. Add spices like cinnamon for fall or peppermint for winter!
Nutritional Information
Nutritional Breakdown per Serving
Each energy bite has about 100 calories. You get 4 grams of protein and 3 grams of fiber. The bites also contain healthy fats from nut butter. Key vitamins include B vitamins, which help with energy. You also get minerals like magnesium and potassium, good for your body.
Health Benefits
These energy bites are packed with good ingredients. Rolled oats give you fiber, which helps digestion. Almond flour adds healthy fats and proteins. The protein powder boosts your muscle health. Honey or maple syrup adds natural sweetness and energy. Sprinkles make them fun and festive!
Portion Control
I recommend one or two bites per serving. This helps you enjoy the taste without overdoing it. If you need more energy for a workout, you can eat a few more. You can easily double or halve the recipe based on your needs. Just keep in mind the total calories you want!
FAQs
Can I use different protein powders?
Yes, you can switch protein powders. Vanilla protein gives a great taste. You can try chocolate or plant-based options too. Just keep the same amount. If you change the flavor, it might alter the taste a bit. Experiment and find what you like best!
How long do these energy bites last?
These energy bites last up to a week in the fridge. Store them in an airtight container to keep them fresh. If you want them to last longer, freeze them. They freeze well and can last for months. Just thaw them in the fridge before you eat.
Can I make these without nut butter?
Absolutely! You can use sunflower seed butter or soy nut butter instead. These nut-free options work well if you have allergies. They still give a nice creamy texture. Just make sure to check for any allergens in other ingredients too.
Are they suitable for kids?
Yes, these energy bites are great for kids! They have protein and fiber, which are good for growing bodies. Plus, kids love the fun sprinkles. You can make them even healthier by using less sweetener. They make a fun snack for after school or birthday parties!
Now you know how to make delicious energy bites with simple ingredients. We’ve covered key components, suggested swaps, and tips for perfecting texture. Dietary options ensure everyone can enjoy these snacks. Try different flavors, and customize them for any occasion. With fresh storage methods, these bites remain tasty for weeks. These easy recipes fit into any diet and are fun for kids. Get creative, make them your own, and enjoy the benefits of a healthy snack!

No Bake Birthday Cake Energy Bites
Ingredients
1 cup rolled oats
1/2 cup almond flour
1/4 cup protein powder (vanilla flavored)
1/2 cup natural almond or peanut butter
1/4 cup honey or maple syrup
1 teaspoon vanilla extract
1/4 cup sprinkles (vegan-friendly if desired)
1/4 teaspoon salt
Instructions
In a large mixing bowl, combine the rolled oats, almond flour, and protein powder.
Add the almond or peanut butter, honey or maple syrup, and vanilla extract to the dry ingredients. Mix well until all components are thoroughly combined.
Sprinkle in the salt and fold in the colorful sprinkles, ensuring an even distribution within the mixture.
Use your hands to knead the mixture until it becomes slightly sticky and holds together.
Scoop out tablespoon-sized portions of the mixture and roll them into balls using your palms. Place each ball on a parchment-lined baking sheet.
Once all the mixture is rolled into balls, refrigerate the energy bites for at least 30 minutes to firm up.
Store the energy bites in an airtight container in the refrigerator for up to a week or freeze for longer storage.
Prep Time: 15 minutes | Total Time: 45 minutes (including chilling) | Servings: Approximately 12 bites

No Bake Birthday Cake Energy Bites
Ingredients
- 1 cup rolled oats
- 1/2 cup almond flour
- 1/4 cup protein powder (vanilla flavored)
- 1/2 cup natural almond or peanut butter
- 1/4 cup honey or maple syrup
- 1 teaspoon vanilla extract
- 1/4 cup sprinkles (vegan-friendly if desired)
- 1/4 teaspoon salt
Instructions
- In a large mixing bowl, combine the rolled oats, almond flour, and protein powder.
- Add the almond or peanut butter, honey or maple syrup, and vanilla extract to the dry ingredients. Mix well until all components are thoroughly combined.
- Sprinkle in the salt and fold in the colorful sprinkles, ensuring an even distribution within the mixture.
- Use your hands to knead the mixture until it becomes slightly sticky and holds together.
- Scoop out tablespoon-sized portions of the mixture and roll them into balls using your palms. Place each ball on a parchment-lined baking sheet.
- Once all the mixture is rolled into balls, refrigerate the energy bites for at least 30 minutes to firm up.
- Store the energy bites in an airtight container in the refrigerator for up to a week or freeze for longer storage.


![To make these delicious scones, gather the following ingredients: - 2 cups all-purpose flour - 1/3 cup granulated sugar - 1 tablespoon baking powder - 1/4 teaspoon salt - 1/2 cup unsalted butter, chilled and cubed - 1/2 cup heavy cream - 1 large egg - 1 teaspoon vanilla extract - 1 cup fresh raspberries - 1/2 cup white chocolate chips You can customize your scones with some fun add-ins. Here are a few ideas: - 1/2 cup chopped nuts, like pecans or walnuts - 1/2 teaspoon cinnamon for a warm spice note - Zest from 1 lemon or orange for a citrus twist - A handful of dark chocolate chips for a richer flavor Using fresh, high-quality ingredients makes a big difference. For the best results, choose: - Flour: Go for a good brand of all-purpose flour. This helps with texture. - Butter: Use unsalted butter. It gives you control over the salt in your recipe. - Raspberries: Fresh raspberries are key. Look for plump, firm berries. - Chocolate: Choose high-quality white chocolate chips. They melt well and taste great. These choices enhance the flavor and texture of your scones. For an easy guide, check out the Full Recipe for more details. 1. Preheat your oven to 400°F (200°C). Line a baking sheet with parchment paper. 2. In a large bowl, whisk together the flour, sugar, baking powder, and salt. 3. Add the chilled butter to the dry mix. Use your fingers or a pastry cutter to blend until the mix looks like coarse crumbs. 4. In another bowl, whisk the cream, egg, and vanilla together. 5. Pour the cream mix into the flour mix. Stir gently until just combined. Do not overmix! 6. Fold in the fresh raspberries and white chocolate chips. Make sure they are evenly spread. 7. Turn the dough onto a floured surface. Knead gently a few times until it comes together. 8. Pat the dough into a circle about 1 inch thick. Cut it into 8 wedges with a sharp knife or pizza cutter. 9. Place the wedges on the baking sheet, leaving space between each. 10. Bake for 15-20 minutes until golden brown on top. 11. Remove from the oven. Let them cool slightly on a wire rack before serving. - Step 1: Make sure your oven is fully preheated. This helps the scones rise well. - Step 3: Keep the butter cold. This gives the scones a nice flaky texture. - Step 5: Mixing too much makes the scones tough. Mix until you see no dry flour. - Step 6: Gently fold, so you keep the raspberries whole. This adds a juicy burst of flavor. - Overmixing the dough: This results in tough scones. Mix just until combined. - Skipping the chilling: Cold ingredients help create a better texture. Don’t skip the cold butter! - Not measuring ingredients: Use exact measurements for the best results. Baking is a science. - Ignoring baking time: Check your scones at 15 minutes. They should be golden, not burnt. For the complete recipe, check out the Full Recipe section above. To make the best raspberry white chocolate scones, follow a few simple steps. First, keep your butter very cold. This helps create a fluffy texture. I suggest cubing the butter and chilling it before use. Second, mix the dry and wet ingredients gently. Overmixing makes scones tough, and we want them light and airy. Lastly, shape your dough carefully. Pat it down without pressing too hard to keep air pockets inside. Serve these scones warm for the best taste. You can dust them with powdered sugar for a sweet touch. Pair them with clotted cream for richness. If you like, add fresh raspberries on the side for extra flavor. These scones also shine at brunch or tea time, making them perfect for any gathering. Raspberry white chocolate scones go well with many drinks. A nice cup of Earl Grey tea complements their sweetness. You can also enjoy them with a light lemonade or even coffee. For spreads, try a tart raspberry jam to balance the sweetness. Each pairing enhances the flavors of the scones, making each bite delightful. For the full recipe, visit the [Full Recipe]. {{image_2}} You can play with the flavors of your scones. Instead of raspberries, try blueberries or strawberries for a fresh twist. You may also swap white chocolate for dark chocolate or milk chocolate. Each option gives a new taste. If you like nuts, add chopped almonds or pecans to the mix. These small changes can make a big difference. If you need gluten-free scones, use a gluten-free flour blend. Many blends work well in baking. Look for one that has xanthan gum. This will help the scones hold their shape. You can also use almond flour or coconut flour, but adjust the liquid in the recipe. These flours add a different flavor and texture. You can change the flavors with the seasons. In fall, add chopped apples and cinnamon for a warm taste. Winter calls for cranberry and orange zest. In spring, use lemon zest and poppy seeds for a bright, fresh flavor. Summer is perfect for peaches or cherries. Each season brings new fruits to enjoy in your scones. For the complete recipe, check the Full Recipe section. To keep your Raspberry White Chocolate Scones fresh, store them in an airtight container. This helps maintain their soft texture and delightful flavor. Place a piece of parchment paper between layers to prevent sticking. You can keep them at room temperature for up to two days. If you want to store them longer, the fridge is a good option, but it may dry them out a bit. When you're ready to enjoy your scones again, reheating is easy. Preheat your oven to 350°F (175°C). Place the scones on a baking sheet. Warm them for about 5-7 minutes. This will bring back their fresh-baked taste. You can also microwave them for about 10-15 seconds, but this might make them a bit soft. Freezing is a great way to save scones for later. Allow the scones to cool completely. Then, wrap each scone in plastic wrap. Place them in a freezer bag or container. They will stay fresh for up to three months. When you want to eat them, thaw overnight in the fridge. Then, reheat as mentioned above. This way, you can enjoy these tasty treats anytime! For the complete recipe, check out the Full Recipe. You can tell scones are done when they turn golden brown. The tops should feel firm to the touch. A toothpick inserted into the center should come out clean. If it has dough on it, bake them a bit longer. These signs help ensure your Raspberry White Chocolate Scones are baked just right! Yes, you can make the dough ahead of time! Chill the dough for up to 24 hours in the fridge. Wrap it tightly in plastic wrap. When you’re ready to bake, simply cut the dough into wedges and bake as directed. This saves time and lets you enjoy fresh scones at your convenience. If you need a substitute for white chocolate, try using dark chocolate chips or milk chocolate chips. You can also use dried fruit like cherries or apricots for a different flavor. Each option adds a unique twist to the scone. Experiment and find what you like best! For the complete recipe and specific steps, check the Full Recipe. We explored how to make perfect scones from scratch. We covered key ingredients, detailed instructions, and helpful tips. I shared common mistakes to avoid and fun variations to try. Storing and reheating tips ensure you enjoy fresh scones longer. Baking scones is easy and rewarding. With practice, your scones will impress everyone. Get creative and enjoy this tasty treat!](https://dailydishlab.com/wp-content/uploads/2025/07/7e56670c-1729-4c97-bf35-067a569313c1-768x768.webp)

