
Craving a sweet treat that’s easy to make? No-Bake Oreo Cookie Truffles are the perfect solution! With just a handful of ingredients, you can whip up these tasty delights in no time. I’ll guide you step-by-step, sharing tips and tricks to ensure your truffles turn out amazing every time. Whether you want to impress friends or satisfy your own sweet tooth, these truffles are a must-try. Ready to dive in? Let’s get started!
Why I Love This Recipe
- Easy to Make: This recipe requires no baking, making it a quick and hassle-free treat to whip up.
- Decadent Flavor: The combination of rich cream cheese and chocolate-coated Oreos creates an irresistible flavor.
- Perfect for Any Occasion: These truffles are great for parties, holidays, or just a sweet snack at home.
- Customizable: You can easily add different toppings or flavors to make these truffles uniquely yours.
Ingredients
List of Required Ingredients
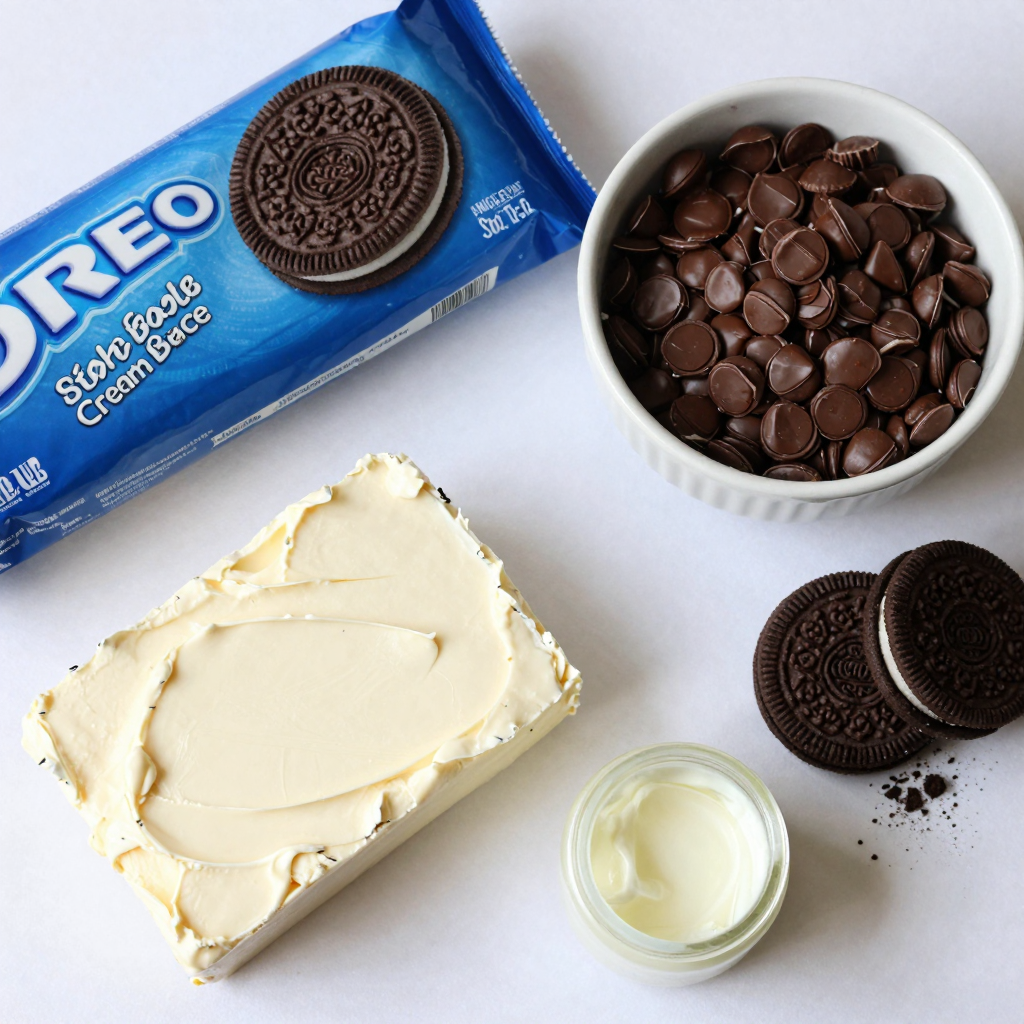
To make No-Bake Oreo Cookie Truffles, gather these key ingredients:
– 1 package (15.6 oz) Oreo cookies
– 1 (8 oz) package cream cheese, softened
– 1 ½ cups semi-sweet chocolate chips
– Additional crushed Oreo cookies for coating
These ingredients form the base of your truffles. The Oreo cookies provide the sweet and crunchy flavor. The cream cheese adds a rich, creamy texture that binds it all together.
Optional Ingredients for Customization
You can add extra flair to your truffles with these optional ingredients:
– 1 tablespoon coconut oil (for smoother chocolate coating)
– Sprinkles or chopped nuts (for decoration)
Using coconut oil helps the chocolate melt smoothly. You can also play with toppings to make your truffles more fun!
Ingredient Substitutions
If you need to swap some ingredients, here are a few ideas:
– Use low-fat cream cheese for a lighter option.
– Dark chocolate chips can replace semi-sweet for a richer taste.
– Gluten-free Oreo cookies work well if you need a gluten-free option.
These substitutions maintain flavor while catering to different dietary needs. Enjoy making your truffles unique!
Step-by-Step Instructions
Detailed Steps for Making No-Bake Oreo Cookie Truffles
1. Crush the Oreos: Start by crushing 1 package of Oreo cookies. You can use a food processor. If you don’t have one, put the cookies in a plastic bag. Then, smash them with a rolling pin. Aim for fine crumbs.
2. Mix with Cream Cheese: In a large bowl, add the crushed Oreos and 1 package of softened cream cheese. Use a spatula or your hands to mix them well. The mixture should be smooth and well-blended.
3. Shape the Truffles: Take about a tablespoon of the mixture. Roll it into a ball using your hands. Place each ball on a parchment-lined baking sheet. Keep rolling until you use all the mixture.
4. Chill: Put the baking sheet with the truffles in the fridge. Let them chill for about 30 minutes. This makes them firm and easier to coat.
5. Melt the Chocolate: In a microwave-safe bowl, melt 1 ½ cups of semi-sweet chocolate chips. If you want, you can add 1 tablespoon of coconut oil. Heat in 20-second bursts, stirring in between, until smooth.
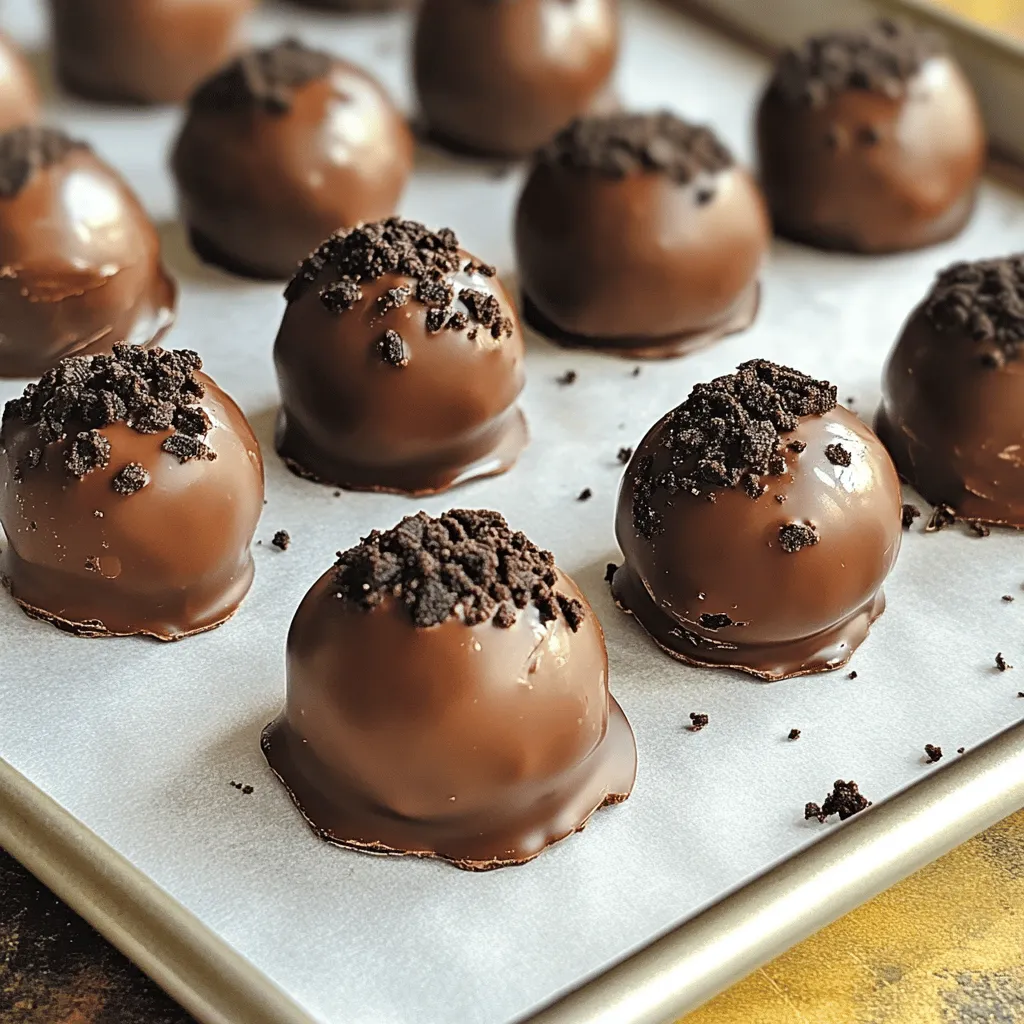
6. Coat the Truffles: Take the chilled truffles out of the fridge. Dip each one into the melted chocolate. Make sure they are fully coated. Place them back on the baking sheet.
7. Add the Coating: While the chocolate is still wet, sprinkle some crushed Oreo cookies on top. This adds a nice touch and extra flavor.
8. Set and Serve: Let the chocolate set at room temperature. You can also chill them in the fridge for another 15-20 minutes. Serve them cold or at room temperature.
Visual Aids: Adding Images or Video Demonstrations
While I can’t provide images or videos, I suggest taking photos at each step. This way, you can see how the truffles should look. You can also watch recipe videos online for extra help. These resources make cooking easier and more fun.
Common Mistakes to Avoid During Preparation
– Not Crushing Oreos Enough: Make sure the Oreos are finely crushed. Large pieces won’t blend well with the cream cheese.
– Using Cold Cream Cheese: Always use softened cream cheese. Cold cream cheese makes mixing hard.
– Skipping Chill Time: Don’t skip chilling the truffles. This helps them hold their shape.
– Overheating Chocolate: Be careful when melting the chocolate. Heat slowly to avoid burning.
– Not Coating Evenly: Make sure each truffle is fully coated in chocolate. This keeps them moist and tasty.
Pro Tips
- Use Room Temperature Cream Cheese: Make sure your cream cheese is softened to room temperature for easier mixing and a smoother texture in your truffles.
- Experiment with Chocolate: Feel free to use white chocolate or dark chocolate instead of semi-sweet for a different flavor profile.
- Chill the Truffles Before Coating: Chilling the truffles for longer than 30 minutes can help them hold their shape better when you dip them in chocolate.
- Add Flavor Variations: Consider adding a splash of vanilla extract or peppermint extract to the Oreo and cream cheese mixture for an extra layer of flavor.
Tips & Tricks
Successful Mixing Techniques
When you mix the crushed Oreos with cream cheese, ensure it’s smooth. Use a large bowl for comfort. If the mix feels too dry, add a little more softened cream cheese. If it’s too sticky, a tiny bit of crushed Oreos can help. Mixing with your hands gives you the best results. Just make sure your hands are clean!
Best Practices for Coating the Truffles
Coating the truffles in chocolate can be tricky. You want the chocolate to be smooth. Make sure to melt it in short bursts in the microwave. Stir often to avoid burning. Dip each truffle fully to cover all sides. Use a fork to lift them out. This helps shake off extra chocolate. Place them back on the baking sheet carefully.
Enhancements for Flavor and Texture
Want to take your truffles up a notch? Try adding a pinch of sea salt to the chocolate. This adds a nice contrast to the sweet Oreo flavor. You can also add a splash of vanilla extract to the cream cheese mix. For crunch, throw in some chopped nuts or sprinkles before the chocolate sets. Each bite can be even more fun!
Variations
Different Flavor Combinations
You can change the flavor of these truffles easily. Try using different cookies. For example, use peanut butter or mint Oreos instead of regular ones. This gives a fun twist to the taste. You can also add flavored extracts, like vanilla or almond. Just a few drops can change the whole flavor.
Alternative Coatings and Toppings
The chocolate coating is great, but you can switch it up. Use white chocolate for a sweet touch. You can also sprinkle crushed nuts or sprinkles on top. This adds crunch and color. For a fun twist, try using melted caramel instead of chocolate.
Seasonal or Thematic Twists
Make your truffles fit the season or a special event. For Halloween, add orange food coloring to the chocolate. You can also use festive sprinkles. At Christmas, sprinkle red and green decorations on top. For birthdays, use colorful sprinkles or themed designs. With a little creativity, these truffles can match any celebration!
Storage Info
How to Store No-Bake Oreo Cookie Truffles
To keep your truffles fresh, store them in an airtight container. Use parchment paper to separate layers if you stack them. Place the container in the refrigerator. This will help keep them cold and firm.
Shelf Life in the Refrigerator vs. Freezer
In the refrigerator, your truffles last about one week. If you want them to last longer, freeze them. In the freezer, they can last up to three months. Just remember to thaw them in the fridge before eating.
Tips for Reheating or Reviving Texture
If your truffles lose some of their firmness, don’t worry. You can set them out at room temperature for a short time. This helps them soften a bit. Avoid microwaving them, as that can make the chocolate melt and lose its shine. Just let them sit for a few minutes, and they’ll be ready to enjoy!
FAQs
Can I make No-Bake Oreo Cookie Truffles ahead of time?
Yes, you can make these truffles ahead of time. I often prepare them a day or two before serving. After you coat the truffles in chocolate, just store them in the fridge. They will stay fresh for up to a week. This way, you can enjoy them stress-free at your next gathering or treat yourself anytime!
What can I use instead of cream cheese?
If you want a different option, you can use mascarpone cheese. It has a similar creamy texture and taste. Another choice is Greek yogurt for a lighter version. For a dairy-free option, try using vegan cream cheese. These substitutes work well and keep the truffles delicious!
How can I make these truffles vegan or gluten-free?
To make these truffles vegan, use vegan cream cheese instead of regular cream cheese. You can also swap the chocolate chips for vegan chocolate chips. For gluten-free truffles, ensure you use gluten-free Oreo cookies. Many brands now offer gluten-free options. This way, everyone can enjoy these tasty treats!
No-Bake Oreo Cookie Truffles are simple and fun to make. We explored the ingredients, step-by-step instructions, and tips for success. You learned how to customize flavors and store your truffles for later. Remember, it’s all about mixing well and choosing tasty coatings. By avoiding common mistakes, you can make these treats perfectly every time. Try out different variations to keep things exciting. Enjoy making these tasty delights, and don’t hesitate to get creative in your kitchen!


